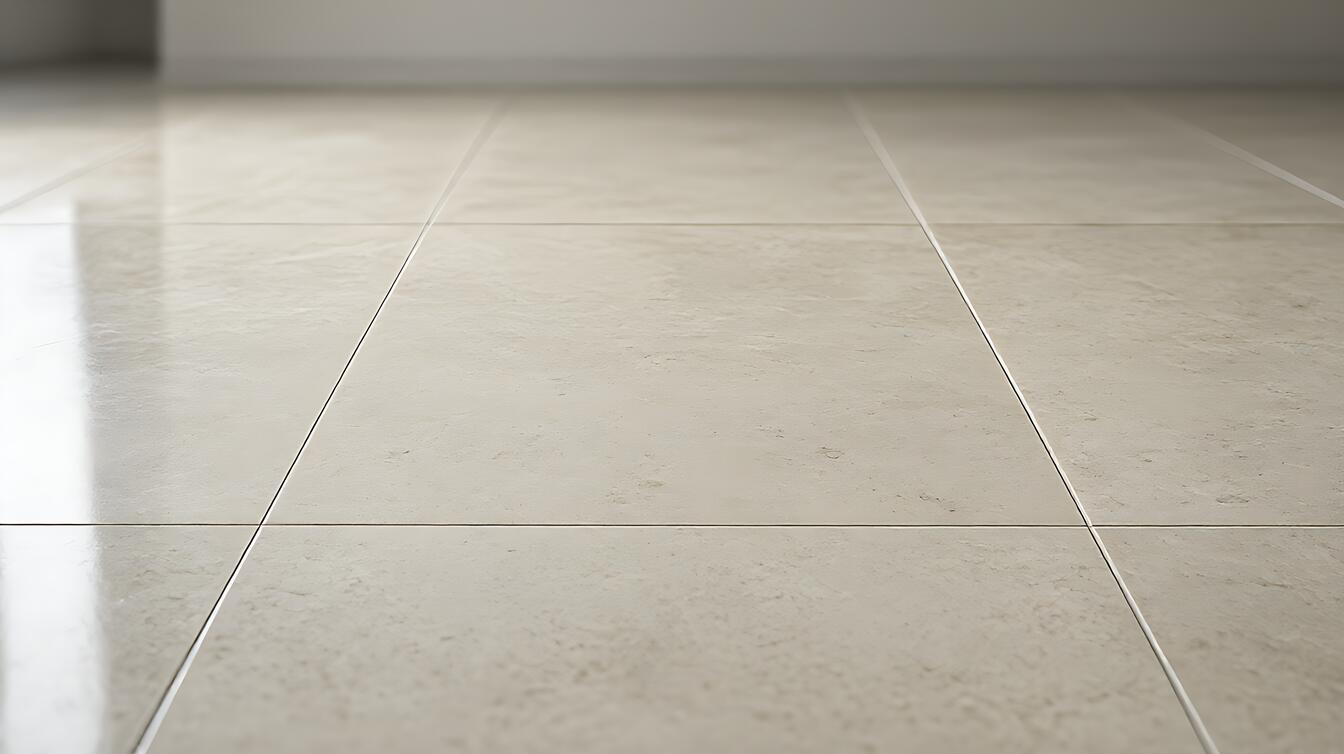

You have the planks, the subfloor is bare, and you are staring at the first row wondering where to start. The answer is that vinyl plank flooring installation is a floating click-lock system that locks planks edge-to-edge over an underlayment.
Two numbers govern the whole job: a 1/4-inch expansion gap at the wall and an 8-inch seam stagger between rows. Measure the room, check the subfloor, and pick your method before you cut a single piece.
Skipping the prep means the floor will buckle, gap, or look lopsided once it settles. This page walks you through the five numbers that actually decide the outcome, the method that fits your room, and the finishing steps that make it look professional. No fluff, just the checklist that gets it right the first time.
The Floating Click-Lock System and the One Number That Governs the Job
Vinyl plank installation works by snapping planks together over a floating layer, letting the floor expand and contract with temperature and humidity without being nailed or glued to the subfloor. The mechanism is simple: the tongue and groove lock horizontally, while the underlayment and spacers create a buffer zone against rigid walls.
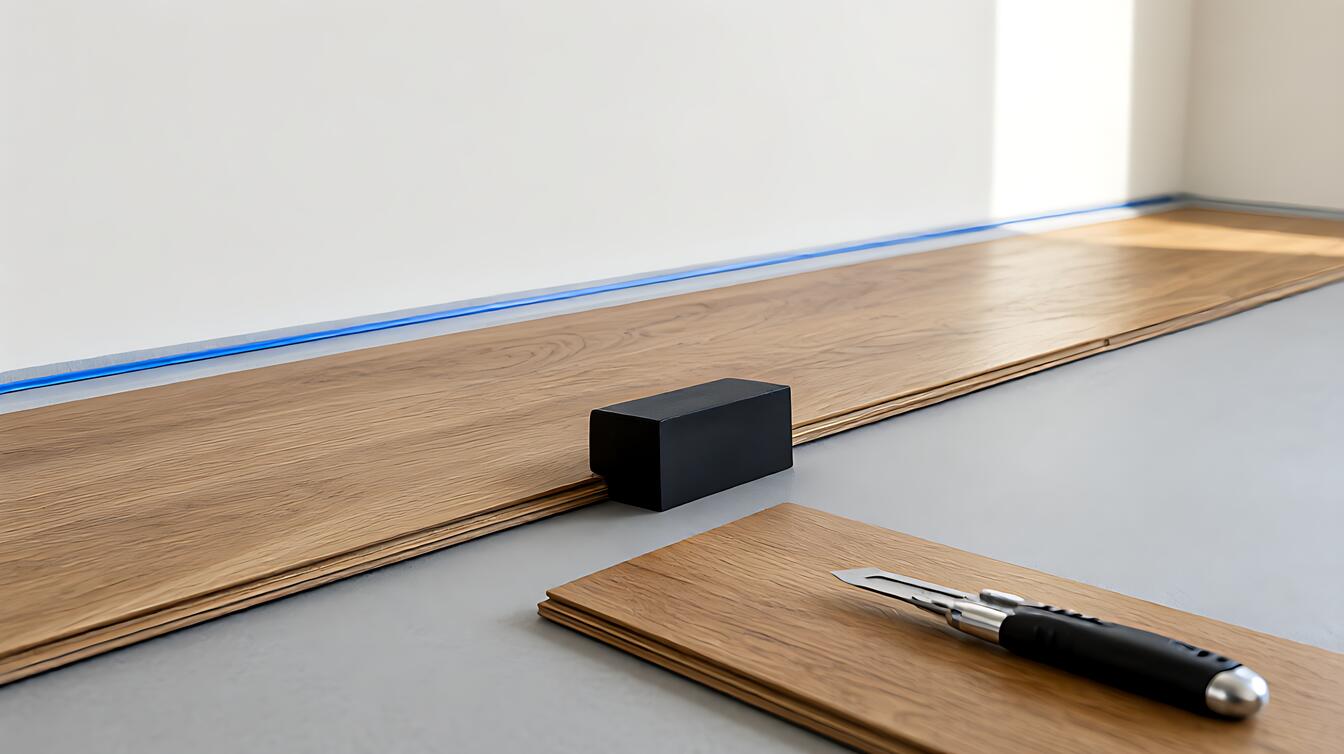
The one number that governs the whole job is the expansion gap. You leave 1/4 inch between the plank edge and every wall; if the room is longer or wider than 50 feet, that gap doubles to 1/2 inch. Without this gap, the floor has nowhere to grow in summer heat, and it pushes itself up at the seams.
That buffer is not decorative. It prevents the two most common failures: buckling when the planks swell, and separation when they shrink in cold weather. If you are laying this in a sun-exposed room or a long hallway over 50 feet, use the larger spacer every time, not just at the far wall.
Subfloor Checks and Acclimation That Decide the Final Outcome
Subfloor flatness is the hidden variable: if your concrete or wood floor has warps, cracks, or uneven seams, the vinyl plank flooring will show every hump and bounce when you walk on it. You must repair this before installing anything.
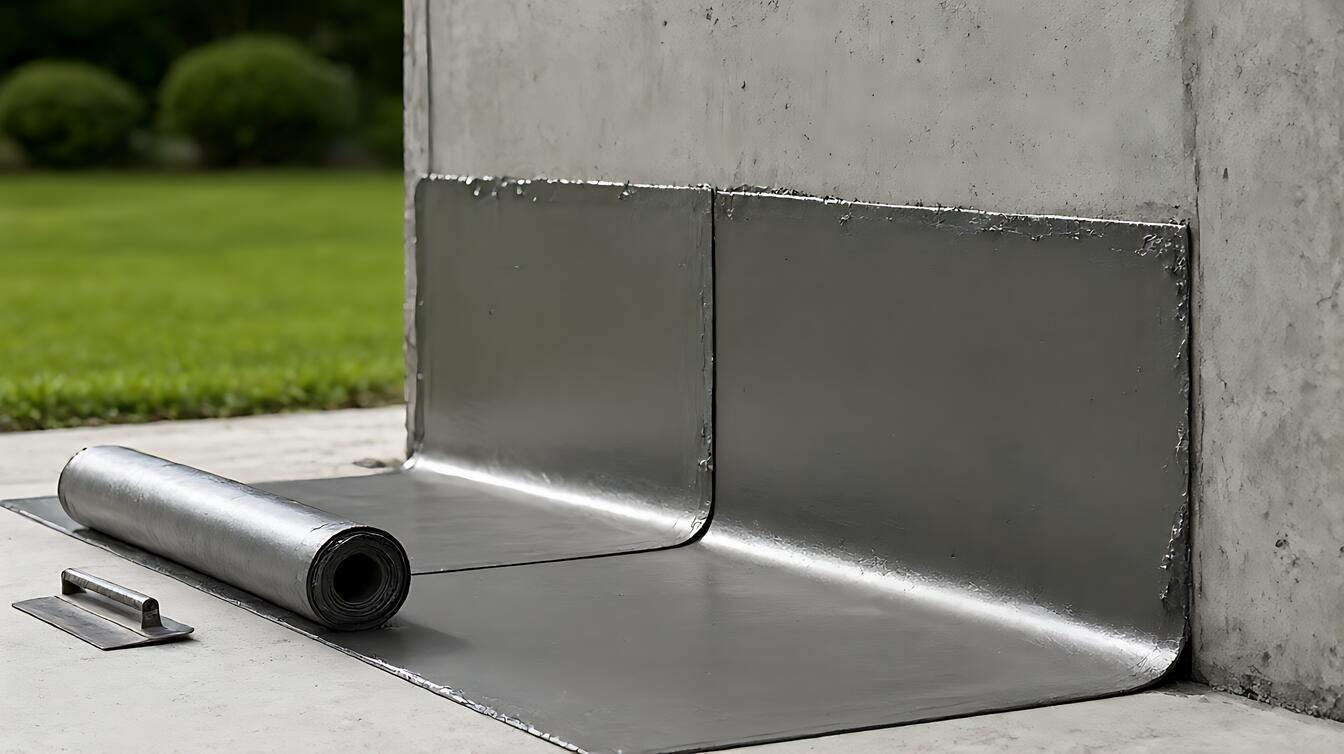
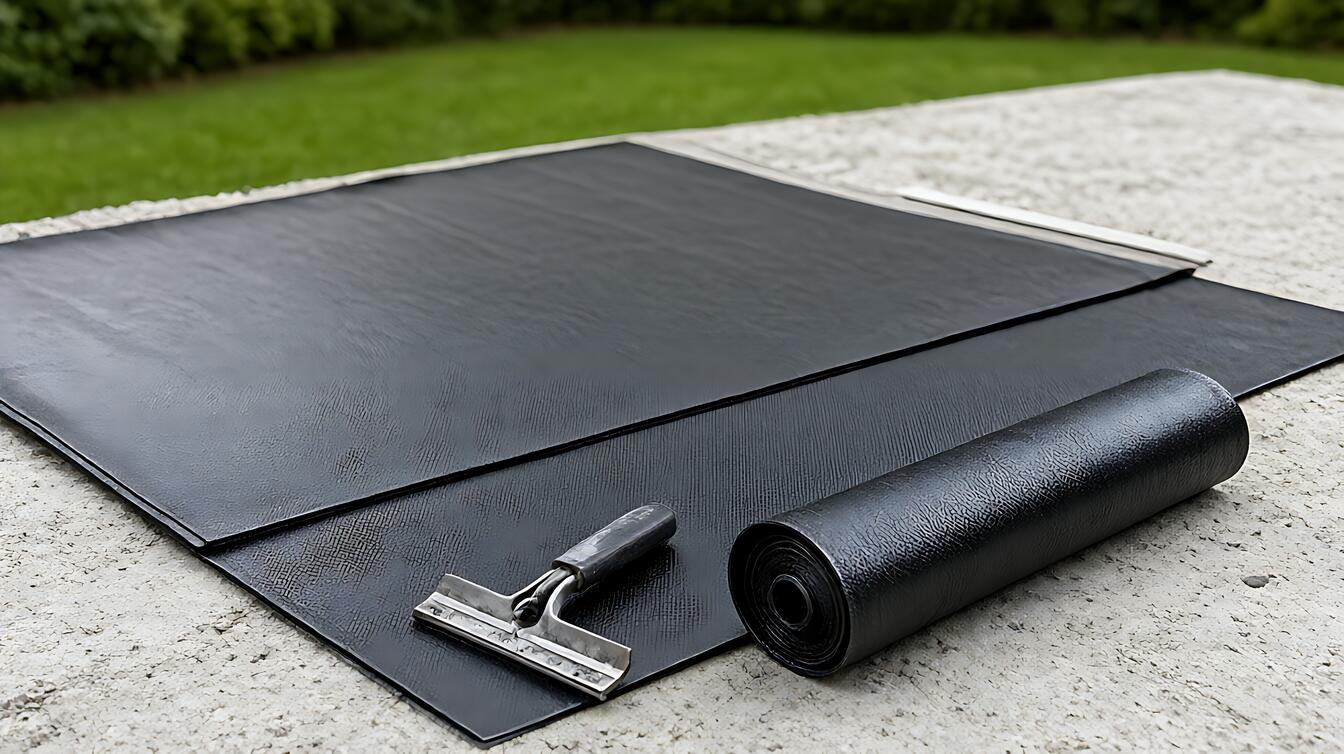
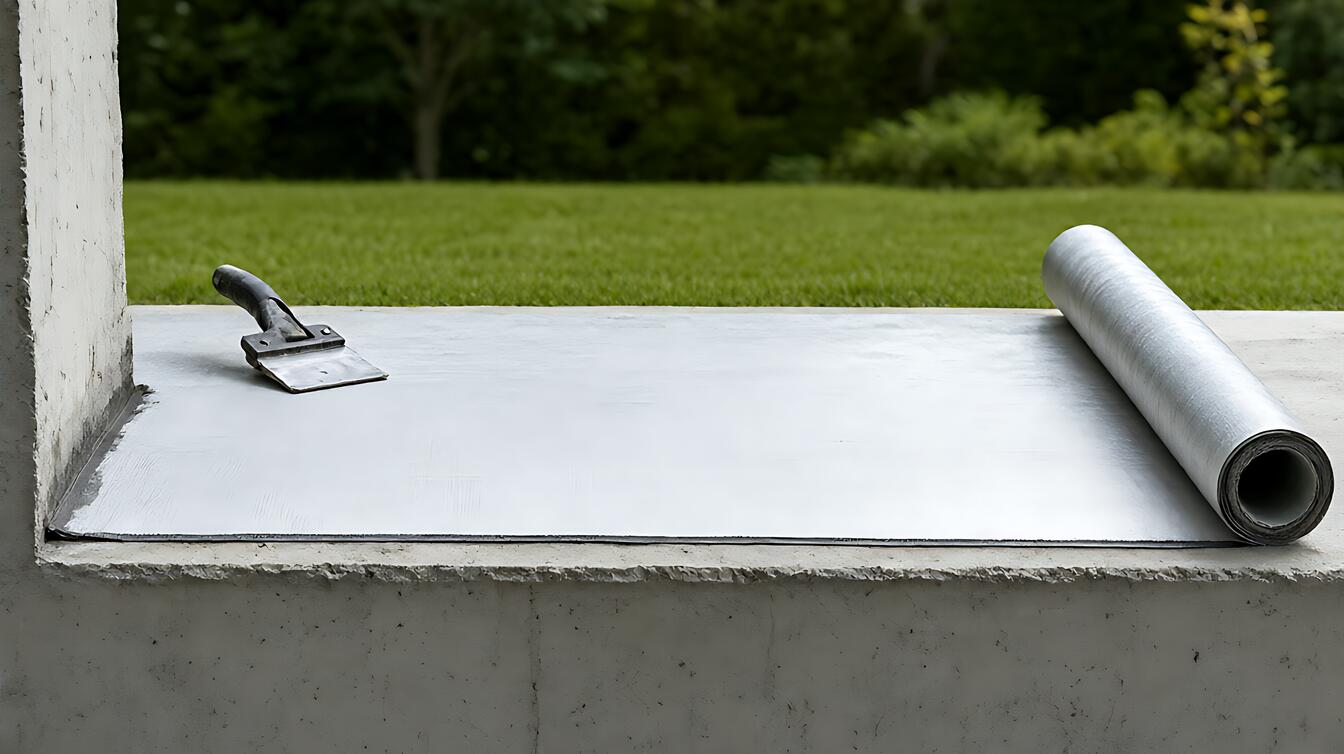
For concrete subfloors, roll out a moisture-resistant underlayment perpendicular to your plank direction, and tape the seams without overlapping them.
If the slab is your problem rather than the plank, the basement flooring moisture guide covers how to read a wet slab before you cover it. For wood, sand down low spots with 40- to 60-grit paper and fill depressions with leveling compound. Skipping this step is the most common reason a new floor feels uneven a month later.
Acclimation matters just as much. Take the boxes out and stack the planks in the room where you are installing them for 48 hours. If you skip this, the vinyl plank flooring installation can cause gaps to form as the material adjusts, or the planks can buckle between seams. The floor must match the room’s temperature and humidity before the first piece goes down. That is the whole point of acclimation.
The Five Layout Numbers That Prevent Rework and Excess Waste
Seam staggering is the aesthetic and structural rule that keeps your rows from looking like a brick wall; manufacturers require that the end joints of planks be staggered at least 8 inches apart from row to row. Do not start or end any row with a piece narrower than that minimum.
Then there is the last row math. Measure the room width perpendicular to your plank direction, divide by the plank width, and check that the final row is not less than 2 inches wide.
If it would be, rip the first plank slightly thinner so the last row lands at about 3-3/4 inches instead of a sliver. You also need to buy 10 percent extra material for standard layouts, or 20 to 25 percent if you are doing a herringbone pattern.
Finally, match the wear layer thickness to the traffic. A 2- to 3-mil wear layer suits low-traffic rooms, but a 12- to 22-mil layer is what you need for hallways, offices, or any room with heavy foot traffic. The thicker layer also holds up better to scratches and dents from furniture legs over a 25-year lifespan.
Choosing Floating, Glue-Down, or Peel-and-Stick by Room Condition
Choose the floating click-lock system if the room is residential and you want the option to lift the floor later. Choose glue-down if the space sees heavy traffic and a permanent bond matters more than future repairs. The method you pick depends on your subfloor material and traffic level, not just your preference. Choose the floating click-lock system for residential rooms over wood or concrete, where you want a durable, replaceable floor. It is the best fit for most homes and offices.
If you are still weighing plank against plank, the laminate versus vinyl comparison sets out where each one wins.
Choose glue-down vinyl plank flooring for high-traffic commercial spaces, or when you want a permanent bond that will not shift under heavy equipment. The adhesive cures into a solid, flat surface, but you lose the ability to pull up the floor later for repairs.
A true nailed-down floor is a different build entirely, and the hardwood nail-down installation guide shows what that method involves.
Peel-and-stick is only for minor repairs, rentals, or low-cost temporary solutions. It has a thin 2- to 3-mil wear layer and fails in bathrooms, because moisture seeps into the seams and causes the planks to warp or peel. If your room is persistently wet, skip all vinyl plank flooring installation methods and look at tile instead.
Your Vinyl Plank Installation Numbers: What to Settle Before the First Cut
Trim door jambs with an oscillating multitool so the vinyl floor can slide underneath, using a scrap plank as your depth guide.
Install transition strips with a 1/4-inch gap for expansion, and match the profile to the floor you are leaving behind as described in the transition strip types guide. Then nail shoe molding every 16 to 20 inches without pinning the floor down. These details stop the floor from looking unfinished.
Before you start, check three things: your subfloor is flat and dry, your planks have acclimated for 48 hours, and your material count includes the waste factor. The average project takes 1 to 3 days, and installed cost runs $3 to $10 per square foot depending on the method.
Call a professional if your subfloor needs structural repair, if the room is over 50 feet, or if you are installing in a commercial space. For residential rooms, the floating click-lock method is straightforward, but the numbers above are non-negotiable. Get them right, and the floor stays flat for decades.
If you have not settled which product you want yet, the interior flooring selection guide is the better place to start, because a badly chosen plank cannot be fixed with better technique.