
You’re about to open that epoxy kit, but the floor is still dirty, smooth, and damp. Most DIY coats fail because the prep was rushed, not because the product was bad. The floor must be degreased, profiled, and moisture-tested before any liquid hits the concrete. Proper garage floor epoxy coating preparation is the physical and chemical process that ensures the coating bonds to the slab, not just sits on top of it.
If you skip these steps, you will peel the finish off in a year. Industry estimates suggest that eighty percent of epoxy failures trace back to inadequate surface preparation. The good news is that each step has a clear pass or fail condition you can check yourself before you spend money on the coating.
Garage Floor Epoxy Prep: What Actually Has to Happen
The core requirement for garage floor epoxy coating prep is a concrete surface that is clean, textured, and dry. These three conditions are non-negotiable. If the surface has oil, it is too smooth, or it is actively sweating moisture, the coating will delaminate. You must verify all three before mixing the resin.
Cleanliness means removing all traffic film, brake dust, and grease. Texture refers to the concrete surface profile (CSP), the microscopic roughness that gives the resin something to grip. Dryness means the slab has no rising moisture that will vaporize and trap air bubbles under the wet coating.
Each of these has a specific test you can run at home.
The sequence matters because you cannot profile a greasy floor effectively. Degrease first, then cut the texture, and finally test for moisture. This order ensures that the profile you create is not masked by dirt, and that the moisture test is not skewed by surface contamination.
Profiling Concrete: Acid Etching vs. Diamond Grinding
Surface texture decides adhesion because epoxy needs microscopic peaks and valleys to mechanically lock onto the slab. A power-troweled garage floor is often too smooth for standard epoxy to grip without assistance. You need to create a profile that is rough enough to hold the resin but not so aggressive that it damages the slab.
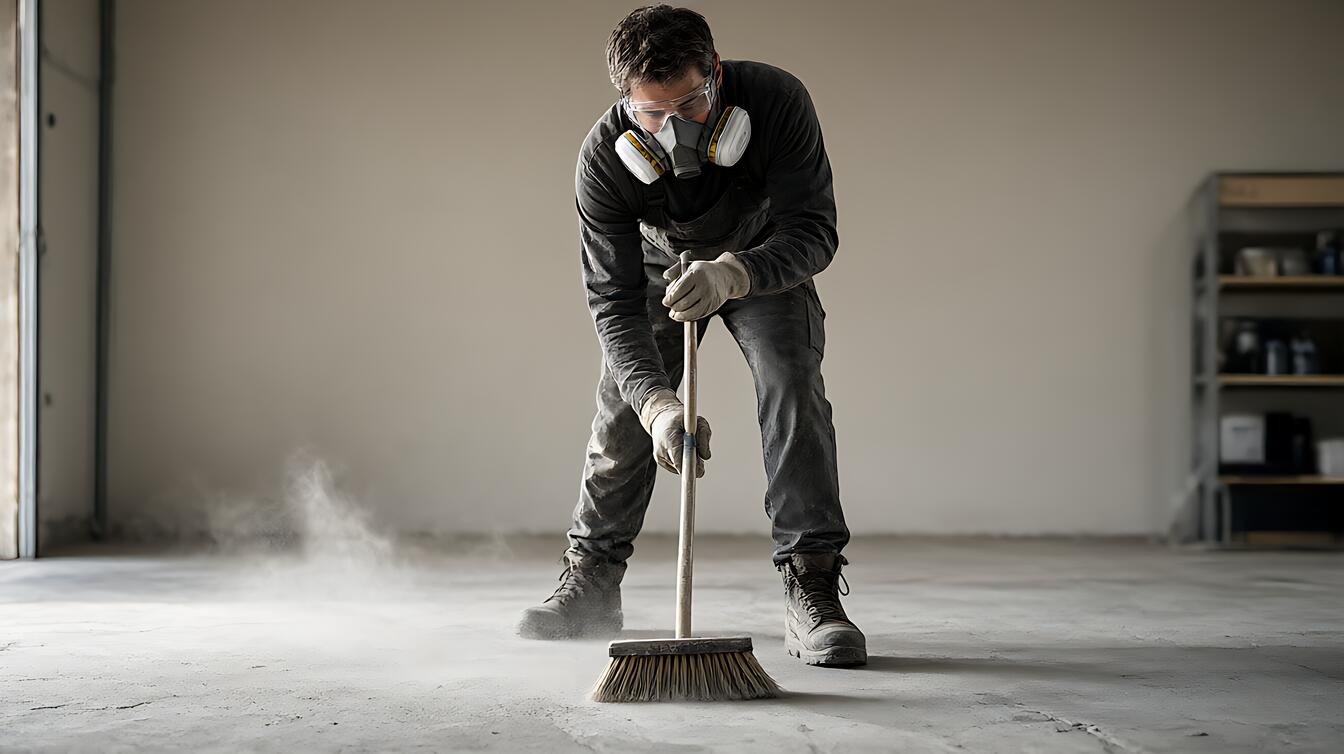
For most homeowners, acid etching is the accessible option. Wet the floor, apply a muriatic acid or TSP substitute solution, and scrub with a stiff bristle broom.
Let the solution dwell for five to ten minutes, then rinse thoroughly and allow the concrete to dry for twenty-four to forty-eight hours. This creates a light profile suitable for water-based and solvent-based systems.
If your slab is extremely smooth or has old, glossy concrete, etching may not cut deep enough. In that case, diamond grinding is the superior mechanical option. Grinding removes the top layer of sealant and creates a consistent, open texture. It is dustier and requires rental equipment, but it yields a more durable bond for heavy-traffic areas.
Moisture, Oil, and the Tests That Decide Your System
Moisture is the silent killer of epoxy coatings. Rising water vapor can pressurize the space under the wet film, causing blisters, delamination, or permanent discoloration. You must verify the moisture vapor emission rate (MVER) before committing to a standard two-part system. If the floor is damp, standard epoxy will fail.
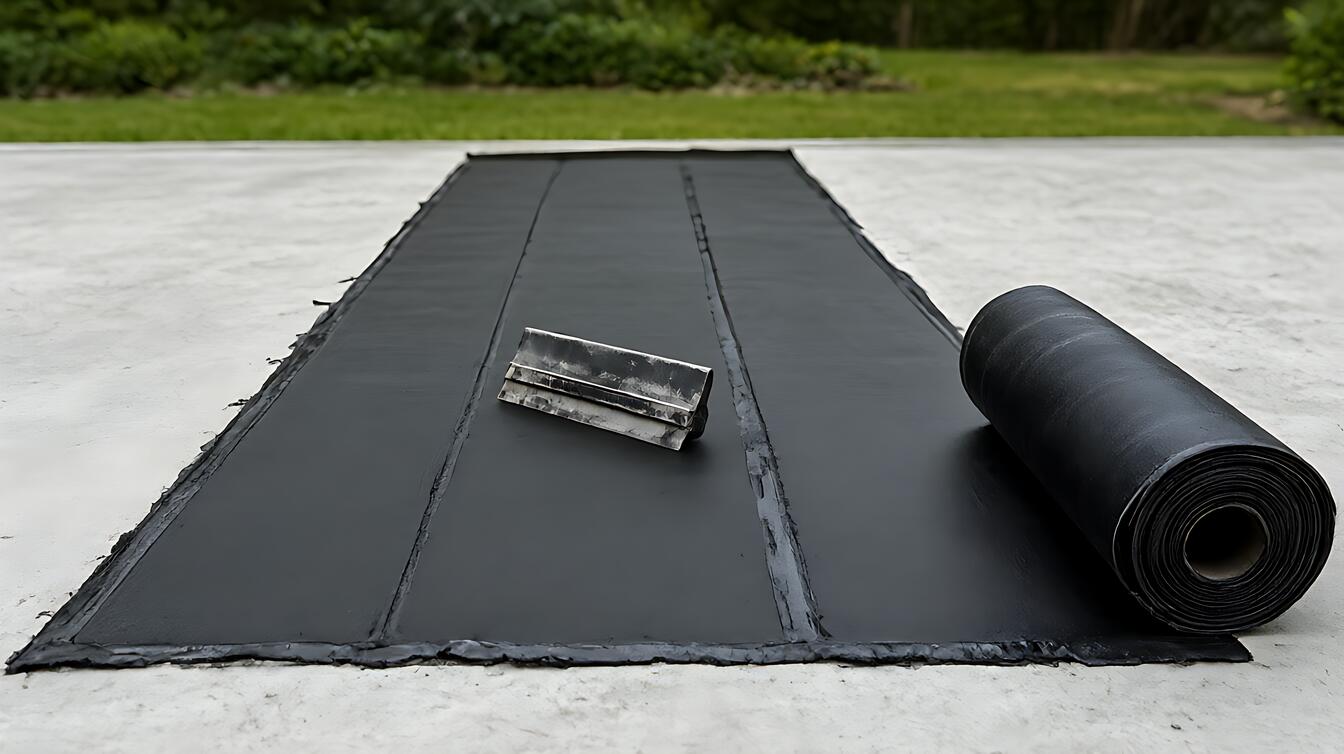
The most reliable home test is the plastic sheet method. Tape a two-by-two-foot square of clear plastic sheeting to the garage floor with duct tape, sealing all four edges completely. Leave it for twenty-four to forty-eight hours.
If you see condensation on the underside of the plastic, or the concrete beneath looks dark and damp, the floor is too wet for standard products. This test measures moisture vapor emission rate in pounds per 1,000 square feet per twenty-four hours, though the specific threshold depends on your chosen manufacturer.
Oil and tire stains create a second barrier. Grease repels water-based resins.
If you have persistent parking bays with dark stains, apply a concrete degreaser according to label instructions and scrub aggressively with a stiff brush. For stubborn spots, cover the degreaser with cat litter or sawdust to absorb the loosened oil, then rinse.
A pressure washer is strongly preferred here because it removes loosened contamination more effectively than a garden hose.
Coating Types and What Each One Is Willing to Tolerate
Not all epoxies are created equal. Your prep method must match the chemical properties of the coating you select. The epoxy solids content dictates how thick the final film will be. A high-solids product requires a smoother, cleaner base than a low-solids option because it tolerates fewer variables.
| Type | Solids | Durability | Application |
|---|---|---|---|
| Water-based | 40-60% | 2-5 years | Easy, low odor |
| Solvent-based | 40-60% | 3-7 years | Moderate, strong fumes |
| 100% Solids | 100% | 10-20+ years | Difficult, fast pot life |
Water-based kits are the most common for DIY, and they are the ones most likely to sit in a big-box store aisle. However, they build a thinner film because 40 to 60 percent of the product is water that evaporates during curing, which makes them less durable in the long run.
Solvent-based options are stronger but have heavier fumes. One hundred percent solids epoxy is the highest-performance DIY option because essentially none of the mixed material is lost to evaporation, so the full volume becomes the final film thickness.
It is also the least forgiving: pot life after mixing is very short, sometimes 20 to 30 minutes, and the material must be spread quickly and evenly before it starts to cure. If you are a first-time applicator, choose a two-part water-based system. It is easier to apply and forgiving of minor errors.
Garage Floor Epoxy Prep: The Sequence That Prevents Peeling
Following the correct order is just as critical as the steps themselves. You cannot skip the drying phases. Here is the workflow that works for the majority of residential garages.
First, degrease the entire slab and let it dry for at least twenty-four hours. Second, profile the surface using etching or grinding, then sweep off all dust with a clean brush or a shop vacuum. Dust left on the slab becomes a bond breaker the moment the coating goes down.
Third, run the plastic sheet moisture test. If it passes, patch any cracks and allow the repairs to cure fully for twenty-four to forty-eight hours before applying the epoxy. Finally, mix the coating in a ratio specified by the manufacturer. Do not add thinners or accelerants.
If your garage is cold, watch the ambient temperature. Two-part systems cure chemically, so a cold slab slows the reaction and the coating stays soft long after it should have hardened. The manufacturer’s stated application range governs, so read it before you open the kit rather than guessing at a threshold.
If the floor is heated, wait for the slab to drop to a neutral temperature. Applying epoxy to a hot slab can cause the resin to cure too fast, leading to poor flow and adhesion. For structural concerns like rising moisture, consult a professional regarding waterproofing for garage floors.
If you are weighing the floor as a long-term asset, compare how floor finish polyurethane compares to epoxy in your specific climate. For deeper insight on how the underlying structure affects floor performance, review the garage building types first.
Choose acid etching if your floor has light traffic and is not power-troweled. Choose diamond grinding if the floor is smooth, sealed, or subject to heavy vehicle impact. Choose a moisture-tolerant epoxy if your plastic sheet test fails and you cannot stop the rising vapor. Choose a 100% solids system only if you are prepared to work in small sections against a short clock.