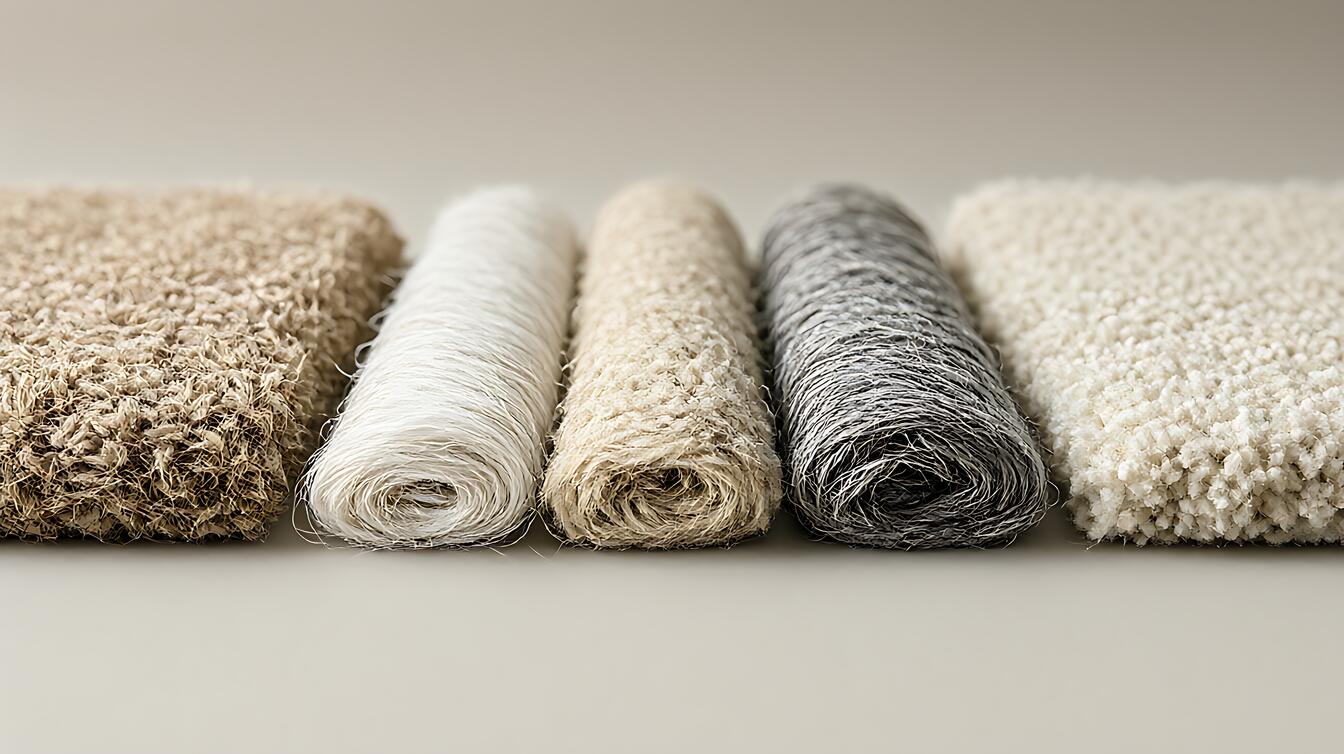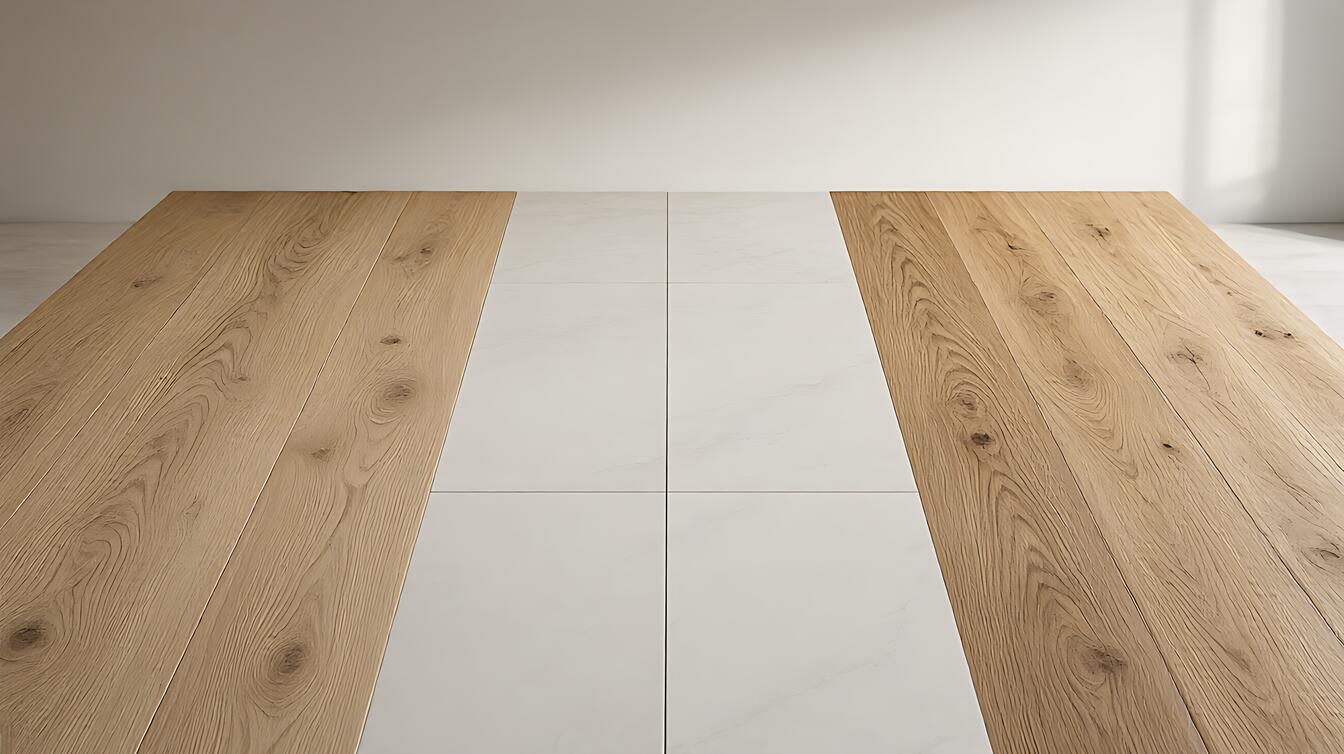

Standing in a showroom with three samples in hand, you’ve been told “they are all tile.” Which one survives the wet kitchen? Which looks tired in five years? The answer lies in four measured numbers on the packaging.
Tile flooring material selection is the process of matching a tile’s water absorption, PEI wear class, DCOF slip rating, and grout joint width to your room conditions and foot traffic.
These four metrics act as the decision gate. A salesperson quoting “high quality” is useless without these numbers. They tell you exactly how water behaves in the body, how surface wear holds up, and how the slab moves during installation. We break down each number below, so you can stop guessing and start checking the box.
Porcelain, Ceramic, and Natural Stone: The One Number That Separates Them
Tile flooring selection starts with one number: the water absorption rate is the legal dividing line. The ASTM C373 test method defines porcelain tile as a material that absorbs 0.5 percent or less of its weight in water. Anything absorbing more than 0.5 percent up to 3 percent is classified as vitreous ceramic.
This is not a marketing claim; it is a physical property of the fired body.
Why does this matter for your floor? Porcelain is fired hotter with a denser clay body, making it nearly glass-like. A porcelain tile at or below 0.5 percent absorption shrugs off moisture from a dropped pot or a leak.
A ceramic tile with higher absorption can wick water into the body over time, risking freeze-thaw damage on unheated concrete or staining on a sunny balcony.
Natural stone operates differently. It is porous by nature. Granite is the least porous, while limestone and travertine are the most. Stone does not have an “absorption class” in the same way fired tile does, but its porosity dictates the need for periodic sealing. If you choose stone, you are choosing a material that requires maintenance to maintain its integrity.
Absorption, Wear, and Slip: The Three Numbers on the Box
Beyond absorption, the box lists two performance metrics: PEI wear rating and DCOF slip resistance. The PEI scale runs from 0 to 5.
For a floor you walk on daily, look for PEI 3 or higher.
A busy kitchen or entryway benefits from PEI 4 or 5. A PEI 2 is a wall-rated surface: on a high-traffic hallway floor it wears through quickly under rolling loads.
DCOF, the dynamic coefficient of friction, measures slip resistance on a wet surface. The ANSI A137.1 standard requires a DCOF of 0.42 or greater for level interior spaces walked on when wet.
If you are tiling a pool deck or a minimal-footwear wet area, the recommended threshold jumps to 0.60. No tile is slip-proof, but a lower DCOF means a wet floor becomes a hazard zone.
Check these numbers together. A high PEI tile can still be slippery if it has a low DCOF. A low absorption tile can fail in a wet room if it lacks the slip rating.
The interplay between wear and slip determines which tile survives the specific conditions of your home.
Choosing by Room: What to Put in a Wet Bathroom, a Busy Kitchen, and a Sunlit Entry
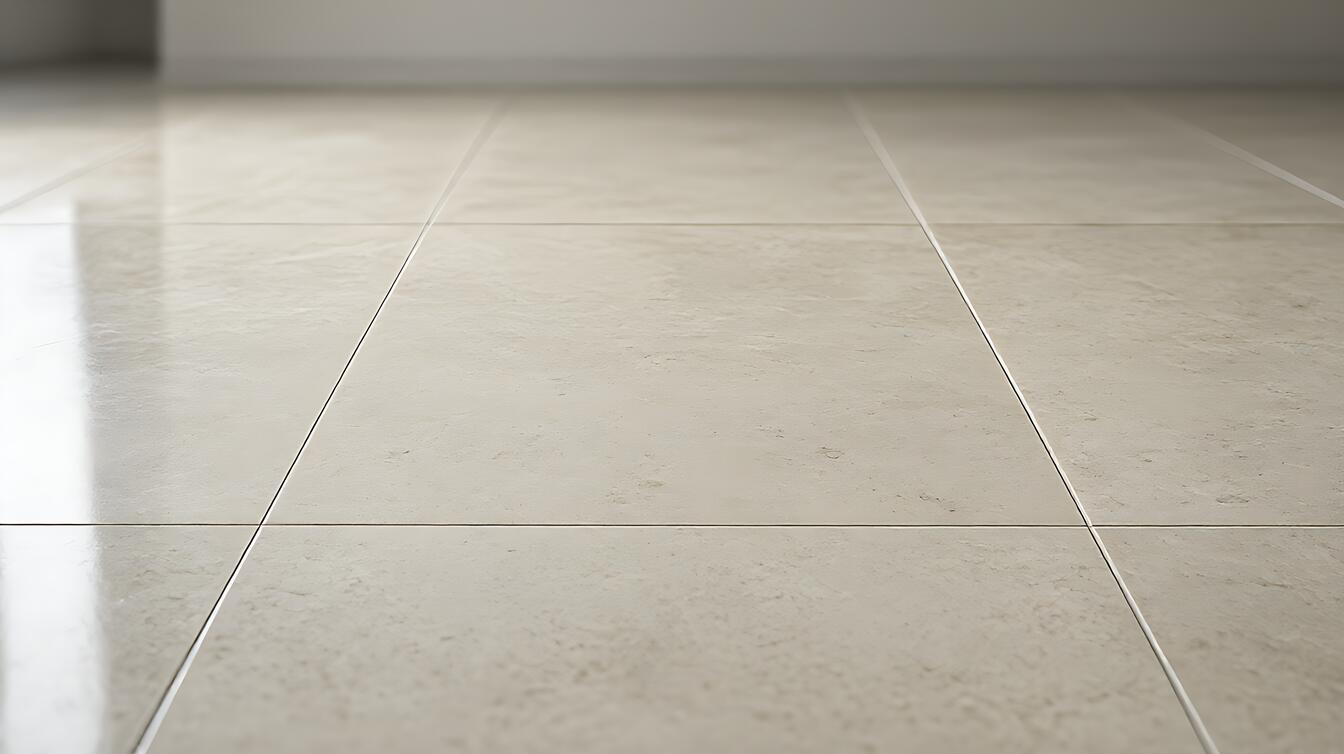
Room conditions dictate the material choice. For a wet bathroom, a porcelain tile with absorption under 0.5 percent and a DCOF of 0.42 or higher is the safest bet. It withstands constant moisture and offers adequate grip when bare feet meet the floor.
In a busy kitchen, foot traffic and spills are the main threats. Choose a high PEI class, such as PEI 4 or 5, to ensure the surface does not wear through.
If you prefer natural stone tile for aesthetics, you must commit to a sealing schedule. Unsealed stone will absorb oil and wine, leaving permanent marks.
For a sunlit entryway, UV exposure can fade some ceramic glazes over time. Porcelain, with its through-body color, holds up better against harsh sunlight.
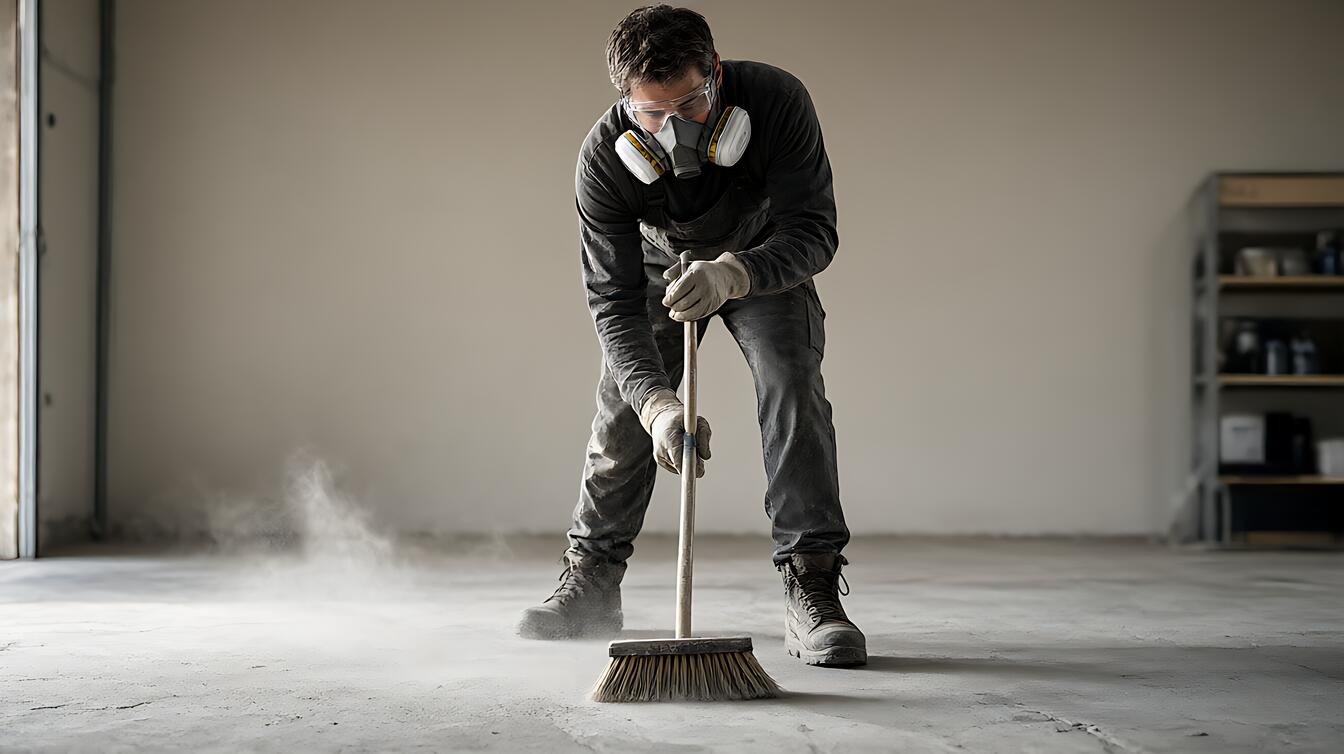
Consider the substrate too. If your existing floor is uneven, the grout joint width becomes critical. A wide joint helps accommodate the slab’s movement. We explain this mechanism in detail below, as it often causes installation failures.
The Grout Joint and the Lippage Trap: What Happens on Installation Day
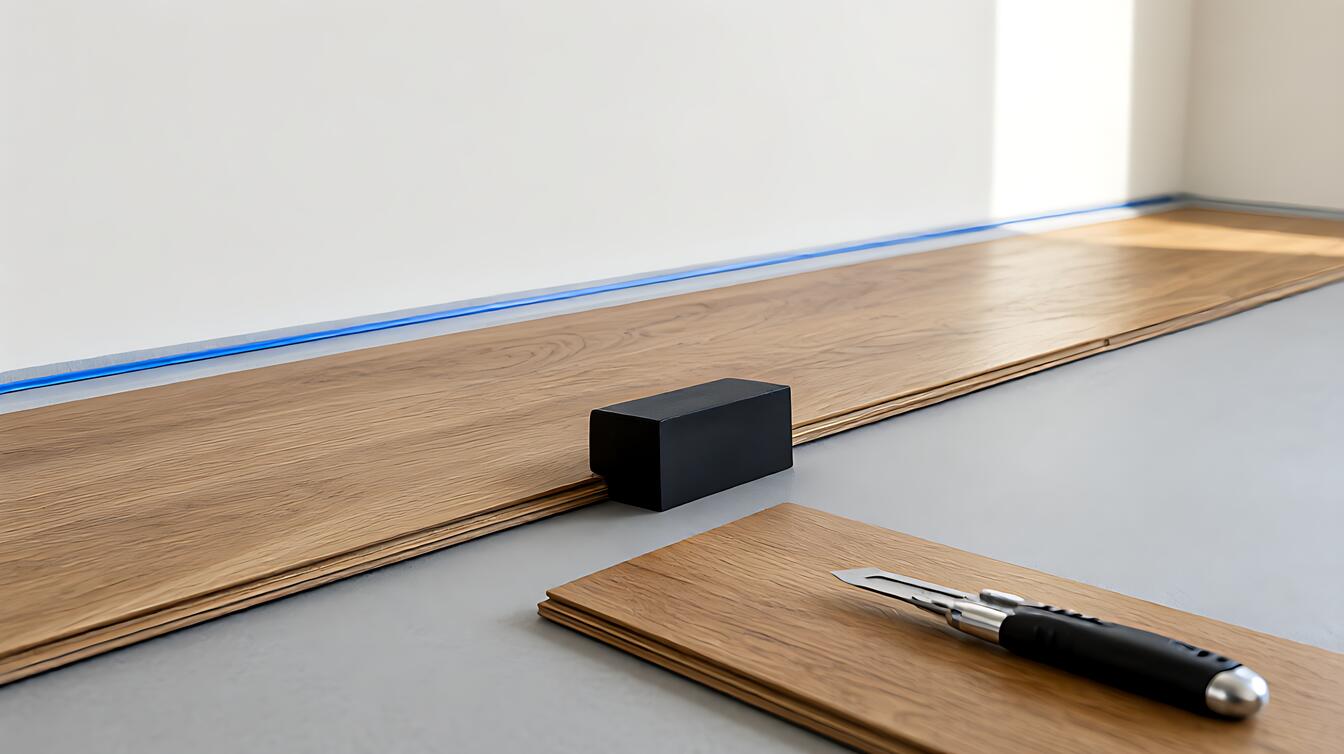
Grout joint width is not just an aesthetic choice; it is a structural requirement. ANSI A108.02 requires the joint to be at least three times the variation in the tile’s face dimensions.
The minimum is never less than 1/16 inch.
In running bond or brick joint patterns using tiles with any side greater than 15 inches, the minimum average joint widens to 1/8 inch for rectified tiles and 3/16 inch for calibrated tiles.
Lippage, the height difference between adjacent tiles, is tolerated up to 1/32 inch for standard joints. If the slab moves or the mortar bed settles, a tight butt joint will crack. A wider joint absorbs that movement.
If you ignore the minimums, the grout becomes the failure point. The tile breaks, not the grout, because the grout is too thin to bridge the gap.
When in doubt, measure your tile variation. If the tiles are not perfectly rectified, widen the joint. This prevents the lippage trap where uneven edges create a rough, trip-hazard surface.
Deciding on Tile Flooring: the 4 Numbers That Pick Porcelain, Ceramic, or Stone
You now have the four numbers. Before you buy, ask your supplier three questions. What is the exact water absorption percentage? What is the PEI class and DCOF rating?
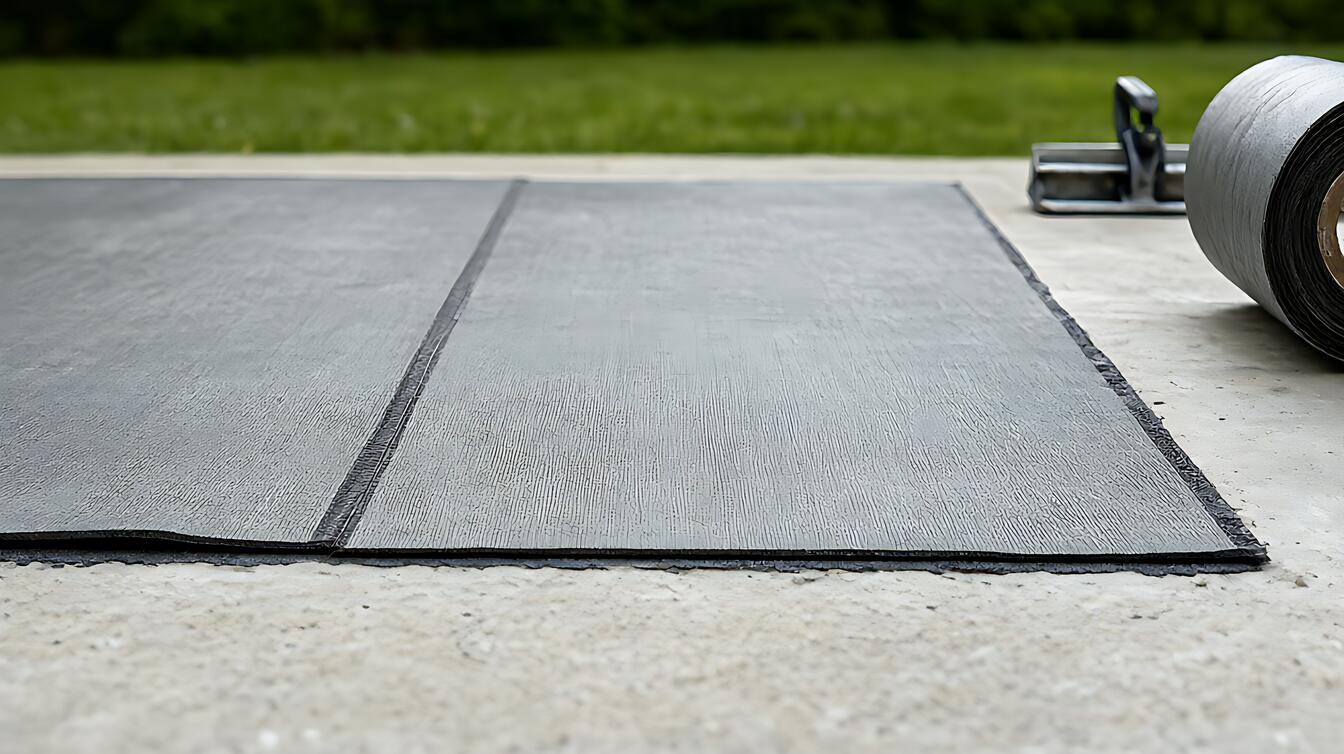
And what grout joint width is required for this specific batch? If the substrate is old or uneven, consult a professional for a substrate survey before you order the tile. A tile board and membrane system may be needed to prevent cracks from the concrete below.
If you find tile too rigid for your space, explore flexible alternatives like laminate flooring. For bathroom specifics, see our detailed breakdown on ceramic vs porcelain in bathrooms. Ensure your subfloor is stable by checking our guide on repairing a squeaking subfloor before you lay a single tile.
Choose porcelain for wet, high-traffic areas. Choose ceramic for dry walls or low-traffic floors. Choose natural stone for aesthetic warmth, but only if you accept the sealing requirement, because the sealing schedule is what keeps an unsealed stone floor from staining permanently.