You hear “waterproof the shower” and picture a bucket of paint going over the tile, but the real problem is what happens behind the finish: water moving through the pan, into a niche, or beneath the surrounding wall. The answer is to choose a continuous wet – area system, detail every transition, and test it before tile hides the work. Waterproofing for shower pans and niches is the coordinated membrane and detail work that keeps water out of the substrate.
The decisive attribute is continuity. A membrane may perform well on its own, yet a failed corner, unsealed penetration, or missing reinforcement can still let moisture travel. Start with the shower geometry and drain arrangement, then match the product, detailing method, and flood – test procedure to those conditions.
What Waterproofing for Shower Pans and Niches Actually Means
Waterproofing systems protect shower pans and niches by creating a continuous barrier over the wet – area substrate when each material is installed as part of one coordinated assembly. This approach matters because the drain, corners, wall changes, and niche details can become paths for water when treated as separate products.
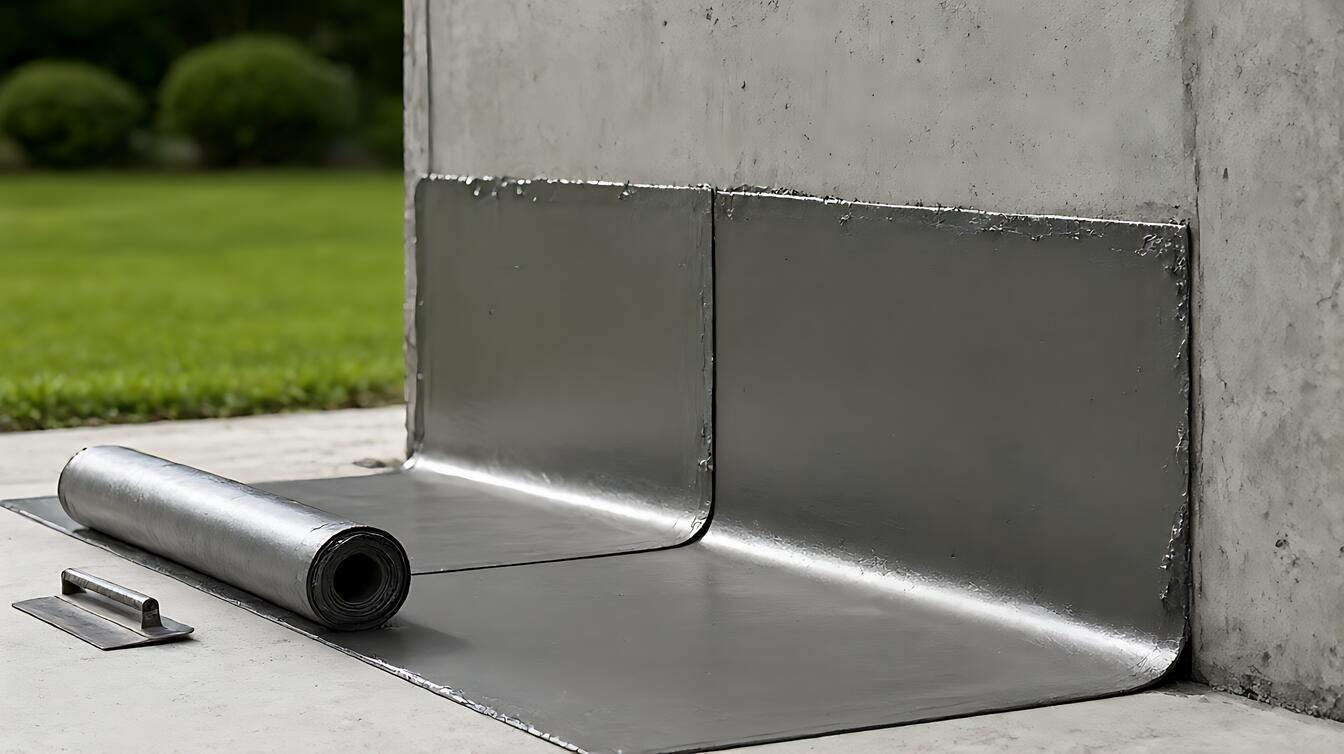
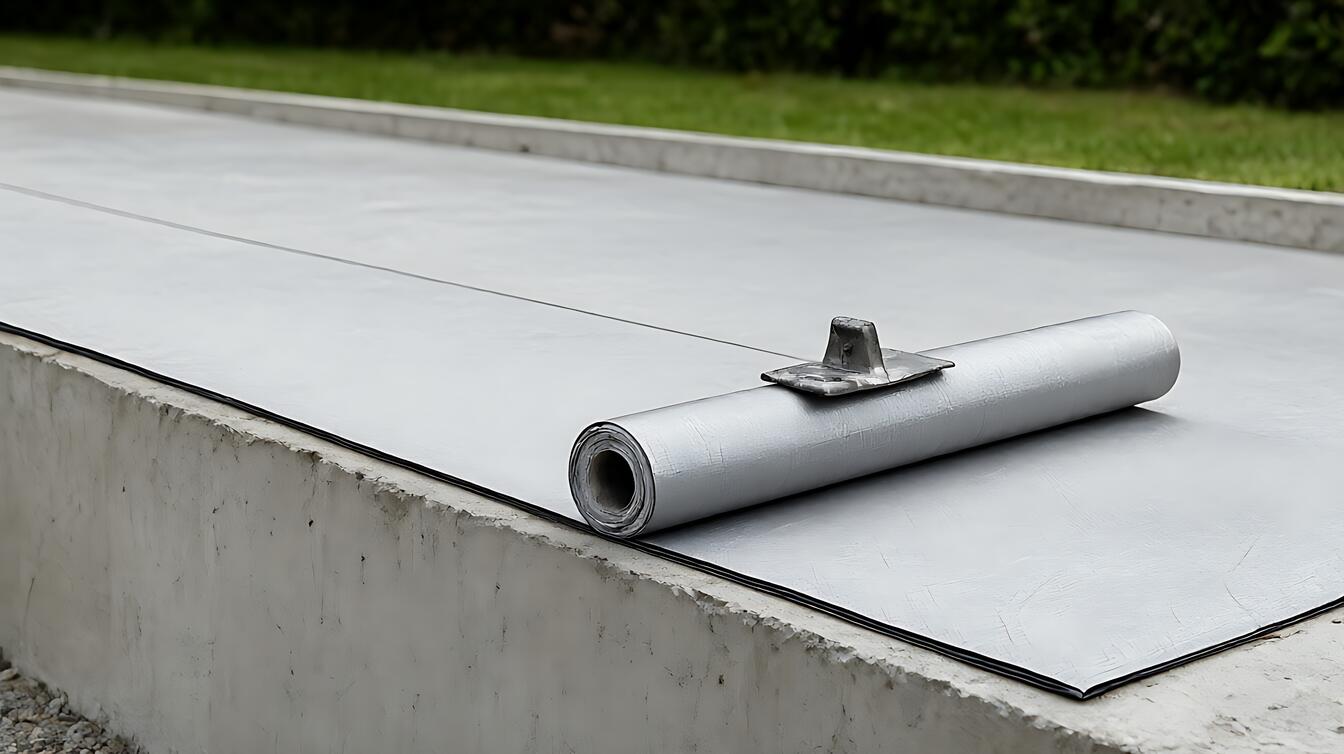
A membrane torch 3 – 4mm describes a thick sheet membrane bonded to the substrate with a torch. The sheet forms a durable waterproof layer, but its performance still depends on continuous installation, reinforced transitions, and a compatible drain connection.
The pan and niche cannot be judged separately. Water that enters a cracked or porous niche base can travel into the wall cavity, so the niche must connect cleanly to the pan membrane. Learn how these parts fit within broader waterproofing system design before selecting a product.
How Shower Membrane Waterproofing Works
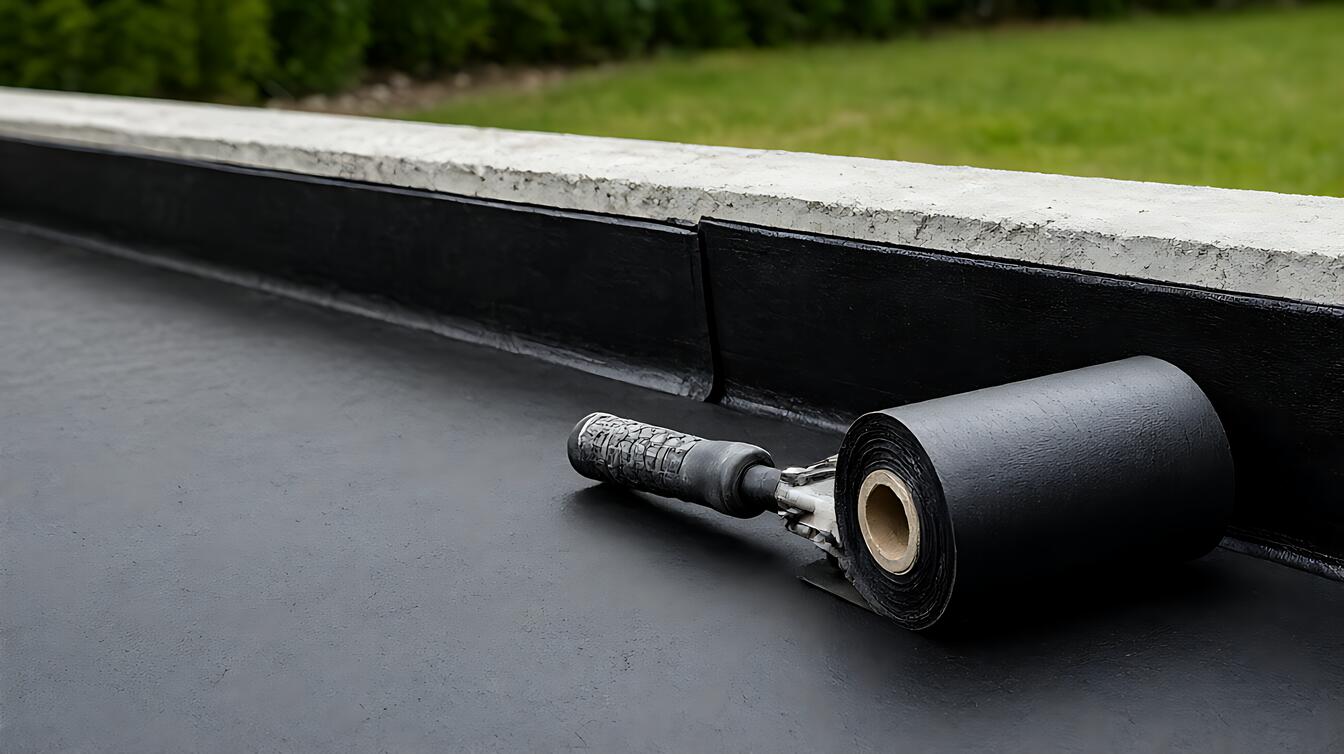
Acrylic coating waterproofing forms a liquid – applied barrier that follows the shower substrate and can cover corners, transitions, and irregular shapes. It is useful where complex geometry makes sheet handling difficult, although the liquid must form a continuous film over the same area it is meant to protect.
Seams still need deliberate attention. An overlap 100mm, or about 4 inches, provides a wider bonded or covered zone at joins than a narrow butt edge. The overlap alone does not seal the assembly; the substrate, preparation, bonding, and terminations determine whether water remains outside the wet area.
At wall – to – floor transitions and openings, leave a 1/8-inch movement gap and fill it with 100% silicone or polyurethane sealant as specified. Sealant handles movement at a joint. It does not replace the membrane beneath it, so both layers still need compatible placement.
For details, compare sheet, liquid, and cementitious waterproofing types. Their shared job is continuity; their differences lie in geometry, application method, and how they connect to the rest of the shower.
When to Choose a Sheet, Liquid, or Cementitious System
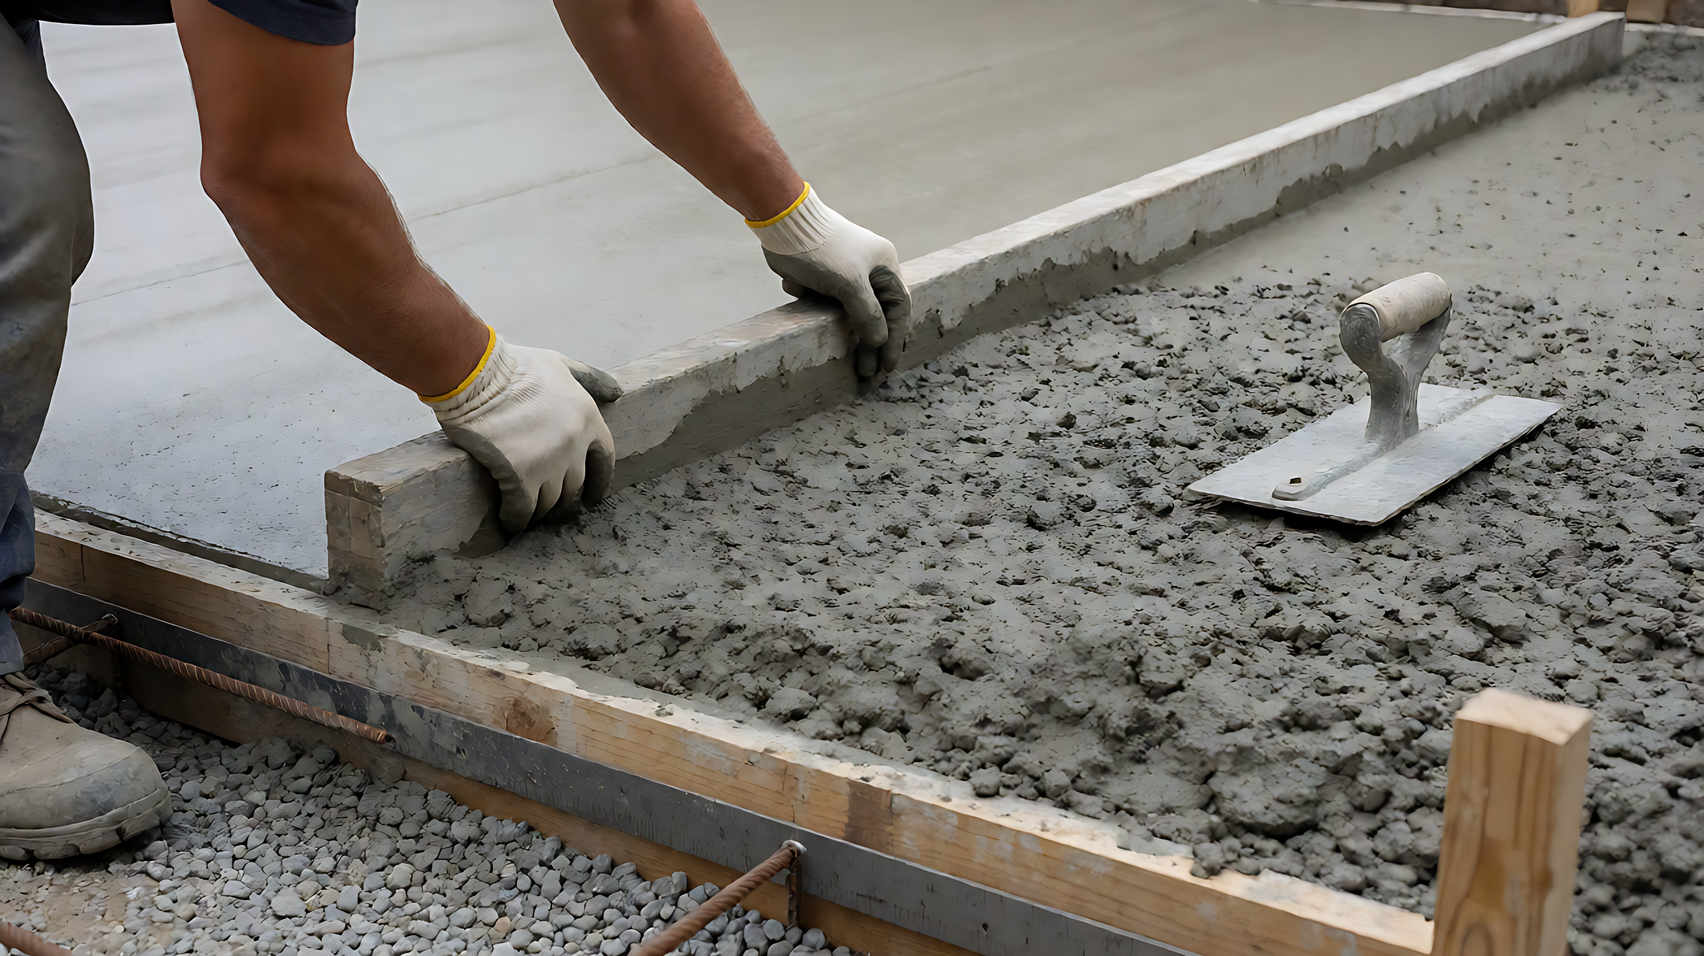
Cementitious waterproofing suits a conventional shower when the substrate and application process are well suited to a rigid coating. Choose it when the installer can achieve uniform coverage and the shower’s junctions are clearly defined, rather than treating it as a universal fix for difficult details.
Choose a sheet membrane system when consistent membrane thickness and defined welded or bonded seams matter, provided the installer can manage corners, penetrations, and the drain without interrupting the sheet’s continuity. A torch – bonded membrane is not forgiving of rushed preparation around complicated details.
Choose a liquid membrane when the pan or niche contains many corners, changes of plane, or irregular surfaces. Keep the coating continuous through those transitions, then reinforce them according to the manufacturer’s instructions. For application – specific guidance, see liquid membrane application practices.
| System | Best fit | Main benefit | Main limitation |
|---|---|---|---|
| Sheet membrane | Straightforward layouts with carefully detailed junctions | Consistent membrane form across the assembly | Corners, penetrations, and seams demand care |
| Acrylic liquid coating | Irregular geometry and multiple transitions | Can conform to complex shower shapes | Coverage must remain continuous |
| Cementitious coating | Conventional substrates with suitable preparation | Rigid barrier for compatible applications | Substrate preparation and coverage affect performance |
Use the table as a shortlist, not a verdict. A simple shower may suit several products, but difficult geometry, constrained access, or a complicated drain connection can favor one method over another.
What Happens on a Real Shower Job Site
A common trouble spot appears where the shower niche meets the wall and pan. The tile looks sound, but the back of the niche base remains damp. This may indicate an incomplete membrane connection or a fold that was not reinforced, especially where thermal cycling later opens the detail.
Without reinforcement, a niche fold can open within 18 to 24 months. Without a preformed corner piece, thermal cycling can open the same fold within that period. These figures make one detail consequential: the corner must remain connected as the surrounding assembly expands and contracts.
The practical sequence is straightforward. Complete the substrate preparation, install the chosen membrane, form continuous corners and transitions, seal the applicable movement joints, and connect the pan to the drain. For deeper guidance on seam geometry, review membrane thickness and overlap details.
Then test the work before tile or finish conceals it. Fill the pan to the top of the threshold and leave it for 24 hours. For a steam shower, the cited test duration is 48 hours. These are verification windows, not a substitute for a manufacturer’s cure requirement.
Limits, Edge Cases, and the Next Decision
Ponding water changes the decision because standing water can prolong contact with a defective detail. A flood test can reveal leakage, but it does not prove that every concealed condition is sound. Installation quality, drain design, and compatible assembly remain part of the waterproofing result.
Some fast systems allow testing after a few hours, while others require 24 hours or more. Follow the selected membrane maker’s cure and test instructions rather than choosing a convenient time. If water is present beneath the pan or a nearby ceiling shows dampness, stop and investigate rather than covering the symptom with more finish.
Professional review is warranted when work involves structural changes, electrical fittings, concealed plumbing, drainage modifications, or a failed waterproofing test. Waterproofing should not be used to conceal uncertain drainage conditions. A wider leak diagnosis guide can help distinguish surface moisture from a deeper failure.
Decision Guidance for the Right Waterproofing System
- Choose a sheet membrane if the layout is straightforward and you prioritize a consistent membrane form, provided seams, corners, penetrations, and drain connections will be detailed correctly.
- Choose a liquid coating if irregular geometry makes complete sheet coverage difficult, provided the installer can maintain continuous coverage and reinforce every vulnerable transition.
- Choose a cementitious coating if the substrate and conventional shower geometry suit the application and the installer can achieve uniform preparation and coverage.
- Choose professional installation if drainage is uncertain, plumbing or structure will be modified, or the shower includes complex niches and transition geometry.
Your next move is simple: map the pan, niche, drain, corners, and wall transitions; choose the system that can be installed continuously through that map; then complete the required cure and flood test before finishing the shower.