You paid for waterproofing, but did anyone measure the film or the lap? Waterproofing membrane thickness at 1.2 to 1.5 mm and lap overlap at 100 to 150 mm are the two tolerances that translate directly into years without leaks, where substrate flatness and UV exposure adjust the required margin.
Thickness That Actually Seals: Why 1.2 mm Is the Minimum
Waterproofing membrane thickness defines whether a film bridges movement and puddling without pinholing, where a dry film thickness of 1.2 mm is the proven minimum for inhabited terraces that pond 5 to 10 mm after rain. Laboratory crack-bridging tests show 0.8 mm films split at 0.6 mm movement, while 1.2 mm spans 1.2 mm cracks for ten cycles.
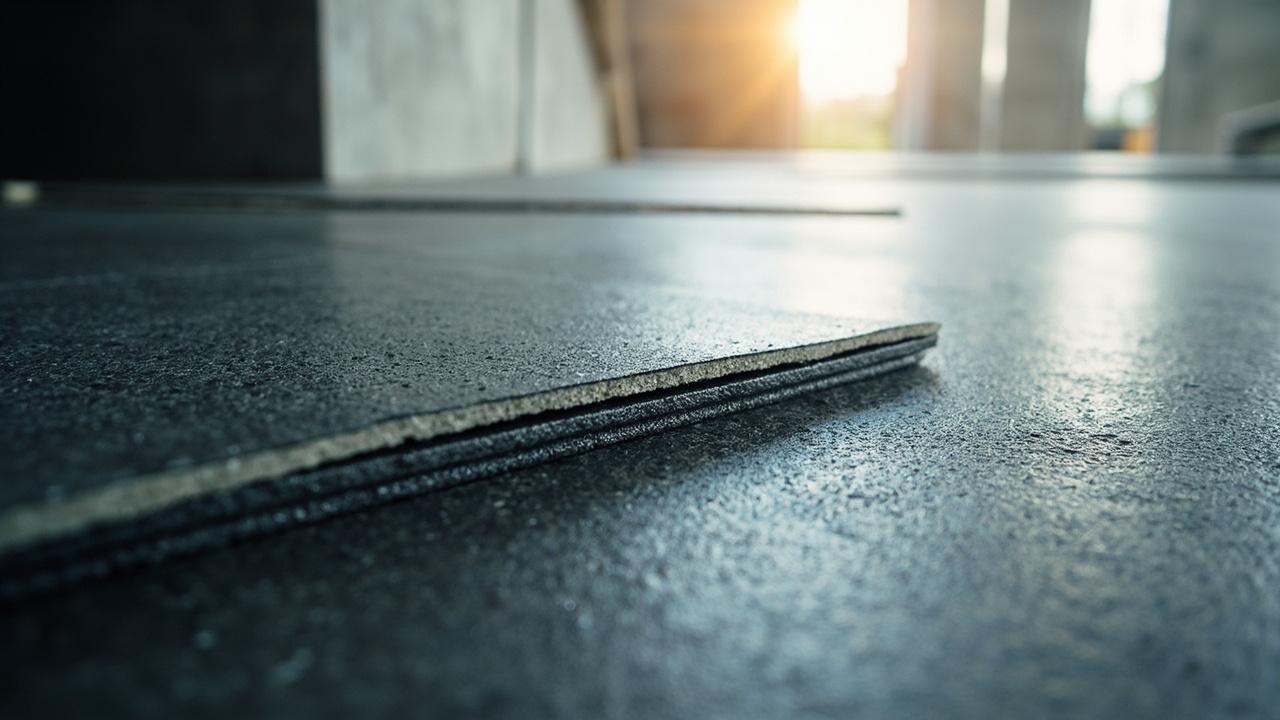
Sheet membranes guarantee thickness because factory calendering holds 3.0 to 4.0 mm within 0.1 mm, but field work introduces thin spots at drains where installers stretch rolls over PVC collars. That stretch thins to 2.1 mm , still safe only if the design called for 3 mm.
Liquid membranes vary with applicator rate. At 0.7 liter per square meter per coat, polyurethane yields about 0.6 mm wet, shrinking to 0.55 mm dry. Two coats at right angles reach 1.1 to 1.3 mm, but missing the second coat over a corner leaves 0.55 mm that chalks within two summers.
Measurement is non-negotiable. A wet film gauge with teeth at 0.6, 0.8, and 1.0 mm checked every 2 square meters, plus a post-cure ultrasonic gauge reading of 1.2 to 1.5 mm, is the only proof thicker than a promise.
Overlap and Laps: Where Most Leaks Start
Lap overlap is the seam where two sheets or two liquid passes fuse into one tray, and its width plus bond quality decides whether hydrostatic pressure peels the joint first. Standards set side lap at 100 mm and end lap at 150 mm for bitumen torch-on on horizontal decks.
On TPO and PVC sheets, hot-air welding at 420 to 550 degrees creates a 25 to 35 mm weld track inside the 60 mm overlap. A peel test pulling 50 mm wide strips must tear the sheet, not separate the weld, at over 200 N per 50 mm.
For liquid systems, overlap means the second coat extends 100 mm beyond the first coat’s reinforcement fabric embedded at joints. Cutting fabric flush with the joint edge leaves a dry edge that wicks water under the next coat in 48 hours.
Cementitious laps need primed edges and a 50 mm stagger between coats , aligning both coats at the same line doubles the chance of a pinhole path straight through 1.1 mm. Stagger distributes pores.
Conditions That Shift the Required Tolerance
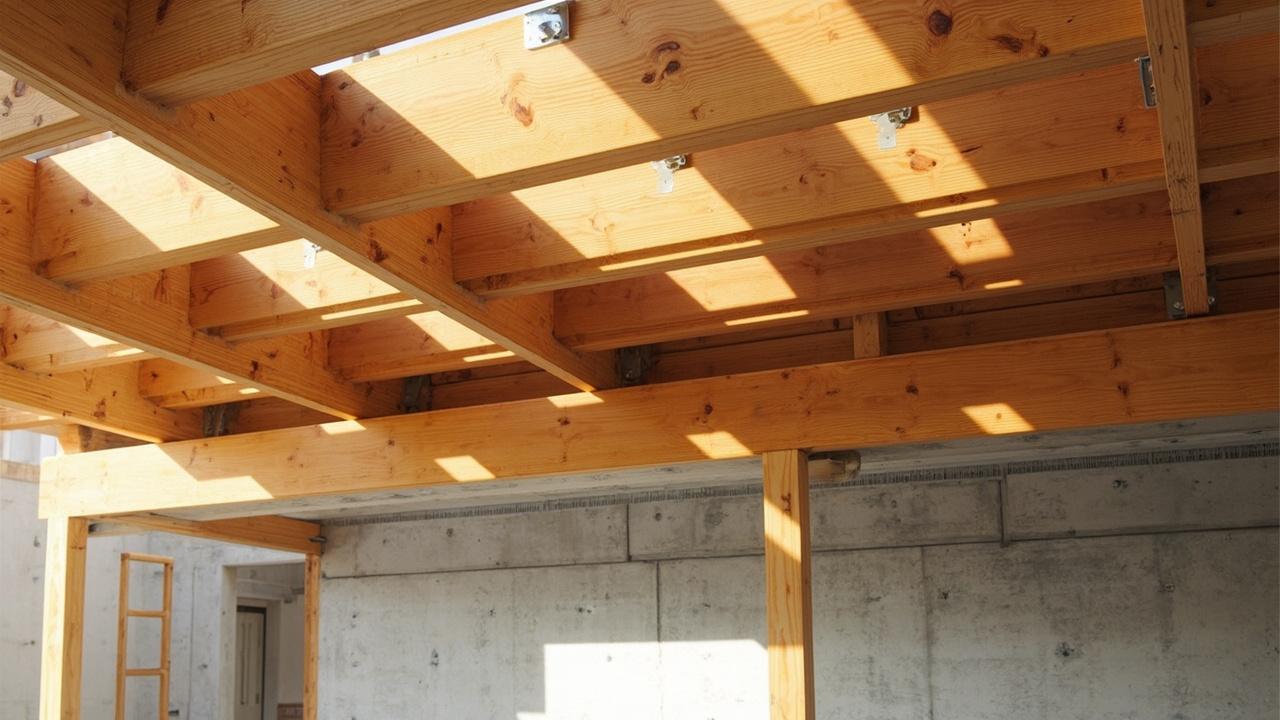
On a suspended slab that deflects 1/360 of its span under live load, a 6 meter bay sags 16 mm at center, cycling joints 0.8 to 1.2 mm. Here the specification moves from 1.2 mm to 1.5 mm, with polyester fabric at every construction joint and lap widened to 150 mm to absorb shear.
In high UV exposure on an uncovered terrace that hits 65 degrees at noon, acrylic thins by chalking 0.05 to 0.08 mm per year without reflective top coat. Starting at 1.0 mm leaves only 0.6 mm after five years , below bridging need , so add 0.3 mm sacrificial coat or choose polyurethane with aliphatic top.
Where ponding lasts over 48 hours because slope is only 0.5 percent, seams sit submerged. Bitumen laps under water need double bead sealant at edges, and liquid systems demand 1.5 mm with fabric, because submerged capillary pressure drives water into any 0.2 mm pinhole within a season.
| Condition | Minimum Thickness | Lap / Detail | Cost Delta |
|---|---|---|---|
| Internal wet area, stable screed | 1.0 to 1.2 mm | 100 mm side lap, fabric at 3 joints | Baseline $16 to $22 |
| Suspended slab with deflection | 1.5 mm + fabric | 150 mm side lap, 200 mm at movement joints | + $4 to $6 |
| Exposed terrace, high UV | 1.2 mm + top coat 0.3 mm | 100 mm lap + edge sealant | + $3 to $5 |
| Ponding >48 hours, low slope | 1.5 mm + drainage layer | 150 mm lap + double bead | + $5 to $8 |
| Basement negative pressure | 1.2 mm crystalline + 1.2 mm coating | 50 mm staggered laps | + $6 to $10 |
The reference for exposed work is kitchen renovation where leveling screed quality predicts tile life, and home renovation timeline for sequencing flood test before tiling. Spending the extra $5 per square meter on fabric and 0.3 mm now saves $80 per square meter of demolition later.
Field Checks and Mistakes That Waste Thickness
The common waste is applying one thick coat at 1.2 mm in a single pass to save time. Thick polyurethane traps solvent and bubbles as 2 to 3 mm craters that become pinholes , two coats at 0.65 mm each cure pinhole-free because vapor escapes between coats.
Another waste is over-rolling laps. Pressing bitumen with a roller beyond the bleed line squeezes 0.4 mm of binder out of the joint, thinning the seam below parent thickness. Roll only until a 4 to 6 mm bead appears, then stop.
Failing to protect finished film is the fastest loss. Dropping a tile cutter scores 0.9 mm through 1.2 mm liquid membrane that no inspector sees under mortar , flood testing after protection, not before, catches trade damage.
For quality control, keep a daily log: wet gauge reading per 2 square meters, lap width measured with a 100 mm template, roller passes counted, and a photo of bleed. Ask the contractor for the log, not just the warranty card.
Limits, When Thicker Is Not Better, and What to Do Next
Beyond 2.0 mm, acrylic and cementitious films crack from shrinkage , pooled thickness at corners shrinks 0.15 mm per millimeter as water leaves, pulling away from upstands. Trowel into corners thin, reinforce with fabric, rather than flooding with material.
On movement joints over 5 mm, no film thickness survives , you need a bellows-type expansion joint with compressible filler and cover plate. Expecting 1.5 mm polyurethane to stretch 5 mm across a live joint is asking a rubber band to hold a door.
Where budgets are tight, prioritize thickness at laps and penetrations. Coating the field at 1.0 mm but every drain, corner, and lap at 1.5 mm with fabric covers 80 percent of leak risk for 20 percent extra material.
Choose 1.0 to 1.2 mm if the area is internal, stable, tiled, and will not pond. Choose 1.5 mm plus fabric if the deck is suspended, exposed, or drains slowly. Always require 100 to 150 mm laps and a 24-hour flood test at 25 mm before covering.
Measure your longest bay, check slope with a level, count pipes and drains, and write the specification as: membrane type, thickness at fabric, lap widths, and flood test date. Demand thickness readings, not assurances.
For broader planning see how to plan home renovation and repair versus replace to judge when recoating beats full removal. For structural cracks over 1 mm or active spring water, engage a waterproofing specialist with peel and thickness test kits.