You bought the Tyvek rolls, stared at the wall, and realized nobody explained how the wrap, the tape, and the siding actually fit together. You’re choosing between Tyvek HomeWrap and Tyvek CommercialWrap for a 2,000 sq ft re-side, and you want the real cost per square foot and the right call for your climate zone, not a brochure. A weather-resistive barrier (WRB) is the sheet material wrapped over wall sheathing that sheds bulk water while letting the wall breathe, and it works only when the lap order, the flashing, and the cladding fasteners all follow the same drainage rule.
What a House Wrap and Weather Barrier Actually Do Before Siding Goes On
A weather-resistive barrier is a sheet layer installed over the wall sheathing, and its job is to keep bulk water out of the wall cavity while letting trapped vapor escape. House wrap is the common name for the most popular WRB type, a thin spun-bonded polyolefin sheet like Dupont Tyvek or Dupont Tyvek CommercialWrap, sold in 9-foot rolls. The wall assembly, in plain terms, is sheathing, then WRB, then a drainage gap or furring strip, then the cladding you see.
Many people confuse the WRB with the house wrap itself. House wrap is one product family; tar paper and self-adhered membranes like Grace Vycor are other WRB families. The WRB is the role, not the brand, and the role is the same everywhere: shed water that gets past the cladding, then drain it out at the bottom of the wall. Without a working WRB, wind-driven rain lands on the OSB sheathing and rots the studs from the inside out, a repair that costs $8,000 to $20,000 on a typical two-story house.
How It Works: The Drainage Plane, Reverse Lap, and Why the Order Matters
Water moves down and outward, never up, and every piece of the wall must respect that rule. The WRB is the drainage plane: water hits the cladding, runs down behind it, hits the WRB, and slides out at the base flashing. The reverse-lap rule keeps that path open. When two pieces of wrap overlap, the upper piece always tucks under the lower piece at the joint, so water flowing down rides on top of the lower course instead of wicking into the seam.
The dimensional rules are short and worth memorizing. Horizontal laps run 2 inches minimum, vertical seams run 6 inches minimum, and corners get a 6-inch spline of wrap folded inside the corner before the next course goes on. Wrap the sill first, then the jambs, then the head at window and door openings, in that exact order, so any water that enters the rough opening drains down and out, never sideways into the king stud.
Each material lets water vapor pass at a different rate, measured in perms. Standard house wrap runs 10 to 20 perms, enough for most climate zones behind vinyl, wood, or fiber cement. The moment you add a closed cladding like stucco or brick, the drainage plane needs a real gap, not just a tight WRB, because reservoir claddings hold water for hours. Skipping the gap turns the wall into a sponge.
Which Wrap + Furring Combo to Choose by Climate Zone and Cladding
The right pick depends on where you live and what goes on top. Coastal high-wind zones above 110 mph design pressure need a self-adhered membrane or a higher-grade wrap like CommercialWrap, paired with stainless ring-shank nails. Mixed-humid climate zone 4A and warmer wants a permeable WRB rated 10 to 20 perms, so the wall can dry toward the exterior in summer. Cold zones below 4A can use a tighter Type II wrap if the interior has a proper vapor retarder, but most installers skip that complexity and just use a mid-range house wrap.
Furring strips matter because they create the drainage gap the WRB needs to drain into. Vinyl and fiber cement siding can sit tight against the wrap on drained, vented assemblies, but stucco and brick reservoir claddings demand a 3/8″ to 3/4″ drainage gap created by 3/4″ furring strips at 16 inches on center. The trade-off is honest: furring adds about $0.40 per square foot in materials plus labor, but it is the only way to keep a masonry-clad wall dry behind the WRB.
Cost ranges shift with material grade, not brand hype. Standard 9-foot x 150-foot Tyvek HomeWrap rolls cover about 1,350 sq ft and run $90 to $130 per roll, which works out to $0.07 to $0.10 per square foot. CommercialWrap D rolls run $0.12 to $0.18 per square foot. Self-adhered membranes like Grace Vycor or ZIP System sheathing tape-style WRBs run $0.50 to $1.25 per square foot and earn their price on coastal, stucco, or full-wrap assemblies where the seam tape failure risk is real.
| Cladding | WRB choice | Furring required | Typical cost/sq ft (WRB only) |
|---|---|---|---|
| Vinyl | Standard house wrap, 10 to 20 perms | No, on drained assembly | $0.07 to $0.10 |
| Fiber cement | Standard house wrap or higher grade | Optional, 3/8″ gap helps drying | $0.07 to $0.12 |
| Wood (cedar, pine) | Breathable wrap, 10+ perms | Yes, 3/8″ to 3/4″ gap for back ventilation | $0.08 to $0.12 |
| Stucco (3-coat) | Two-layer grade D paper or self-adhered | Yes, 3/4″ furring, 16″ OC mandatory | $0.50 to $1.00 |
| Brick veneer | Self-adhered membrane + weep vents | Yes, 1″ air space behind brick | $0.75 to $1.25 |
For the broader cladding decision behind these choices, the siding materials comparison walks through durability and cost per square foot for each material family. If you are weighing two claddings specifically, the vinyl vs fiber cement siding guide goes deeper on how each interacts with the WRB.
On-the-Wall Steps Plus the Common Field Failures
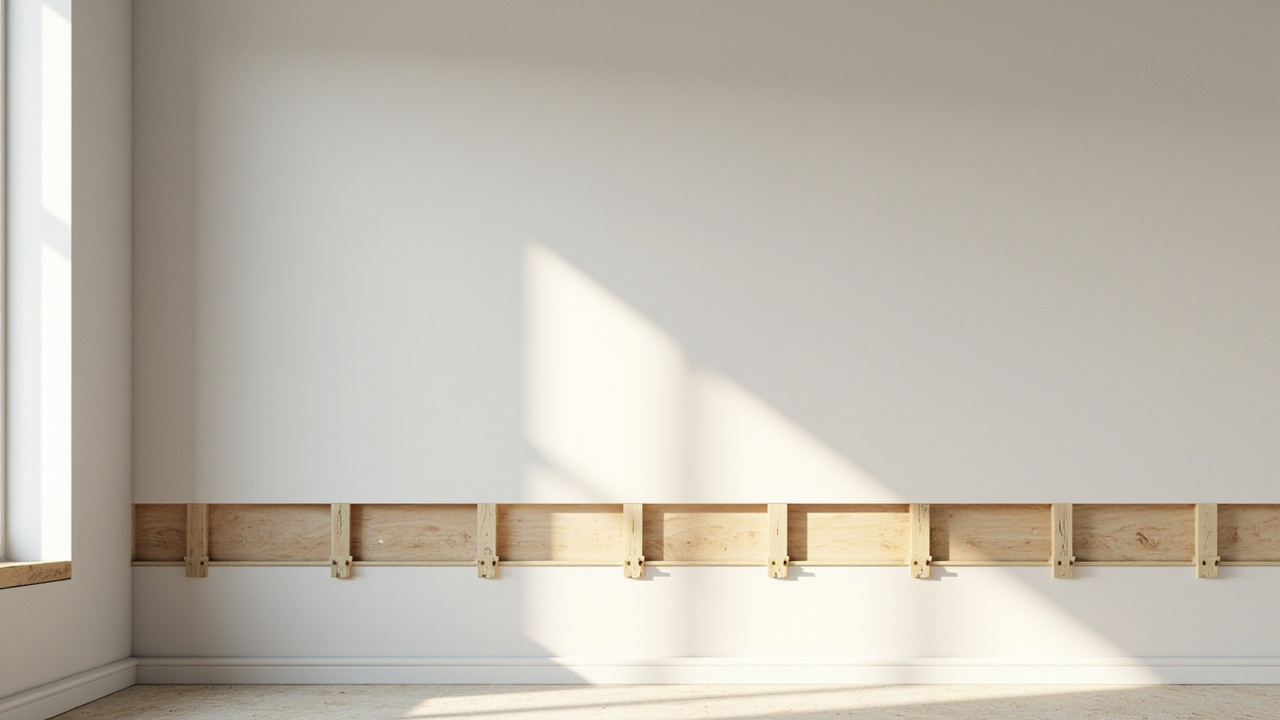
The order on the wall is wrap first, then flashing tape at openings, then corners, then furring, then cladding. Skipping or reordering these steps is where most field failures begin. The wrap protects the sheathing during construction; the tape makes the penetrations watertight; the furring creates the drainage gap; the cladding is the visible skin.
Here is the sequence most installers follow on a typical 2,000 sq ft re-side:
- Roll the wrap horizontally at the base, level with the sheathing bottom, and staple every 12 to 18 inches. Overlap each upper course 2 inches minimum over the course below, so water runs down and out, never up into the seam.
- Wrap rough openings by cutting the wrap in an X-pattern at the window or door, folding the flaps inside, and cutting the head flap off so water cannot pool. Apply 4″ self-adhered flashing tape at the sill first, then jambs, then head, in that exact order.
- Seal every penetration, hose bibs, light fixtures, vents, with flashing tape or a purpose-made boot before any siding goes on. A $3 boot now beats a $1,200 drywall repair in two years.
- Install 3/4″ furring strips at 16″ on center when the cladding is stucco, brick, or any reservoir material. Use a level or laser to keep the strips flat, since every bump shows through the finished siding.
- Fasten with the right nail length. When furring is added, nails must be 3/4″ longer than the non-furred spec so they still bite 1″ to 1.25″ into the stud framing. Skipping this is the single most common reason siding blows off in the first storm.
- Install kickout flashing where any roof eave dies into a wall. Without it, water runs behind the siding and rots the sheathing at the joint, the repair averages $1,500 to $3,500 per location.
The reverse-lap failure mode is the one most DIY installers miss. If the upper course of wrap ends up overlapping the lower course instead of tucking under it, every drop of rain that runs down the wall dives straight into the seam and lands on the sheathing. The fix is not more caulk. Cut the lower piece, peel it back, and re-lap correctly. The kickout flashing failure mode is similar: water exiting a sloped roof needs a diverter at the wall intersection, and without one, even a perfect WRB cannot keep up with the volume of water at that single spot.
Trade-Offs, Edge Cases, and When to Bring in a Pro
Most re-sides on a single-story home with one cladding type and decent sheathing are within reach of a careful DIYer with a helper. The moment the project touches a second story, a stucco or brick cladding, a roof-to-wall intersection, or window flashing on the second floor, the risk shifts from a $300 mistake to a $15,000 one. Permits are required in most jurisdictions when you change cladding, and the inspector will check WRB laps, kickout flashing, and furring spacing, not the siding color.
Three edge cases deserve a call to a licensed installer or a structural consultant before work starts. First, if the existing sheathing has any soft spots, swelling, or mold staining, the WRB does not matter; the sheathing has to come off or be replaced, and a pro should confirm the stud condition underneath. Second, if the home is in a coastal high-wind zone above 110 mph design pressure, the fastener schedule, wrap grade, and sometimes the cladding approval are all tied to a rated assembly, and improvising voids insurance coverage after a claim. Third, if kickout flas