The most expensive kitchen renovation mistakes are the silent ones — the cabinet kickboard that swells in year two, the rangehood that moves a third of its rated airflow, the seam that fractures over the dishwasher. None of them show up at handover.
There are 9 common mistakes that show up in kitchens across Australia and similar markets — and most of them are spec errors, not craftsmanship errors. The cabinet installer, the electrician, the stonemason all do their job. The homeowner doesn’t ask for the right thing in writing, and the failure mode is locked in before anyone picks up a tool.
This page walks the 9 mistakes with the warning sign, the failure case, and the spec to write instead — so the next deposit doesn’t lock in a problem you won’t see for 18 months.
Why Mistakes Matter More Than Choices
A kitchen renovation is a chain of small decisions, and the ones that cost the most later are the ones nobody questions at the start. The thing to watch out for is the silent failure — the defect that doesn’t show for 12–24 months. By then the installer has moved on, the warranty question is grey, and the homeowner is paying for a fix that costs three times what the right spec would have cost upfront.
The 9 mistakes below share a pattern: the warning sign is visible before the deposit clears, the failure case appears in first-year use, and the fix is a spec sheet line the homeowner writes before anyone starts. In the field, the kitchen that gets all 9 of these right still costs more than the kitchen that gets them wrong — but the right-spec kitchen lasts 18 years and the wrong-spec kitchen starts failing in month 14. The difference isn’t craftsmanship. It’s what the homeowner knew to ask for before the deposit cleared.
For any work that touches new circuits, new plumbing, or structural changes, engage a licensed electrician or licensed plumber — in Australia, that’s not optional under AS/NZS 3000 and the Plumbing Code. The spec sheet is the homeowner’s insurance policy, and it costs nothing to write.
Mistake #1 — Specifying MDF Where Plywood Was Needed
The MDF carcass is fine for dry zones — overhead cabinets, pantry shelving, the run of base cabinets away from the sink. The problem starts when the same spec runs into the highest-moisture zone in the kitchen. The sink base cabinet, the tall pantry next to the dishwasher, the run behind the kettle and the steam — these zones see water more often than most homeowners expect.
MDF swells. That’s the mechanism. When moisture reaches the core, the panel expands 5–10% and doesn’t shrink back. The kickboard detail is usually the first casualty: an unsealed MDF kickboard in a sink base absorbs mopping water, steam, and the occasional spill that runs down the cabinet face. Within 18–24 months the kickboard bulges, the paint blisters, and the only fix is replacement — typically at year 3–4, at a cost that runs more than the kickboard itself once you factor in call-out labour.
The right call: spec the sink base and tall pantry zones as plywood or HPL regardless of what the rest of the kitchen runs. If budget forces MDF in those zones, the spec sheet must demand sealed edges on all four sides — paint, laminate, or PVC edge band. Read the full cabinet materials guide for the moisture-zone breakdown.
Mistake #2 — Skipping Under-Cabinet Lighting
The kitchen that ships with one ceiling light and no under-cabinet strip has a shadow zone the homeowner discovers on day one. The upper cabinet casts a shadow directly onto the benchtop, and every chopping board, every recipe, every sink task happens in that shadow. Ambient-only lighting looks fine in the display suite — the display suite doesn’t have upper cabinets blocking the light.
The fix is small and late. An under-cabinet LED strip mounted under the upper cabinet eliminates the shadow zone and gives the cook a proper task layer. But it costs three times more to retrofit after the splashback is tiled than before — the electrician has to chase the wall, the tiler has to come back, and the homeowner lives with the shadow for months.
Specify two circuits from the start: one ambient circuit for the ceiling fixtures, one separate task circuit for the under-cabinet strip. In Australia, any new circuit means a licensed electrician and compliance with AS/NZS 3000. Also specify CRI 90+ for the task layer — colour accuracy matters when you’re checking whether the chicken is done. See the full kitchen lighting layers breakdown for circuit count and IP rating by zone.
Mistake #3 — Rangehood Ducted With 6 m of Flexible Hose
The island kitchen rangehood that runs 6 metres of flexible ducting across the ceiling with three 90-degree bends moves about a third of its rated CFM by the time it reaches the outside wall. Flexible ducting loses roughly 50% of its airflow over 3+ metres with bends — every bend is a turbulence point, and turbulence is the enemy of extraction. The hood is loud, the kitchen still smells, and the homeowner wonders what they paid for.
The recirculating hood is the last resort, not the equivalent. It filters grease and odour and blows the air back into the kitchen — fine for a low-use setup, not fine for a household that cooks with gas three nights a week. The right call: rigid ducting, max two bends, shortest run possible. For island kitchens where the duct has to cross the ceiling, rigid ducting is the difference between a hood that works and a hood that just makes noise.
Specify the CFM rating, the ducting type, the bend count, and the exit point before the electrician starts. See the kitchen ventilation guide for the ducting spec that matches your cooktop width and kitchen volume.
Mistake #4 — Benchtop Seam Placed Wherever the Fabricator Defaulted
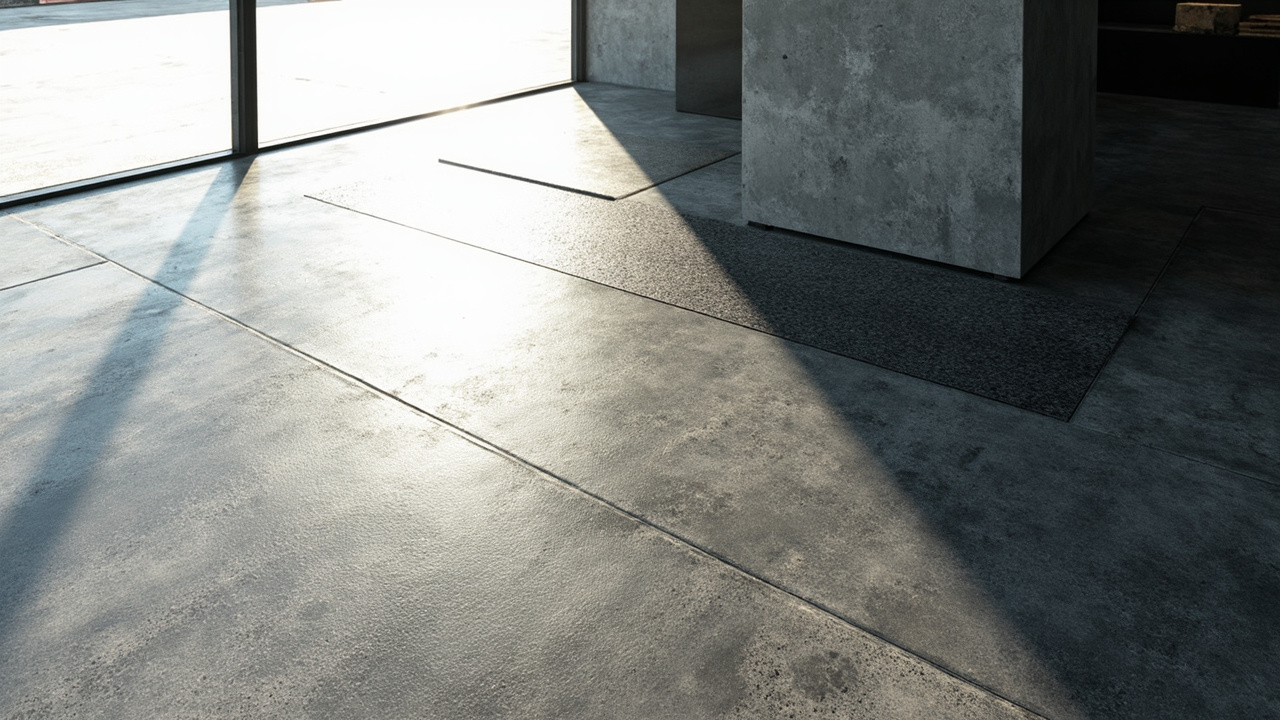
The benchtop seam is where two slabs meet, and the fabricator’s default placement is the structurally easiest cut — not the visually least noticeable one. Most homeowners don’t think about seam location until the slab is already cut, and by then the fabricator has placed it where the offcuts line up, not where the kitchen works best.
The kitchen where the seam lands over the dishwasher has a stress fracture within 18 months — the dishwasher’s weight and vibration work the seam every cycle. In the field, the benchtop seam that lands over the dishwasher always fails first — the vibration from each cycle works the seam until it splits, and the homeowner never connects the dishwasher to the seam problem until the slab is replaced. Replacing a fractured slab runs AUD 2,500–5,000 installed, depending on material and access.
Seam visibility also varies by material: granite shows the seam, quartz keeps it tight, solid surface can make it nearly invisible. The spec sheet should lock seam location in writing before fabrication — specify the zone, the orientation, and the avoidance list (no seam over dishwasher, no seam across the sink cutout). Read the countertop materials guide for the seam behaviour of each material.
Mistake #5 — Choosing an Edge Profile That Catches on Clothing
The decorative ogee edge on a stone benchtop looks period-appropriate — until the homeowner catches a sleeve on it once per week for the next 18 years. The sharp 90-degree edge has the same problem: it catches on shirt sleeves, tea towels, and anything that brushes the benchtop on the way past. In a working kitchen, the edge profile is a daily-contact detail, and the wrong one is a daily annoyance.
The right call for a working kitchen: a small eased edge (1–2 mm radius) or a square edge with a micro-chamfer. Both prevent the catch, both clean easily, and both don’t chip as fast on impact. Save the ogee for the butler’s pantry or the vanity — places where the edge is seen more than it’s touched. With children in the kitchen, the edge profile matters even more: a sharp edge at bench height is a forehead-level hazard.
Material also matters — engineered stone handles a crisp edge better than natural granite, which tends to chip on sharp profiles. See the guide for the edge profile that matches your material and use case.
Mistake #6 — One Electrical Circuit for the Whole Kitchen
The kitchen with one circuit feeding the oven, cooktop, dishwasher, and ten GPOs trips the breaker every Sunday morning when the household is making breakfast. Circuit overload isn’t a mystery — it’s basic load math. Oven plus cooktop plus kettle on one circuit exceeds the breaker rating, and the breaker does its job. The homeowner resets it, and it trips again the next busy morning.
The fix is a rewire — but only a licensed electrician can do it in Australia, per AS/NZS 3000. Plan for at least three separate kitchen circuits before the cabinetry goes in: one for the oven, one for the cooktop, one for the dishwasher and GPOs, plus a separate circuit for lighting. An RCD or RCBO is mandatory on all kitchen circuits in Australia — non-negotiable, and the electrician will spec it, but the homeowner should confirm it’s on the quote.
Specify the circuit count in the spec sheet before the electrician quotes. See the guide for the full circuit layout that avoids the Sunday-morning trip.
Mistake #7 — Splashback Junction Without Silicone Seal
The splashback-to-benchtop junction that wasn’t sealed with neutral-cure silicone lets water wick behind the cabinetry every time the cooktop gets a splash. The mechanism is capillary action: water runs down the splashback, hits the junction gap, and wicks behind the cabinetry where the homeowner can’t see it. The mould appears inside the cabinet within 12 months, and the first visible sign is often the kickboard swelling — by then the mould has been growing for months.
Tile splashback and slab splashback need different seal approaches. A tile splashback needs a waterproof membrane behind the tiles before the tiles go up — that’s a separate spec, and it’s the one most homeowners miss. A slab splashback (stone, porcelain, glass) needs a continuous bead of neutral-cure silicone at the junction — not acetic-cure, which smells like vinegar and can corrode nearby metals.
The right call: silicone seal applied as the last step, not as a finishing touch. The installer seals the junction after the benchtop is in, after the splashback is in, and after everything else is done. If the seal is applied too early, it gets disturbed by later work and the junction is open again.
Mistake #8 — Kickboard Without Sealed Edge
The unsealed MDF kickboard in a kitchen that gets mopped twice a week absorbs enough water over 18 months to swell permanently. The kickboard is the bottom 80–100 mm of the cabinet, and it’s the part that sits closest to the floor — the part that catches every mop pass, every spill, every steam drift. An unsealed edge on an MDF kickboard is an open invitation to moisture.
The replacement job requires the cabinet installer to come back, which costs more than the kickboard itself — a replacement kickboard runs AUD 80–150 per cabinet run, but the call-out and labour often double that. The right call: sealed kickboard in writing, or PVC edge band on all four sides. The spec sheet should say “sealed kickboard all runs” — not “kickboard as standard,” which leaves the edge spec to the installer’s default.
This is one of the cheapest specs to write and one of the most common to miss. Read the guide for the full moisture-zone schedule.
Mistake #9 — Warranty Terms That Cover Material But Not Fabrication
The seam failure that appears 14 months after install isn’t covered by the material warranty — the slab is fine, so the manufacturer says it’s not their problem. It isn’t covered by the fabrication warranty either — the fabricator closed six months ago, or the warranty only covers “material defects,” and a seam failure is a fabrication defect. The homeowner pays for the replacement.
The gap is common: the material warranty covers the slab or sheet for defects in the raw product, and the fabrication warranty covers the cutout, seam, and installation. But seam failure, cutout failure, and undermount sink cutout failure sit in the overlap — and too often in the gap. Labour cost is the other blind spot: even when a warranty covers the material, the labour to remove and replace it is often not covered by either warranty.
The right call: ask which warranty covers seam failure, cutout failure, and undermount sink cutout — and get both in writing before the deposit. See the kitchen renovation cost guide for the warranty questions to ask before you sign.
The Spec Sheet That Prevents All 9
A single one-page spec sheet given to the cabinet installer, the electrician, and the stonemason before they quote prevents most of these mistakes. It carries: cabinet material schedule (which zones are plywood or HPL, which can be MDF, with sealed kickboard in all cases), circuit layout (separate circuits for oven, cooktop, dishwasher, lighting, GPOs — licensed electrician for any new circuit, AS/NZS 3000 in Australia), lighting layout (ambient + task + accent, CRI 90+ in task zones, IP rating by zone), rangehood spec (CFM rating, ducting spec, max two bends, rigid preferred, recirculating only as last resort), benchtop spec (slab thickness, substrate, edge profile, seam location, undermount sink cutout detail), and warranty terms (which covers material, which covers fabrication, which covers seam and cutout failure).
The spec sheet is the homeowner’s insurance policy — it costs nothing to write and saves AUD 5,000–15,000 in silent failures. The kitchen that gets the spec sheet right before the deposit clears is the kitchen that doesn’t need a repair call in month 14.