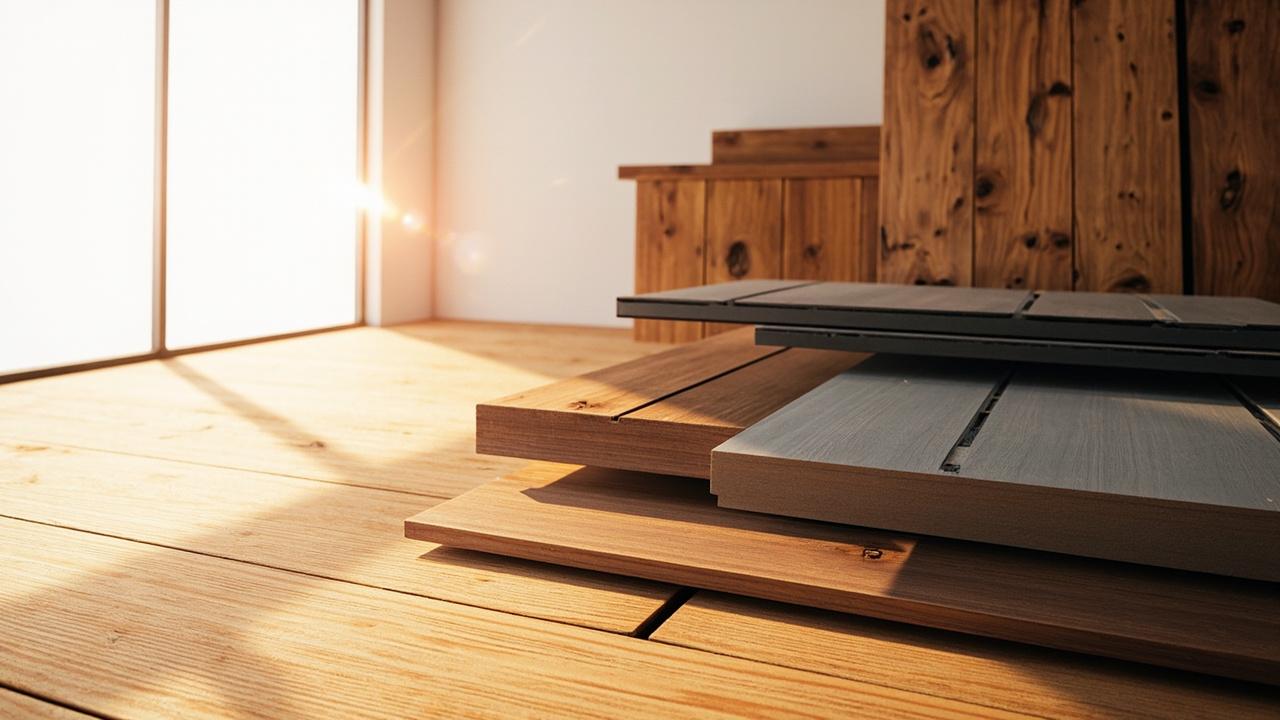
The strip of wall behind your cooktop and sink takes more abuse than almost any other surface in the home. Steam settles there, aerosolised oil lands within seconds, and soap suds dry on it twice a day — yet most renovators spend more time picking the benchtop than the backsplash, then wonder why the wall yellows inside a year.
The right material follows how you cook, not which photo you saved last week. Daily frying points to one answer. Daily boiling to another. Light cooking opens a third.
What a Backsplash Actually Has to Do in a Home Kitchen
A backsplash covers the strip between benchtop and overhead cabinetry, typically 60–90 cm high. Its job is to take the hit from three things at once: cooking splash, steam, and cleaning agent contact. In most homes, this splash zone is the dirtiest wall surface — more than the bathroom, more than the laundry. The finish has to be cleanable without degrading, and the wall-benchtop joint has to stay sealed against moisture ingress.
The first failure sign is usually mould at the silicone seam or darkening along the grout line behind the cooktop. That happens because the wall substrate — typically plasterboard or cement board — absorbs moisture through a failed joint and breaks down underneath the finish. The finish choice matters, but the junction detail matters just as much.
In humid subtropical or coastal climates, humidity cycling is relentless. A kitchen that steams up every morning drives moisture into the wall cavity if the backsplash isn’t sealed properly. Better ventilation choices solve half the problem — less grease deposition means less aggressive cleaning, which means the finish lasts longer.
Tile (Ceramic and Porcelain): The Workhorse
Ceramic and porcelain tile dominate the backsplash market for one reason: they balance cost, availability, and cleanability. Ceramic tile is glazed, with water absorption above 3%. Porcelain tile absorbs less than 0.5% — denser, harder, more resistant to thermal shock. For most kitchens, porcelain is the safer long-term bet. Common formats are subway tile and mosaic sheet mesh-mounted.
The mechanism that determines longevity isn’t the tile — it’s the grout. Cement-based grout is porous. Oil migrates in over months, and the line behind the cooktop darkens. Sanded grout suits joints 3 mm and wider; unsanded grout suits joints under 3 mm. But in high-grease cooking, neither stays clean without regular sealing. That’s why many installers push epoxy grout behind the cooktop: stain-resistant, no sealing, higher upfront but cheaper over the life of the kitchen.
For a clean edge, bullnose tile or edge trim finishes the perimeter. If you’re weighing a tile vs slab decision, the rule of thumb is: tile pairs with any benchtop, but slab-to-slab gives the seamless look at a higher price.
Slab (Natural Stone and Engineered Quartz): The Clean Look
A slab backsplash uses the same material as a benchtop — usually engineered quartz or natural stone — cut to height and installed as a single panel or two. Engineered quartz is non-porous out of the factory, so it resists staining without sealing. Natural stone is the opposite: marble and granite need a penetrating sealer reapplied regularly, and acidic splashes can etch a polished finish if left too long. A honed finish hides etching better, which is why it’s common on marble backsplashes in busy kitchens.
The hidden complexity is weight. A stone slab weighs 30–40 kg per square metre. Plasterboard alone can’t hold that long-term — the fixings pull out, or the wall deflects and cracks the slab. The correct substrate is cement board fixed to the studs, with the slab bonded using mechanical fixings and adhesive. For an L-shape run, a mitred edge gives a clean 90-degree turn without a visible joint line.
Substrate errors show up fast: a heavy marble slab fixed directly to plasterboard starts bowing within months. Get the substrate flat and rigid first.
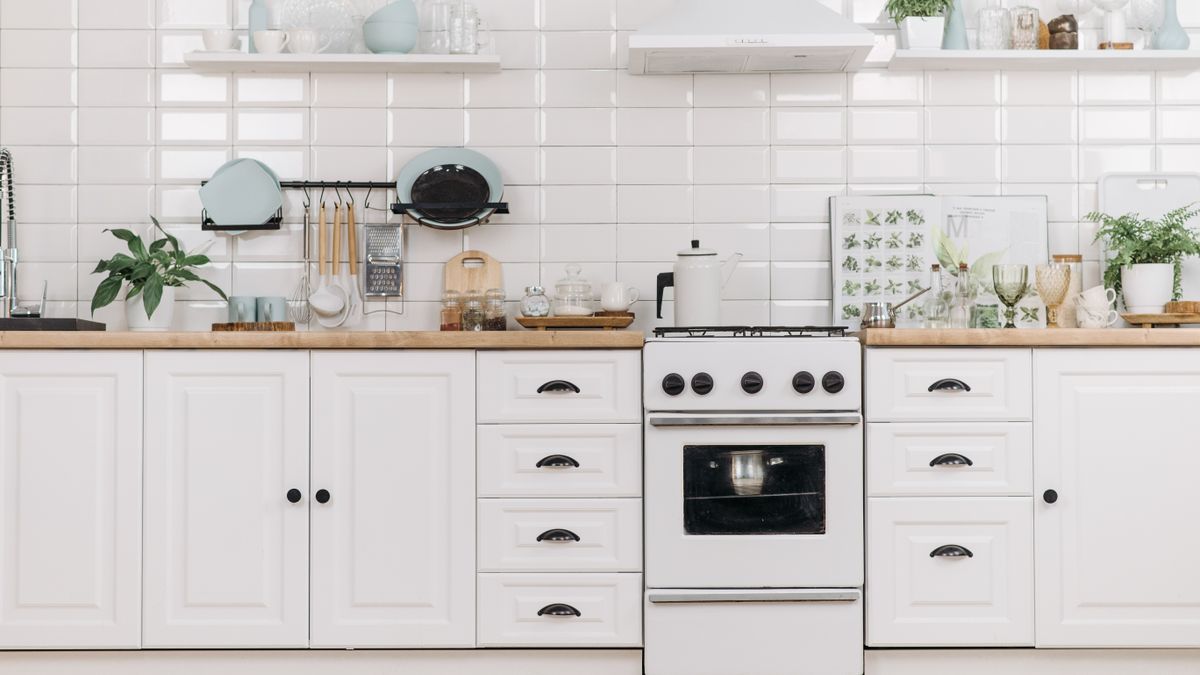
Stainless Steel: The Practical Performer
Stainless steel gets dismissed as “commercial kitchen” material, but in a home setting it solves problems that tile and slab quietly struggle with. There are no grout lines to darken, no pores to stain. A microfibre cloth and mild detergent clean it in seconds, and there’s no sealer to reapply. The grade matters: stainless 304 is food-safe and fine for indoor residential use; stainless 316 is the one to specify in coastal or chlorine-exposure environments because it resists chloride pitting. Typical panel thickness is 0.9–1.2 mm — thick enough to stay flat, thin enough to handle on-site.
The finish choice changes maintenance. A brushed finish hides fingerprints, which is why it’s the default for backsplash panels. A mirror finish shows every grease smear and needs more frequent wiping. Edges should be hemmed — a raw cut edge is sharp and can lift at the junction with cabinetry. Fixing is usually silicone adhesive on the wall face plus a mechanical cleat at the top edge, which takes the weight and stops the panel creeping down over time.
The critical junction is where the backsplash meets the rangehood. The panel needs to overlap the hood housing by at least 10 cm so grease-laden air doesn’t migrate behind the steel. Get the overlap right and the wall stays clean; get it wrong and you’re pulling the panel off in two years to clean behind it.
Pick by Kitchen Scenario
The right material follows the cooking pattern, not the colour palette. Three common household scenarios, three different answers.
Scenario 1 — Daily cooking. Grease load is high. The best performers are stainless steel 304 with a brushed finish (no grout to absorb oil) or porcelain tile with epoxy grout. Avoid subway tile with cement grout in this scenario — the grout blackens within months no matter how well you seal it. Budget runs higher because epoxy grout and stainless both cost more per square metre than standard tile.
Scenario 2 — Steam-heavy cooking. Humidity cycling is the enemy, not grease. Porcelain tile handles this well because of low water absorption. Engineered quartz slab also works because it’s non-porous. The risk is the joint at the benchtop — if the silicone fails, steam gets behind the finish and mould follows. In humid climates, specify heat-resistant silicone rated to at least 150°C continuous at the cooktop junction.
Scenario 3 — Light cooking. Almost any material works. Ceramic tile, natural stone, engineered quartz, even stainless — the choice can be aesthetic here. The budget can be lower because wear is minimal. A small kitchen wall also makes slab backsplash affordable: minimal material, minimal seams.
Tradespeople who regularly fit out home kitchens tend to ask how often the client fries and how much steam gets produced — only then recommend a material. A kitchen with regular deep-fry is better suited to stainless 304 or porcelain with epoxy grout, not subway tile with cement grout. For the bigger picture on cost, the cost breakdown shows how material choice ripples through the total budget.
How to Install Each One (Without Damaging the Wall Behind)
The installation sequence differs by material, but the preparation is the same: check the substrate is sound, flat to within 3 mm over 2 m, and primed or moisture-membraned for the splash zone. Skip this step and every material will fail at the same point — the junction between wall and benchtop.
Tile installation. Apply polymer-modified thinset with a notched trowel, set tile with 2–3 mm spacers, and let the thinset cure for a full 24 hours before grouting. Grouting too early is the most common timing error — the thinset is still shrinking, the grout cracks within weeks. Wipe the tile face within 20 minutes; mortar haze that cures on the surface is permanent.
Slab installation. Template the wall first. Never cut on-site without a dry-fit — stone and quartz are unforgiving, and a miscalculation means a new slab. Bond to cement board with adhesive, use mechanical fixings if the slab is heavy or the wall is tall, and leave a 2–3 mm silicone joint at inside corners to absorb movement.
Stainless installation. Fix a mechanical cleat at the top line of the panel, apply silicone adhesive to the wall face, press the panel into place, and brace it until the adhesive cures. Hem all exposed edges. Overlap the rangehood housing by at least 10 cm and seal the top edge with heat-resistant silicone.
Clean as you go. Mortar haze, adhesive squeeze-out, and grout smears are easy to remove when wet and nearly impossible once cured. A damp sponge and a dry cloth within the working window save hours of remediation later.
Match the material to the cooking, not the photo. Daily fry points to stainless or porcelain with epoxy grout. Steam-heavy cooking points to porcelain or engineered quartz with sealed joints. Light cooking opens the field to any material. The strip is small, but the consequences of choosing wrong are not.
Figures for water absorption, panel thickness and slab weight here are general working ranges drawn from material specs across Australian and international suppliers. For critical specifications relevant to your project, check the manufacturer data sheet and the relevant ISO or IEC standard before purchase. Installation involving electrical, gas or waterproofing must be carried out by a licensed tradesperson.