You noticed a soft spot near the stairs, or a board that gives when you step, and now you are wondering whether one fix solves everything or whether the rot runs deeper into the deck and outdoor structures underneath. Most homeowners replace a few boards and call it done, only to watch the same soft spot return within a season. The reason is simple: visible rot on the surface almost always points to a different failure underneath. This page helps you diagnose the root problem, not just patch the symptom, so your repair holds for years, not months.
What Deck Rot Actually Tells You About the Structure Underneath
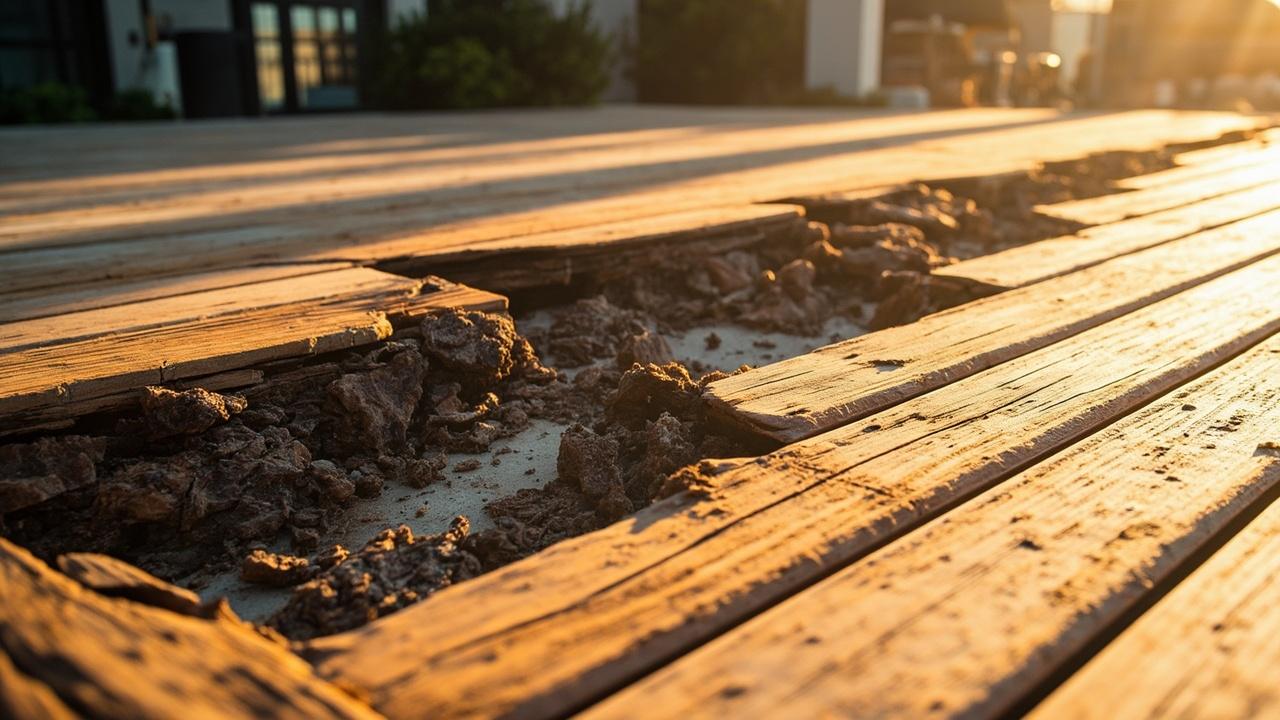
Deck rot is wood decay caused by fungi that need three things at once: moisture above 20%, warm temperatures, and a food source. Once those three align, decay can move through softwood lumber like Western red cedar at roughly 25 to 75 mm per year, depending on airflow and sun exposure. The key insight: the soft spot you can see is rarely the place the rot started.
Most rot begins where water sits longest: at the ledger board where the deck meets the house, around joist hangers that trap leaves, or where a board sits too close to the soil and wicks moisture upward. When you find one wet zone, treat it as a clue, not the whole story. Walk the deck slowly, push a screwdriver into every suspect spot, and mark anything that sinks more than 3 mm under light hand pressure.
Here is why that test matters: wood in early decay feels spongy and looks darker but still holds a screwdriver with resistance. Wood in late-stage rot gives way easily, sometimes with a musty smell. If your probe test draws blood on the screwdriver tip, you have likely found the boundary between sound and decayed wood. Anything past the boundary is suspect, even if it looks fine from above. Note the depth, then move to the framing underneath.
Tools and Materials You Need Before You Open Anything Up
Gather the gear before you start pulling boards. The right tools turn a guessing job into a diagnosis task. You will need: a 200 mm pry bar, a cordless drill with a bit set ranging from 18 to 25 mm, a moisture meter, a flashlight, and a sharp pencil for marking suspect zones. Skip the moisture meter and you are working blind; skip the flashlight and you will miss the joist pockets that almost never hold a board.
For materials, plan on pressure-treated lumber rated for ground contact in zones that saw rot before. Standard above-ground treated wood is fine for the field of replacement, while ground-contact rated stock is essential where the old framing stayed damp. Use hot-dip galvanized 3-inch deck screws or 16d stainless steel nails, never smooth-shank fasteners, which pull loose within a season on a wet deck. Add joist hanger tape, a tube of construction adhesive rated for exterior use, and a few sheets of sandpaper ranging from 60 to 120 grit for cleaning up rough cuts.
One quick checklist for your trip to the hardware store:
- Moisture meter with a 10 to 40% scale, calibrated before use
- Pry bar, 200 mm minimum, with a thin end for tight gaps
- Cordless saw with a fresh 40-tooth blade framing
- Replacement lumber, same nominal size as existing framing boards
- Exterior-rated joist hanger tape and matching fasteners
- Pencil and notepad for marking suspect zones before you start cutting
How to Find the Real Cause Step by Step
Follow this sequence: probe, expose, measure, decide. Skipping any step is how homeowners end up replacing the same board twice. Each one earns its place on the list because rot follows water, and water follows the path of least resistance through framing.
Probe the Surface and Test for Soft Spots
Start with a screwdriver and walk the deck at a slow, deliberate pace. Push the tip into any spot that looks darker than the surrounding wood, holds grain in a different pattern, or sits within 300 mm of a fastener or hardware fitting. Mark each soft spot with a strip of painter’s tape. Spend roughly 10 minutes per 10 square meters of deck surface. That pace gives you time to feel the difference between early decay and late rot, and it gives you a written record before you start cutting.
Expose the Framing Beneath Suspect Boards
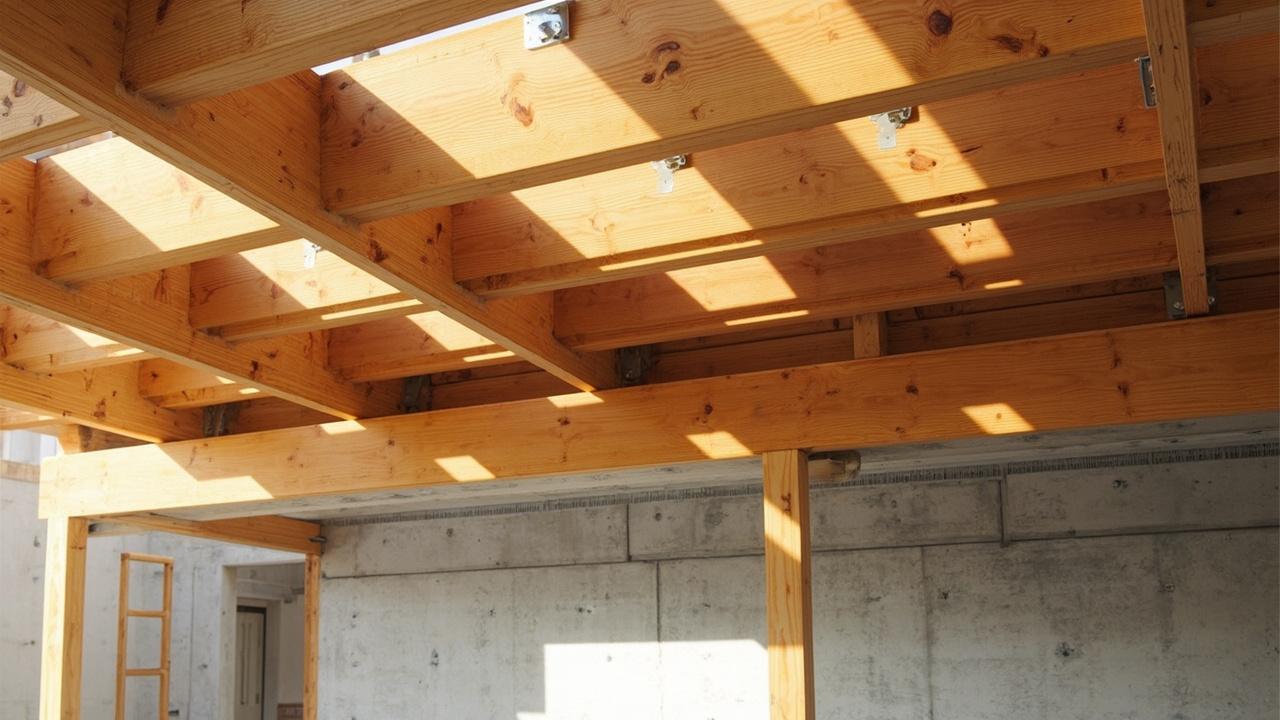
Lift the suspect boards to see the joists below. The single most common finding: joist rot at the ledger connection, where the deck frame bolts to the house. If the wood at that joint is soft or shows white fan-shaped fungal growth, the damage likely extends into the house framing, not just the deck. Stop here and call a structural professional before going further. Cutting into a rotted ledger without understanding the load it bears up to 1.5 kN per square meter can compromise the entire deck.
Measure Moisture and Map the Spread
Use the moisture meter on every suspect zone. Wood above 20% moisture content can sustain fungal activity; wood below 14% is generally safe. Map your readings on a sketch of the deck. If you see a moisture gradient from a low spot toward the house, you are likely dealing with a drainage failure rather than a localized rot pocket. If you see a tight cluster of high readings with no gradient, the source is probably a single point, like a leaking planter or a downspout that dumps rainwater onto the deck.
- Probe all suspect boards and mark soft zones with painter’s tape, working on spongy spots first
- Lift one board at the edge of each zone to expose the joists and ledger connection, working from the perimeter inward
- Measure and record moisture content at every visible framing member, working from the suspect zone outward
- Map the readings on paper, then decide whether the rot is localized or systemic, working from data rather than guesswork
Common Mistakes That Make Rot Return Within Months
The four most common errors turn a one-day fix into a recurring one. Knowing them ahead of time is cheaper than learning them after the second repair. Each one shares the same root cause: treating the symptom, not the cause.
Mistake one: sealing over rot instead of cutting it out. Wood filler and exterior caulk hold moisture against the surrounding framing members, while the fungus keeps working underneath. Cut out any wood that fails the screwdriver test, plus a 100 mm buffer of sound wood on each side of the soft zone. That buffer gives the new wood a clean, dry surface to bond against.
Mistake two: ignoring the gap between deck boards and the soil. A deck-to-ground clearance below 150 mm traps moisture and speeds rot. Maintain at least 150 to 300 mm of air gap, and add a layer of 6 mm gravel under the deck to drain standing water away. Skip this and your repair grows deeper into the same problem.
Mistake three: using untreated wood in a zone that already saw rot. If the framing stayed wet enough to decay once, it will stay wet enough to decay again. Use ground-contact rated pressure-treated lumber, even if the code says above-ground is acceptable, and brush the cut ends with a copper-based wood preservative before installing.
Mistake four: forgetting the flashing at the ledger board. The single most expensive mistake homeowners commit is making it to the ledger without checking the flashing strip that directs water away from the joint. Pull the siding above the ledger, inspect the flashing, and replace any section that is bent or missing. If the flashing is intact but the wood behind it is wet, you likely have a drainage failure elsewhere on the deck.
When to Call a Professional and What to Do Next
Call a licensed structural contractor if any of these apply: rot extends into the ledger board or the house framing, more than 20% of the joists show soft spots on the screwdriver test, or the deck sags more than 10 mm across a 3 meter span under a person-weight test. Those are signs the deck’s load-bearing capacity has dropped, and a repair that ignores them risks collapse under the load of 100 kg/m² per occupant load.
For smaller zones, a confident DIY repair works when rot is local, the joists are sound, and the moisture source is fixable. A typical localized repair runs $8 to $15 per square foot for materials, depending on lumber cost in your region. If a full resurfacing is required, the answer is usually $25 to $45 per square foot, including labor, which is why a