You need a waterproofing system for a roof deck or terrace, but most advice starts with a list of product names instead of the question you actually have: what stops water from reaching the room below? The answer is a continuous barrier, applied over a prepared surface with enough thickness, correct overlaps, and a path for water to leave. Waterproofing for roof decks and terraces is a layered system that keeps water out while letting the surface dry, so leaks become less likely and easier to trace.
The part that matters most on a real job is often hidden beneath the tiles or pavers. Get the substrate, drainage, and membrane details right, and the finish above becomes a maintenance choice rather than a rescue mission. Get them wrong, and every finish fails the same way.
Waterproofing for roof decks and terraces means a continuous, drainable barrier under the finish
Waterproofing for roof decks and terraces works by keeping water out of the structure and giving trapped water somewhere to go. A typical assembly combines a prepared substrate, a continuous membrane or coating, drainage provisions, and the visible finish above. Each layer has one job, and the visible tiles or pavers do not stop leaks on their own.
That single idea changes how you read a specification. When a product claims to last for years, the useful question is whether the whole assembly was installed as a system. A product cannot compensate for a wet substrate, a blocked drain, or a seam that was never lapped correctly. The complete waterproofing systems overview covers how these layers fit together.
Here is the direct answer. If water needs to move across the surface and leave, you need a membrane or coating rated for outdoor exposure, applied over a clean, dry substrate, with laps and upstands made properly. If the deck must support furniture, planters, or foot traffic, add a protective layer or a finish designed for that load.
How waterproofing systems work: thickness, laps, preparation, and curing
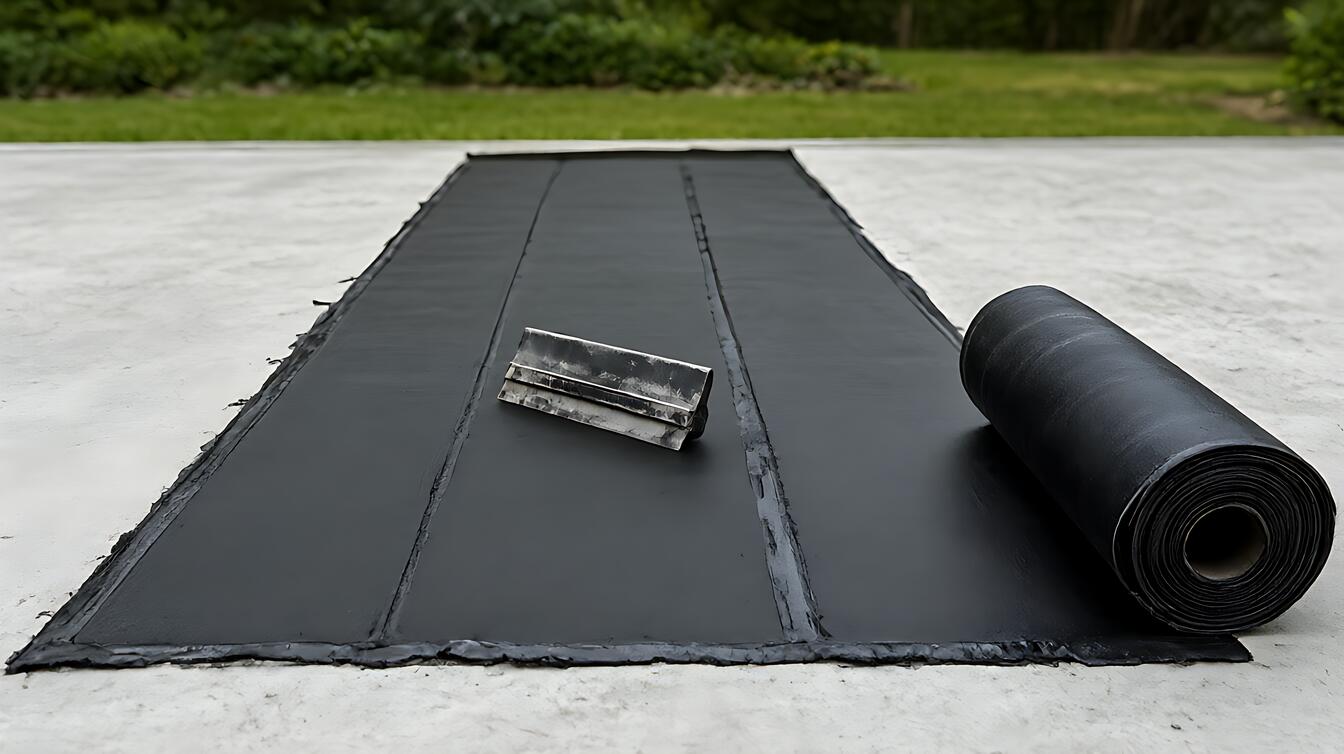
Membrane torch 3 – 4mm describes an installed thickness range commonly specified for torch – applied sheet membranes on decks and terraces. Thickness is the material’s depth, not a coat count. When that depth is achieved and the seams are sealed correctly, the sheet forms a continuous waterproof layer across the deck and up surrounding walls.
That continuity depends on how sheets join. An overlap 100mm gives adjacent sheets enough shared area to resist water tracking through a seam, and installers roll or heat – bond that overlap so it behaves as one surface. Too short an overlap or poor bonding leaves a weak line that can channel water directly below.
Preparation does more work than most owners expect. Proper preparation is 80% of a successful waterproofing job, according to the research behind this guide. Cleaning, drying, repairing cracks, and sealing penetrations all happen before any membrane goes down. Once that layer starts, correcting a defect means removing what was just installed.
Curing is the other half of the timeline. Allow 24 – 48 hours for curing before exposing treated surfaces to pets or children, and follow the product’s own cure requirement before placing furniture or planters. Early foot traffic or trapped moisture can interfere with the finish forming as intended.
When to choose each option, and when each one stops working
The decisive attribute is how water reaches the surface and how the deck is used. A sheet membrane suits a defined deck with standard detailing. A liquid or coating system suits complex shapes and many penetrations. Neither fixes a deck that holds water.
Choose a torch – applied sheet when the substrate is stable, the layout suits roll lengths, and you want a defined physical thickness on site. Choose a coating acrylic when the area has complicated geometry, numerous upstands, or details that are difficult to seam. The coating flows around obstacles, so fewer seams means fewer places for water to find a path.
The trade – off is honest. Sheets give you a measurable installed thickness and predictable coverage per roll. Coatings depend more heavily on surface preparation, application thickness, and curing conditions. Both fail when water sits against the substrate, so drainage decides more than the product does.
| Condition | Fits better | Watch for |
|---|---|---|
| Many penetrations and complex upstands | Coating system | Strict preparation and cure time |
| Simple deck, standard detailing | Sheet membrane | Correct overlap and seam bonding |
| Furniture, planters, heavy foot traffic | Either, plus protection layer | Point loads and puncture risk |
| Persistent standing water | Neither, fix drainage first | Drainage falls, outlets, scuppers |
If you are weighing systems rather than a single detail, waterproofing types compared sets out the trade – offs side by side. The useful comparison is never product versus product in the abstract. It is system versus your deck’s actual condition.
What actually happens on site, and where jobs go wrong
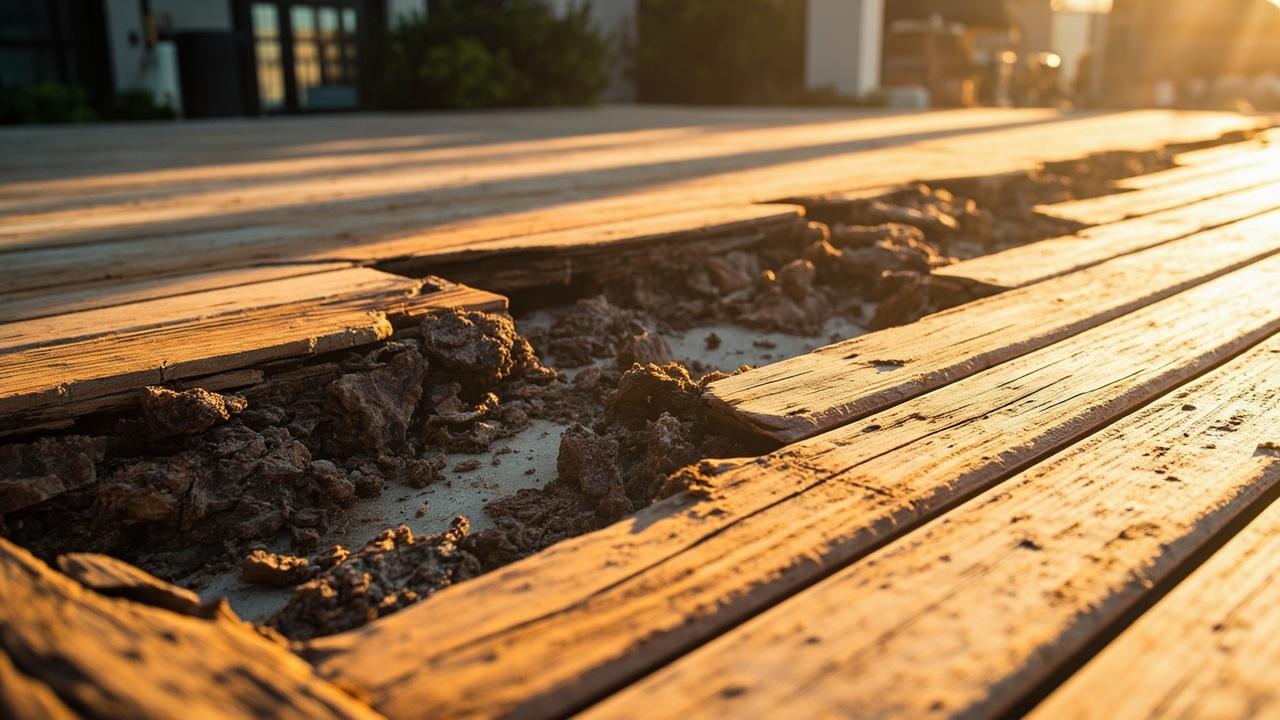
Picture a terrace above a living room, tiled and dry, where a dark stain appears on the ceiling after heavy rain. The tile grout is blamed. The real path is usually the same: water reaches a joint, an upstand, or a drain detail, finds a path through the assembly, and travels along the slab until it emerges below.
This is why diagnosis deserves its own method. The waterproofing failure and leak diagnosis guide explains how to narrow the source instead of replacing a finish at random. Water rarely appears directly under the defect, so the visible stain is a clue rather than a location.
Three job – site failures repeat. First, a membrane goes down over a damp or dusty substrate. Second, an overlap is cut short or left un – bonded at a corner. Third, the finish gets installed before the system has cured, trapping moisture underneath. Each is cheap to prevent and expensive to correct later.
On a busy roof deck, one more problem shows up: punctures. A dropped tool, a furniture leg, or a planter base can breach the layer that was supposed to protect everything beneath it. A protective board or a finish rated for that use keeps the membrane out of harm’s way.
Limits, edge cases, and your next decision
Waterproofing systems have a service life, not a permanent guarantee. Quality deck coatings can last anywhere from 2 to 10 years, depending on the product type, application quality, and environmental conditions. That range is wide because those three variables vary so much between decks.
Sun exposure changes the calculation. A coating that blocks 95% of UV can make a meaningful difference to how hot the deck feels during hot afternoons, because the surface absorbs less solar energy. It also changes how you compare finishes on an exposed terrace, where liquid membrane application and coating choices carry more weight.
Know where the limits are. A waterproofing product does not repair a structural crack, redirect water that drains the wrong way, or compensate for an undersized drain. If the deck involves structural changes, persistent ponding, or water near electrical features, consult a qualified professional before choosing a system. Confirm product thickness and installation requirements against the manufacturer’s current technical data.
Budgeting is often the deciding condition for the owner. The waterproofing cost and home budget guide covers realistic pricing ranges, so the decision rests on total installed cost rather than the product label alone.
Decision guidance: pick the system that matches your deck
- Choose a sheet membrane if the deck has a straightforward layout, the substrate is stable, and you want a defined installed thickness.
- Choose a coating system if the terrace has many penetrations, complicated upstands, or details that would require difficult seams.
- Choose a protection layer if furniture, planters, or heavy foot traffic sit over the waterproofing.
- Fix drainage before selecting a system if water ponds or has no clear path to an outlet.
Whichever route you take, start with the substrate and the water path. That is the decisive attribute behind a roof deck that stays dry for years, not the one you can see after the tiles go down.