Your gate used to swing shut with one hand. Now it drags on the ground, hangs crooked, and only catches if you lift it into place. Good news: in most cases the fix takes under 10 minutes and costs under $35, because the problem is usually stripped screws or a post that has crept out of plumb, not a ruined gate. Gate sag is the slow drop of a gate leaf that pulls it out of square with its latch, caused by hinge screws loosening, a leaning post, or both.
What Gate Sag, Hinges, and the Latch Actually Do
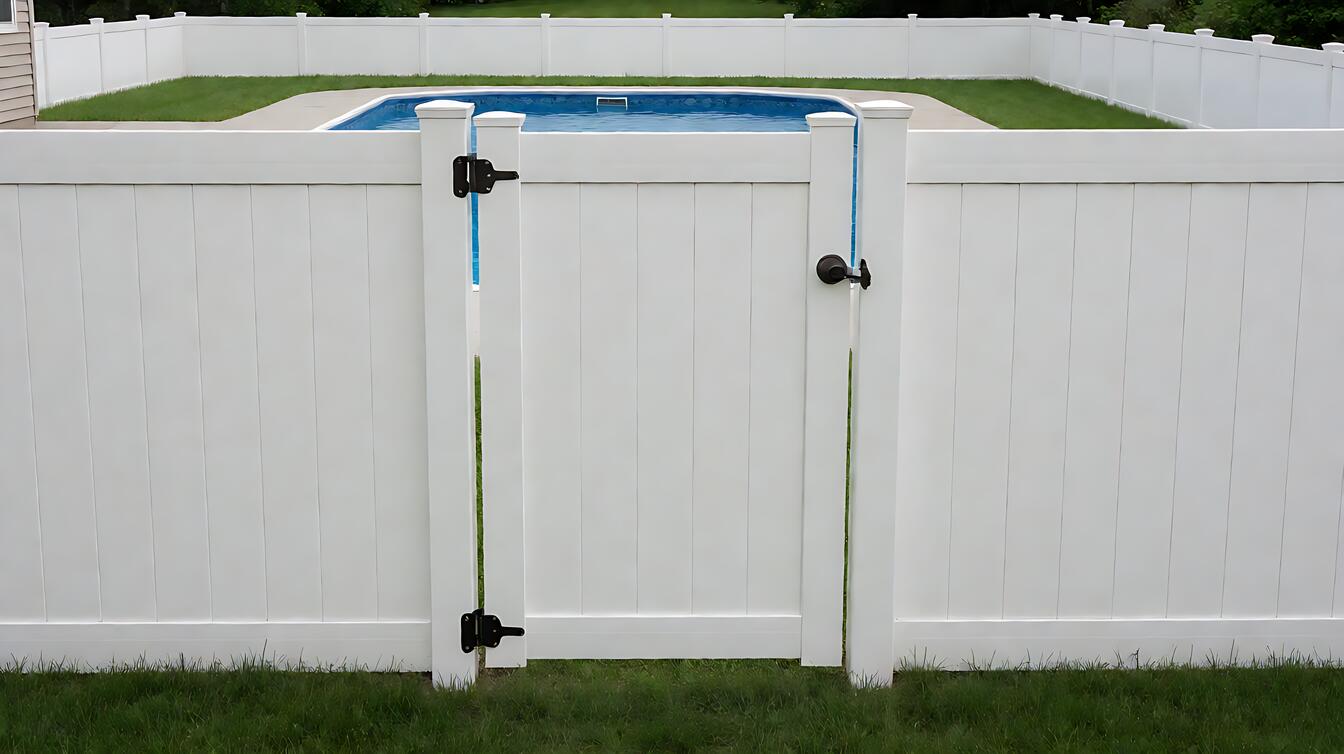
Gate sag is the visible drop of a gate leaf at the latch side, enough to drag on the ground or miss the catch. Hinges carry the full weight of the leaf, while the latch only holds the gate closed.
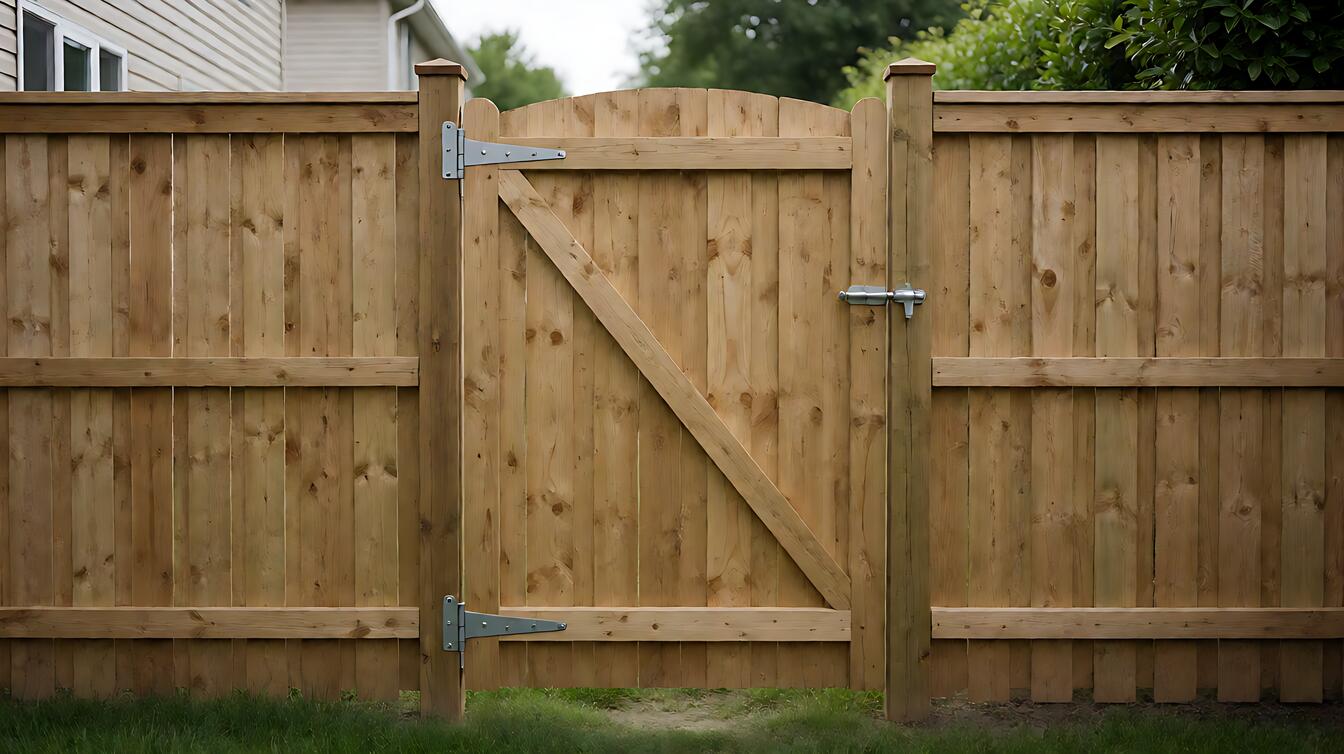
Hinges are the load-bearing part. A pair of strap hinges or butt hinges carries the entire weight of the leaf, and on a tall gate that load sits on two or three small fasteners. The latch does no lifting at all. It only catches the leaf once the hinges have already done their job.
Strap hinges spread the load across more wood and suit heavy timber gates. Butt hinges sit flush and suit lighter leaves. Self-closing hinges add a spring, which is convenient but adds another part that can wear out.
That division of labor is why a gate can look fine and still fail. The latch is the part you notice, but the hinge screws are the part that fails first. Sag is not a style problem. It is a load path problem, and it almost always starts at the screws.
Why Gates Sag: The Mechanism With Real Numbers
Sag is gravity working through leverage. The farther the latch sits from the hinges, the more downward force those few screws have to resist. A heavy leaf on short screws is a slow, one-way failure.
Stripped screws are the most common cause of gate sag, and the fix takes under 10 minutes. The short screws that come with cheap hinges pull out of soft wood grain, and once one loses grip the others carry more load and follow.
The reliable fix is a 3-inch exterior-grade screw driven into solid wood or the post, not the thin picket. Snap the old screw flush, wait 20 minutes, then drive the longer screw.
If the post itself is leaning, the hinge is innocent. Prop it plumb with a temporary brace, chip out the old concrete, pour new concrete, and hold it plumb for 24 hours.
A leaning post is the harder problem, and it will keep sagging no matter how many screws you replace. That is the point where a hinge repair stops making sense. When the post is the culprit, the repair is a reset, and fence post depth and concrete strength matter more than the hardware you hang on it.
Installing Hinges and a Latch That Stay Square
Installation is where sag is prevented or invited. The sequence matters more than the hardware, because a plumb post and long screws do most of the work.
- Set the post plumb in two directions and brace it, then wait at least 4 hours before hanging the gate.
- Hang the leaf on 3-inch exterior-grade screws driven into the post or a solid frame, not the picket.
- Space hinges near the top and bottom of the leaf, and add a third hinge on tall or heavy gates.
- Set the latch height where the leaf naturally rests, so it catches without lifting.
- Test the swing arc and the latch catch before you finish, and adjust the hinge screws a quarter turn at a time.
Checkpoints: the gate should swing both ways under its own weight, the latch should catch without lifting, and the gap should stay even from top to bottom. If any one of those fails, stop and fix it before you call the job done.
Choosing the Right Fix for Your Conditions
The right fix depends on the site, not the gate. Four conditions change the answer more than any product label does.
| Condition | What changes | What to choose |
|---|---|---|
| Wet or humid site | Corrosion eats cheap steel from the inside | Stainless or hot-dip galvanized hinges |
| Tall or heavy gate | Two hinges overload and loosen | Add a third hinge |
| Tight budget | Cost matters more than hardware | Replace the screws, under $35 |
| Sun-exposed site | Heat and UV warp the leaf | Vinyl or composite leaf |
On a real job site, the gate usually sags for one of three reasons: a post that has crept out of plumb, screws that have stripped out of soft wood, or a latch set at the wrong height. Diagnose in that order, because the first two look identical from across the yard.
If the site is wet or humid, corrosion eats cheap steel hinges from the inside, and the failure looks like sag even when the wood is fine. If the gate is tall or heavy, two hinges are simply not enough. And if the budget is tight, replacing the screws is the whole job, and it costs under $35.
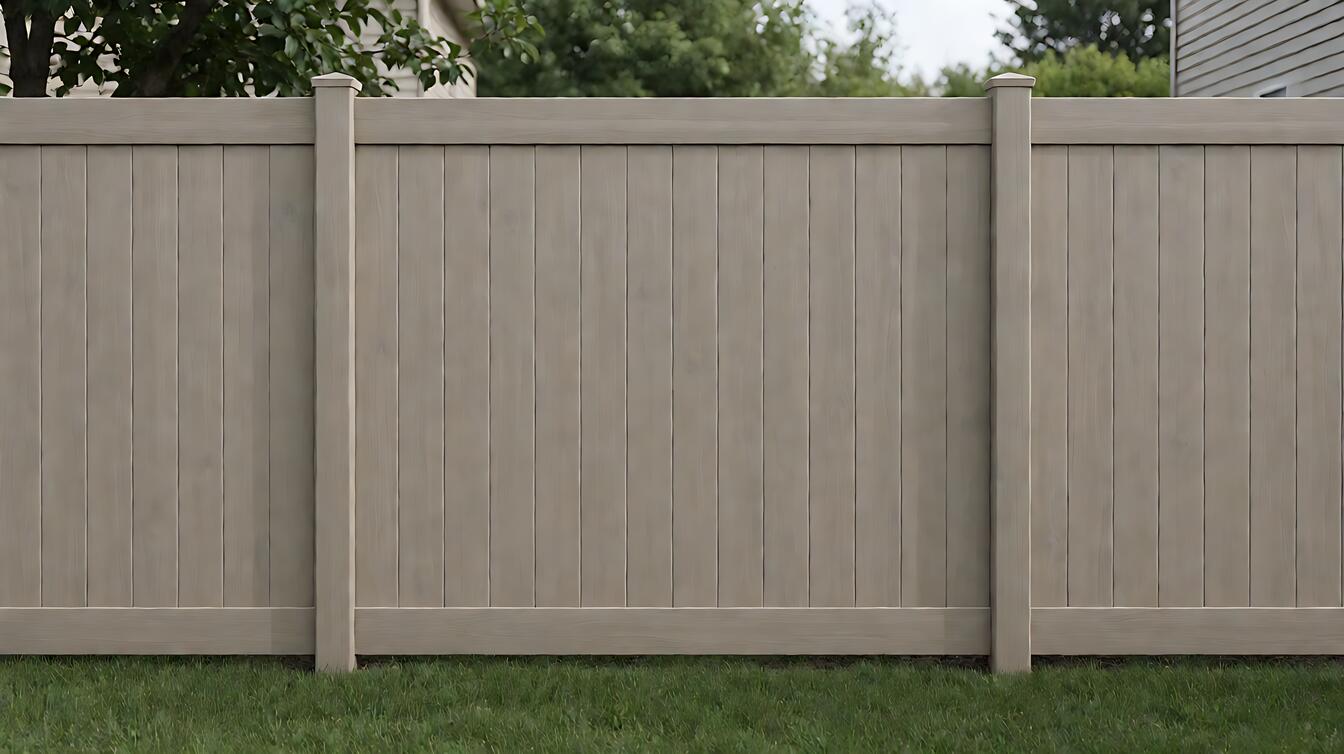
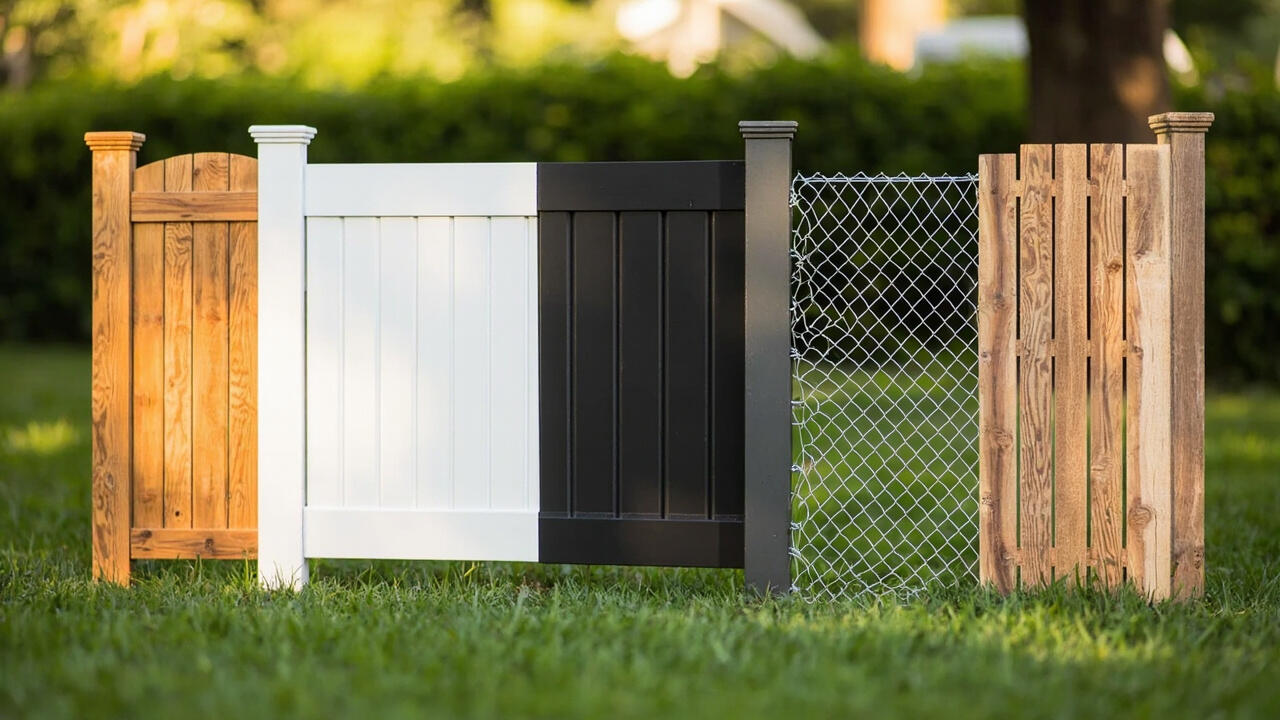
Sun exposure is the quiet one. Heat and ultraviolet light dry out wood and warp a leaf over a season, so a gate that was square at installation can drift out of square by summer. For material choices, compare wood vs vinyl fencing cost and the fencing materials comparison guide before you buy.
Limits, Edge Cases, and What to Do Next
Some sag is beyond a screwdriver. If the post leans more than a few degrees, if the concrete footing has cracked, or if the gate frame itself has twisted, the repair is structural, and that is the point to call a professional.
An anti-sag kit is a reasonable middle step for a gate that is otherwise sound. It adds a diagonal cable that takes the load off the hinges, and it works best when the frame is still square.
What to do next: diagnose the post first, then the screws, then the latch. Replace the screws before you buy anything, because that fix costs almost nothing and tells you whether the post is the real problem.
Choose screw replacement if the post is plumb and the wood is solid. Choose a new post and fresh concrete if the post leans. Choose a third hinge if the gate is tall or heavy, and choose stainless hardware if the site is wet.