You’re probably trying to separate one job from another: the waterproof layer that keeps water out, and the tile or vinyl you see every day. The answer is a continuous membrane system, correctly sealed and sloped, installed before the finish. Bathroom waterproofing is the moisture – management layer that protects floors, walls, and adjacent rooms from water that will find every available opening.
That distinction matters because the finish does not replace waterproofing. Water can reach weak seams, wall penetrations, and floor edges even when the visible surface looks dry. The membrane, substrate preparation, drainage, and installation details work together, so choosing the wrong system can leave you with a surface that feels complete but still leaks.
What Bathroom Waterproofing Includes
Bathroom waterproofing is a continuous, sealed barrier that protects wet – room surfaces, especially where floors meet walls and where plumbing enters the substrate. It works when the substrate is prepared, every junction is sealed, and the membrane is allowed to form an unbroken layer before tile or vinyl is installed.
The decisive attribute is continuity, not thickness alone. A waterproof membrane 0.8 – 1.2mm thick describes a common liquid – applied membrane range, but that thickness means little if the installer misses corners, leaves gaps around penetrations, or applies the product outside suitable conditions.
Floor and wall waterproofing are connected jobs. The floor membrane turns water toward the drain, while the wall membrane protects board edges and finishes behind them. Waterproofing bathroom walls and floors effectively requires both areas to meet cleanly at the perimeter. Learn more about compatible tile board and membrane combinations before choosing materials.
How the Waterproof Membrane Works
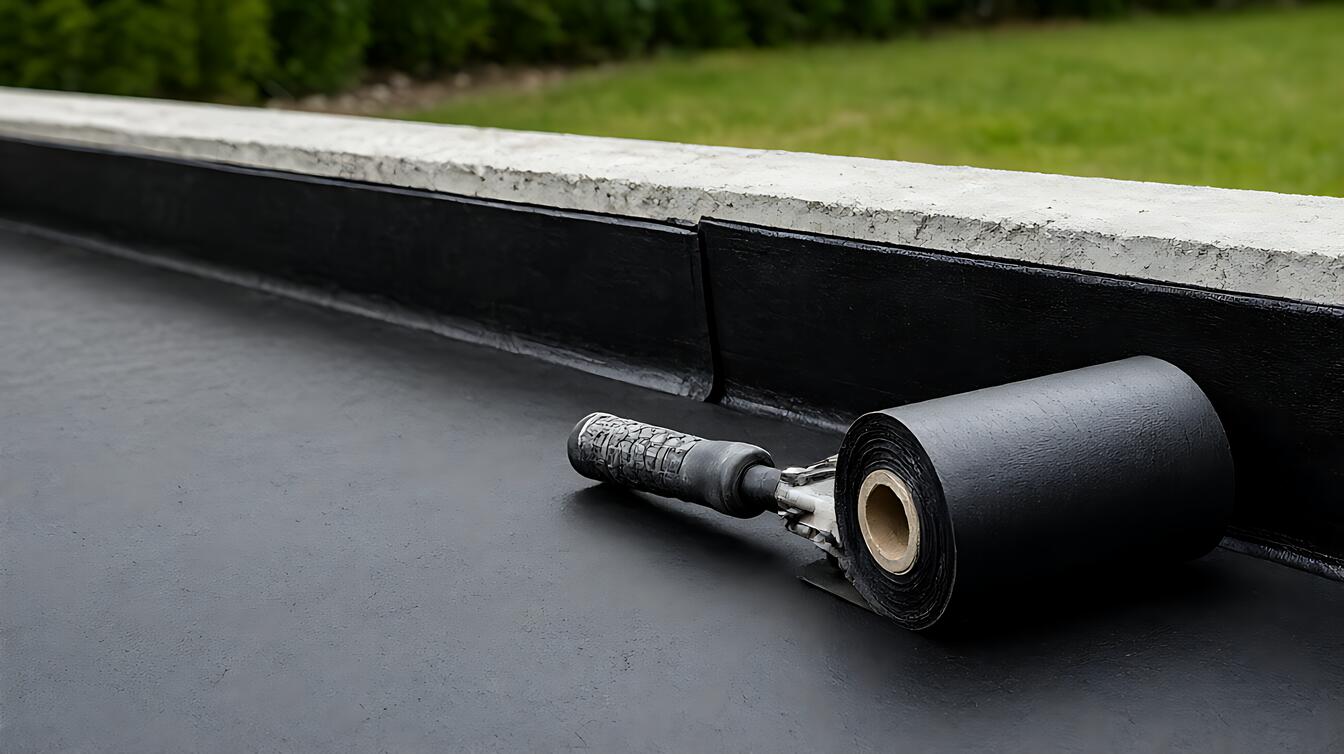
A liquid – applied waterproof membrane forms a bonded barrier over the prepared substrate, blocking the passage of liquid water when applied correctly. Its practical performance depends on coverage, curing, compatible sealants, and workmanship at corners, joints, drains, and penetrations rather than on a single thickness figure.
Seams need continuity between neighboring sheets or applied bands. A 100mm overlap helps bridge adjacent membrane edges in wet areas, reducing the chance that a gap becomes a path for water. Corners and changes of direction still require dedicated reinforcement, because they move and concentrate stress differently from flat surfaces.
Application conditions also change the result. One cited system guidance calls for application above 10°C, or 50°F, while another system may form its waterproof layer after 48 – 72 hours with 2 – 3 coats. These figures describe particular products, so use the manufacturer’s instructions for the membrane you actually buy.
Here’s the mechanism in plain English: the membrane slows water movement, the floor directs water toward drainage, and the finish protects the membrane from daily wear. If any link breaks, water remains near the substrate longer. Learn how membrane selection and installation affect the complete system.
When to Choose Tile, Vinyl, or a Liquid Membrane
Tile suits a bathroom where the floor receives heavy use, spills are expected, and the substrate can support a bonded finish. Luxury vinyl tile or plank can also serve as a waterproof floor covering, but its surface waterproofness does not replace the concealed membrane that protects the substrate.
The choice changes where the waterproofing work occurs. A liquid membrane is often easier to carry continuously into corners, wall bases, and around pipe penetrations. Tile installation can create additional joints that need sealing, while resilient flooring introduces seams and edges that require careful detailing.
Choose a liquid – applied membrane when complex geometry and continuous transitions are the priority. Choose a compatible sheet or tile – board system when the product manufacturer supports it and the installer can meet its fastening, sealing, and joint requirements. Do not mix systems without checking compatibility, because one product may weaken or contaminate another.
Drainage is the non – negotiable companion. A floor should fall toward the drain, and details for bathroom layout, drainage, materials, and costs should be settled before the finish is ordered. A flat floor can hold water even when the membrane beneath it is sound.
| Decision condition | Choose this | Main limitation |
|---|---|---|
| Frequent splashing and many corners or penetrations | Liquid – applied membrane with reinforced details | Application and curing time |
| Heavy floor use | Tile over a compatible waterproofing system | Joints require correct sealing |
| Need a thin, visually simple floor finish | Vinyl over a continuous waterproof membrane | Surface waterproofing is not substrate protection |
How the Job Works on Site
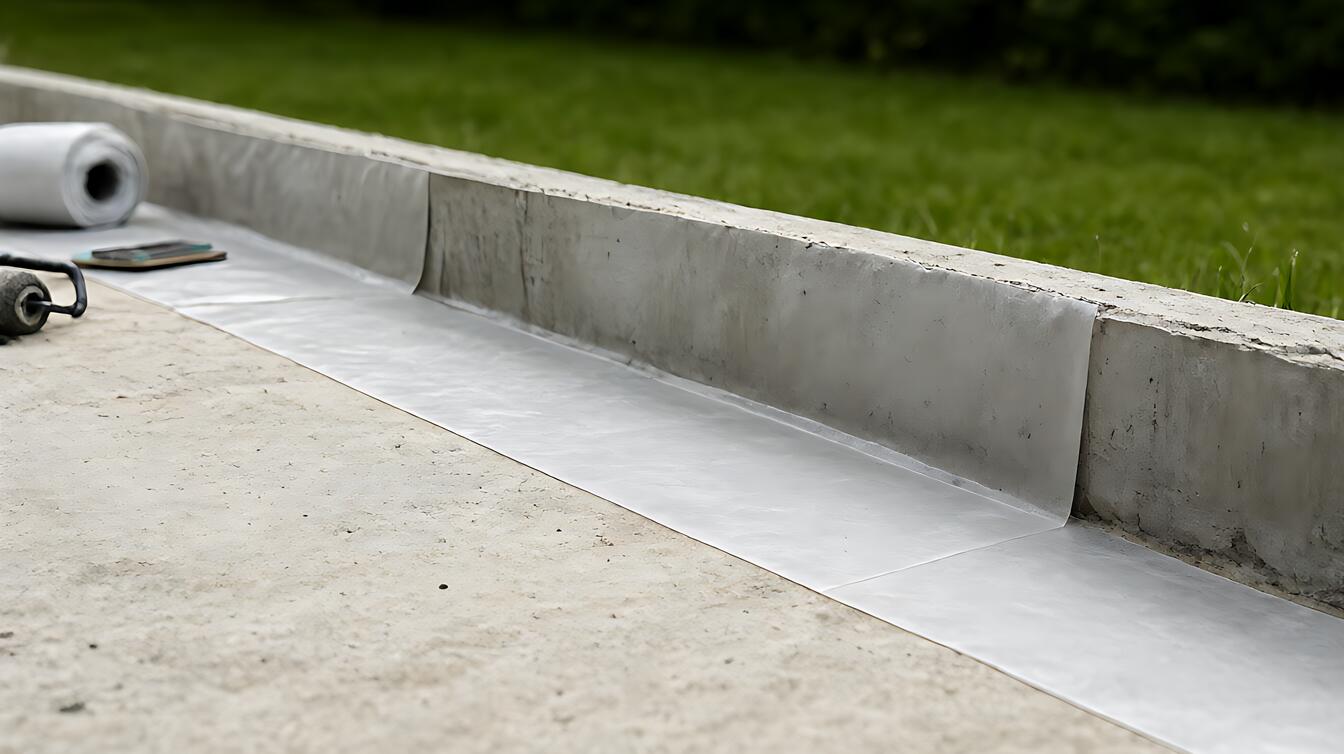
Substrate preparation determines whether the membrane can bond as intended. The surface must be clean, stable, and prepared according to the selected product. Loose material, contaminated areas, and unsealed joints become weak points because the membrane cannot reliably bridge contaminants or moving cracks.
Consider a bathroom where the shower base meets a tiled floor. The installer treats the floor, reinforces the wall – to – floor junction, seals the pipe penetrations, and checks the floor’s fall before applying the finish. Skipping any one of those steps can leave a connected path for water, even though every visible section appeared covered.
The sequence is straightforward:
- Prepare the substrate and repair defects according to the membrane manufacturer’s requirements.
- Reinforce corners, joints, penetrations, and transitions with compatible detailing materials.
- Apply the specified number of coats, maintaining required overlaps and curing conditions.
- Confirm continuous coverage and inspect details before installing tile, grout, or vinyl.
- Protect the completed membrane during the following finish work.
After installation, watch for cracks, blisters, or separation that may indicate damage. One guidance recommends inspecting waterproofing membranes at least every 5 – 7 years, with replacement sooner in high-traffic bathrooms where wear is heavier.
Bathroom ventilation also belongs in the moisture – control plan. A fan that moves 50 CFM of air can help remove humidity, but it cannot repair failed waterproofing. Persistent condensation and moisture can still feed mold growth and bathroom moisture problems.
Limits, Trade – offs, and Your Next Decision
Waterproofing service life can range from 10 – 20 years or more, depending on product quality and maintenance. That lifespan is not a promise for every installation. High-traffic bathrooms may need membrane replacement within 5 – 7 years, while damage from movement, neglected leaks, or incompatible finishes can shorten it sooner.
The trade – off is clear. Liquid – applied membranes can simplify continuous detailing, but they require careful preparation, controlled application, and curing time. Sheet systems may speed some stages, yet they rely on precise fastening and seam treatment. A visible tile or vinyl finish may improve cleaning and durability, but neither replaces the concealed waterproof layer.
Choose a DIY – applied system only when you can follow the complete manufacturer’s system, including surface preparation, detailing, application, curing, and protection. Consult a professional when the bathroom includes structural movement, unusual plumbing, complex penetrations, repeated leaks, or uncertain substrate construction. Waterproofing failures can affect the floor below and adjacent rooms, so a small leak can become an expensive repair.
Before ordering, compare the bathroom waterproofing kit cost against the coverage and detailing components your layout actually needs. Then confirm the 100mm overlap, product – specific application conditions, and complete wet – area coverage with the installer.
Use this decision checklist:
- Choose a continuous liquid membrane when complex corners and penetrations dominate the job.
- Choose tile when heavy use and durable joints fit the room and substrate.
- Choose vinyl when the finish suits the room, but keep the membrane beneath it.
- Choose professional installation when leaks are recurring, details are uncertain, or adjacent spaces are vulnerable.
Start with the shower and floor plan, then work outward to edges and penetrations. That order keeps the most consequential details from being treated as an afterthought, and it gives you a bathroom system you can inspect before the finish hides it.