You may be trying to understand whether a laundry room needs more than a water – resistant floor before a washer hose fails. The useful answer is to waterproof the wet zone, including vulnerable wall and floor junctions, because splash water and slow leaks can travel beyond the visible stain. Laundry room waterproofing is a continuous system that keeps moisture from passing through surfaces or joints into the room’s structure.
The decisive attribute is continuity, not the product label. A membrane only protects the area it actually covers, so seams, corners, penetrations, and transitions need deliberate detailing. This guide explains how common systems work, where their limits appear, and which approach fits your laundry room.
Waterproofing for Laundry Rooms: Continuous Protection Where Water Collects
Waterproofing for laundry rooms means protecting the floor, walls, joints, and penetrations that can receive water from washing, overflow, or plumbing failures. It matters most around the washer, dryer, supply lines, drain connections, and wall – to – floor edges, where a small gap can let moisture reach framing or adjacent rooms.
Choose a continuous membrane layer when the wet area has multiple corners or entry points. It must cover those details as one protected network rather than leaving vulnerable seams between separate pieces. Learn how the main approaches differ in the waterproofing types compared guide.
Do not confuse waterproofing with flooring. A waterproof surface can still fail if water enters through an unsealed pipe penetration. Likewise, a water – resistant floor does not protect the wall base, cabinetry, or structure beneath the room.
How a Laundry Room Membrane Stops Water
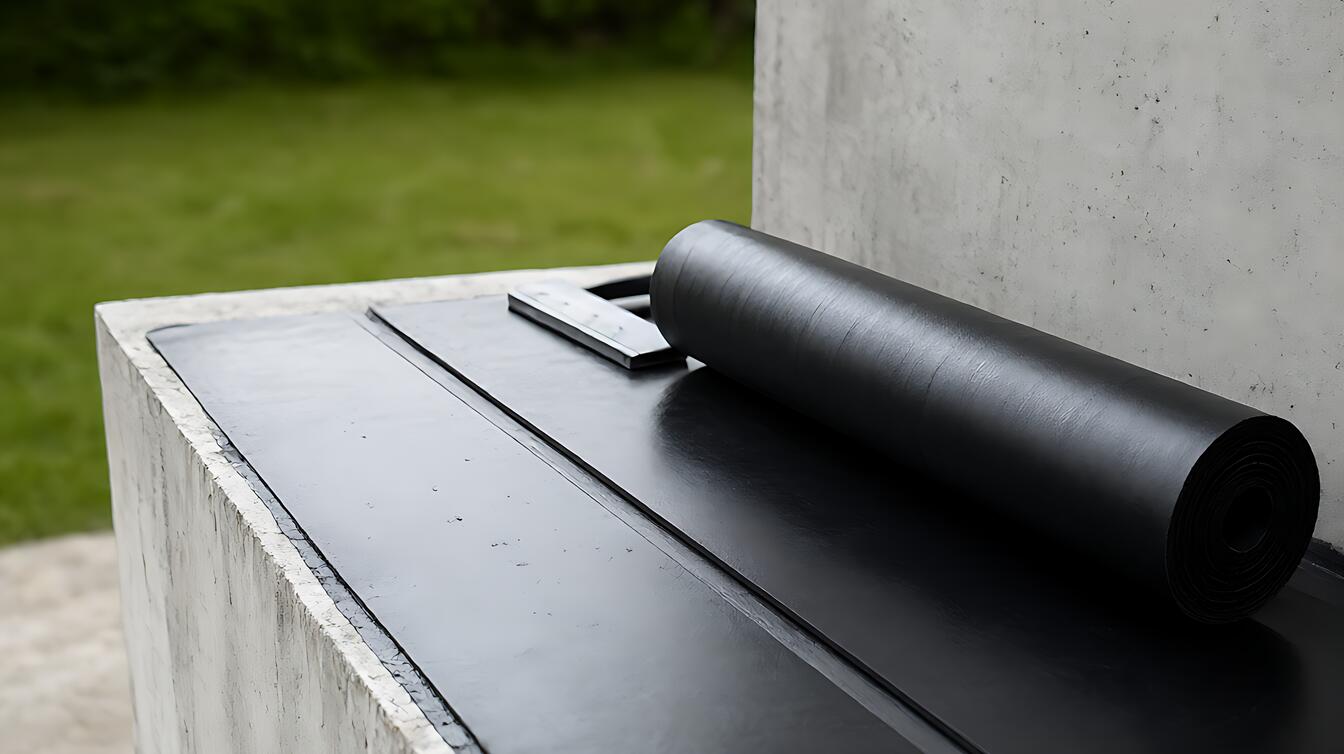
A waterproof membrane resists water passage by forming a continuous barrier over the prepared substrate. In a laundry room, that barrier works only when the floor and adjoining wet – area surfaces are clean, sound, and properly joined. Cracks or gaps left untreated become paths for water.
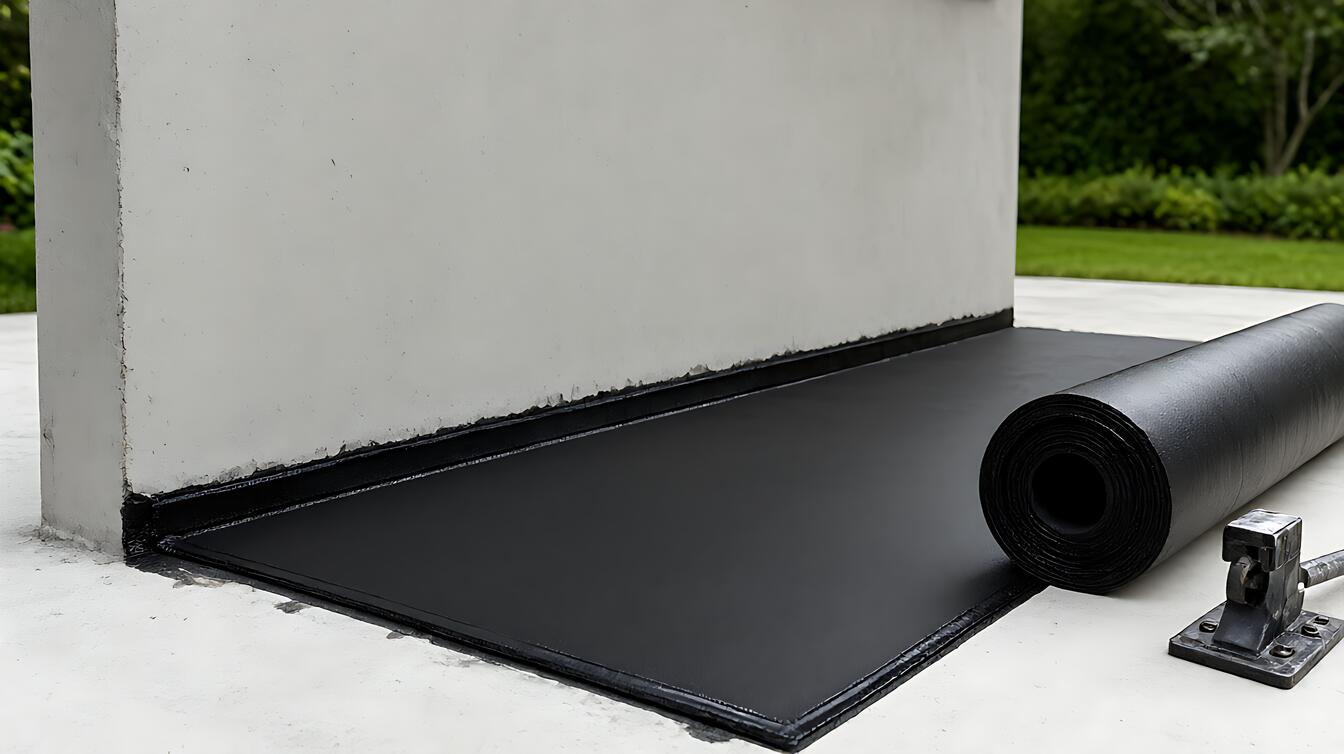
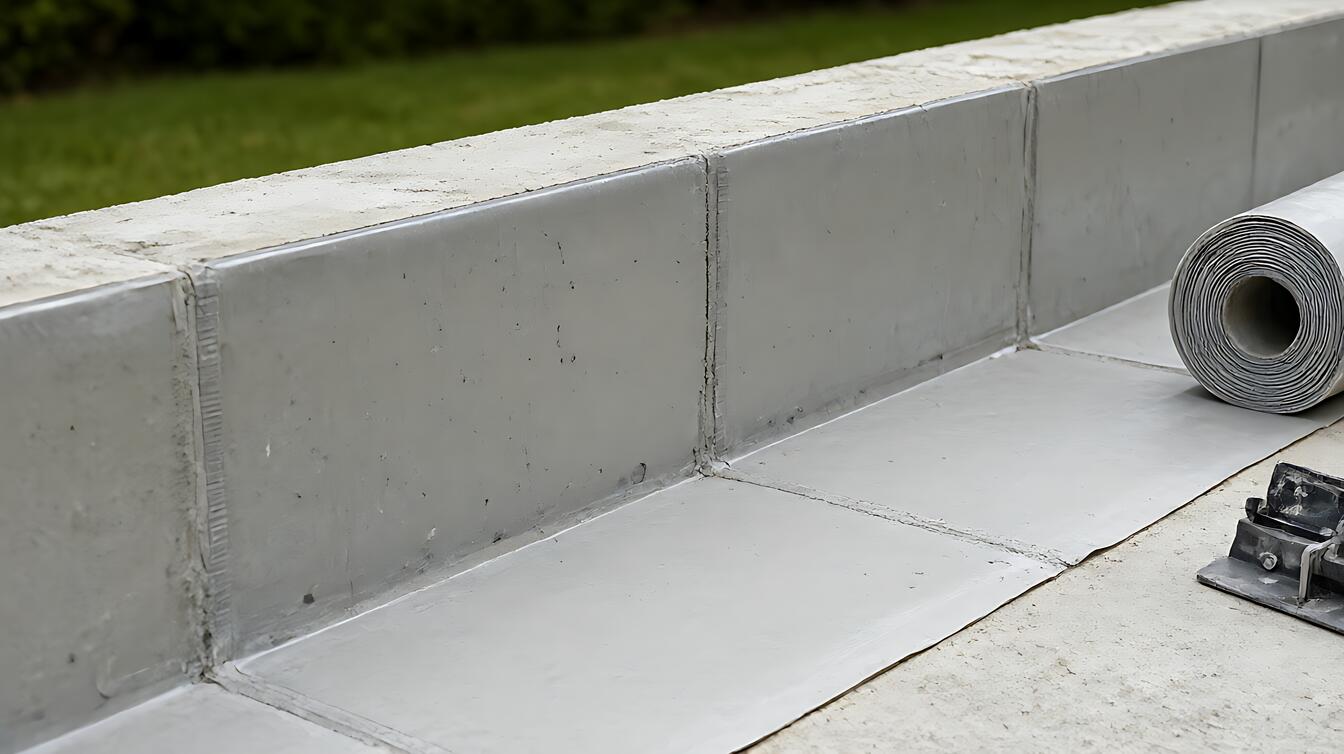
Sheet systems connect at seams, while liquid – applied membranes create a bonded layer before flooring is installed. The result should behave as one surface, but each method has different detailing demands. For a broader explanation, see waterproofing systems.
The grounding research gives specific dimensions for other parts of a laundry installation, not for every membrane product. SPC flooring, for example, commonly has a dense limestone – and – PVC core that is 4 to 7 mm thick. That figure describes the finished flooring, not the membrane beneath it.
Choosing a System by Laundry Room Condition
Choose sheet membrane when predictable factory dimensions, controlled seams, and a consistent installation process matter most. Choose liquid – applied membrane when complex corners, multiple penetrations, or irregular shapes make sheet detailing difficult. Cementitious coatings suit suitable mineral substrates, but their compatibility must be confirmed before application.
The decisive condition is the substrate and detail geometry, not the room’s appearance. A flat floor with few interruptions can simplify sheet installation. A tight utility area crowded with hoses, valves, drains, and cabinet bases may reward a liquid system because it can form around irregularities.
Detailed comparisons between sheet, liquid, and cementitious approaches are available in sheet, liquid, and cementitious waterproofing. That comparison helps you identify the system family, while the substrate and manufacturer’s installation details determine whether it is suitable.
| Condition | Preferred direction | Main limitation |
|---|---|---|
| Few penetrations and regular room geometry | Evaluate sheet membrane | Seams and corners require careful detailing |
| Tight, irregular wet area | Evaluate liquid – applied membrane | Surface preparation and cure control are critical |
| Suitable mineral substrate | Evaluate cementitious coating | Compatibility must be verified before use |
Wet – Area Detailing and Common Job – Site Traps
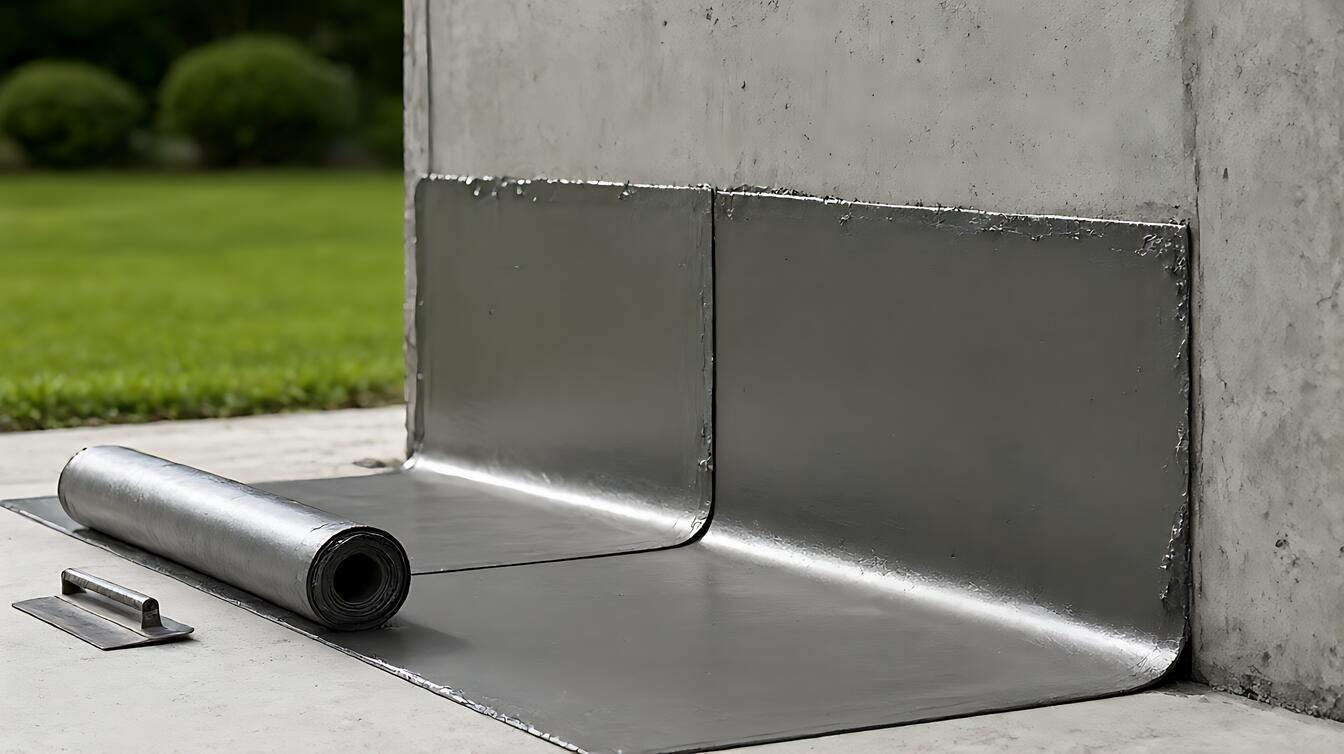
Wet – area detailing connects the membrane around corners, wall bases, drains, and pipe penetrations so water cannot enter gaps. These vulnerable junctions often matter more than the field area. A small opening beside a washer hose can admit more water than a broad, protected floor.
For systems that use a membrane torch, the installation method and thickness must match the specified product system rather than relying on a generic rule. The grounding file does not verify a universal membrane torch thickness of 3 to 4 mm, so that range should not be treated as a universal installation requirement.
Similarly, a 100 mm overlap is not established as a universal seam dimension in the research. Use it only when the selected system’s approved installation details specify it. The documented 4-inch overlap is therefore a conditional requirement, not a blanket rule for every product or seam.
On site, the most revealing symptom is usually not the puddle but the damp edge. Check wall bases behind the washer, the floor near supply connections, and the ceiling or wall below if plumbing is nearby. Persistent moisture there means the problem may be an unsealed detail or an active leak rather than a failed finish.
Limits, Failures, and the Next Professional Step
No waterproofing system can protect a room from every water source. It reduces the chance that routine splash and slow leakage will penetrate construction, but it does not replace sound hose connections, suitable drainage, or prompt repairs. Washing – machine hoses are recommended for replacement every 3 to 5 years, regardless of apparent condition.
Choose a complete system when walls, floor edges, and penetrations are exposed. Choose only a floor membrane when the wash area is isolated and the surrounding construction cannot receive water. Use a waterproof floor covering as one part of the protection, not as evidence that the assembly beneath it is waterproof.
For recurring dampness, unexplained staining, or water appearing in an adjacent room, consult a qualified waterproofing professional. Diagnosing the leak path is more valuable than adding another surface layer. The waterproofing failure and leak diagnosis guide can help you distinguish symptoms before work begins.
Decision Guidance for Your Laundry Room
Choose a sheet membrane if regular geometry and controlled seams suit the room. Choose a liquid – applied membrane if penetrations, corners, or tight working conditions make continuous detailing easier. Use a cementitious coating only after confirming that the substrate is compatible.
Choose full wet – area protection if the washer, hoses, drain connections, and wall bases share the same risk zone. Before installation, confirm seam dimensions, thickness requirements, substrate preparation, curing conditions, and compatibility with the chosen flooring. Those product – specific instructions control the result.
For broader installation considerations, use the complete waterproofing systems guide. If your main constraint is what the work will cost, see waterproofing cost and home budget planning before choosing a system.