You’re standing in front of your house with a can of paint and a question: do I really need to spend a weekend prepping before I roll this on? Yes. Exterior paint preparation and priming is the work that decides whether your paint job lasts 18 months or 8 years. Done right, a moderate home takes 2-4 days and roughly $50 in materials. Done badly, even premium topcoat peels within two summers. Prep is not the boring part. Prep is the part.
What Exterior Paint Prep Actually Does (and the 1-2 Year vs 5-8 Year Gap)
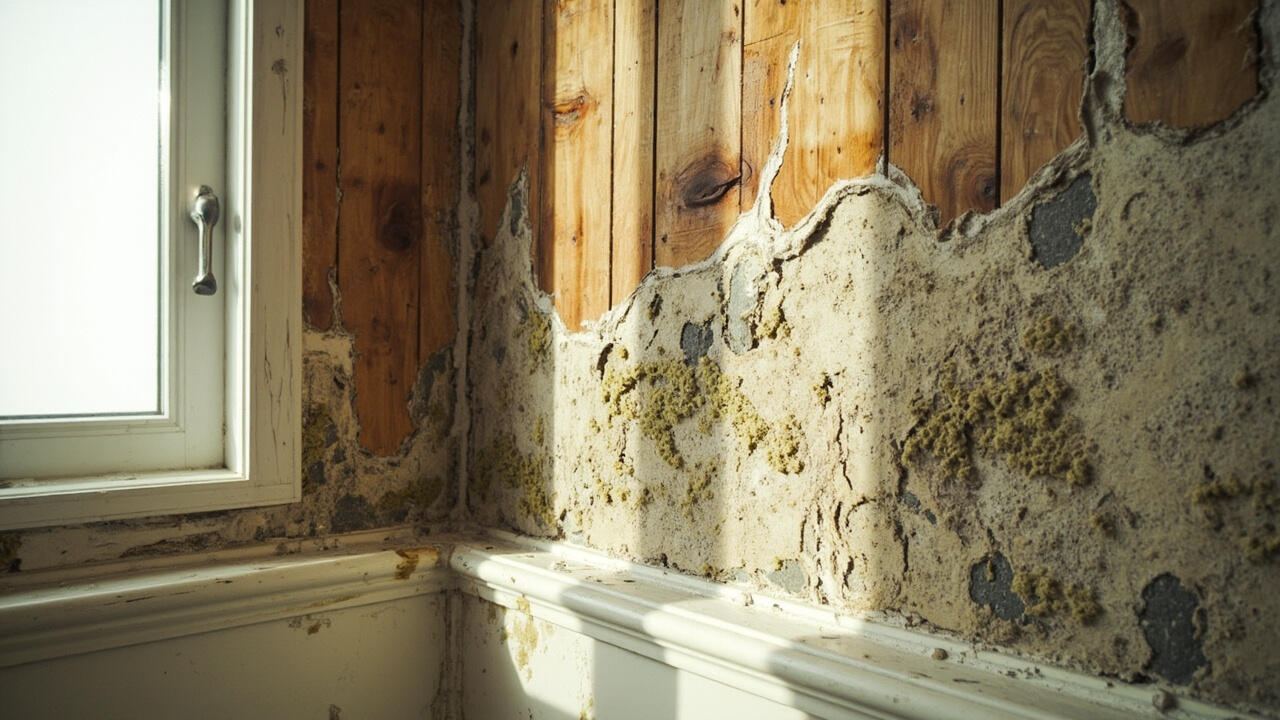
Prep is what bonds paint to your house instead of to the old paint. A flawless topcoat rolled onto chalky, peeling, or damp siding will lift off with the first hard freeze, regardless of brand or color. Skipping prep turns paint into a temporary skin instead of a permanent finish.
The outcome gap is measurable. A house repainted without proper prep typically fails within 1-2 years: peeling, blistering, tannin bleed (brown stains bleeding through from wood), or widespread chalking. A house that was cleaned, scraped, repaired, and primed before topcoat routinely lasts 5-8+ years before needing attention. That gap is the reason prep exists.
Three things drive the gap. Adhesion requires a clean, dry, slightly porous surface. Moisture trapped under paint pushes it off in sheets. Unstable existing paint pulls new paint down when it fails. Prep solves all three. Think of primer as the handshake between siding and topcoat: without it, neither side trusts the other.
The Prep Sequence in 7 Stages (with Times)
Prep follows a strict order because each stage depends on the one before it. Clean, then dry, then strip what’s loose, then repair, then mask, then prime. Skip ahead and you’ll prime over mildew, trap moisture, or paint over flakes that lift the next coat with them.
- Assessment: walk the elevation in daylight. Mark peeling areas, chalky patches, cracks, and exposed wood. Takes 30-60 minutes per elevation.
- Cleaning: pressure-wash siding top to bottom (specs in next section). Removes dirt, mildew, and loose chalk so primer can grip.
- Drying: wait 48 hours in warm, dry weather (above 15°C and low humidity) or 3-5 days in cool, humid conditions. Wood siding needs the longer window.
- Scraping and sanding: remove all flaking paint back to a firm edge. Sand glossy areas to dull the sheen. 80-120 grit handles most exterior work.
- Repairs: fill small cracks with exterior filler, replace rotted boards, re-caulk gaps around trim and penetrations with elastomeric caulk rated for exterior use.
- Masking: cover windows, doors, fixtures, and landscaping with 9 µm plastic and painter’s tape. Masking takes 1-2 hours and saves hours of cleanup.
- Priming: spot-prime repairs or full-prime the elevation, depending on condition (covered below).
The total time for a single-story moderate home lands at 2-4 days of active work plus drying gaps. Two-story or heavily peeling homes run longer. Plan for the drying gaps, they are not optional.
Pressure Washing: The Concrete Numbers
Pressure-washing is the cleaning stage most homeowners get wrong, either too little pressure to remove chalk, or so much that water gets forced behind siding. The right setup depends on substrate, and the specs are concrete.
For most exterior siding (vinyl, fiber-cement, stucco, painted wood in good condition) use a pressure washer at 100-130 bar with a 25° or 40° fan nozzle held 30-50 cm from the surface. Work top to bottom so dirty water flows down over unwashed areas, not up into clean ones. Keep the nozzle moving. Holding in one spot etches siding and forces water behind cladding.
For wood siding, especially older clapboard or cedar, drop to soft wash: lower pressure (around 60-80 bar), wider fan, and a detergent like TSP substitute (trisodium phosphate alternative) or oxygenated cleaner. High pressure on wood raises the grain and drives water into joints. For vinyl siding, soft wash also works well and reduces the risk of dislodging panels.
Wear eye protection. The spray rebounds off siding with enough force to injure an eye in seconds. If your home was built before 1978, test for lead paint before you pressure-wash or scrape. Lead-paint dust and chips are a serious health hazard and require an EPA RRP-certified contractor (Renovation, Repair, and Painting rule) for anything beyond minor work.
Choosing the Right Primer (Latex vs Alkyd vs Bonding vs Masonry)
Primer is not one product. The right primer depends on what you’re painting over, and the wrong primer can ruin an otherwise good prep job. Below is a substrate-conditional decision matrix.
| Substrate or condition | Primer type | Why | Recoat time |
|---|---|---|---|
| Bare wood, especially cedar or redwood | Alkyd stain-blocking | Blocks tannin bleed (brown stains that leach through latex) | ~24 hours |
| Chalky surface (powdery residue when rubbed) | Chalk-binding primer (acrylic bonding) | Penetrates chalk so topcoat adheres | 4-24 hours |
| Glossy, previously painted surface | Bonding primer | Grips slick surfaces without heavy sanding | 4-6 hours |
| Masonry, stucco, concrete | Masonry primer (alkali-resistant) | Tolerates high pH in new masonry | 4-8 hours |
| Sound, previously painted latex on most modern builds | Latex primer | Flexible, fast-drying, low odor for general spot-prime | 1-4 hours |
The trade-off: latex primers dry fast and clean up with water, but they cannot block tannin bleed from cedar or redwood. Alkyd primers block tannins and seal stains, but they take longer to dry, require mineral spirits for cleanup, and stay softer longer in cool weather. Choose alkyd for tannin-rich wood or stain-prone areas. Choose latex for general spot-priming on modern siding. Choose bonding when the existing surface is too glossy or too smooth to sand.
For more on matching primer chemistry to specific siding materials, see our exterior siding types comparison. For guidance on picking the topcoat that goes over this primer, our exterior paint types guide walks through the options.
Spot-Prime vs Full-Prime, DIY Cost & When to Call a Pro
Once the surface is clean, dry, and repaired, you have one more decision: spot-prime the repaired areas only, or full-prime the entire elevation. This is an extent-conditional call, not a preference.
Spot-prime when less than 20% of the elevation has been scraped or repaired and the existing paint is sound, intact, and well-adhered. Spot-prime bare wood patches, filled cracks, and sanded glossy spots. Roll or brush primer only over those areas, then topcoat the whole elevation. Saves primer and time.
Full-prime when more than 20% of the elevation is disturbed, when the existing paint is chalky, when you’ve stripped overall paint consistency, or when you’re switching paint types (for example, oil to latex). Full-prime creates a uniform substrate so the topcoat dries and wears evenly. It costs more up front, but prevents the patchy sheen and uneven wear that show up within a year on spot-primed chalky walls.
DIY cost for a single-story moderate home typically starts around $50 in supplies (cleaner, caulk, filler, sandpaper, primer, masking). Add the topcoat budget on top of that. Time runs 2-4 days of active work plus drying gaps.
Call a professional if your home was built before 1978 and has failed paint (lead-paint hazard), if more than 25% of any elevation has peeling paint, if the home is two stories or higher (ladder and fall risk), or if the substrate is stucco over 20 years old (which may need elastomeric coating). A pro charges more, but the safety math and the finish math both favor hiring out at these thresholds.
For a broader view of where exterior work fits in your renovation budget, see our home renovation cost breakdown. And for the planning context around painting timing, our seasonal renovation planning guide covers when exterior work makes sense by climate.
Decision guidance:
- Choose spot-prime if: less than 20% of the elevation is repaired, existing paint is intact, and you’re not changing paint chemistry.
- Choose full-prime if: more than 20% is disturbed, surface is chalky, or you’re switching from oil to latex.
- Choose alkyd primer if: bare wood is cedar, redwood, or any tannin-rich species.
- Choose bonding primer if: the existing surface is glossy, slick, or has been previously coated with a hard enamel.
- Choose a professional if: your home predates 1978 with any failing paint, more than 25% of any wall is peeling, or the elevation is two stories plus.
Next step: after priming and curing (follow the recoat time on the can, not the “feels dry” test), apply two topcoats of 100% acrylic exterior paint. Wait 24 hours between coats. Keep a small touch-up kit for the first season. You’ll kn