You step onto the patio under your second-story deck and the cushions are damp again. Water weeps between the boards, drips onto the grill, and pools against the foundation. An under-deck waterproofing membrane is a sheet or liquid barrier installed beneath the deck boards (and usually above the deck framing joists) that routes water sideways to a gutter instead of letting it fall through. That single layer is the difference between a dry patio and a slow-motion rot problem in your framing.
What an Under-Deck Waterproofing Membrane Is and Why Deck Boards Leak Without One
Deck boards are not waterproof. Most are spaced 1/4 inch apart so the wood can drain and dry, which means anything that lands on them, including rain, snowmelt, and rinse water, passes straight through. The boards themselves shed water off their surface, but the gaps between them are wide open. If you want the space below to stay dry, you need a continuous waterproof membrane added underneath the boards, one that slopes water laterally to a gutter or downspout rather than letting it drip straight down.
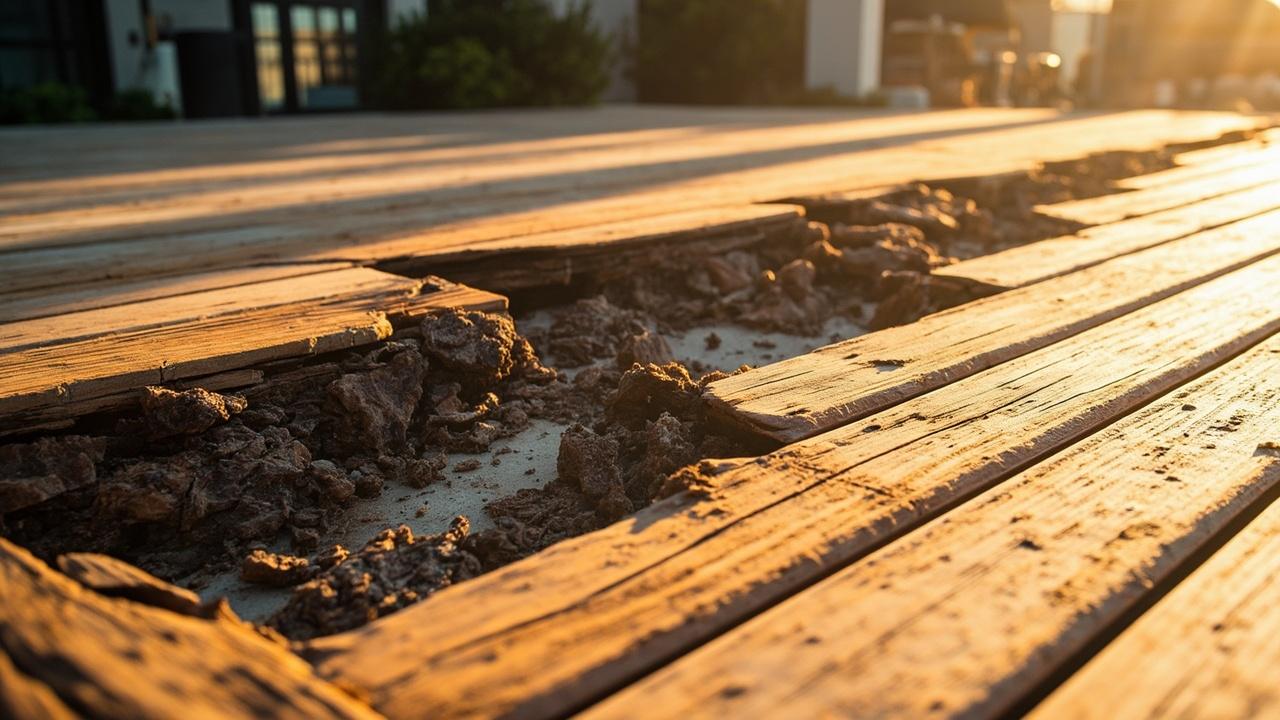
This is why some second-story decks turn the area below into a usable patio while others stay soggy year-round. The surface material is doing two jobs at once: shedding its own water and (with a membrane) keeping the space below dry. Without the membrane, the framing also absorbs splash-back and humidity, which is the slow path to the kind of deck rot damage that costs thousands to repair.
A typical retrofit membrane runs $5 to $15 per square foot installed, depending on the system. The material itself is a small share of that price. Most of the cost is the metal flashing at the edges, the gutter, and the labor to remove and reinstall the deck boards.
How the Membrane Works: Slope, Thickness, and Water Path
A membrane only works when it can move water somewhere. Three numbers decide whether the system actually keeps the patio dry or just makes the most sense on paper: slope, thickness, and seam design.
Slope is the biggest one. The membrane needs to fall at least 1/4 inch per foot (about 2%) from the house toward the outer beam, where a gutter or drip edge collects the water and sends it to a downspout. Flatter than that and water ponds; ponding finds every pinhole and seam. In practice, a 12-foot-deep deck needs a 3-inch drop across its width, which often means planing down the joists or adding tapered furring strips on top of them.
Thickness matters because the membrane doubles as a walking surface during installation and sometimes as the finished surface for the deck above. Self-adhered rubberized asphalt membranes run about 60 mil (1.5 mm) thick and are fine when a separate deck surface goes over them. Hot-applied or fully adhered systems build up to 3.0 to 5.0 mm total and handle more abuse. EPDM sheet membranes sit around 45 to 60 mil and rely on taped seams, which is where most failures start.
Seam design is the third lever, and it is the part most homeowners miss. The membrane has to wrap over the ledger board at the house (where the deck attaches to the building) and integrate with the house’s existing step flashing and weather barrier. Miss that and water tracks behind the membrane into the rim joist, the same way a bad roof flashing lets water into a wall. This is also why membrane choice connects back to deck construction footing, beam, and joist design: the slope you can build depends on the joist depth you already have.
When to Choose Which System: Membrane Types Compared
Five systems cover most residential installs. Each one has a clear condition where it makes sense and a clear condition where it tends to fail. The table below lines up the attributes that change the decision: thickness, walkable-surface rating, slope tolerance, and installed cost per square foot.
| System | Thickness | Walkable Surface | Best Condition | Cost / sq ft Installed |
|---|---|---|---|---|
| Self-adhered rubberized asphalt (Peel-and-Stick) | 60 mil (1.5 mm) | No, needs deck boards over it | New build, dry climate, tight budget | $5 to $8 |
| EPDM sheet (rubber roofing) | 45 to 60 mil | No, needs deck boards over it | Large flat areas, simple shape | $6 to $10 |
| Vinyl or PVC deck liner (under-deck ceiling systems) | 30 to 40 mil | No, becomes finished ceiling below | Dry space underneath, retrofit | $7 to $12 |
| Hot-applied rubberized asphalt (built-up) | 3.0 to 5.0 mm total | Yes, with protection board | Heavy use, freeze-thaw, walkable | $10 to $15 |
| Liquid-applied polyurethane or acrylic | 30 to 60 mil built up in coats | Yes, with non-slip additive | Odd shapes, many posts to seal around | $8 to $14 |
Choosing the right system is mostly about reading your conditions. Pick self-adhered when you are building new and want the lowest cost per square foot. Pick EPDM when the deck shape is rectangular and you want a single sheet with few seams. Pick a vinyl under-deck ceiling system when the goal is a finished dry room below rather than a hidden layer. Pick hot-applied when you need a walkable surface and live somewhere with real freeze-thaw cycles. Pick liquid-applied when the deck has lots of posts, curves, or penetrations, since liquids conform without seams.
Material choice also intersects with the deck surface above. If you are resurfacing with composite, your membrane and your deck building material comparison need to agree on fastener type and joist spacing, because some composites want 16-inch centers while the slope design wants a different rhythm. That decision tends to be made at the framing stage, not the waterproofing stage.

Retrofit Versus New Build: What Changes in Real Installs
The same membrane behaves differently depending on whether the deck already exists. New builds let you set the joist height, taper the framing for slope, and integrate flashing before any deck board goes down. Retrofits force you to lift every board, work backward through the existing structure, and hope the framing is still square.
For a new build, plan the joists so the bottom of the deck surface sits 3 to 4 inches below the threshold of the door leading onto it. That gap gives the membrane enough room to slope toward the gutter without pushing the deck surface above the interior floor. It also lets you integrate the membrane with the house wrap and step flashing in one continuous layer, the same logic used in crawl space moisture encapsulation where the vapor barrier runs up the wall and seals to the framing.
For a retrofit, the steps are predictable but unforgiving. The process splits into three parts: board removal, membrane installation, and surface reinstallation. Each step decides whether the patio below stays dry.
- Lift the deck boards in numbered rows so they go back in the same spot; pressure-treated lumber shrinks and swells, and a board cut to fit one bay rarely fits another.
- Clean the joist tops, sand down any high spots, and snap a chalk line for the 1/4-inch-per-foot slope before unrolling any membrane.
- Install a metal drip edge at the low end first, then run the membrane from the house outward so each course overlaps the one below it, shingle-style, by 3 to 4 inches.
- Wrap the membrane up the ledger board at least 6 inches and seal it under the existing house wrap, never over it.
- Reinstall the boards with corrosion-resistant screws (not nails) since you will lift them again someday.
Common traps in retrofits: skipping the ledger flashing (water enters the house wall), forgetting the slope (water ponds and finds seams), and using the wrong fastener (deck screws puncture the membrane from above). One more worth naming: building a deck over a slope doesn’t protect the framing if water can wick up from below, which is the same moisture problem that deck rot damage repair is trying to undo.
Limits, Edge Cases, and When to Call a Professional
An under-deck membrane is not a roof, even though it acts like one. Three situations push it past what most homeowners should DIY: structural framing that already shows rot, a deck that was never designed to carry the added weight of a built-up membrane, and any leak that has already reached the house wall. In those cases, a licensed deck or waterproofing contractor is the right call, and the membrane choice becomes a structural question, not a material question.
The honest trade-off is this: the cheapest membrane saves $3 to $5 per square foot upfront and usually costs more in the first five years if anything goes wrong. Seams fail, sealants dry out, and slope mistakes do not fix themselves. A mid-range system at $8 to $12 per square foot tends to outlast two cheap installs, especially in freeze-thaw climates where the membrane flexes with the framing.
Watch for these early warning signs after install: white chalky residue on the membrane (it is shedding plasticizer), standing water longer than 30 minutes after rain stops (slope is off), and any drip at the ledger board (flashing integration failed). Each one points back to a decision made during install, not to bad luck.
Decision Guidance: Picking the Right Membrane for Your Deck
Match the system to your condition, not the other way around.
- New build, tight budget, dry climate: self-adhered rubberized asphalt at $5 to $8 per square foot, hidden under composite or wood deck boards.
- Existing deck, rectangular shape, simple layout: EPDM sheet at $6 to $10 per square foot, fewest seams to fail.
- Goal is a finished patio ceiling, not just dry ground: vinyl or PVC under-deck ceiling system at $7 to $12 per square foot, becomes the visible surface below.
- Walkable surface needed, freeze-thaw climate, heavy use: hot-applied rubberized asphalt at $10 to $15 per square foot, built up in layers with protection board.
- Odd shape, many posts or curves, lots of penetrations: liquid-applied polyurethane or acrylic at $8 to $14 per square foot, conforms without seams.
The cheapest path that holds up over five winters is almost always a mid-range system installed by someone who has done it before. The most expensive path is the cheap retrofit you pay to redo. Plan for slope first, then flashing, then membrane choice. The material is the easy part; the geometry is what keeps the patio dry.

![Deck Railing Code: Height & Baluster Spacing Guide [IRC ]](https://www.terasly.com/wp-content/uploads/deck-railing-code-height-baluster-featured.jpg)