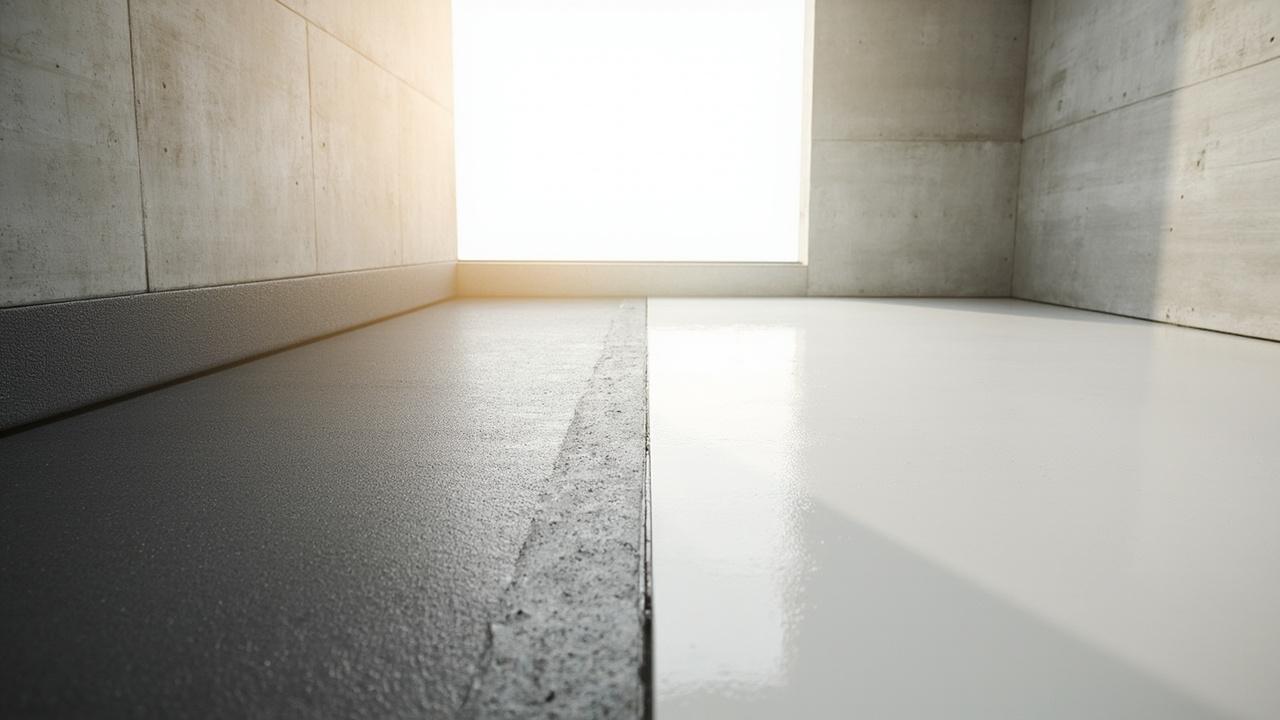
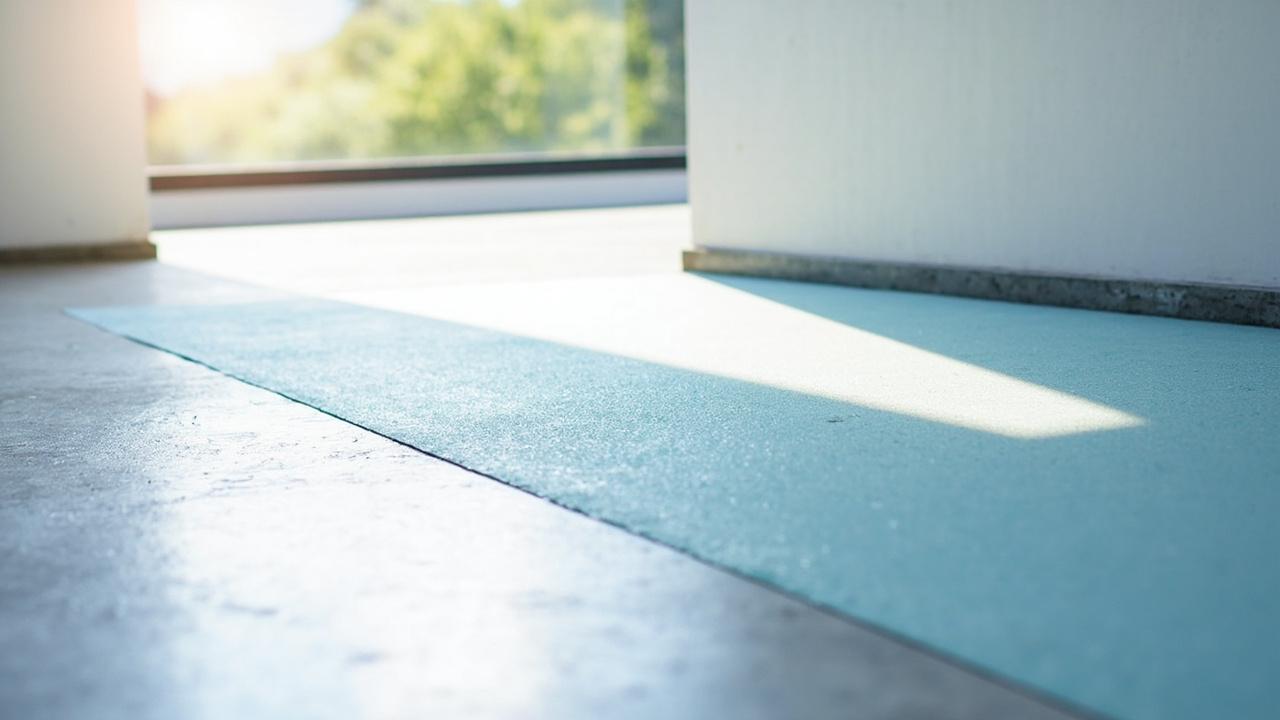
Smell something musty near the floor vents, or noticed the hardwood cupping above a crawl space you never visit? The usual suspect is moisture rising from bare soil, because an unsealed crawl space feeds humid air straight into the house around the clock. Encapsulation is the sealed vapor barrier system that closes that path: heavy poly sheeting, sealed seams, closed vents, and controlled drying that turn the crawl space from a moisture source into a clean, dry buffer.
Crawl Space Encapsulation: What It Is and the Result It Gives
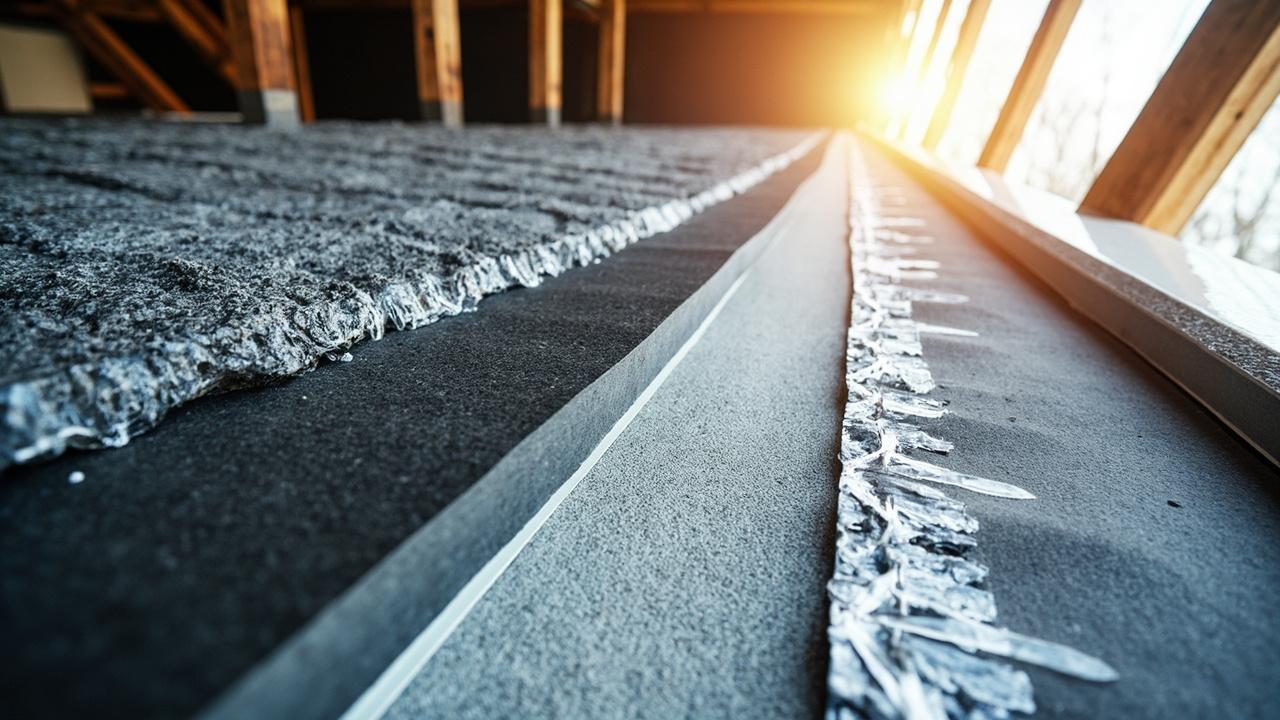
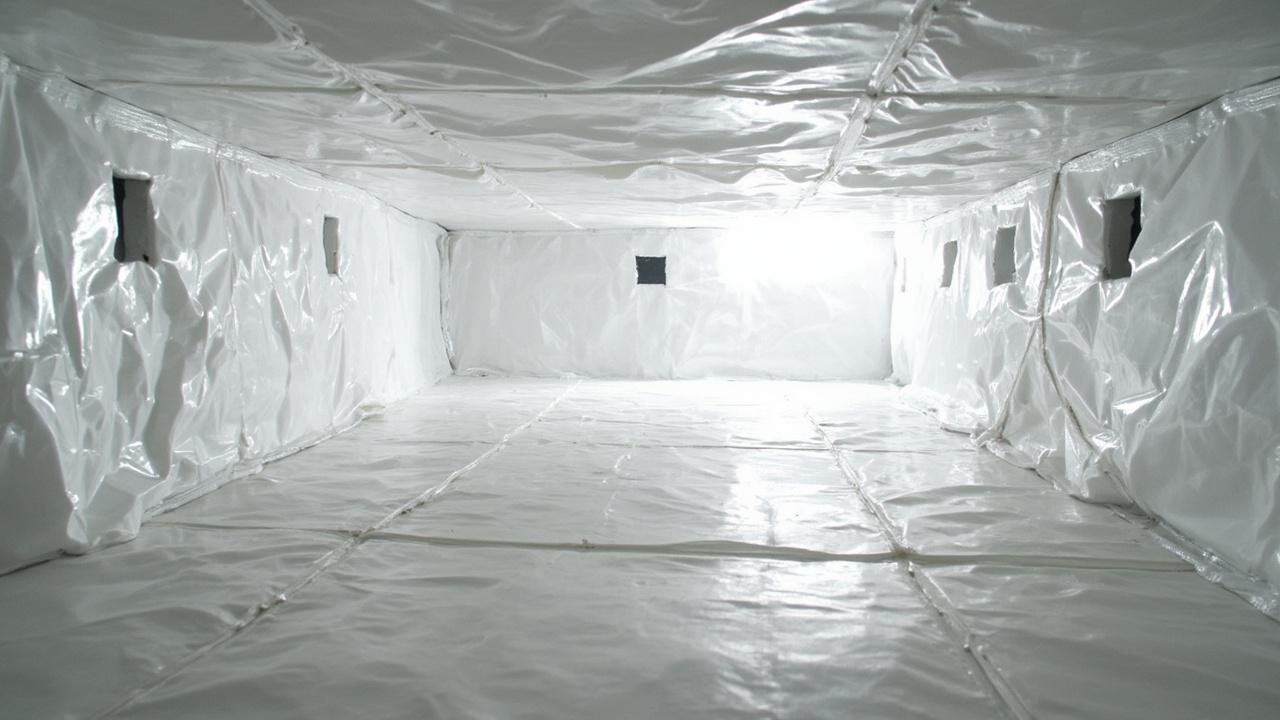
Crawl space encapsulation is the process of lining floors, and often walls, with a continuous vapor retarder, sealing vents and gaps, conditioning or dehumidifying the air, and managing outside water with grading and drainage. A finished job holds relative humidity in the 45 to 55 percent range year round, which starves mold, protects joists and subfloor from rot, and stops the stack effect from pulling damp air upstairs.
The payoff shows up in three places: odors fade because microbial growth loses its moisture supply, floors feel warmer and more stable as humidity swings shrink, and HVAC runs less because it no longer fights a stream of damp infiltration air. Encapsulation costs more than laying loose plastic, but it is the only approach that controls air, vapor, and liquid water together.
Where Crawl Space Moisture Comes From and How to Tell Sources Apart
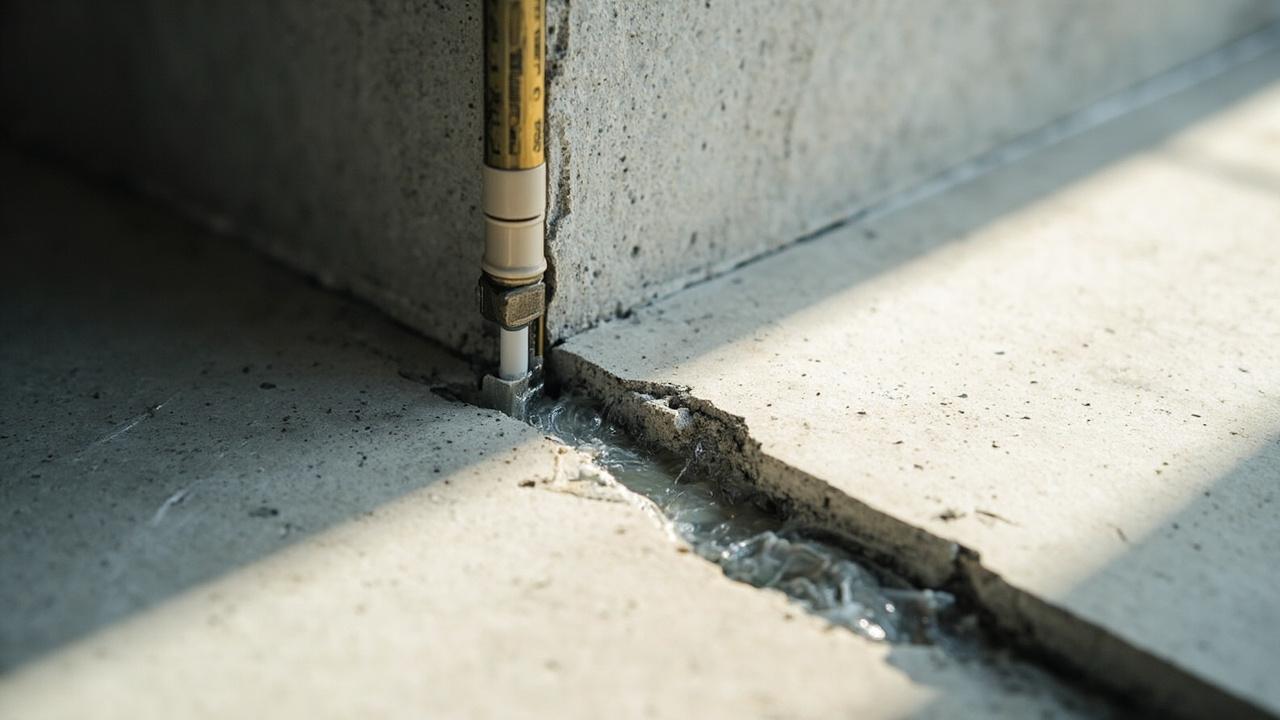
Moisture enters crawl spaces through four distinct paths, and each leaves different clues. Ground evaporation from exposed soil raises humidity evenly and condenses on cool ducts and pipes. Bulk water from poor grading or gutter discharge leaves stains, sediment lines, and puddles after rain. Humid outdoor air through open vents spikes readings in summer and wets cool surfaces. Plumbing leaks soak one area constantly regardless of weather.
Telling them apart decides the fix. Even dampness with no stains points to ground vapor and vent air, so a sealed liner plus dehumidification solves it. Water marks and puddles after storms mean grading, gutters, and a sump come before any liner, because plastic over standing water just hides the problem. One soaked spot under a bathroom means calling a plumber first. Condensation dripping from ducts in July confirms humid vent air, and closing vents without sealing and drying usually makes it worse.
Diagnosis: Read the Symptoms, Then Match the Repair
A safe homeowner check takes twenty minutes: look for standing water, stain lines, white mineral bloom on walls, sagging insulation, and visible mold on joists, then note whether the worst area sits below a bathroom, near a vent, or at the low corner where yard water collects. A $20 hygrometer left for a day gives the key number: readings persistently above 60 percent relative humidity mean active moisture load, while readings under 50 percent with old stains suggest a past event worth monitoring.
| Symptom | Likely source | Correct first action |
|---|---|---|
| Even damp air, no stains | Ground vapor plus vent air | Sealed liner and dehumidification |
| Puddles and sediment after rain | Grading or gutter failure | Fix drainage outside, then sump if needed |
| One soaked area, any weather | Plumbing leak | Plumber repair before encapsulation |
| Summer duct sweating, mold on joists | Humid vent air condensing | Close and seal vents with drying |
Do not seal anything until bulk water and leaks are handled. Encapsulation over an active leak traps water against wood and accelerates rot, turning a $500 plumbing fix into a $5,000 framing repair.
Encapsulation Steps in Order, and the Shortcuts That Fail
A durable job follows a strict order, because each layer depends on the one before: divert outside water, remove debris and old falling insulation, treat existing mold, lay and seal the liner, close vents and gaps, then dry the air permanently. Skipping ahead guarantees a callback.
- Extend downspouts at least 6 feet from the foundation and regrade soil to fall 1 to 2 percent away from the house.
- Clear debris, remove failed insulation, and remediate visible mold with proper containment and protection.
- Lay 12 to 20 mil reinforced poly on the floor, overlapping seams 6 to 12 inches and sealing every seam with rated tape or mastic.
- Run the liner up foundation walls at least 6 inches, seal to the wall, and wrap piers individually with sealed collars.
- Close and seal vents, rim-joist gaps, and pipe penetrations so outside air stops entering.
- Install a rated crawl space dehumidifier or conditioned-air supply with a humidistat, plus a condensate drain or pump.
- Verify with a 24-hour humidity reading and a visual seam check before calling the job done.
The common shortcuts all fail the same way: thin unsealed plastic that tears and drifts, vents closed with no drying so trapped humidity spikes, seams left loose so ground vapor bypasses the liner, and no drainage for the first storm. A proper liner uses 12 to 20 mil reinforced poly with sealed and fastened edges, never loose painter’s plastic.
Limits, Costs, and When to Call a Professional
Encapsulation cannot fix structural damage: rotted sill plates, sagging girders, and termite-eaten joists need carpentry and pest work first, and a liner laid over damage just hides it. Full encapsulation typically runs $5,000 to $15,000 depending on size, access, and drainage needs, while simple regrading and gutter fixes often cost under $1,000 and solve the bulk-water cases on their own. Get the drainage diagnosis in writing before approving the big-ticket liner.
As a decision rule: choose full encapsulation if humidity stays above 60 percent with no bulk water and the house smells musty; choose drainage and spot fixes first if water arrives with rain; and bring in a pro when mold covers large joist areas, wiring runs through water, or the space is too low to work safely. Related reading on keeping water off the structure, including exterior membrane versus coating systems and interior versus exterior basement waterproofing, helps decide whether the crawl space is the whole problem or one symptom of site-wide water. Consult a licensed contractor where mold is extensive, framing is damaged, or electrical runs sit in standing water.