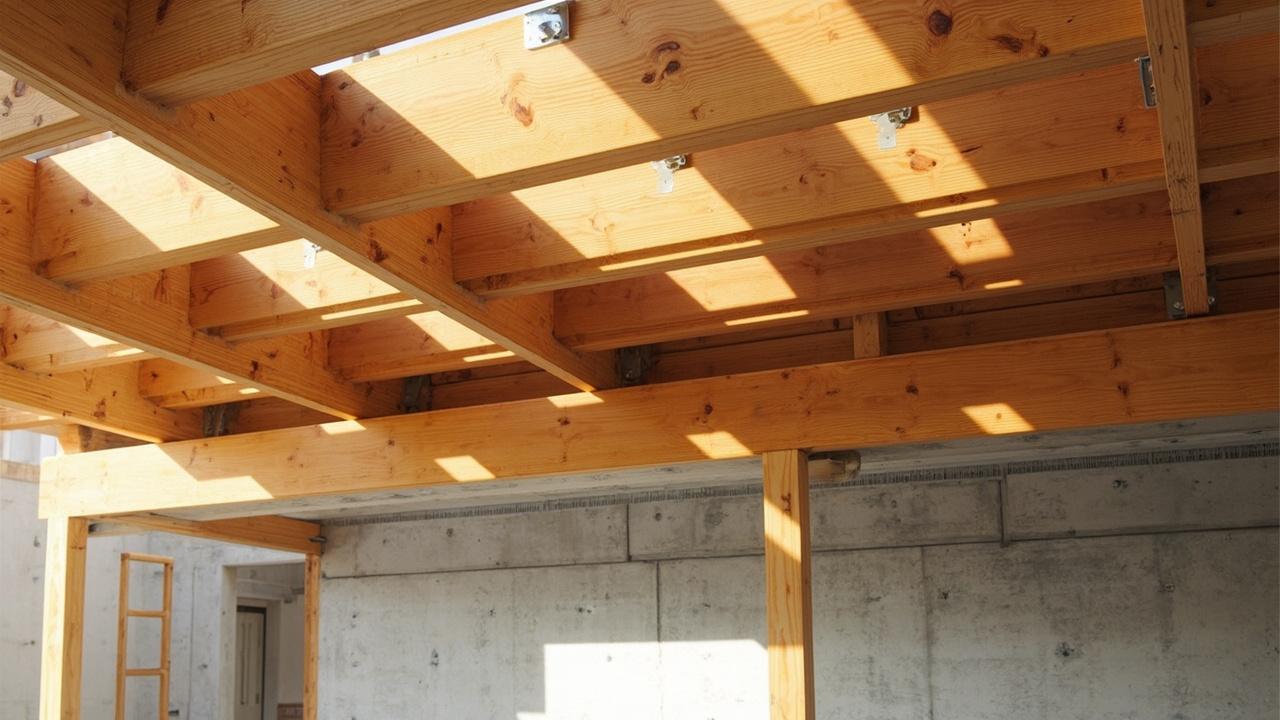
You’re standing on a deck that wasn’t built to code, gripping a rail that flexes when a kid leans on it, and you’re wondering: is this safe, and what does the inspector actually check? Here’s the short answer. The IRC (International Residential Code) requires deck railings to be at least 36 inches high for residential decks, with balusters spaced so a 4-inch sphere cannot pass between them. The governing standard is IRC R312 for guards and R317 for structural loads, and meeting both is non-negotiable for a passing inspection. This guide walks you through the exact numbers, the why behind them, and the field decisions that separate a safe deck from one that fails inspection.
Deck Railing Code Requirements: Height, Load, and the 4-Inch Sphere Rule
The IRC sets three numbers you must hit, and each one solves a specific safety problem. Guard height must be at least 36 inches measured from the deck surface to the top of the rail. This applies to any deck surface more than 30 inches above grade. The 36-inch minimum is non-negotiable for single-family homes; many jurisdictions adopt the 42-inch commercial standard for multifamily or public decks, so check your local amendment before you build. The residential threshold of 30 inches above grade is what triggers the guard requirement in the first place.
The second number is the 4-inch sphere rule under IRC R312.1.3. No opening anywhere in the guard can allow a 4-inch diameter sphere to pass through. This is the toddler-head test. A child’s head is roughly that size, and if the gap is wider, the head can slip through and the body follows, creating a strangulation risk on the bottom rail. In practice, this means balusters spaced at 4 inches on center maximum, with a 3.5-inch clear space between them. The infill opening at any decorative cutout counts toward the sphere test too.
Third is structural load capacity. Guards must resist a 200-pound concentrated load applied at the top in any direction. That means your posts, rails, and connections all need to handle lateral force, not just vertical weight. 4×4 posts at minimum are the common choice, though 6×6 posts give you more margin for longer spans. The post-to-deck connection is where most failures happen, so the hardware matters as much as the lumber.
One more critical detail: the bottom rail gap. The space between the deck surface and the bottom of the lowest horizontal rail cannot exceed 4 inches either. Many DIY builds leave a 6-inch or larger gap here, which fails inspection and creates a ladder effect for small children. A simple solution: add a second bottom rail or use a taller fascia-mounted rail system.
How the Code Works: Load Path, Material Strength, and Why 36 Inches
The 36-inch height isn’t arbitrary. It comes from biomechanics research on center of gravity: a typical adult’s center of mass sits around 36 to 40 inches above the floor, so a rail at that height catches the body before it tips over the edge. A 42-inch rail adds margin for taller users and is required by some jurisdictions for commercial decks or any deck above 12 feet. The child-safety studies from the 1970s informed the sphere rule, which has been refined but not changed since.
Now the load path. When someone leans on a rail, the force travels from the top rail through the balusters to the bottom rail, then into the posts, then into the deck frame, and finally into the ledger board or the footings. The weakest link in that chain determines whether the guard passes. Post spacing is a common weak point. IRC doesn’t specify a maximum post spacing, but structural logic dictates that posts should be no more than 6 to 8 feet apart, and the rail span between posts must resist 200 pounds of lateral load without excessive deflection.
Material strength varies, and this is where field conditions matter. Pressure-treated southern yellow pine holds about 1,200 to 1,500 psi in bending, which is plenty for a standard rail. Cedar and redwood are slightly weaker but still adequate for residential spans. Composite railings made from wood-plastic blends vary widely by manufacturer, so always check the manufacturer’s span tables rather than guessing. The same applies to aluminum and steel systems, which often allow longer post spacings because the material is stronger and more uniform than wood.
Fasteners and connectors carry the load too, not just the lumber. Galvanized or stainless steel hardware is required for any outdoor deck application because the chemicals in pressure-treated lumber corrode standard fasteners within a few years. A 4×4 post attached with two 1/2-inch carriage bolts through the rim joist will hold far more load than a post toe-screwed into the decking. The through-bolt connection is the difference between a passing inspection and a structural failure, not the visible lumber.
Choosing Your Railing System: Wood, Composite, Metal, and Cable
The material you choose changes the build process, the maintenance cycle, and the cost. Here’s a side-by-side comparison to clarify the trade-offs before you commit to a system.
| Material | Typical Cost (per linear foot) | Maintenance Cycle | Code Notes |
|---|---|---|---|
| Pressure-treated wood | $25 – $45 | Stain or seal every 2 – 3 years | Standard 4×4 posts; 4-inch sphere rule applies |
| Cedar or redwood | $35 – $60 | Stain every 3 – 4 years | Naturally rot-resistant; same spacing rules |
| Composite (Trex, TimberTech) | $50 – $90 | Wash annually; no staining | Follow manufacturer span tables; often 6-foot post max |
| Aluminum or steel | $70 – $120 | Inspect finish every 3 – 5 years | Stronger; allows wider post spacing |
| Horizontal cable | $80 – $150 | Re-tension cables every 2 – 3 years | Cables must be 4 inches apart vertically |
For a tight budget on a standard residential deck, pressure-treated wood delivers the code-compliant result at the lowest cost. If you want lower maintenance and plan to stay in the home 10+ years, composite pays for itself by eliminating the staining cycle. For a modern look with unobstructed views, horizontal cable systems work but require precise tensioning, and the cables must be spaced no more than 4 inches apart vertically to pass the sphere rule, not horizontally as many people assume. The same 4-inch sphere rule and 36-inch rail height apply to interior stair guards, and the stair railing code requirements follow the same IRC R312 logic with one extra trigger (four or more risers).
Installation Steps: Building a Code-Compliant Guard
The process breaks into three stages: post anchoring, rail framing, and baluster or infill installation. Each stage has checkpoints that determine whether the final guard passes inspection.
- Anchor the posts first. Cut 4×4 posts to length so the finished rail height is 36 inches or 42 inches if your local code requires it. Notch around the post base or use a metal post anchor bolted to the deck frame. Two 1/2-inch carriage bolts per post is the minimum; through-bolting is far stronger than toe-screwing.
- Install the top and bottom rails. The top rail must be level and continuous. The bottom rail sits 3 to 4 inches above the deck surface, never higher or the gap fails. Use a spacer block during installation to keep the rail-to-rail dimension consistent.
- Set the balusters or infill. Space balusters 4 inches on center maximum. For horizontal cable systems, drill pass-through holes in the posts and thread the cable with tension-rated hardware. For glass panels, use a manufacturer-specific rail system; field-cut glass rarely passes inspection.
- Check the sphere rule on every opening. Physically test with a 4-inch ball or a cutout template. Check between balusters, under the bottom rail, and at the post-to-rail junction. Any gap that lets the sphere through is a fail.
- Verify post spacing and load resistance. Posts should be 6 to 8 feet apart for wood systems, up to 10 feet for aluminum. Apply a 200-pound lateral load to the top rail; excessive flex means the span is too long for the material.
After installation, run through this checklist before calling the inspector. Rail height reads at least 36 inches at every point. No opening exceeds 4 inches. Posts are through-bolted, not just screwed. Hardware is corrosion-rated for outdoor use. The ledger board and footings were inspected before the decking went down, because the inspector can’t verify them after the surface is closed.
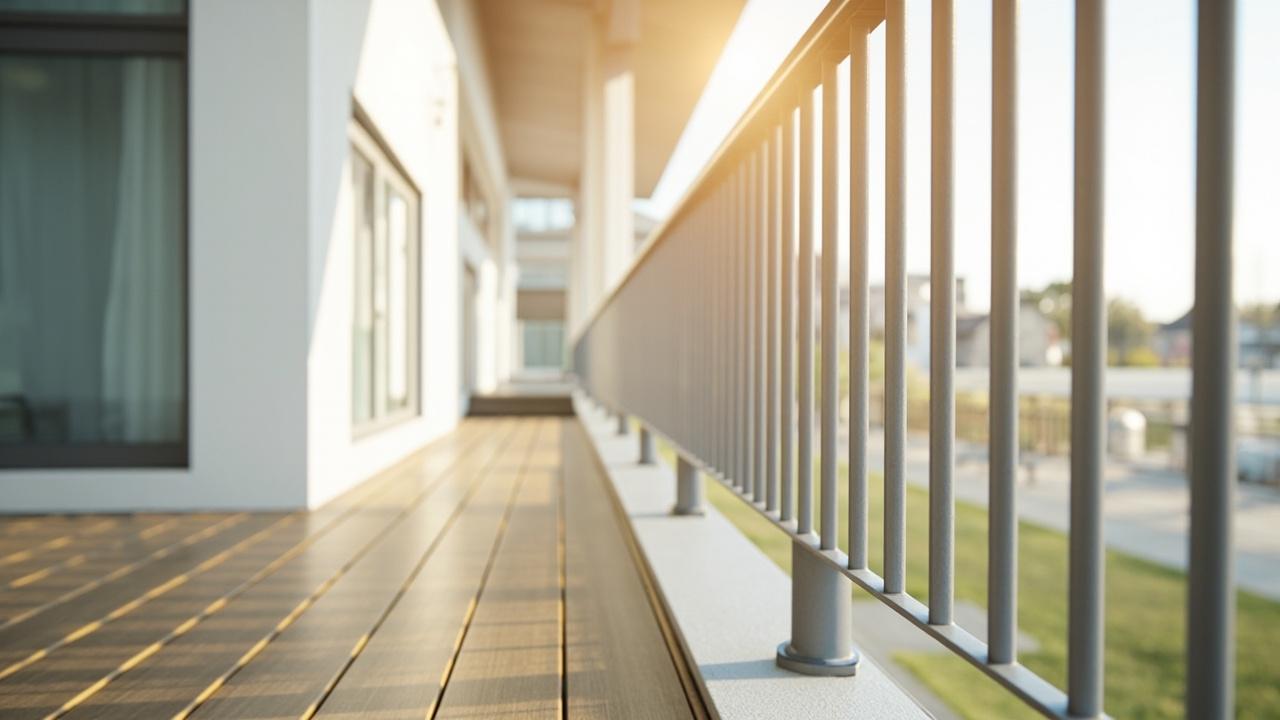
Limitations, Edge Cases, and When to Call a Professional
Code sets the floor, not the ceiling. A deck that just barely meets 36 inches may feel low to anyone over 5’10”, and a guard that technically passes the 4-inch sphere test can still have a 5-inch gap at the bottom rail because of decking thickness variations. Always measure after the decking is installed, not before, because the deck surface itself changes the reference point for rail height.
Edge cases to watch for: if your deck is above 12 feet, many jurisdictions r