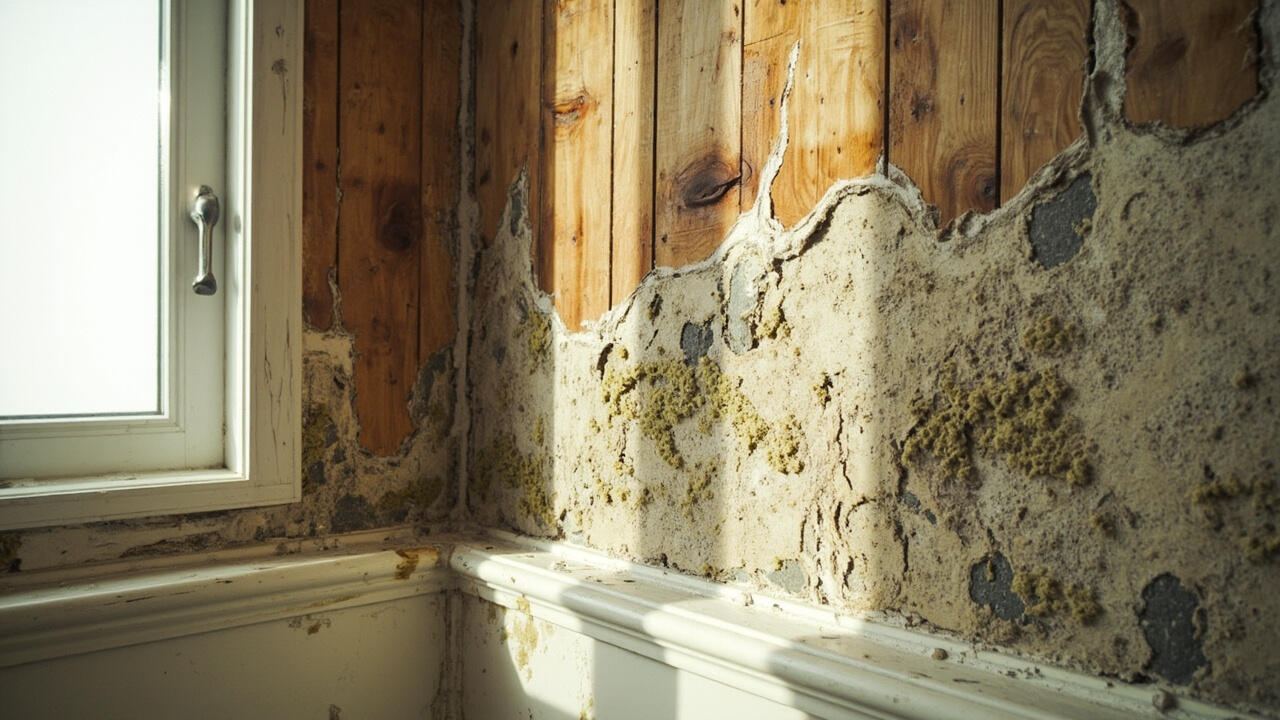
Water keeps finding the same weak corner while you patch the stain above. Most leaks are not bad luck, they are a system chosen for the wrong place. Waterproofing systems are the complete barrier that stops water at overlap 100mm, thickness 0.8mm to 1.2mm, and drainage fall 1 to 2 percent before it reaches structure, and a waterproofing system is the continuous membrane, detailing, and drainage that keeps wet areas dry when each part is built to spec.
What a Waterproofing System Really Is and Why It Decides Leaks
Waterproofing systems home protection with a continuous membrane 1.0mm dry film over a floor waste with clamp ring stops the leak that paint and grout never will, because grout is porous and water moves sideways 300mm under tile in a standard ensuite 3 by 2m. The system, not the product, is what holds.
System components include the primer coat solvent free, the main membrane sheet 3 to 4mm or liquid acrylic two coats, reinforcing band 100mm at junctions, and bond breaker silicone 10mm at movement joints, all tied into ponding test 24h before tiling. Miss one and the chain breaks at the corner.
In practice a builder who coats only the floor leaves the wall junction bare, and splash climbs 150mm up cement sheet and tracks behind skirting within months. That is why the scope rule in bathroom waterproofing kit cost and coverage adds wall upstands to floor area before any kit is sized, the membrane must wrap the tray, not just the base.
How Each System Forms Its Barrier at Millimetre Scale
Sheet membrane torch 3 to 4mm fused at overlap 100mm with 200mm at end laps creates a factory calibrated barrier over a concrete slab cured 28 days, where torch temperature near 280C at the seam bonds bitumen to primer and bridges crack movement 2mm. It arrives at thickness, it does not rely on roller skill.
Liquid membrane acrylic two coats at 0.6mm per coat shrinks 35 to 40 percent from wet to dry, so achieving 1.0mm dry film needs wet film gauge 600 micron per coat and a recoat window 3 to 6 hours at 25C on a primed substrate below 15 percent moisture. Thickness is where DIY jobs fail thin at 0.5mm and pinhole along overlap lines.
Cementitious slurry 1.2mm two coats at 1.5kg per sqm per coat grows crystals inside pores but stays rigid, so it excels on below grade wall 200mm thick where hydrostatic pressure pushes in, yet cracks over movement joint 10mm unless a flexible polyurethane band bridges the gap. Each chemistry solves a different stress.
That means choice follows load, not brand. A balcony slab that moves 1 to 2mm with heat wants torch or flexible liquid, a basement wall that must breathe under water pressure wants crystalline cementitious. Match mechanism to movement before you compare price.
Choosing Between Systems by Wet Area and Exposure
Bathroom internal wet area favours liquid acrylic seamless detailing around pipe penetration 50mm and floor waste 100mm, because a brush wraps tight geometry that sheet cannot fold into in a compact 5 sqm bathroom. Cost stays at 8 to 14 dollar per sqm materials plus half a day labour.
Roof slab and balcony exposed to sun 35C and ponding over 48 hours favour sheet torch 3 to 4mm with polyester reinforcement or polyurethane liquid 1.2mm with UV topcoat, where drainage fall 1.5 percent minimum and parapet upstand 150mm prevent standing water that blisters bare acrylic. Sheet costs 18 to 28 dollar per sqm installed but warranties 10 years against ponding.
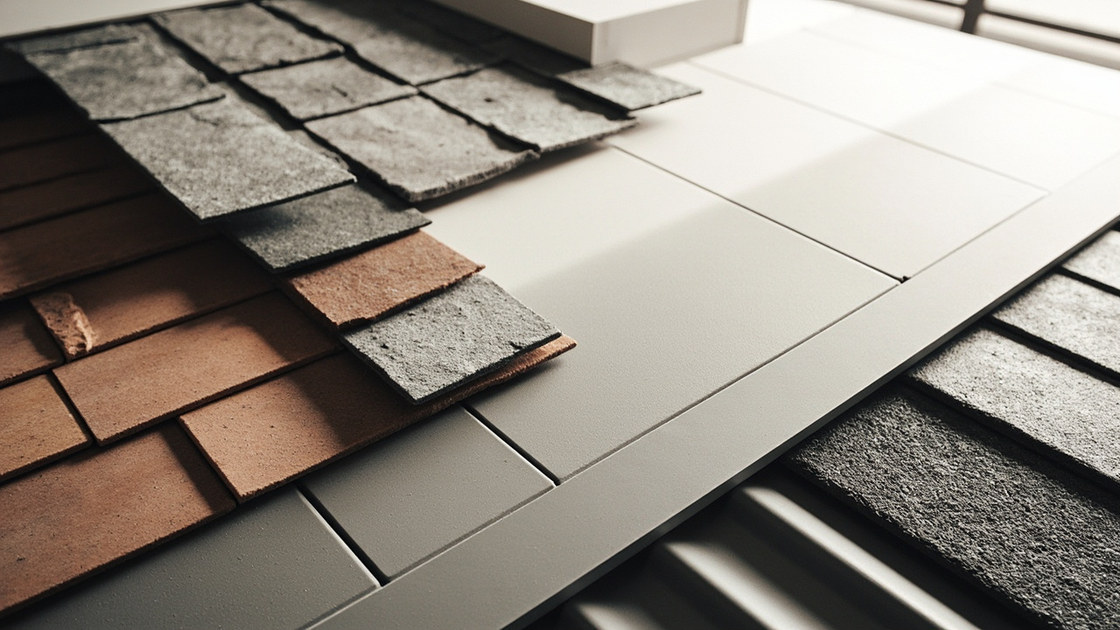
For a direct side by side on chemistry and install, compare through sheet versus liquid versus cementitious waterproofing where overlap, thickness, and UV tolerance are stacked on the same attributes so you do not compare coverage to warranty by mistake.
| System | Typical Build | Dry Thickness | Best For | Limit |
|---|---|---|---|---|
| Sheet torch | Primer plus torch seam | 3 to 4mm | Roof, balcony, movement 1 to 2mm | Needs dry slab, burner skill |
| Liquid acrylic | Primer plus two coats | 1.0mm dry | Bathroom, laundry, tight corners | Fails under ponding, needs gauge |
| Liquid polyurethane | Primer plus two coats plus topcoat | 1.2mm dry | Exposed slab, UV, ponding | Higher cost, longer cure 48h |
| Cementitious | Slurry two to three coats | 1.0 to 1.2mm | Basement, planter, below grade | Rigid, cracks at movement joints |
The table replaces opinion with build. If the brief says continuous, pick the system that stays continuous over your joint and your sun.
Installing So the System Holds and Testing Before Tile
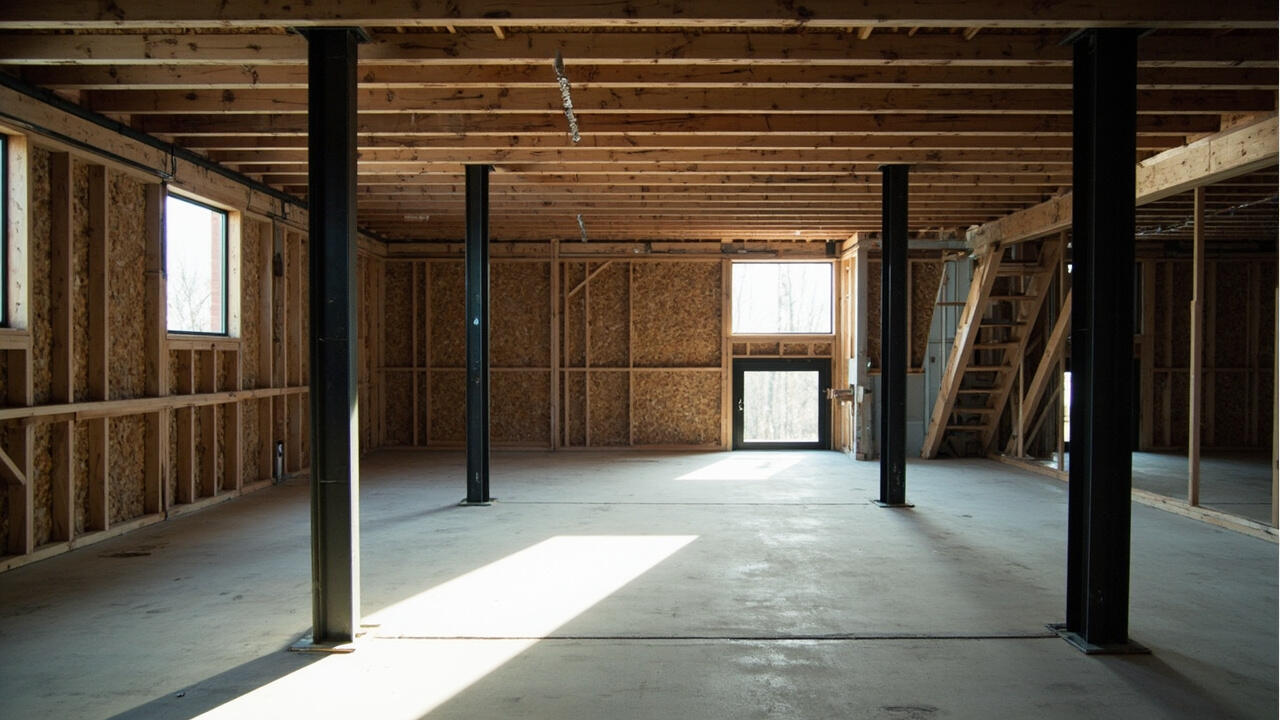
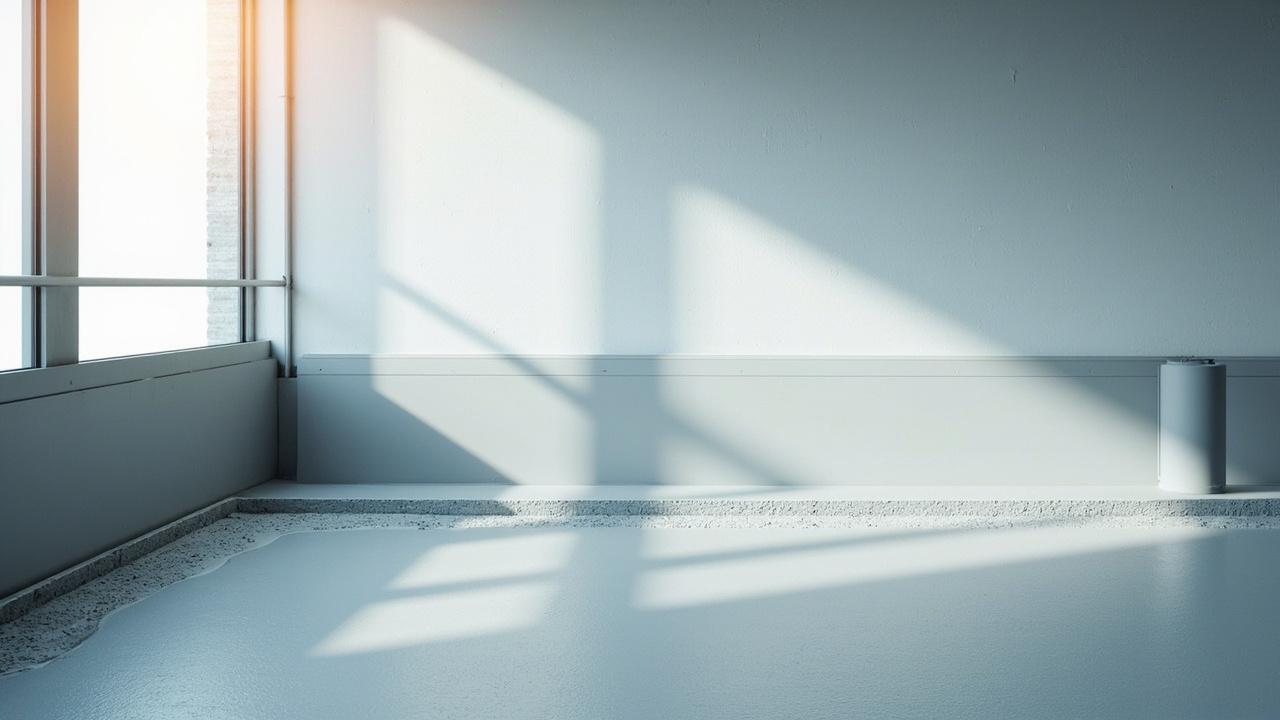
Installation sequence with substrate preparation grinding to CSP 2 and cleaning dust free determines adhesion more than the product, because membrane peels from laitance even when primer coverage 8 sqm per liter looks generous on a slab 10 sqm. Prep until water darkens the concrete evenly, then prime.
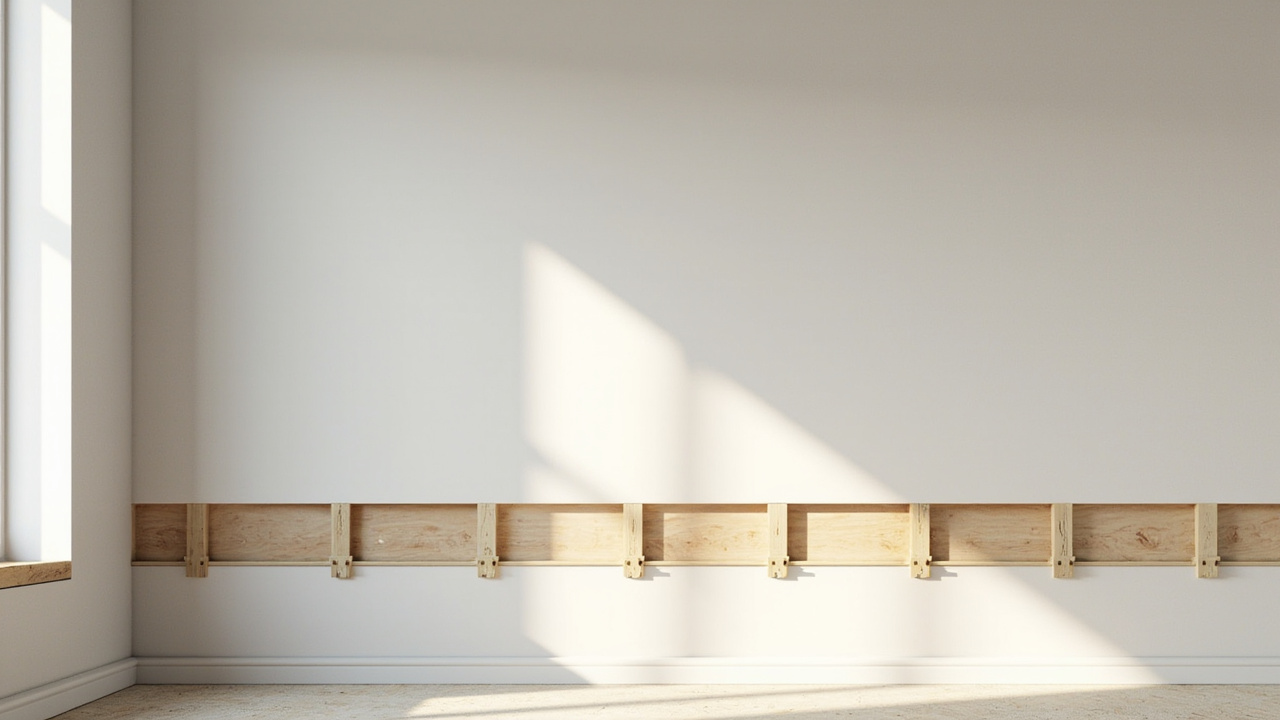
Detailing order runs bond breaker at floor to wall 90 degrees, then reinforcing band 100mm, then pipe collar 150mm square, then field membrane with overlap 100mm staggered 300mm, finished with termination bar aluminum 20mm at upstand 150mm. Reverse the order and water finds the lap edge.
Most failures we diagnose in waterproofing failure leak diagnosis trace to skipped bands and thin gauge at the waste, not to brand. Use a wet film gauge 600 micron every sqm and keep ponding test 24h at 25mm depth with the plug sealed. If level drops more than 2mm without evaporation, find the pinhole before tile.
You also need ventilation while curing. A sealed bathroom at 80 percent relative humidity slows cure to 48 hours and traps solvent under tile. Confirm exhaust is sized via sizing exhaust ventilation to control humidity so the fresh membrane cures in moving air, not steam. Consult a licensed waterproofing applicator where structure, plumbing, or compliance to local code is involved, ranges here guide quoting, not replace certification.
Limits, Edge Cases, and What to Do Next
System limits appear where substrate moisture over 6 percent, compressive strength below 20MPa, or active crack over 1mm per month exist, because no membrane bridges moving structure on a timber deck with deflection over L/300. Fix the slab, achieve fall 1 to 2 percent to drain, then membrane.
Drainage trade-off with no fall and ponding beyond 48 hours defeats bare acrylic even at 1.0mm, where drainage cell 30mm plus screed 50mm and sheet or polyurethane survive. If water must sit, change the system, not the thickness.
Decision guidance is simple. Choose liquid acrylic if the area is internal, under 8 sqm membrane, with one or two penetrations and you can gauge to 1.0mm and flood test. Choose sheet or polyurethane if the deck is exposed to sun and ponding or movement exceeds 1mm. Choose cementitious if pressure comes from outside the wall and movement is minimal. When unsure, diagnose the stain first rather than recoating blind, then size the kit correctly and follow liquid steps end to end via liquid waterproofing membrane application steps so the system you pick is the system you actually build.