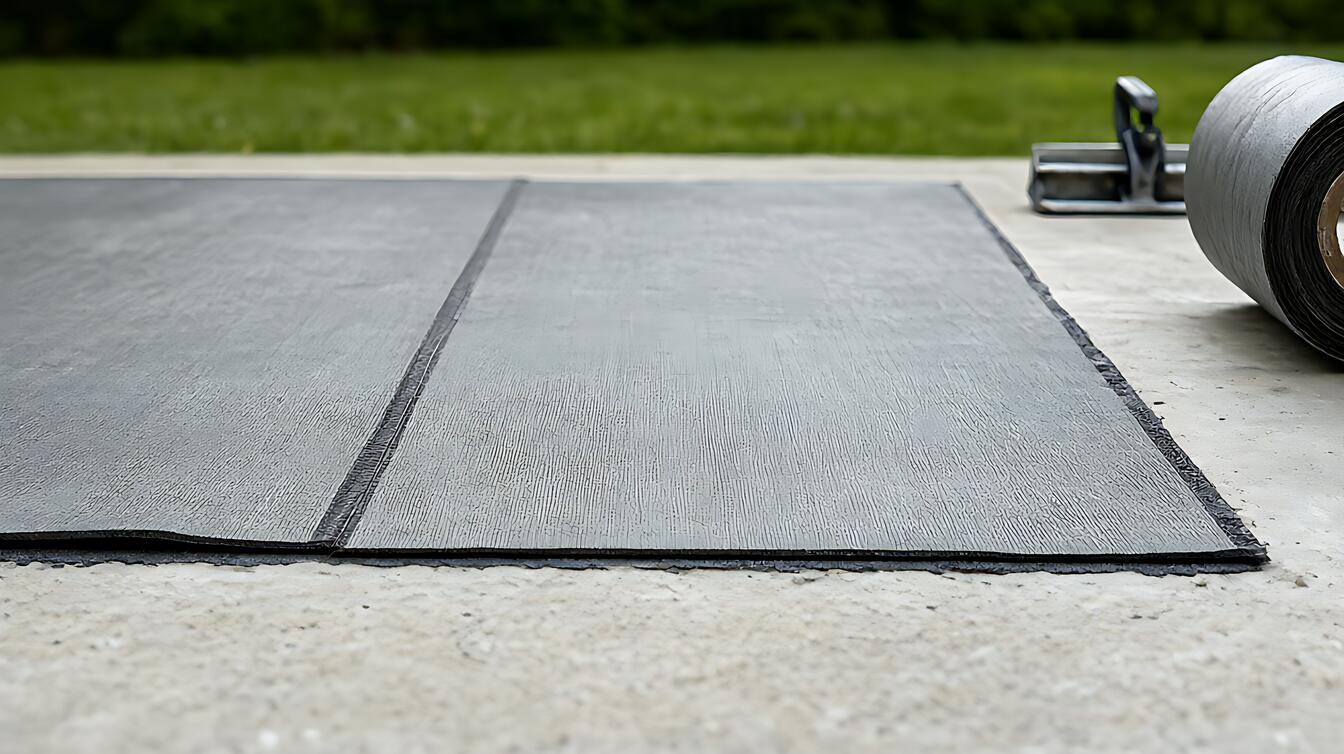
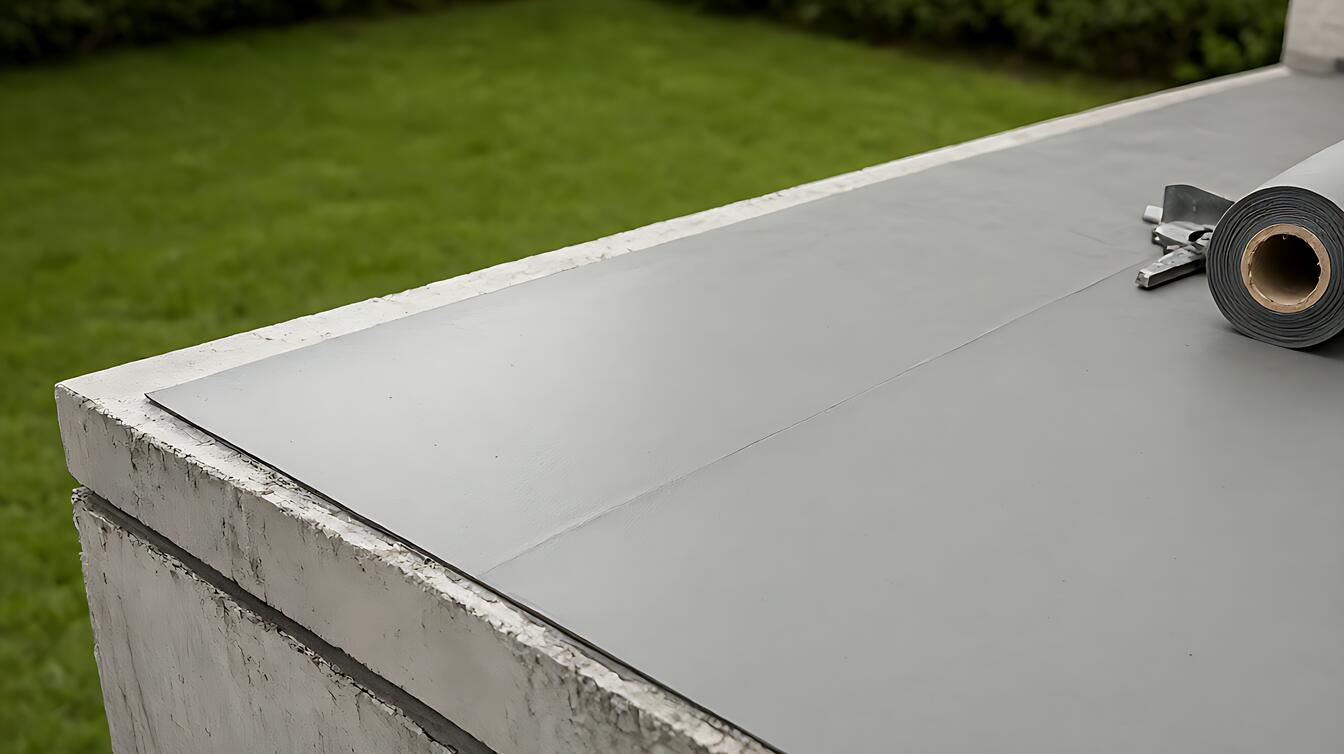
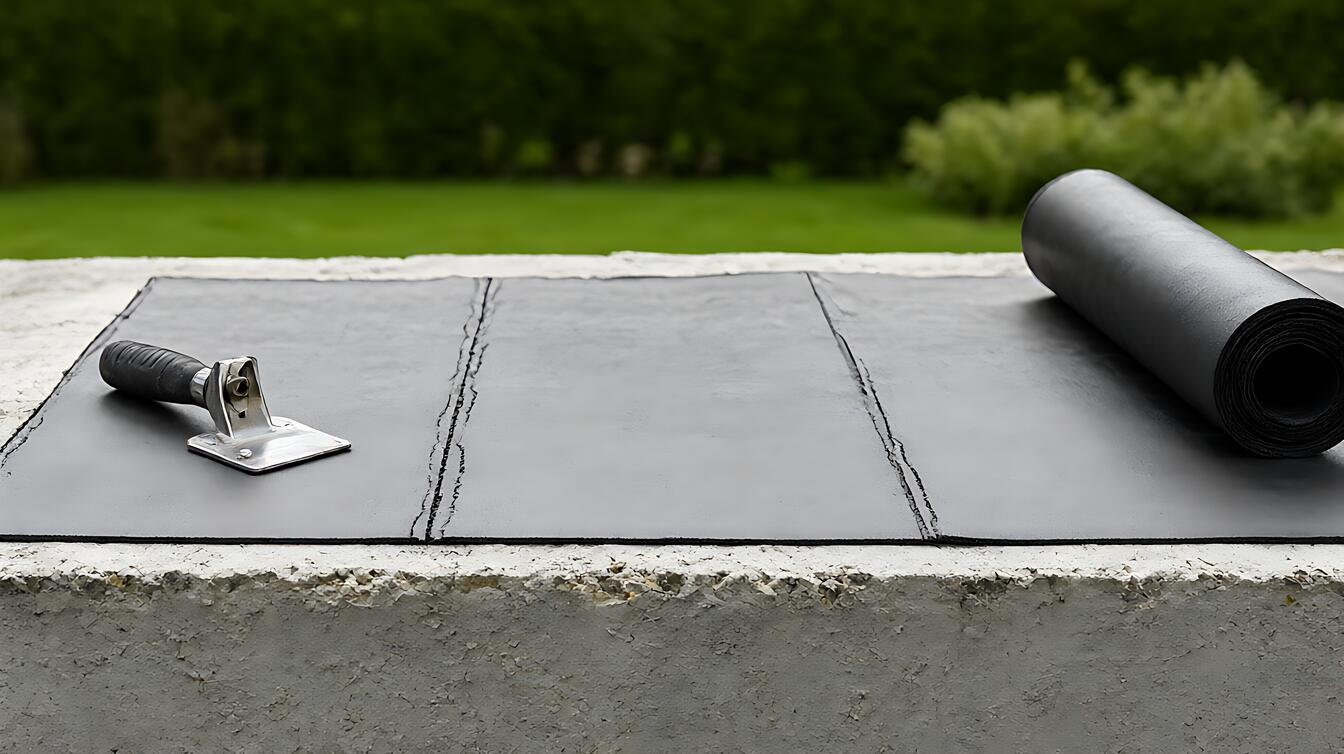
You need the pool to hold water, not just look finished. The frustrating part is that instructions often skip the details that decide success: substrate age, coating thickness, curing time, and how to confirm the shell actually holds water. Start by identifying the system, then follow its stated tolerances. Swimming pool waterproofing is a water – retention system that seals the shell against continuous water contact, with performance depending on preparation, application, and curing.
What swimming pool waterproofing actually does for a pool shell
Swimming pool waterproofing creates a continuous barrier between the pool shell and its water. Waterproofing systems work by keeping water from passing through the shell or its joints. A sound membrane, however, cannot rescue a contaminated or damp substrate.
Concrete pool waterproofing generally follows a clear mechanism: prepare the shell, repair cracks, apply the specified system, cure it, and test for leaks. Some membranes require a substrate at least three days old. That minimum age matters because early moisture can interfere with bonding.
For a broader look at how these systems fit into a complete wet – area strategy, see our complete waterproofing systems guide. Pool work is unusually unforgiving, though. A small void around a fitting can become the same leak as a large crack in the shell.
What tools and materials to gather before application
Preparation depends on the chosen system, but you should identify every product and tool before touching the shell. Confirm the system manufacturer’s substrate age, mixing method, coat count, cure time, and tile – setting window. Those instructions control the result.
- Repair material appropriate for the width and condition of each crack.
- A surface preparation tool suited to the specified substrate and coating.
- Masking material for lights, skimmers, fittings, and other penetrations.
- Measurement tools for checking application thickness and wet – film uniformity.
- Protection for nearby surfaces where the selected system or equipment requires it.
One concrete example shows why preparation cannot be casual. Crack repair must happen before the waterproof coating goes on, because filling a crack afterward leaves the membrane bridging over a moving defect. Ask a waterproofing contractor to assess structural cracks, recurring leaks, or uneven shells before you treat them as surface defects.
How to apply pool waterproofing with the right tolerances
Pool waterproofing requires controlled preparation, application, curing, and testing. Fast – setting systems can permit tiling within 16 to 24 hours, but that convenience is conditional. The same system still needs full preparation and enough curing time before it enters service.
- Confirm that the substrate meets the system’s minimum age requirement and remove contaminants from the shell.
- Repair cracks and weak areas before applying the waterproofing layer, then let the repair material cure as specified.
- Mask fittings, lights, and skimmers, and treat transitions according to the manufacturer’s detailing instructions.
- Apply each required coat with the specified mixing, thickness, coverage, and drying conditions.
- Allow the complete system to cure, then tile only within the permitted window.
- Perform a ponding test with the pump off, inspect the shell, and resolve any leak before finishing.
The application process has three checkpoints: 24 – hour ponding test, submerged cure time, and the first – fill stage. After filling, mark the water level inside a bucket and on the pool wall, then compare both after 24 hours. A drop inside the bucket or a change on the wall can point to evaporation or a leak.
That last distinction matters. Evaporation lowers the bucket level, while a leak typically changes the pool wall level differently. Use the test to narrow the problem, then read our guide to waterproofing failure and leak diagnosis.
Common pool waterproofing mistakes that undermine the result
The most common mistakes happen before the membrane reaches the shell. Skipping crack repair, coating over dirt, or failing to treat corners and fittings can produce a failure that looks like a membrane defect but began with preparation.
| Mistake | Why it matters | Corrective action |
|---|---|---|
| Applying too soon | A young or damp substrate can impair adhesion. | Meet the manufacturer’s minimum substrate age and cure requirements. |
| Skipping crack repair | The waterproof layer may bridge the defect rather than solve it. | Repair and cure cracks before applying the system. |
| Rushing the cure | Early immersion can damage a coating that has not fully hardened. | Honor the stated cure period and recheck conditions before filling. |
Submerged applications need at least a seven – day cure, and cold or humid weather can extend that period. Thick coats can also take longer. The honest trade – off is speed versus confidence: an accelerated schedule may suit a planned installation, but shortening the cure adds risk.
Where pool waterproofing limits meet professional judgment
Pool waterproofing has hard limits. It cannot repair a structurally unsound shell, replace correct drainage design, or guarantee that an unidentified leak disappears beneath a new membrane. Choose professional pool waterproofing when cracks recur, water loss remains unexplained, the shell is deformed, or the design includes complex penetrations.
Choose a do – it – yourself approach when the shell is stable, defects are minor and understood, and the selected system has instructions you can follow exactly. If the project involves structural work, electrical fittings near the water, or concealed plumbing, consult a qualified professional before disturbing the shell.
Decision guidance comes down to this. Choose a cementitious coating when the manufacturer’s system allows it and the substrate suits that application. Choose sheet or another membrane system when detailing, exposure, or movement requires a different approach, following the product instructions rather than mixing methods.
For a wider view of the available approaches, compare sheet, liquid, and cementitious waterproofing. If your main concern is the budget, use the waterproofing cost and budget guide to plan materials, labor, testing, and the cost of fixing a failed installation.