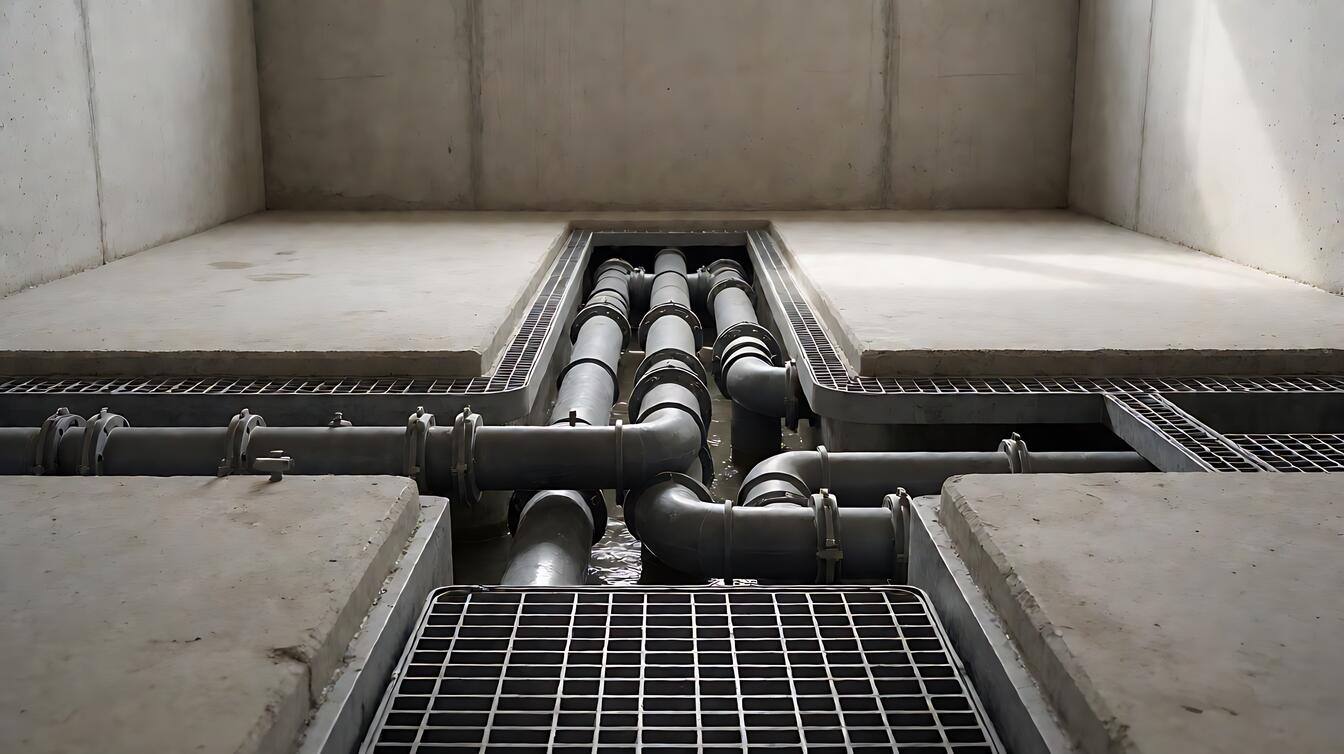
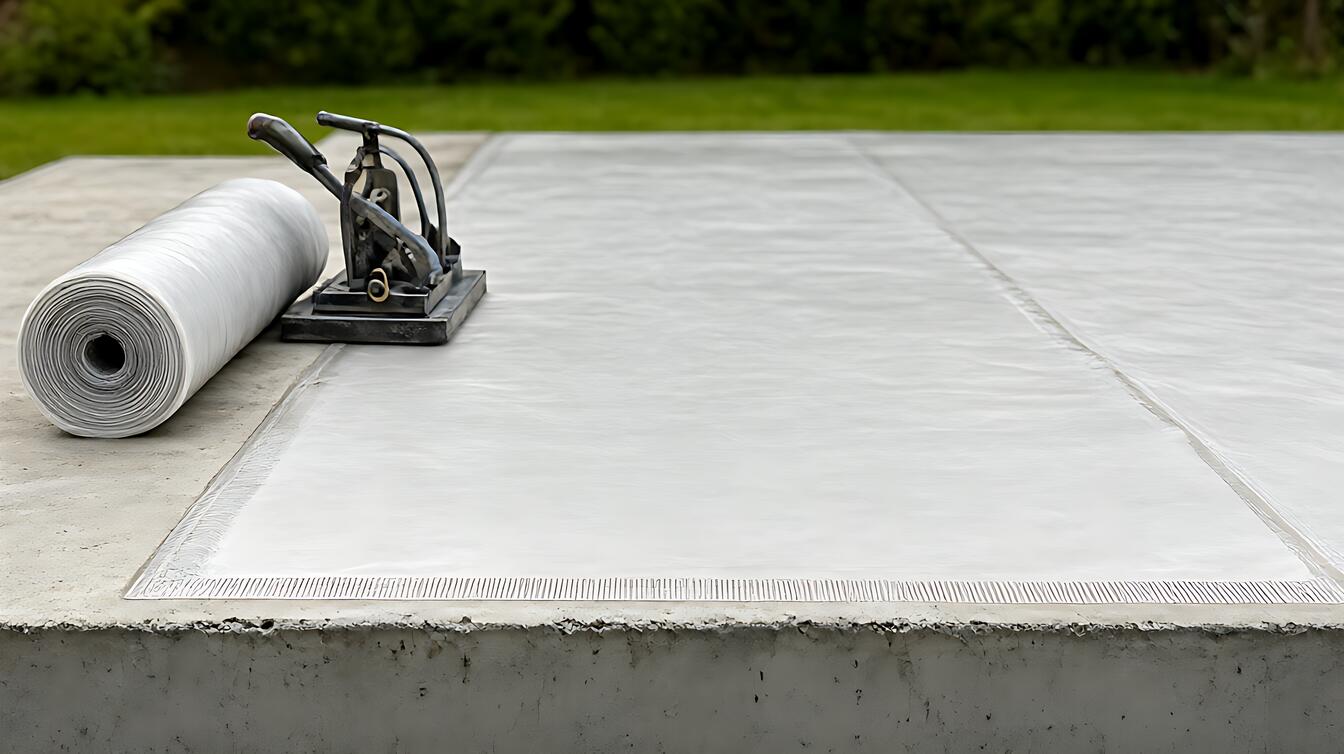
You are choosing between two waterproofing approaches, but the labels can feel more confusing than the leak itself. The decisive point is simple: negative – side systems work against water pushing inward, while positive – side systems block water pushing toward the protected area. Positive pressure is usually the stronger long – term choice; negative pressure can make some repairs practical. Negative pressure vs positive pressure waterproofing is the comparison of where water pressure acts relative to the barrier.
Negative vs Positive Pressure Waterproofing: The Direct Answer
Negative pressure waterproofing handles water acting in reverse against the barrier, while positive pressure waterproofing handles water pressing directly toward the protected surface. Choose positive – side protection when the structure allows exterior work and long – term resistance matters. Choose negative – side waterproofing when excavation is impractical and the repair must happen from inside.
This distinction matters because the two systems work with force in opposite directions. A hydrostatic head is water pressure created by water at different levels, and the resulting load grows as that head increases. The correct system must resist that load while dealing with cracks, movement, and installation quality.
Under NBR 9575, both pressure categories begin at hydrostatic pressure greater than 1 kPa, equivalent to 0.1 m.c.a. For practical decisions, however, direction matters more than the label. Ask where the water is coming from, which side can be reached, and whether the repair must remain accessible for future work.
Start with the broader waterproofing systems overview if you also need help identifying the assembly around the leak. That distinction will make the rest of this comparison easier to use.
The Differences That Matter Between Waterproofing Sides
Water direction is the primary difference: negative – side systems resist inward force, while positive – side systems stop water before it reaches the protected face. The table below compares the conditions, installation access, repair logic, and common limits that change the decision.
| Criterion | Negative – side system | Positive – side system |
|---|---|---|
| Water force | Water pushes inward against the waterproofing | Water pushes directly toward the waterproofing |
| Typical access | Interior repair, often where excavation is impractical | Exterior or positive – side installation where access permits |
| Practical strength | A well – designed system may resist up to 13 bar, roughly 130 m of head | Water is stopped before reaching the protected structure |
| Main limit | Installation and crack treatment determine whether pressure finds a path | Access, excavation, and external conditions can raise cost and disruption |
| Better choice when | Interior repairs are needed and external work is impractical | The positive side is accessible and durable performance is the priority |
The comparison changes when access changes. An exterior membrane may be the better engineering choice, yet it can be impossible to install without disrupting soil, paving, landscaping, or neighboring structures. In that case, the practical repair may move inside rather than pretend the ideal side is available.
Cost follows the same logic. Positive – side work can require excavation and careful reinstatement, while negative – side work may reduce disruption but place more responsibility on crack detailing and workmanship. Neither is automatically cheaper once access, preparation, and repair scope are counted.
For a wider view of material choices, compare sheet, liquid, and cementitious waterproofing types by the substrate and failure mode, not by product label alone. The pressure direction tells you which side needs protection; it does not select every product by itself.
Which Waterproofing Side Fits Your Situation
Positive – side waterproofing is the preferred long – term choice when the positive face is reachable, surrounding conditions are manageable, and preventing water entry matters more than repair convenience. It removes water from the equation before it reaches the structural surface.
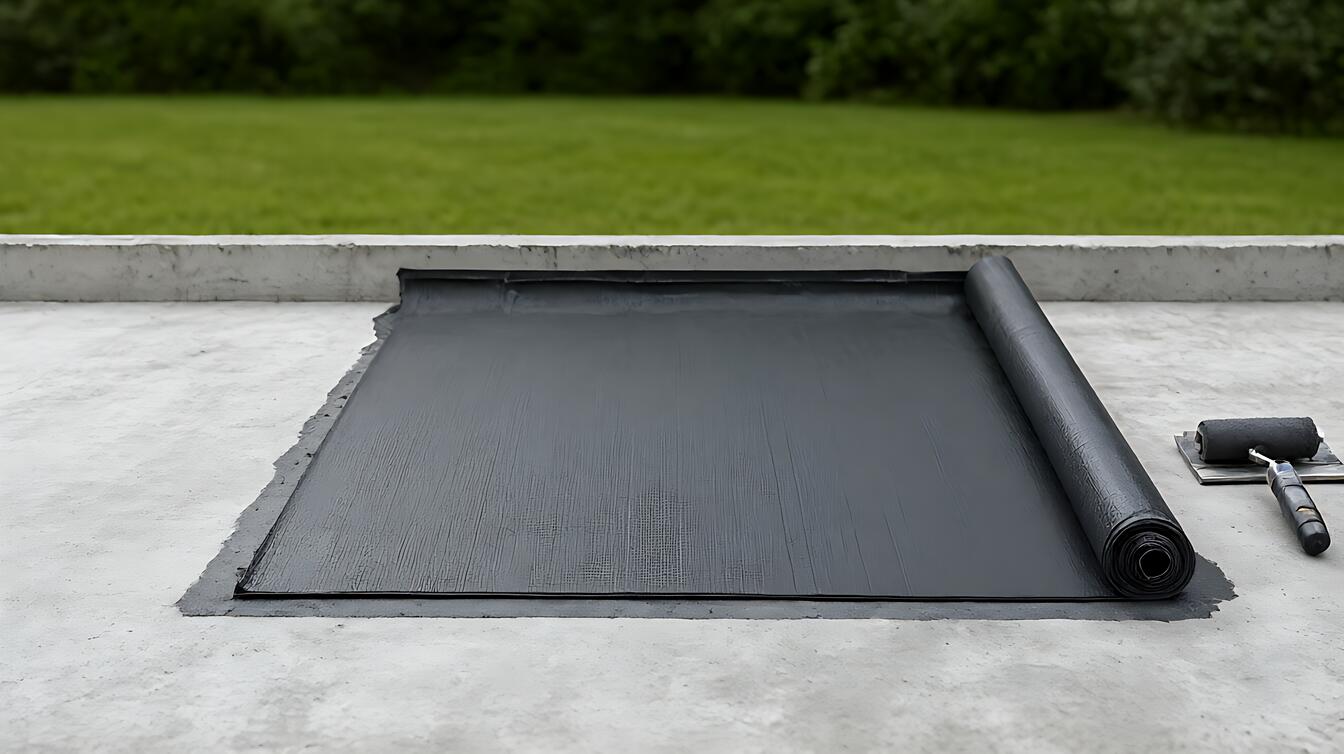
Choose positive – side work for a roof membrane where water flows toward the protected area, provided the underlying assembly and drainage are correctly designed. The same reasoning applies to an accessible below – grade wall. Access must still support removal of soil, surface preparation, and continuous detailing around penetrations.
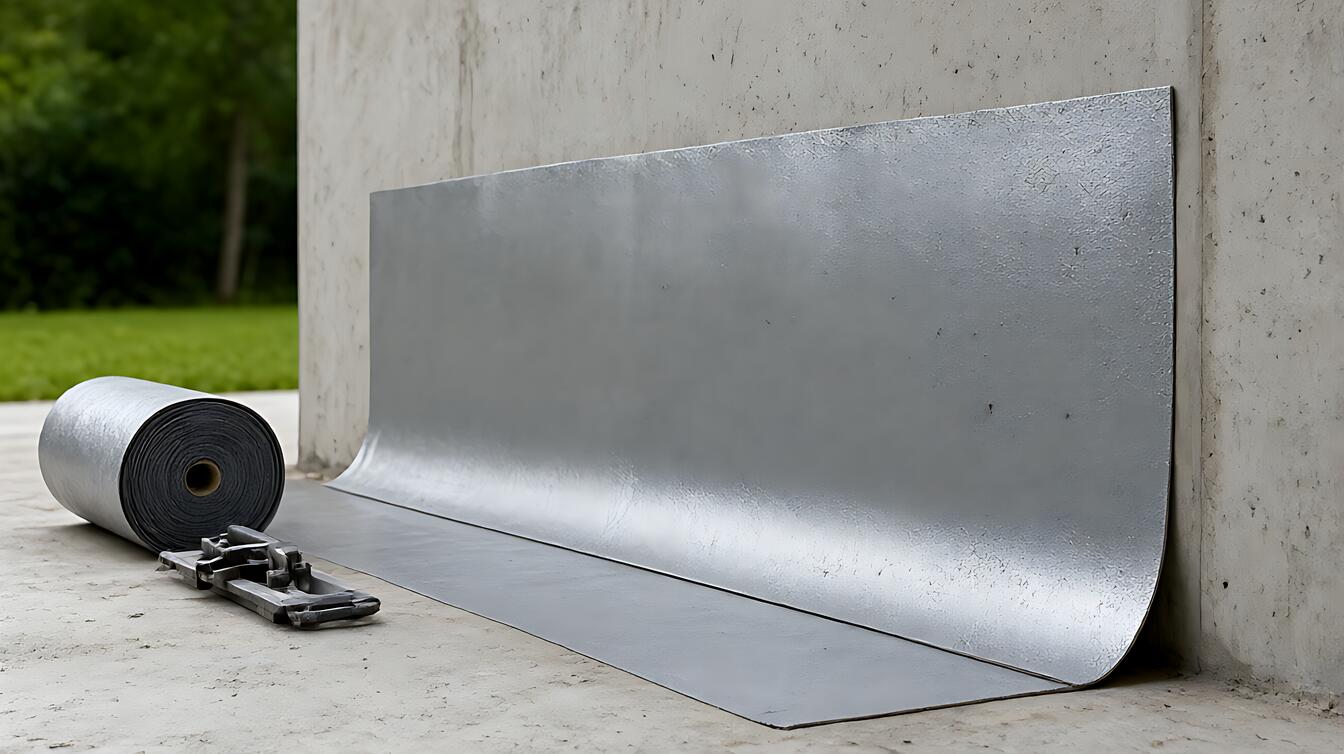
Choose negative – side waterproofing for a basement where excavation would damage landscaping, disturb neighboring structures, or create unacceptable disruption. Interior installation can make remediation more practical, but cracks need deliberate treatment because moving cracks can reopen after a surface – only repair.
Use crack injection when the project requires a targeted structural repair rather than broad surface coverage. Injection addresses an identified crack path, while the waterproofing system handles water across the surrounding assembly. Neither task should be used as a substitute for the other.
Here is the practical decision: choose positive pressure when water can be intercepted before reaching the structure. Choose negative pressure when the water – facing side cannot reasonably be reached and interior remediation is the more responsible option.
Real Job – Site Reality: Where Water Finds the Weak Link
Installation continuity often determines performance more than the name on the waterproofing product. A system can have the right pressure resistance and still fail at a termination, penetration, seam, or crack. Water follows the easiest available path.
Consider a basement with a damp strip along one wall and a hairline crack continuing toward the floor. The visible symptom does not reveal whether the problem is a missing membrane, failed drainage, or movement. Diagnosis must precede selection, especially when interior repairs are being considered.
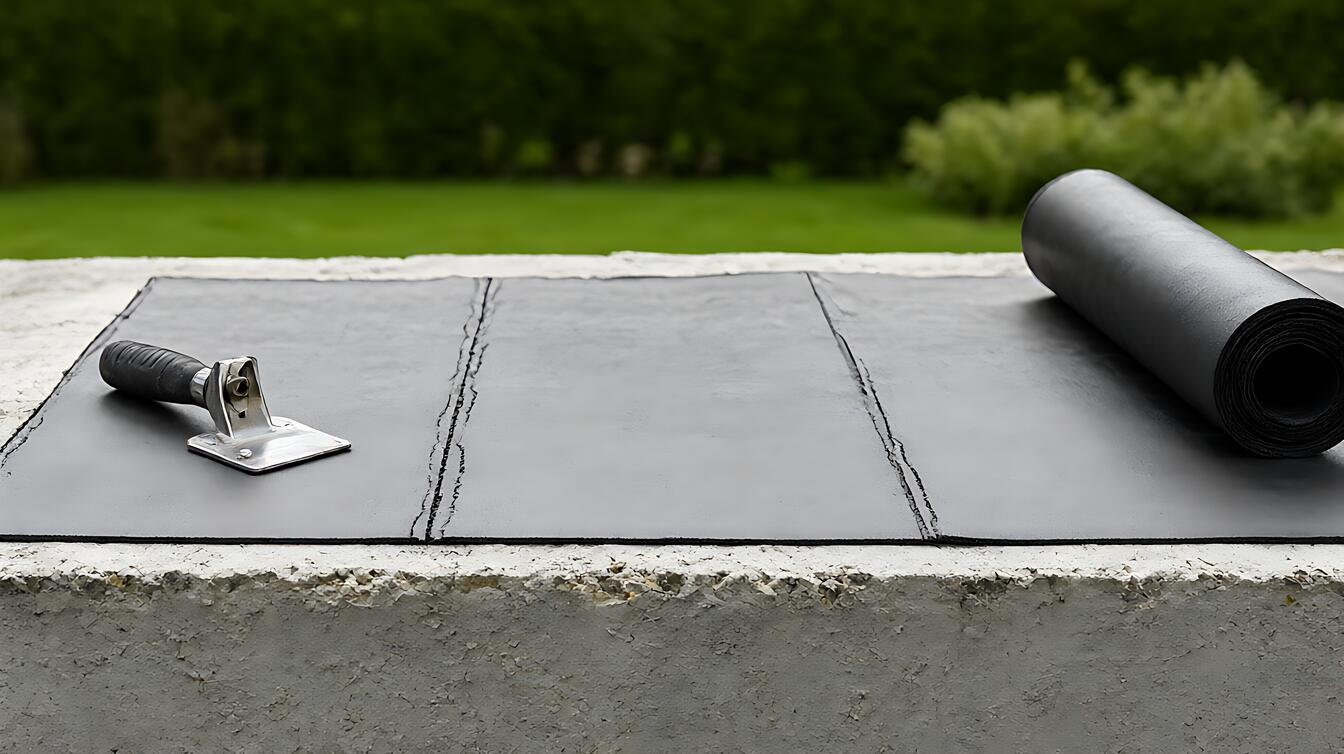
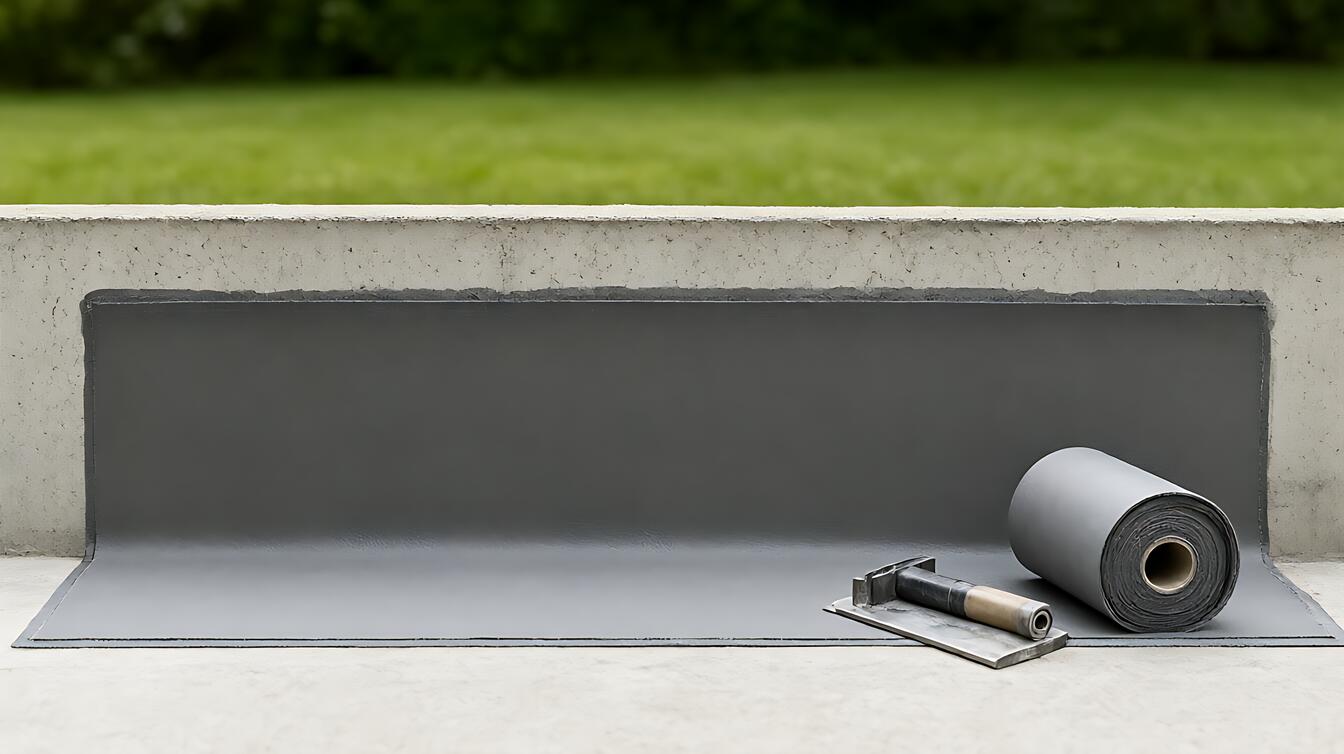
For a membrane torch 3 – 4mm system, heat – welded seams create a continuous barrier, but the result depends on clean preparation, proper bonding, and correct detailing at edges and penetrations. Material thickness cannot rescue a seam that was not welded correctly or a substrate that was not prepared.
Some assemblies also need an overlap 100mm between membrane sheets. That overlap provides material for a sound weld, but it is only useful if the sheets are aligned, clean, and heated with the correct method. The dimension supports good workmanship; it does not perform the workmanship itself.
For liquid – applied systems, coating acrylic can form part of a protective or repair system where its compatibility and application conditions suit the assembly. It should not be treated as a universal answer to hydrostatic pressure, drainage failures, or moving cracks.
Start with the waterproofing failure and leak diagnosis guide before specifying a repair. If the source remains uncertain, use membrane thickness and overlap guidance to check the specified assembly rather than guessing from the wet area alone.
Limits, Edge Cases, and the Next Decision
Waterproofing limits include inaccessible drainage, moving cracks, active leaks, and construction details that interrupt the membrane. Negative – side repair can control water pressure, but it cannot reliably solve every source of movement or groundwater entry. Positive – side work can exclude water, but excavation may expose other structural conditions.
Surface coatings are not a universal hydrostatic solution. A wet area may also contain failed plumbing, inadequate drainage, or a recessed waterproofing assembly. Confirm the water path before treating the visible surface, and use a ponding test 24h where the test conditions and responsible professional determine that it is appropriate.
The durability advantage is usually clearer for a correctly installed positive – side system because it intercepts water before reaching the structure. The cost advantage can reverse because positive – side access may require excavation, restoration, and protection of nearby property. Negative – side work offers practical access, not an automatic performance advantage.
Consult a qualified waterproofing professional when pressure direction is uncertain, the structure is showing significant movement, repeated cracking is present, or excavation could affect foundations or neighboring structures. Waterproofing work intersects with structural and drainage decisions, so a product recommendation without inspection carries real risk.
For a broader budget check, review waterproofing costs and home budgeting. Include access, preparation, detail repair, drainage correction, and finish reinstatement, because the membrane itself may be only one part of the job.
Decision guidance: choose positive – side waterproofing when the water – facing side is accessible and long – term exclusion is the priority. Choose negative – side waterproofing when excavation is impractical and interior remediation can address the source.