The frustrating part of supervising a waterproofing job is knowing which checks matter before water finds a defect. Start with the substrate, verify material – specific limits, inspect seams and thickness, then test the completed area. A waterproofing inspection professional guide is a structured acceptance check that confirms the specified system is ready for service, not merely present on the surface.
What a Waterproofing Inspection Professional Guide Actually Checks
A waterproofing inspection professional guide is a documented quality – control sequence for confirming that a waterproofing system meets its project specifications and manufacturer instructions. The decisive attribute is verified readiness, because a membrane can look complete while its substrate, seams, or curing conditions remain unsuitable.
The inspection moves from substrate moisture below 5% to cured, clean concrete, then checks material storage, application details, seam construction, and final water performance. That order matters, since testing the finished membrane cannot excuse a damp or contaminated base.
For broader context, the complete waterproofing systems guide explains how each system fits into the larger building assembly. This page stays focused on the acceptance checks that determine whether the installed work is ready for handover.
What to Gather Before Inspecting the Waterproofing
An inspection kit should support measurements and records, not just photographs. Prepare a calibrated electronic moisture meter, the project specifications, manufacturer instructions, delivery records, and a way to document every tested location.
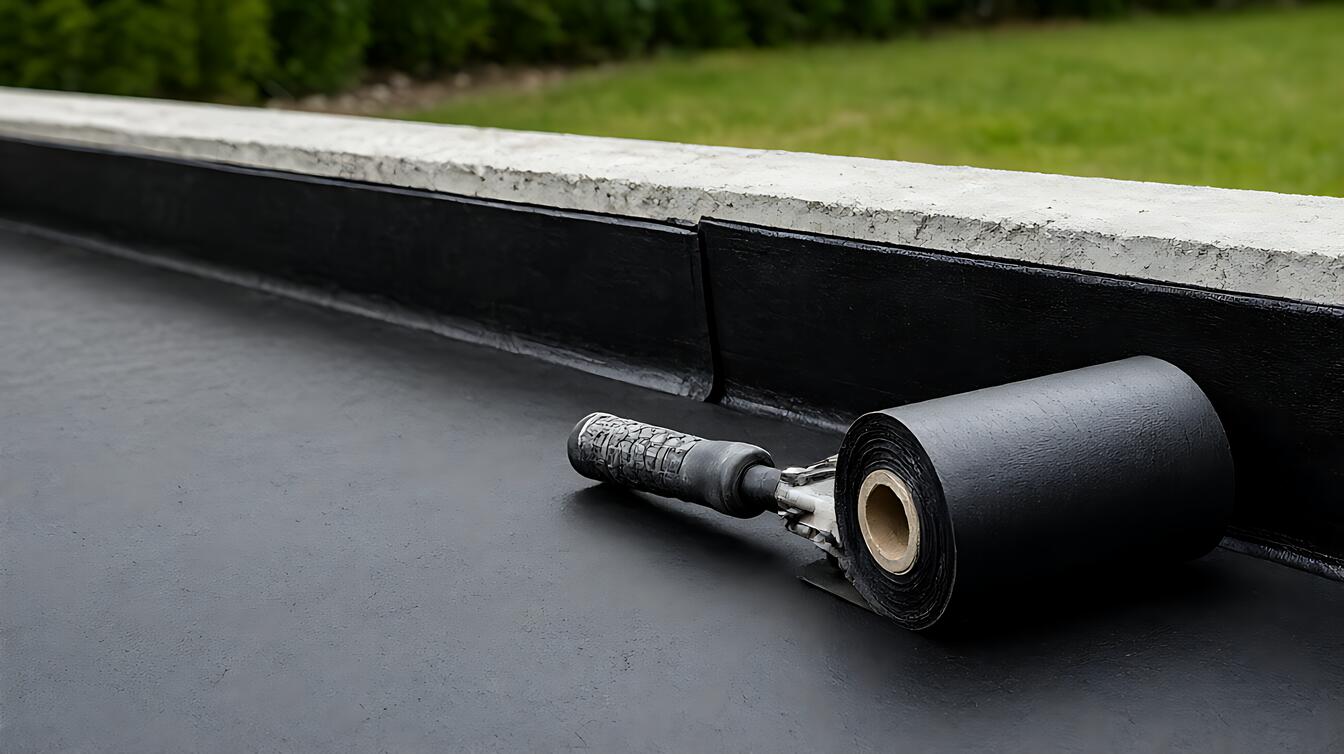
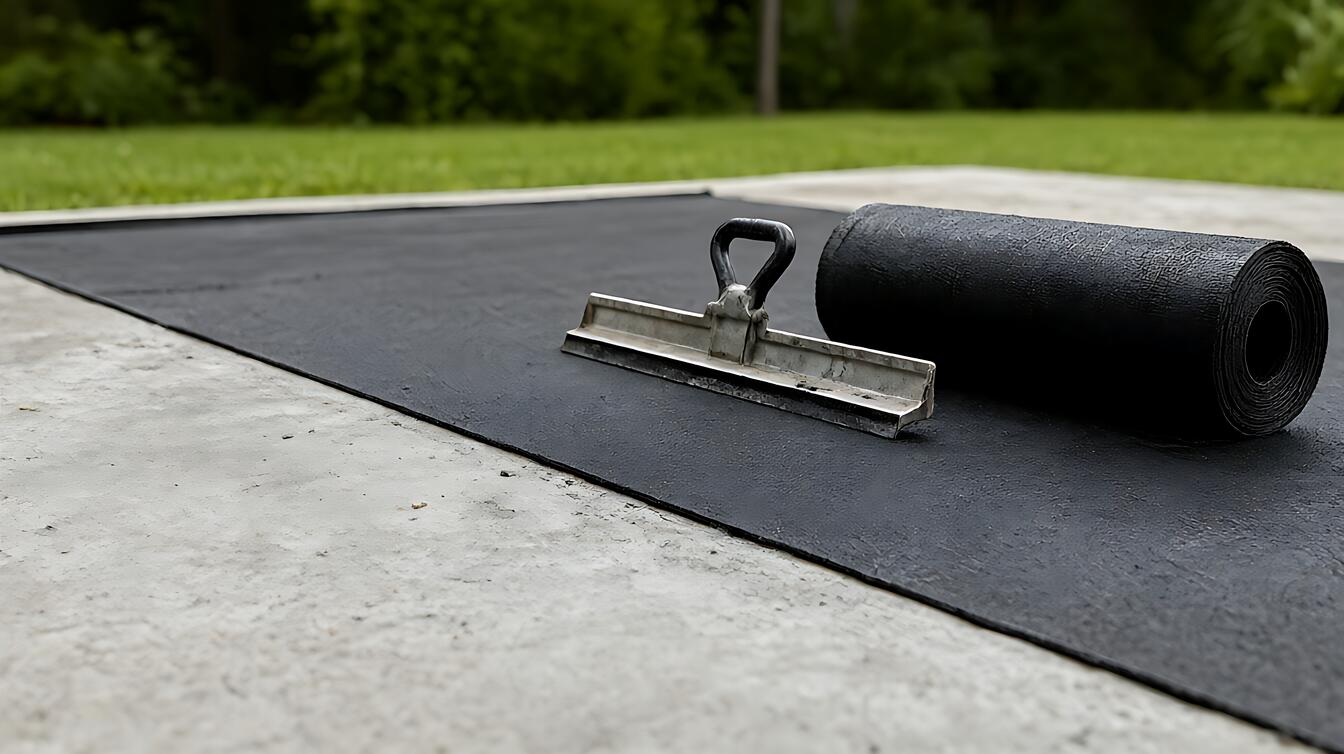
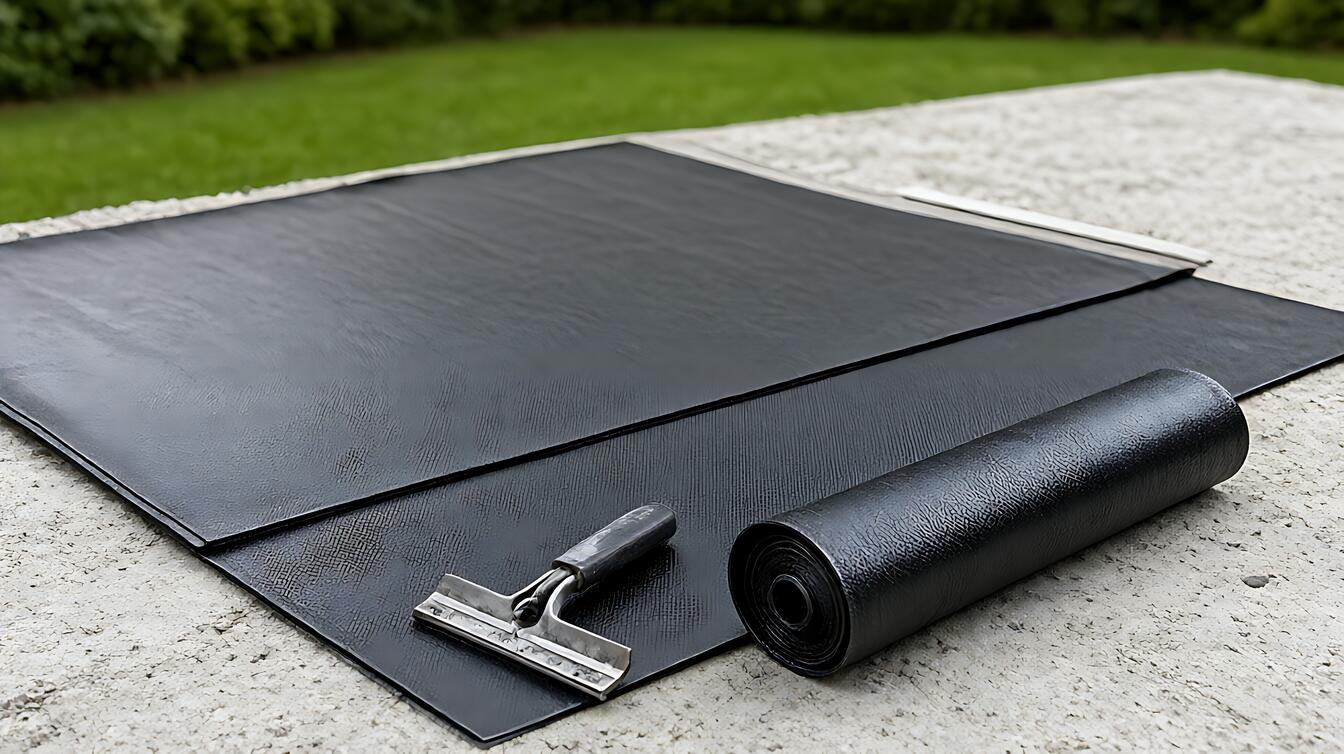
For sheet systems, a 100mm seam roller supports closer inspection of laps, while an appropriate torch or gauge helps verify applied thickness. Concrete should be visibly dry, clean, and free of laitance, curing compounds, release agents, and contaminants.
Check access before the crew arrives. A working space greater than 600mm around the structure makes application and inspection easier, while stored materials should remain within the manufacturer’s recommended range, typically 5°C to 35°C.
Prepare a simple checklist rather than relying on memory. A structured inspection can cover 48 fields across eight sections in roughly 45 to 60 minutes, although site conditions, system complexity, and testing requirements can extend the visit.
Step – by – Step Waterproofing Inspection With Acceptance Tolerances
A reliable inspection follows the installation sequence so each checkpoint protects the next. Confirm readiness first, inspect materials and workmanship second, and reserve the final water test for the completed assembly.
- Review the documents before opening the membrane. Confirm the concrete curing period of at least 28 days, then inspect the surface for visible dryness, laitance, release agents, curing compounds, and other contamination.
- Test the substrate with a calibrated electronic moisture meter. Use at least one reading per 10m², and require moisture content below 5% unless the manufacturer specifies a different limit.
- Check delivered materials against the specification. Confirm that products are approved, undamaged, unexpired, supported by valid documents, and stored within the manufacturer’s recommended conditions.
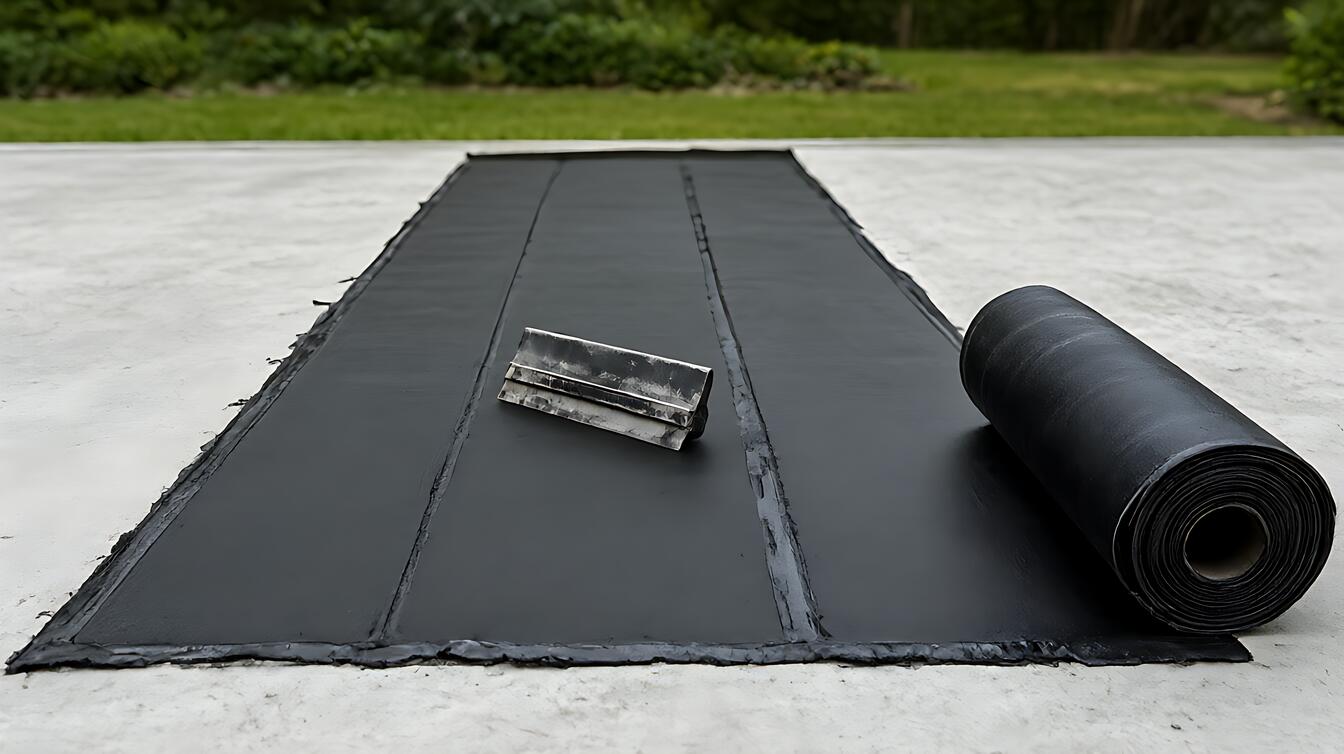
- Inspect the installation while it is accessible. Verify side laps of at least 75mm and end laps of at least 100mm, and confirm seams are bonded with the required roller rather than merely laid together.
- Record the installed membrane thickness. Set the application target according to the membrane manufacturer’s recommendations for the site conditions rather than relying on a generic thickness.
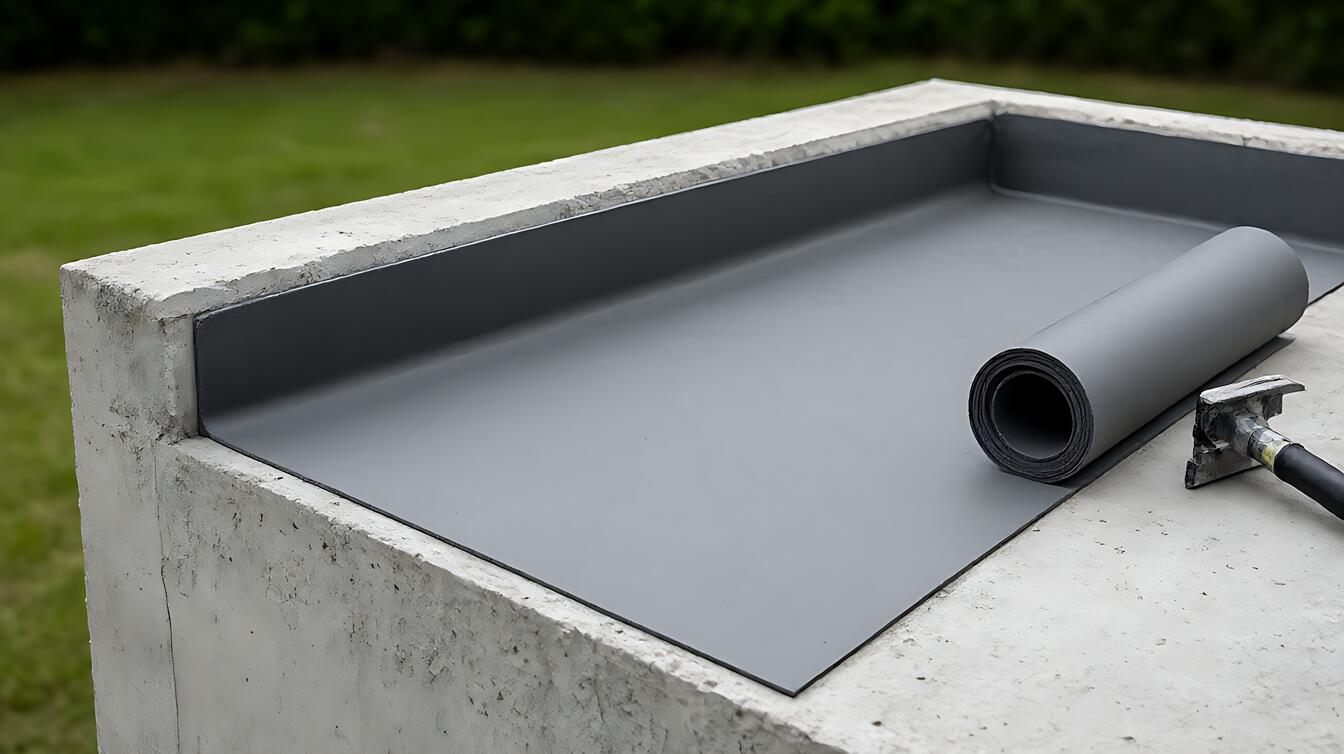
- Flood – test plaza decks and balconies after installation. Maintain a 2-inch water column for 24 to 72 hours, following the project specification and applicable assembly requirements.
Re – check after any corrective work. Moisture readings, repaired seams, and the water test should be documented against the same acceptance criteria, so a punch – list repair does not remain an unverified assumption.
Common Waterproofing Inspection Mistakes and How to Avoid Them
The most common inspection errors begin with conditions that cannot be corrected by adding another layer. A contractor may cover damp concrete, skip a seam detail, or approve a clean – looking surface without checking whether it is dry.
One recognizable job – site scenario is a damp ceiling over a bathroom. Moisture inside the concealed assembly can prevent the specified waterproofing layer from performing as intended, so surface appearance alone is not proof of a dry substrate.
For sheet membranes, laps deserve special attention because continuity depends on the bond between adjoining sheets. Side – lap overlap of at least 75mm supports seam integrity, while end – lap overlap of at least 100mm protects the joint that may receive greater handling or drainage stress.
Do not confuse coverage with compliance. A fully visible membrane can still fail acceptance if moisture exceeds the specified limit, storage conditions were unsuitable, or the final flood test was omitted. The trade – off is straightforward: a longer inspection costs time, but skipping acceptance evidence can push failure discovery into occupied or finished spaces.
Limits, Edge Cases, and Your Next Decision
Acceptance limits depend on the selected system and its manufacturer. A project specification or technical data sheet may permit a moisture threshold different from the commonly cited 5% maximum, so do not treat a general checklist as a substitute for the approved product instructions.
Choose a professional inspection when hidden waterproofing will be covered, the project carries a warranty audit, or failures would affect occupied space. These situations make incomplete evidence harder to remedy after the work is concealed.
Some diagnosis methods require expert judgment. A moisture reading above the permitted limit, visible movement, or an unexplained damp ceiling should lead to further investigation rather than immediate coating over. For waterproofing failure and leak diagnosis, understand the symptom before selecting another repair layer.
When comparing methods, waterproofing types compared connects the inspection limits to sheet, liquid, and cementitious applications. Each system has its own compatibility, substrate, and detailing requirements.
Decision Guidance Before You Sign Off
Choose a professional – led inspection when the waterproofing will be concealed, structural movement is suspected, a warranty audit depends on complete records, or moisture readings exceed the product limit. These conditions carry consequences that photographs and a visual check cannot resolve.
A supervised homeowner inspection can cover a straightforward, accessible application when you have the project documents, manufacturer instructions, calibrated meter, and access to complete the specified flood test. Stop and escalate if the substrate condition, product requirements, or test results remain uncertain.
Your next action is simple: complete the inspection record, photograph each tested condition, document every acceptance value, and obtain clear corrective evidence. That record protects the handover and gives the installed waterproofing system a fair chance to perform as specified.