Is your kitchen leaking? Most damage hides in the gaps between tile, cabinet, and floor, not in the big surfaces. You are not just painting; you are building a barrier. A kitchen waterproofing guide is a systematic process of sealing specific zones, like sink splash areas and cabinet bases, using precise membrane thicknesses and cure times to stop moisture from rotting wood before it becomes visible.
5 Critical Zones That Determine Kitchen Waterproofing Success
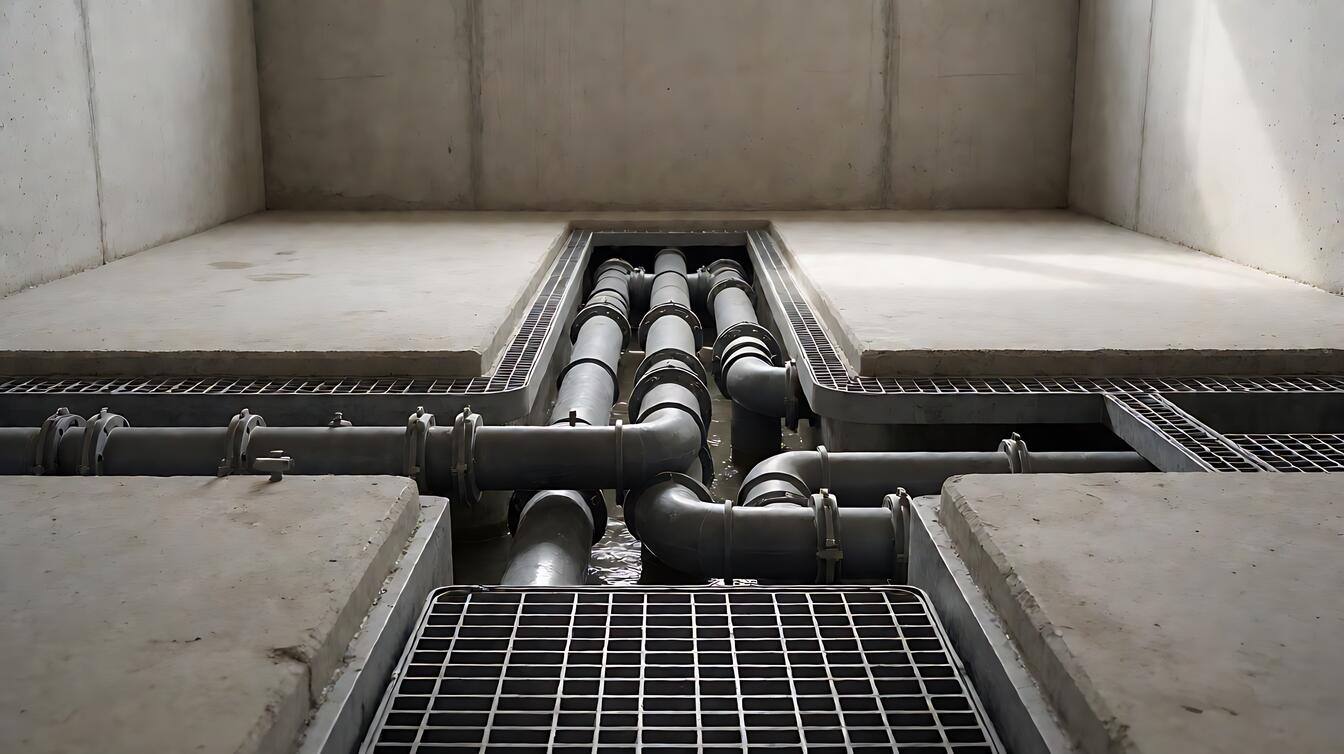
Sink splash zones face direct water impact daily. Dishwasher leak pans sit under appliances, trapping heat and moisture. Backsplash membranes protect the wall behind the counter. These three areas see the highest moisture load in the kitchen.
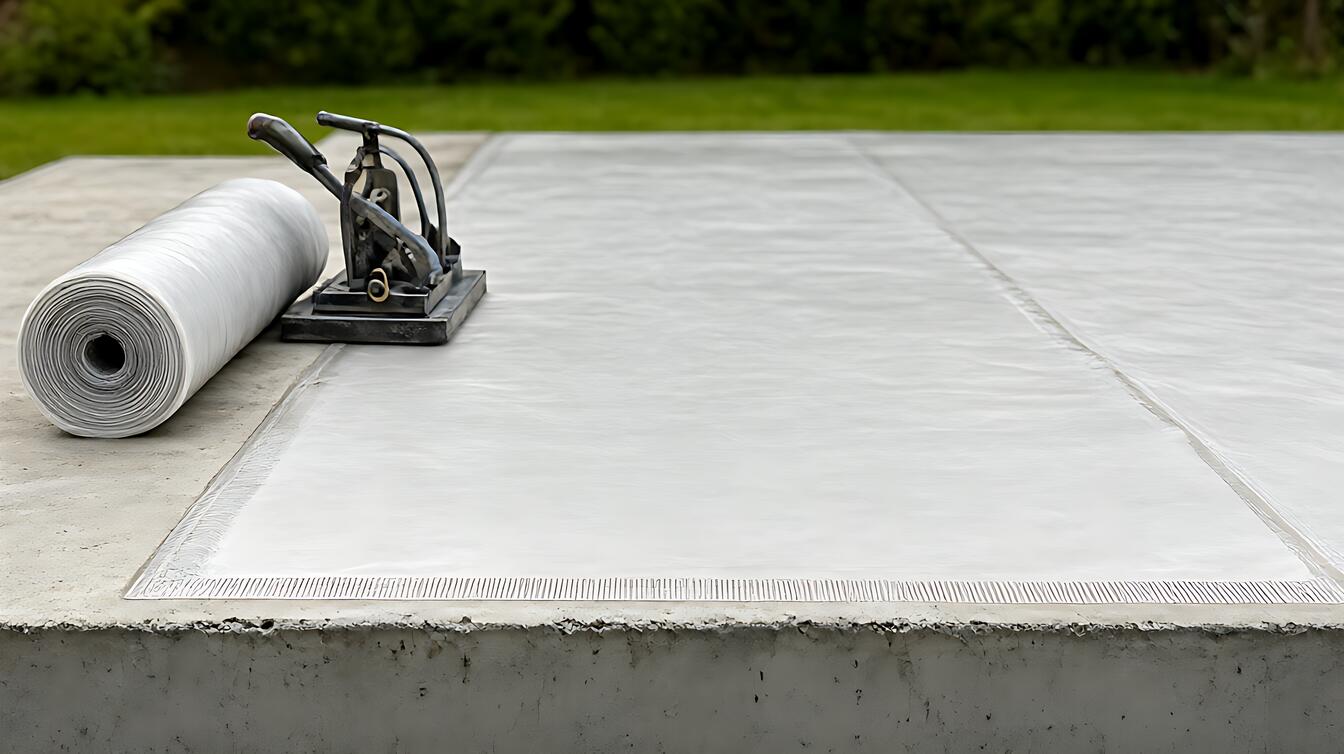
Choose a 1.0mm liquid membrane for splash zones. It is thick enough to handle impact but flexible enough to bridge small movement. If your dishwasher sits against an exterior wall, check the leak pan first. A cracked pan means the water flows around, not under, the appliance.
The floor needs a slope of 1 – 2% toward the drain. Without this, water pools at the cabinet toe – kick. That standing water soaks into the base of the cabinet box within days. You can find more on how this interacts with your layout in our kitchen renovation system guide.
Tools and Materials: What You Actually Need
You do not need a pro toolbox. You need the right sealants. 100% silicone sealant is the backbone of kitchen waterproofing. It lasts up to 10 years and resists mold. Standard latex paint or acrylic caulk will fail in wet areas.
For cabinets, look for 15 – 18mm plywood. Thinner panels warp when the base soaks up water. Thicker ones resist swelling better. You should also check the countertop load. A quartz slab, typically 15 – 20mm thick, can handle 50 lb/sq ft of load easily. That weight stability helps the waterproofing by keeping seams tight.
Gather your tools:
- 100% silicone sealant (2 tubes minimum)
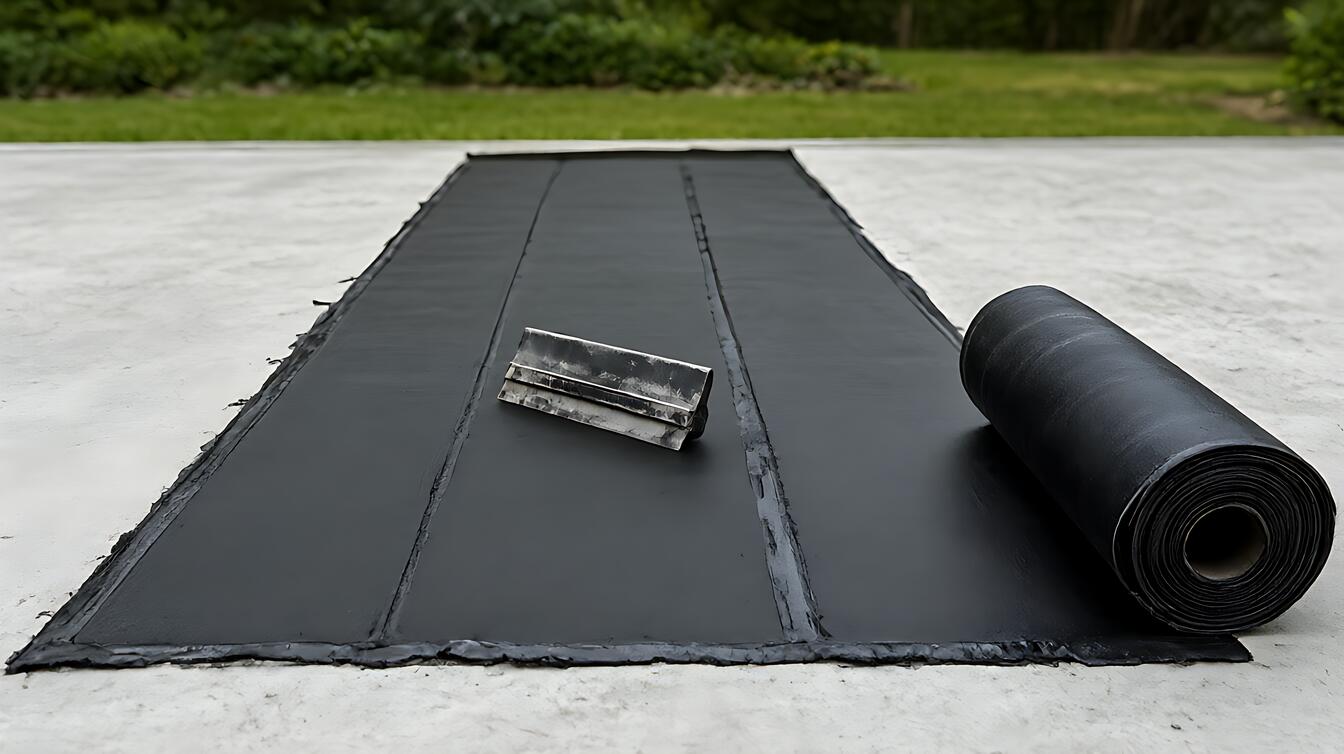
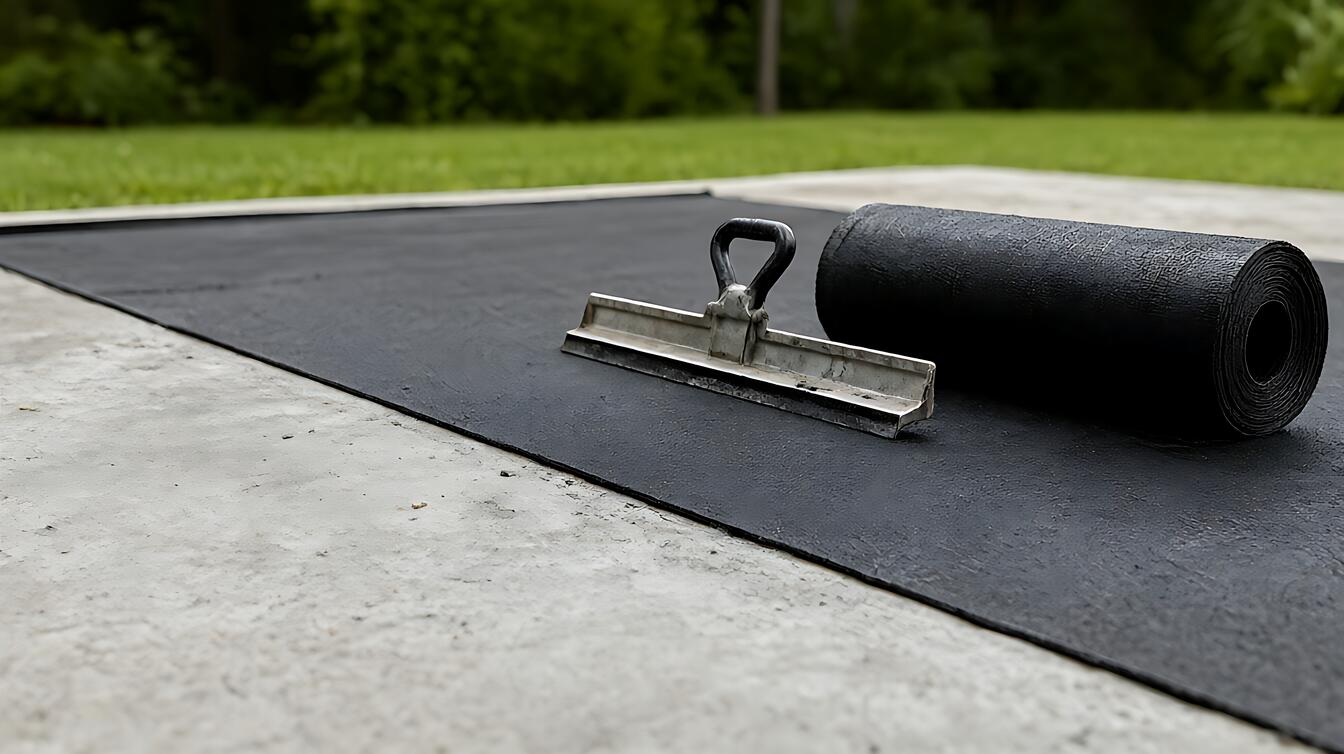
- Liquid membrane (1.0mm thickness)
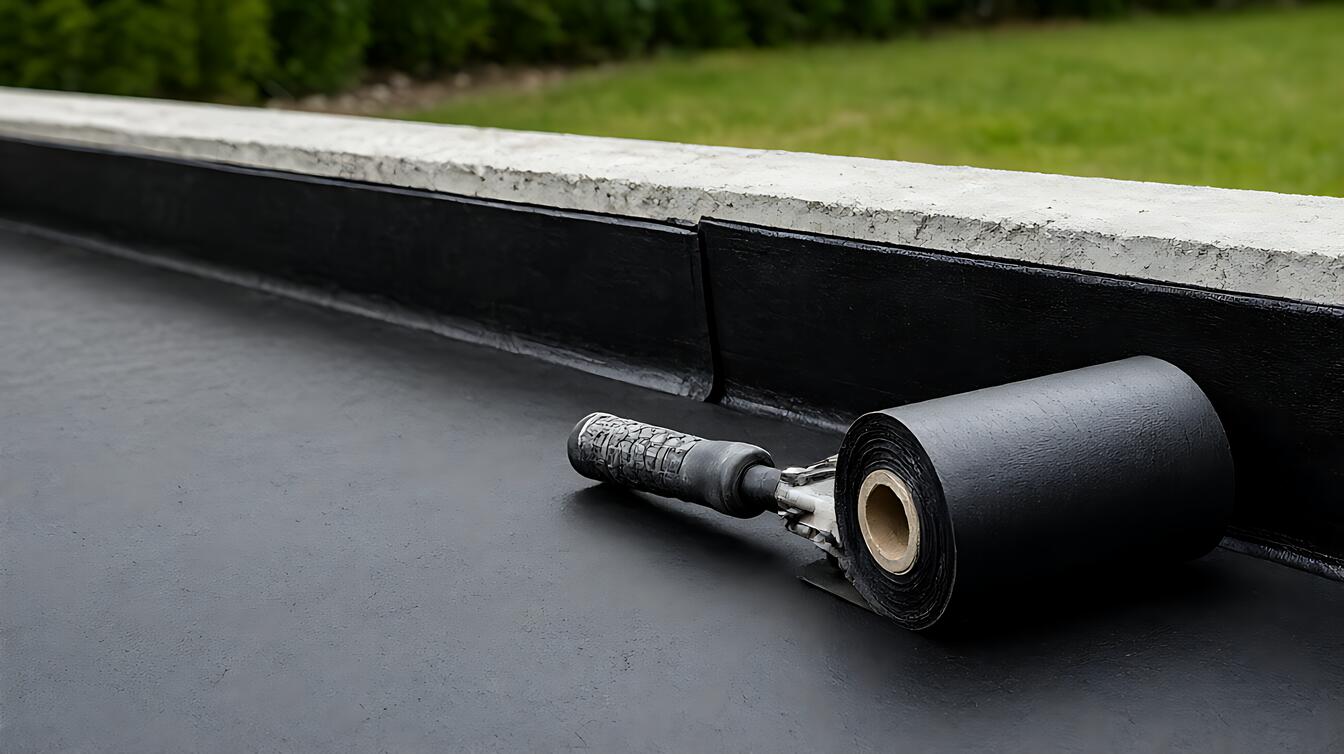
- Roller or brush for membrane application
- 400 – grit sandpaper for surface prep
- Utility knife and putty knife
Step – by – Step Waterproofing With Tolerances
Order matters. Prep the surface, apply the membrane, then seal the joints. Skipping prep is the most common mistake. You can review your full project plan in our kitchen renovation guide before starting.
- Scuff all surfaces with 400 – grit sandpaper. Remove dust completely.
- Apply the first coat of liquid membrane. Let it dry for 4 – 6 hours.
- Apply a second coat in a cross pattern. Curing takes 24 hours.
- Seal all tile joints and cabinet gaps with 100% silicone.
- Wait 30 minutes for silicone to become water – ready. Full cure takes 24 – 48 hours.
Re – check after each step. If the membrane is tacky, wait. Rushing the cure time traps moisture inside the wall. That trapped vapor causes peeling later. The silicone cures fastest at 20 – 25°C. If it is colder, expect the full 48 hours.
Common Mistakes That Void Your Waterproofing
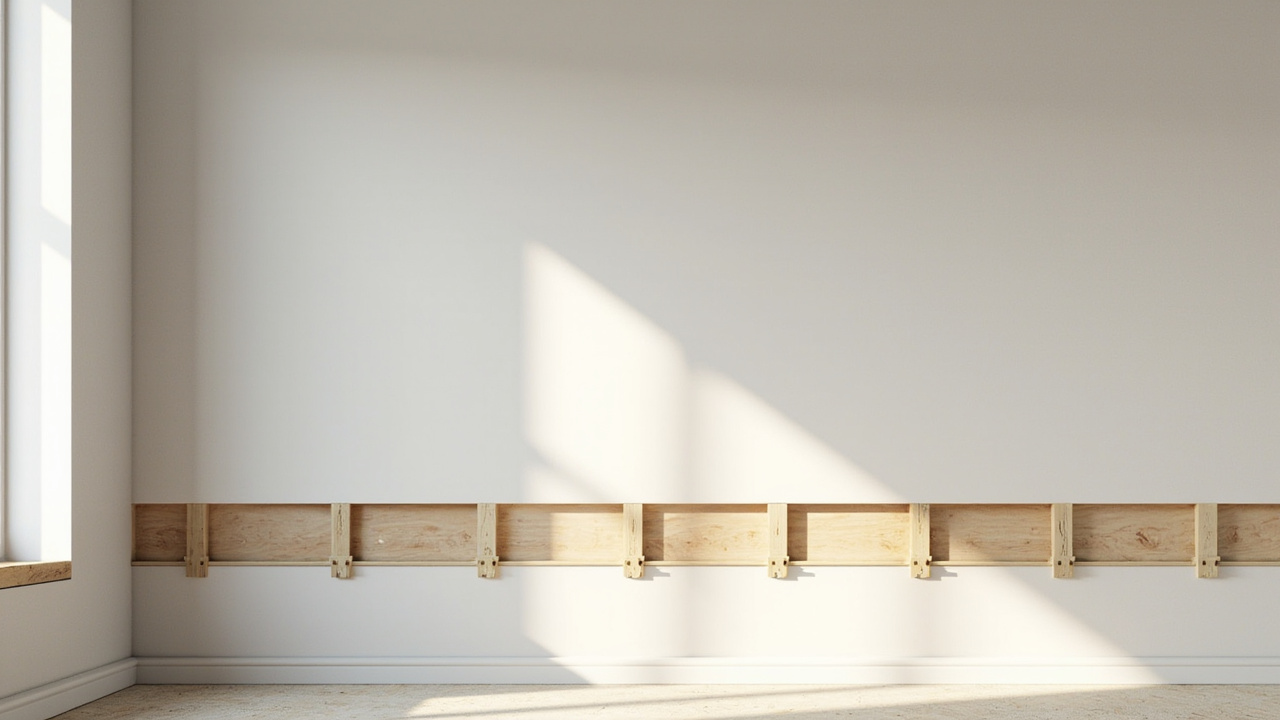
Most DIYers fail at the seams. They seal the tile, but not the gap between the tile and the cabinet. Water finds that path. It wicks up the cabinet toe – kick and swells the base. The kitchen looks fine from the front, but the bottom is ruined.
Another trap is ignoring humidity. Mold grows fast in warm, damp spots. If your kitchen stays above 30°C and has poor airflow, check your kitchen ventilation. Without air exchange, the mold will grow on the sealant itself.
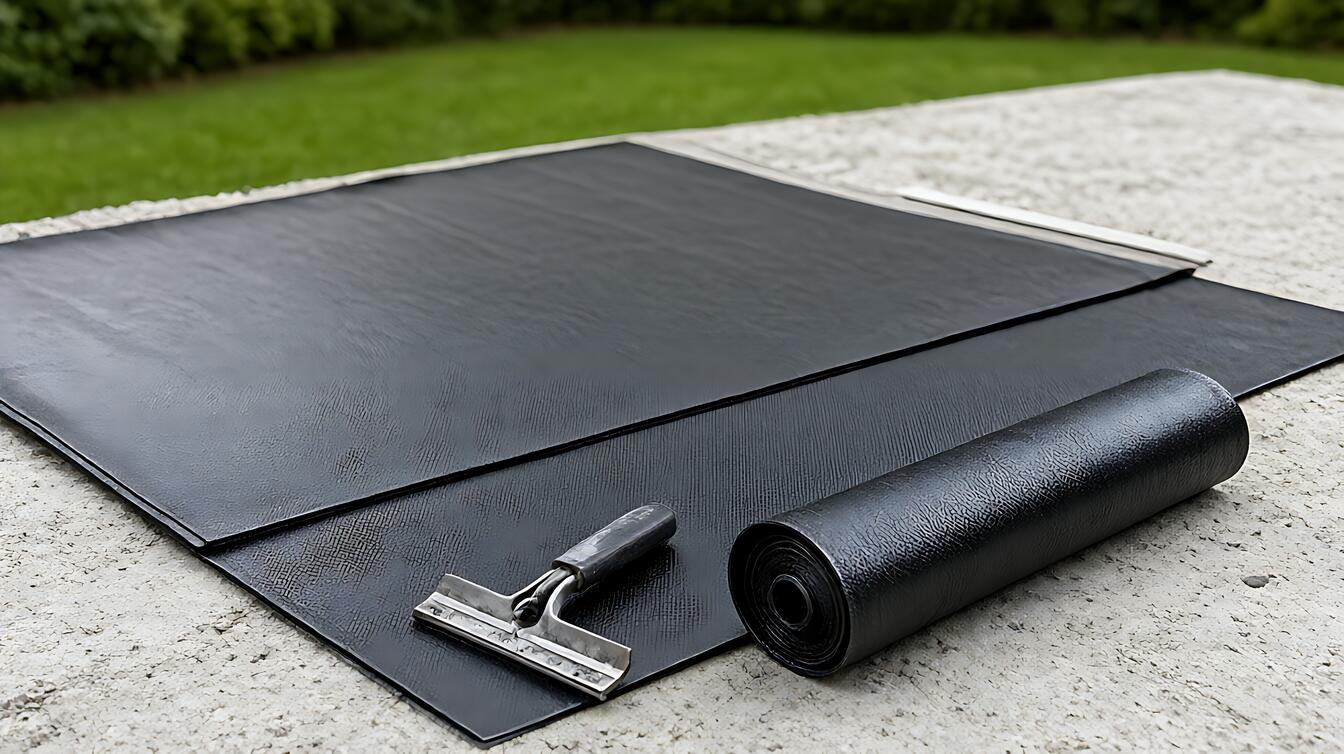
Do not use paint as a waterproofing layer. Paint is not a membrane. It cracks and peels when the underlying wood swells. You can read more about avoiding these structural errors in our kitchen renovation mistakes article.
When to Call a Pro and What Comes Next
Call a professional if the water damage has reached the structural framing. If the subfloor is wet and spongy, you need a contractor. DIY works for surface sealing. It fails at deep structural repair.
Choose a pro if the leak comes from behind the wall. You need a camera or a drill to find the source. For surface tasks, you can handle it yourself. Just be ready to inspect every 6 – 12 months.
Once the waterproofing is done, your kitchen hardware will last longer. Soft – close hinges protect the seals on cabinets. They stop the door from slamming and cracking the silicone. Pair this with proper cabinet hardware to finish the project. Your kitchen is now sealed for 5 – 10 years.