Struggling with uneven cabinets, a backsplash that cracks after three months, or a quote that doubles mid-project? Most problems come from sequence, not materials. Kitchen renovation system is a coordinated work flow that links demolition and leveling, frame and services, and cabinet and countertop install in a strict order that controls tolerance, moisture, and load from day one.
What a Kitchen Renovation System Is and Why Sequence Matters
Kitchen renovation system is an ordered method that turns layout, structure, and services into one installable package with a 1/8 to 3/16 inch tolerance at every joint when applied in a dry, level room. Unlike buying cabinets and countertops separately, the system locks dimensions, pipe positions, and frame spacing before any finish goes up, so doors close square and seams stay tight.
Three layers make the system. The shell layer covers floor leveling within 3 mm over 2 m and wall plumb within 2 mm per meter. The infrastructure layer sets electrical runs, water lines, and drain slope 1 to 2 percent while walls are open. The finish layer installs cabinet box plywood 15 to 18 mm and quartz 15 to 20 mm on that prepared base.
Skip or shuffle those layers and you inherit rework. A common SERP list says paint then install, but pros set countertop load 50 lb per sq ft support first, then scribe cabinets to the wall, then tile the backsplash last, so the backsplash bridges the true gap instead of hiding a bow.
That order explains why two kitchens with the same quartz and soft close hinges age differently. One was shimmed and sealed at the infrastructure stage and stays flat, the other was forced onto a humped floor and opens a grease-trapping crack within a season.
How the System Works: Tolerances, Materials, and Critical Measurements
Material tolerance inside a kitchen renovation system is governed by cabinet box plywood 15 to 18 mm thickness, quartz 15 to 20 mm slab stiffness, and a 3 mm expansion gap at walls and tall units when the kitchen cycles between 24 and 32 degrees Celsius. In high humidity above 75 percent, plywood with sealed edges holds shape while raw particleboard swells 1 to 2 mm and binds drawers.
The supporting logic is simple. Base cabinets transfer load through levelers to the floor, not through the countertop, while wall cabinets hang on a continuous French cleat or steel rail anchored to studs at 16 inch centers or solid masonry with 8 mm anchors every 30 cm. Hollow steel frame spacing at 30 cm suits 18 mm laminate, 40 cm suits 20 mm stone, and every joint gets screws at 20 to 25 cm.
For waterproofing, a continuous liquid membrane under the sink run and behind the stove, lapped 100 mm onto walls, stops capillary rise that rots the toe kick. Leave a 5 mm ventilation gap behind the backsplash and under the toe kick so steam from kettles and dishwashers dries instead of condensing inside the carcass.
Heat adds another check. A solid surface top above a built in oven sees 55 to 65 degrees Celsius underside, so keep a 15 mm air gap plus a reflective shield, otherwise the resin softens and holds pan marks that no polish removes.
Deciding the Scope: Full System vs Partial Updates
Scope decision in a kitchen renovation system compares full strip to targeted updates using cost per square meter, plumb deviation, and service age as criteria when the kitchen is still in use. If walls are out of plumb more than 5 mm per meter or pipes are older than 15 years, a partial update inherits the defect and costs more within two years.
| Criteria | Full System Renovation | Partial Update (Doors and Top Only) | Cosmetic Refresh |
|---|---|---|---|
| When it fits | Walls uneven, services old, layout changes | Shell level, pipes under 10 years, layout stays | Rental or quick sale, budget under 90 per m2 |
| Moisture control | New membrane, vent gaps, sealed plywood | New top seal only, old carcass may still swell | Paint and film, no substrate fix |
| Heat and load result | Rail hung walls, 50 lb per sq ft rated, shield included | Top upgraded, old rail may still flex | Load unchanged, risk of sag over 2.5 m span |
| Typical cost per m2 installed | 140 to 220 dollars with frame and services | 80 to 130 dollars doors plus top | 40 to 80 dollars film and hardware |
| Lifespan if executed well | 10 to 15 years | 5 to 8 years before carcass forces redo | 2 to 4 years |
The numbers clarify. For a 9 square meter L shaped kitchen, a full system at 170 per m2 totals about 1,530 dollars for the system shell plus appliances, while a doors and top only route at 105 per m2 totals 945 dollars but leaves leveling and pipe risk, so add a contingency of 12 to 18 percent for hidden rework.
Rule of thumb for readers comparing kitchen renovation guide options, check the shell with a 2 m straightedge first. If you see light under the middle or corners, price the full system, otherwise a partial update can work and the comparison of carcass options in kitchen cabinet materials compared helps you pick plywood versus aluminum versus solid wood for that shell.
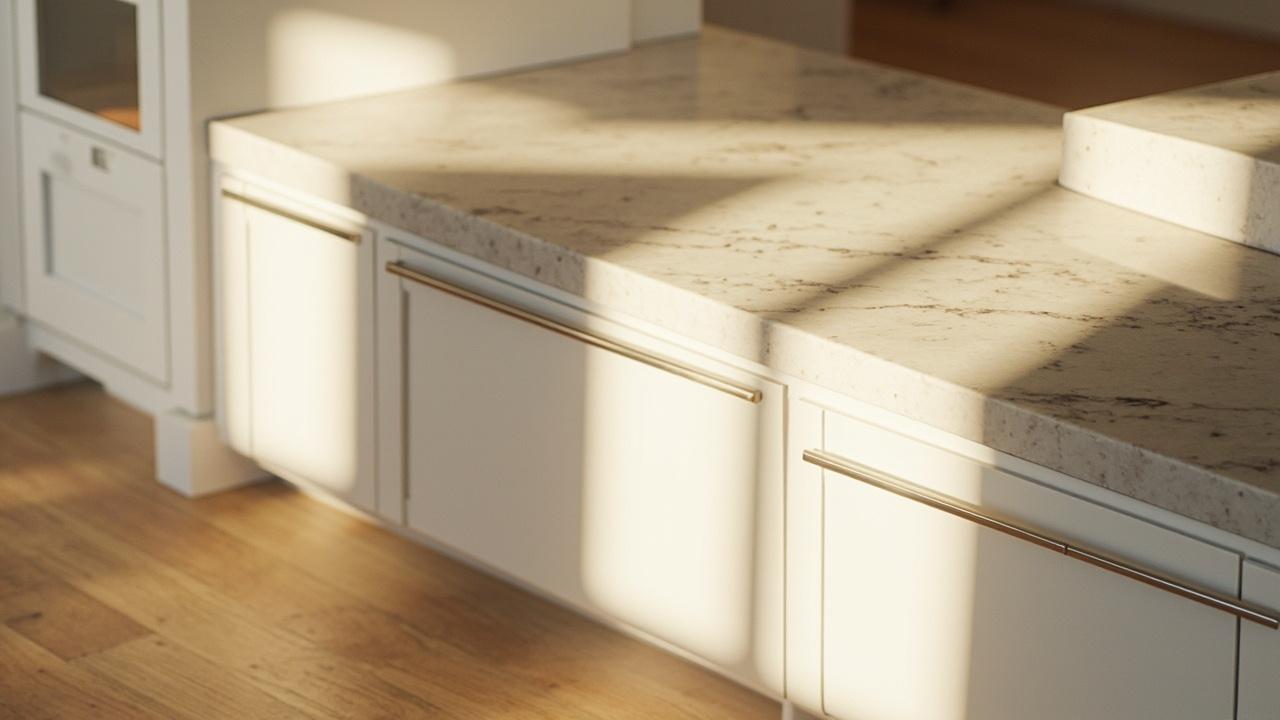
Installation Sequence: 5 Steps and the Mistakes That Force Rework
Install sequence for a kitchen renovation system follows demolition, leveling, services, frame and cabinets, then countertop and backsplash in that order with 1/8 to 3/16 inch scribe tolerance verified at each stage before the next trade starts. Signing off one stage before the next begins is the cheapest insurance on the job.
Step one, protect and demolish. Cap water, isolate power, then strip finishes to the shell and photograph drain positions and stud locations. Step two, level aggressively. Grind high spots and self level lows to achieve 3 mm over 2 m on floors and 2 mm per meter plumb on walls that will receive wall cabinets, then mark a single laser datum at 1 m high around the room.
Step three, run services to that datum. Set electrical outlets 100 to 120 mm above the finished countertop for a 900 mm work height, keep water lines 50 mm inside cabinet sides for valve access, and hold drain slope 1 to 2 percent without flat spots behind the sink. Pressure test for 30 minutes before closing walls.
Step four, set frames and cabinets. Anchor the rail level to the datum, hang plywood boxes, shim to the laser line with 1 mm plastic shims, and fix every 30 cm into structure. Step five, template and set quartz 15 to 20 mm on a flat, fully supported top with that 3 mm perimeter gap, then tile the backsplash to the counter, not to the cabinet.
Three mistakes repeat. Forcing cabinets onto an unlevel floor creates a diagonal that binds soft close slides, closing walls before pressure testing forces a second demolition, and screwing the countertop tight to the wall without a gap guarantees a seasonal crack that traps oil.
Limits, Edge Cases, and What to Do Next
System limits appear when spans exceed 3 m without a center spine, when humidity stays above 80 percent with no ventilation, or when load and span assumptions change after stone selection when the floor was sized for laminate. In those cases the standard 40 cm frame and 20 mm stone alone are not enough, and field verified reinforcement decides success.
For a narrow galley under 2.2 m wide, prioritize drawer depth 500 mm over wall cabinet count so circulation stays at 900 mm minimum. For a semi outdoor kitchen with splash exposure, favor aluminum frame or marine plywood with two coat edge sealer and inspect seals yearly. For rental units where future removal is likely, choose a freestanding island on levelers rather than a continuous stone run keyed into walls.
Maintenance keeps the gain. Seal stone yearly with impregnating sealer, keep the sink cabinet dry overnight with the door cracked, wipe HPL edges dry after wet work, and recheck levelers after the first 90 days as the building settles. If you see a 3 mm bow at the joint line, adjust hinges and add a mid support before the crack widens.
When structure, gas, or any electrical tie to the main panel is involved, or when scaffolding above 3.5 m is needed, hire a licensed pro. Correct trade work costs less than cutting a set quartz slab or rehanging a loaded wall cabinet.
Choose full system strip and rebuild if plumb is off more than 5 mm per meter or pipes exceed 15 years, choose partial update if the shell is flat and services test clean and you only need new fronts and a quartz top on plywood boxes, choose cosmetic refresh if budget or tenure is short. To price the finish correctly, see kitchen countertop installation cost guide for quartz versus granite versus laminate per square meter, and review kitchen storage pull out pantry systems if deep storage is the real bottleneck, since pulling storage logic often solves more than adding meters of counter.