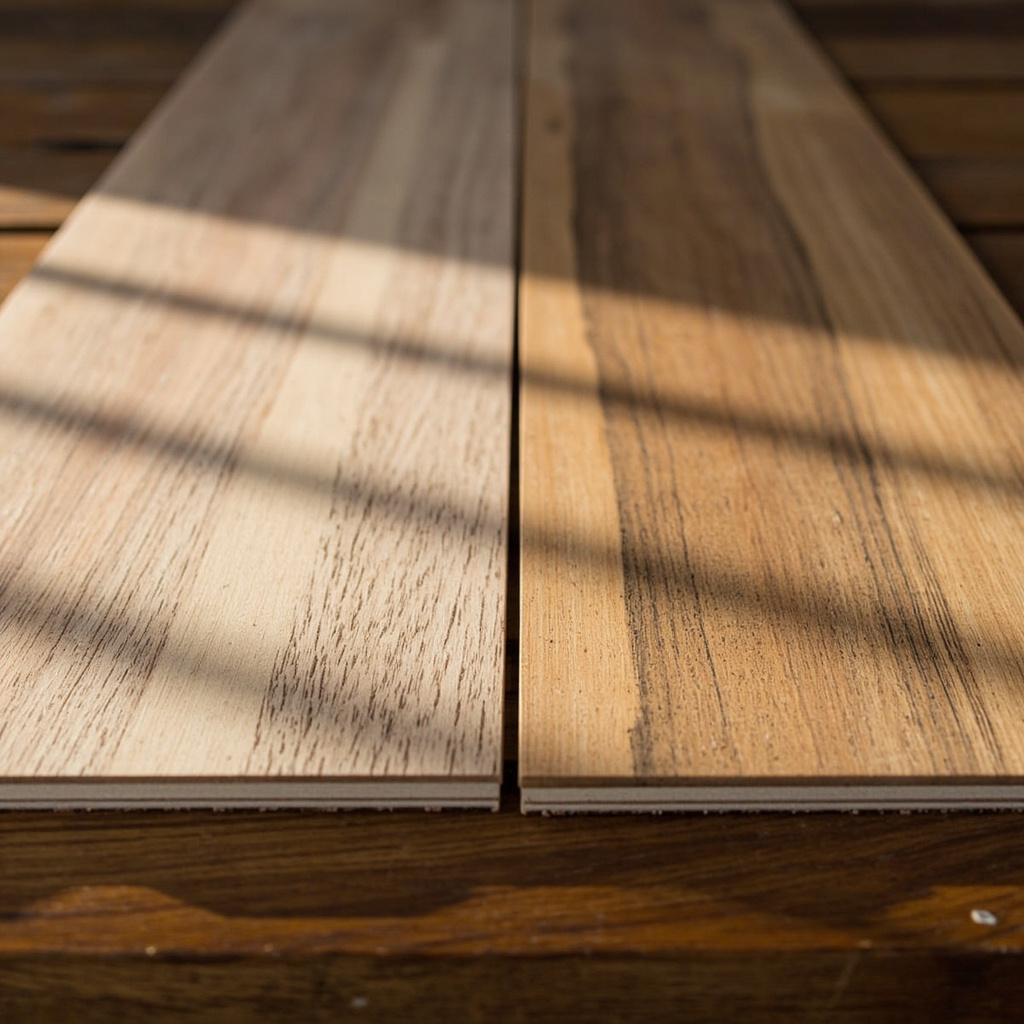
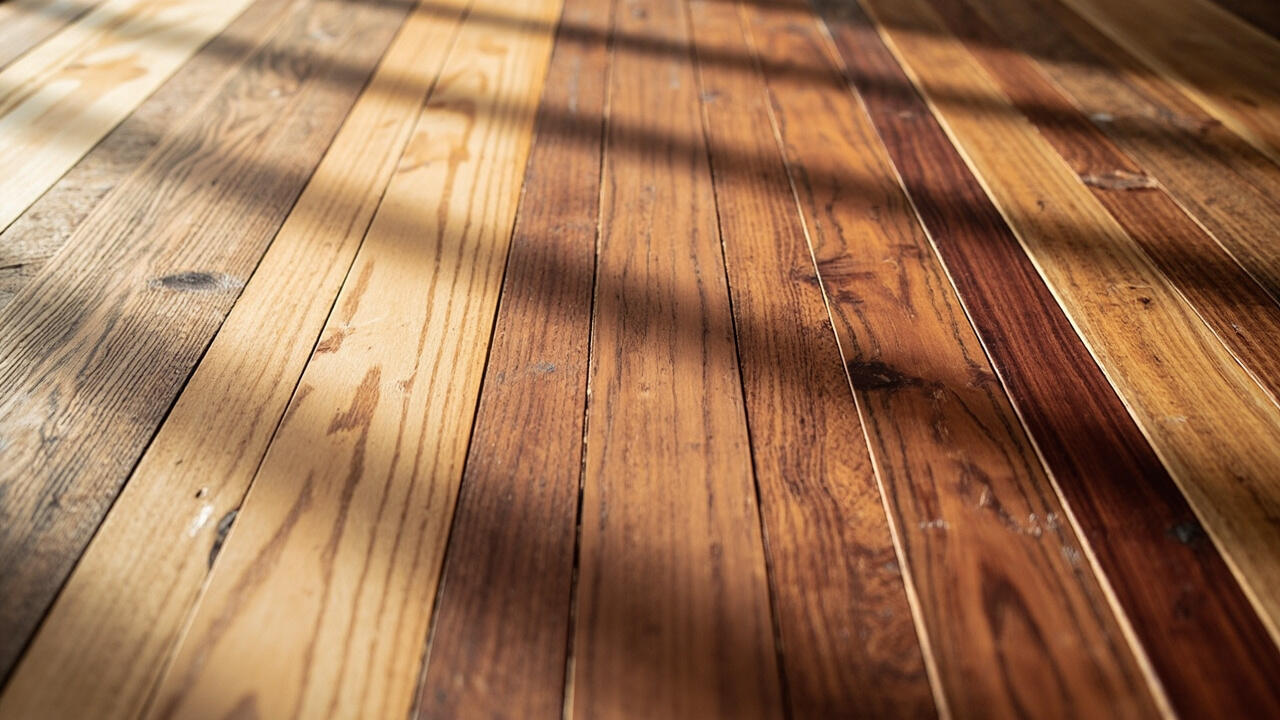
In a flooring showroom, two boxes sit side by side. Both show the same oak grain pattern. One costs $0.90 per square foot. The other is $3.80. The assumption is that the expensive one is “better” — but better for what?
A guest bedroom and a kitchen with two dogs have completely different demands, and the price tag alone won’t tell you which spec matches which room. This guide maps the four quality signals that actually matter — AC rating, plank thickness, core material, and wear layer — to the household conditions where each one earns its place.
The goal is not the most expensive floor. It is the right spec for the room, so the floor looks good longer and you don’t pay for protection you will never use.
What AC Rating Actually Means for Your Room
The AC rating (Abrasion Class) is the single most useful number on a laminate box, yet it is also the most misunderstood. Developed by EPLF (European Producers of Laminate Flooring), the rating comes from the Taber abrasion test, which measures how many cycles a wear layer survives before the decorative print shows through.
AC3 (heavy residential) handles 2,000–4,000 cycles; AC4 (light commercial) handles 4,000–6,000. NALFA (North American Laminate Flooring Association) uses a similar but not identical test, so look for the EPLF or NALFA mark on the box.
In showrooms, buyers often assume AC5 is “better” than AC3 — but for a bedroom or guest room, AC5 is overpaying. The spec that matters is matching the rating to the room’s actual foot traffic. A hallway or open-plan living area with daily footfall and pets needs AC4 at minimum. A low-traffic spare bedroom can work fine with AC3.
The anti-pattern is buying the highest number on the box without checking whether the room will ever generate enough wear to justify it. Experienced installers see this mismatch in houses where an AC3 floor in a kitchen with two dogs will look tired in 18 months — an outcome that is entirely predictable from the spec sheet.
When the wrong AC rating shows wear prematurely, the root cause is almost always a rating mismatch, not a defective product.
For a deeper look at how that premature wear shows up and what it costs to fix, see wrong AC rating: premature wear.
Thickness vs AC Rating: Two Different Quality Signals
Thickness and AC rating measure different things. AC rating determines surface durability — how many scratches, scuffs, and heel marks the wear layer can take before the image fades. Plank thickness (measured in millimetres) affects the structural feel underfoot, sound transmission, and how well the floor bridges minor subfloor imperfections. The two are independent: you can buy an 8mm AC4 plank or a 12mm AC3 plank.
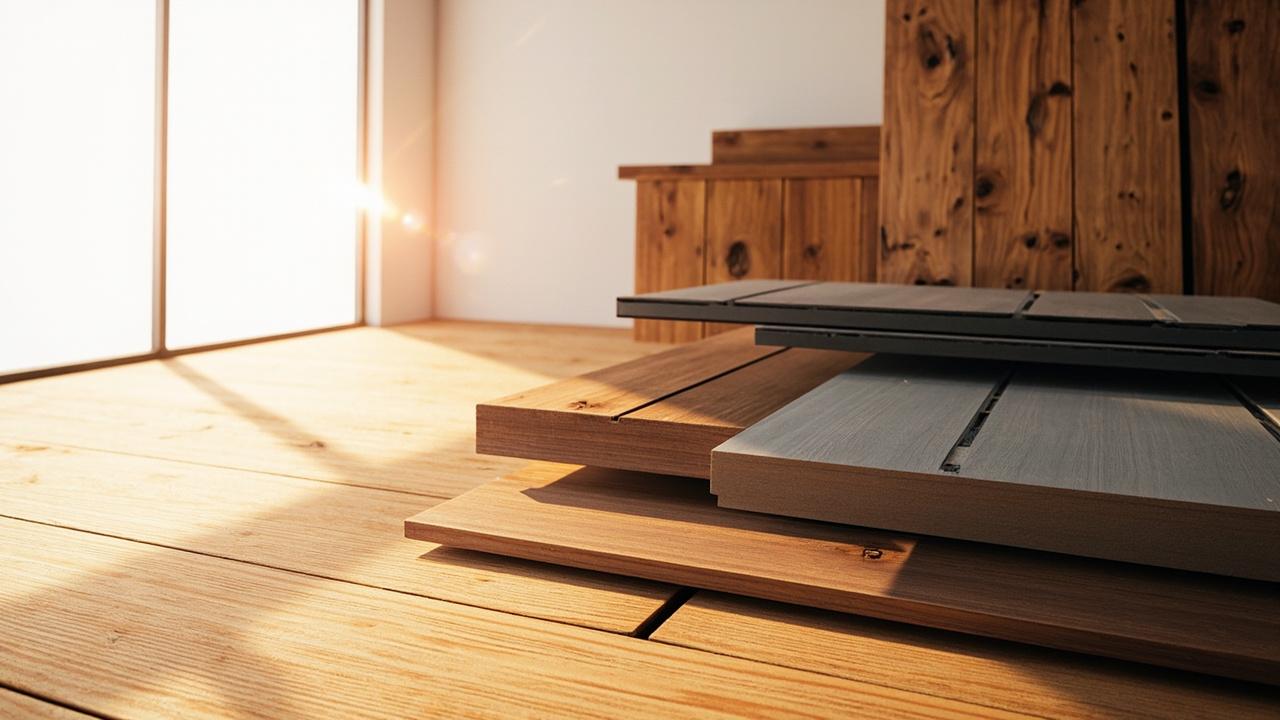
Three common thickness tiers: 8mm (entry-level residential), 10mm (premium — better stability and sound dampening), and 12mm (luxury grade — closest to solid hardwood underfoot). The HDF core (high-density fiberboard) in a 12mm plank resists moisture and impact far better than the low-density fiberboard core often found in budget 7–8mm planks.
A low-density core absorbs moisture, warps over time, and is the leading cause of edge-cupping in laminate floors.
Two planks can both be AC3 rated — one 8mm, one 12mm. The 12mm feels more solid and transmits less sound to the floor below, but it won’t resist scratches any better than the 8mm.
For a family with young children who drop toys, the impact resistance of a thicker HDF core matters more than a slightly higher AC rating.
For thicker planks over uneven subfloors, the extra thickness helps bridge dips and bumps, but it also requires more careful prep to avoid noticeable lippage at the seams.
What You Get at Each Price Tier
In the field, the laminate that fails fastest isn’t the cheapest one — it’s the one where the buyer matched the wrong spec to the room. AC2 in a kitchen with two dogs will look tired in 18 months, even if the box said “residential grade.” Price is a useful signal, but only when you understand what changes between tiers.
Builder-grade laminate (6–7mm, AC3, basic wood grain, no attached pad) typically costs $0.80–$1.20 per square foot. The wear layer is thin — around 2–3 mils — and the core is low-density fiberboard that swells if moisture sits on it. This is acceptable for a temporary rental or a seldom-used guest room, but it will show seam gaps and surface wear within 2–3 years in any area with regular foot traffic.
Mid-range laminate (8–10mm, AC3–AC4, embossed texture, some with attached underlayment) runs $1.50–$2.50 per square foot. Here you get a denser HDF core, a thicker wear layer (4–6 mils), and better print clarity. The attached underlayment, typically a foam or cork layer, saves a separate purchase and reduces echo.
Premium laminate (10–14mm, AC4–AC5, EIR texture, waterproof core, attached pad) costs $2.50–$4.50 per square foot. The EIR (Embossed in Registration) texture means the surface indent matches the printed grain, so it looks and feels like real wood. The HDF core in premium planks is often treated with a wax or resin coating to resist standing water for up to 24 hours.
A builder-grade laminate at $0.80/sq ft looks identical to a $3.50/sq ft premium plank in a showroom sample — both show oak grain. The difference shows after 18 months of dog claws and vacuum wheels: the cheap one’s wear layer thins, the grain fades, and the seams start to gap.
For households where kids and pets are part of daily life, stepping up to mid-range or premium is worth the money because it addresses the actual failure points.
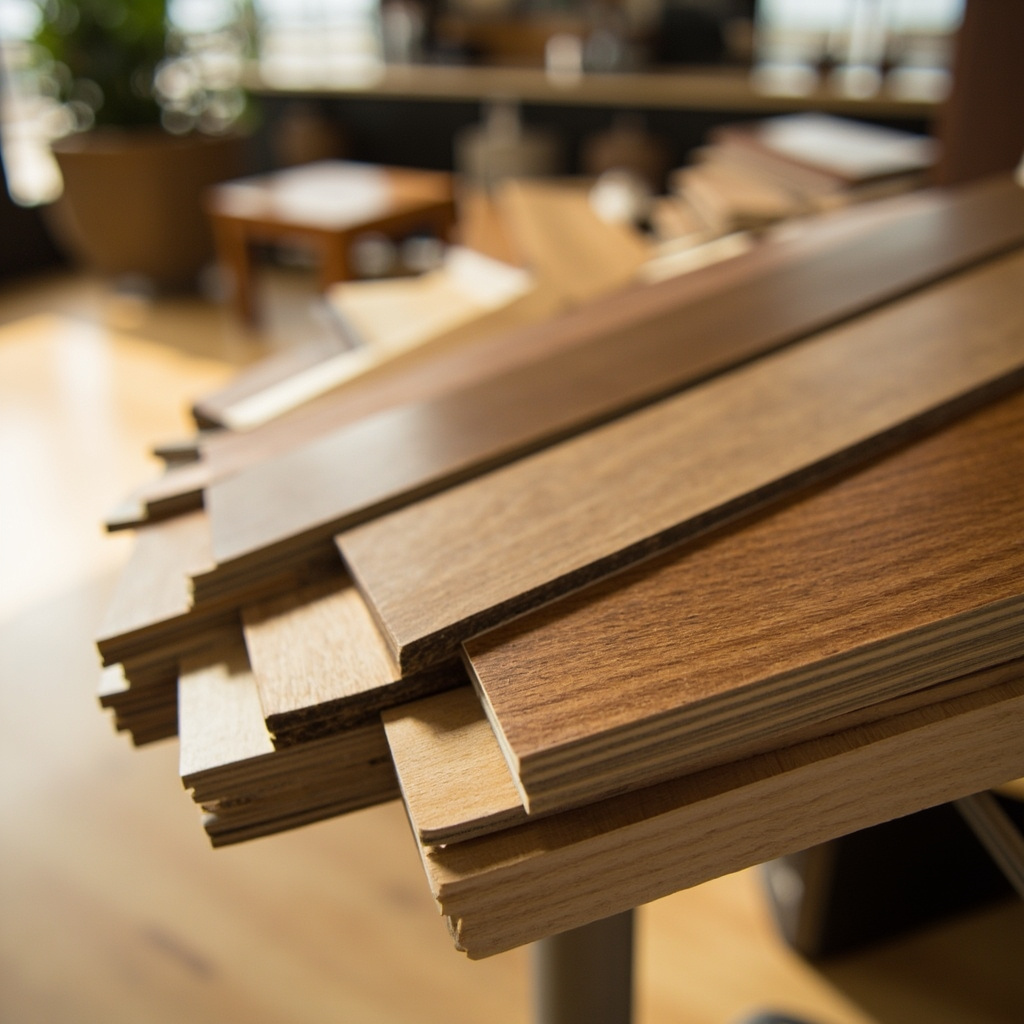
Matching Your Household to the Right Spec
Room-by-room recommendations exist, but they are useful only when they account for the specific conditions your household throws at the floor. The three variables that matter most: traffic level, impact risk, and moisture exposure.
A high-traffic hallway that connects all main rooms needs AC4+ with a scratch-resistant wear layer — budget for 10mm or thicker to reduce sound. A bedroom or guest room sees light use; AC2–AC3 with an 8mm plank is sufficient, and the money saved can go toward the living area floor.
A home with pets (dogs especially) demands AC4 minimum — claw scratches on an AC3 wear layer become visible within months. Add a thicker HDF core to absorb impact from jumping off furniture. A household with young children needs impact resistance from dropped toys and a stain-resistant surface for spills. Here the edge goes to a 10–12mm HDF core with a wear layer of at least 5 mils; avoid low-density cores entirely.
For below-grade installation (basements or rooms partly underground), a moisture barrier plus an HDF core labelled “waterproof” or “moisture-resistant” is essential — laminate that absorbs moisture from concrete will buckle and swell within the first year.
A family with two large dogs and an open-plan living area should be looking at AC4, 10mm minimum, with an HDF core — not because the box says “pet-friendly,” but because that combination addresses the actual failure points: claw scratches on the wear layer, impact from dropped toys, and moisture from tracked-in rain.
For a detailed breakdown of how humidity failures: wrong spec develop, see the companion article on laminate problems in humid climates.
Warranty, Certification, and Red Flags at the Point of Sale
The warranty card says “lifetime residential” — but read the fine print. Most cover manufacturing defects (delamination, premature fading, defects in the locking mechanism) and explicitly exclude water damage, improper installation, and wear from commercial use. A lifetime warranty is a signal of factory confidence, not a promise that the floor will literally last forever.
For mid-range laminate, a 15-year warranty is the minimum acceptable; premium lines often offer 25-year or lifetime residential terms. If the box has no stated warranty period, walk away. Certifications add another layer of assurance: GreenGuard Gold certification means the laminate meets low-VOC indoor air quality standards — important for bedrooms and homes with young children.
NALFA certification confirms the product has passed independent wear, stain, and moisture tests. A box that lists neither GreenGuard Gold nor a NALFA number may still be fine, but the lack of third-party testing makes it harder to verify quality claims.
Three red flags to spot before you buy: (1) no AC rating listed anywhere on the box or spec sheet — the product may not have been tested, or the rating is low enough to hurt sales; (2) no core material specified — if it doesn’t say “HDF core” or “high-density fiberboard,” assume it is a low-density core that will warp; (3) pattern repeat of fewer than 6 planks — a short repeat cycle means the same plank patterns repeat every few rows, giving the floor a stamped, artificial look.
The pattern repeat (how many planks before the design sequence resets) is a subtle quality indicator: a repeat of 12 or more planks looks natural; 6 or fewer looks cheap.
Finally, check whether the EIR (Embossed in Registration) texture is real or printed — run your fingernail across the surface. If the grain indent matches the printed image, it is EIR; if the surface is uniformly smooth or uniformly textured, the realism is lower.
Read the warranty’s exclusion list carefully before installation. Some manufacturers require the use of their own underlayment and a specific installation method; deviating from those instructions voids coverage.
For a guide on installation steps that protect warranty, see the tutorial on installing laminate over concrete.
What to Do After You Pick the Right Spec
Once you have settled on an AC rating, thickness, and core type that matches your household’s traffic, impact, and moisture demands, the next step is calculating material quantity. Measure each room’s length and width in metres, multiply for square metres, add 10% waste (15% for rooms with multiple corners or diagonal patterns), and check whether the underlayment is included or needs to be bought separately.
If the laminate does not have an attached underlayment, buy a separate foam or cork underlayment rated for the same AC class — a mismatch can void the warranty. With your spec list and quantity estimate, you are ready to proceed to installation. The full procedure — including subfloor preparation, acclimation, cutting, and locking the planks — is covered in the step-by-step laminate installation guide.