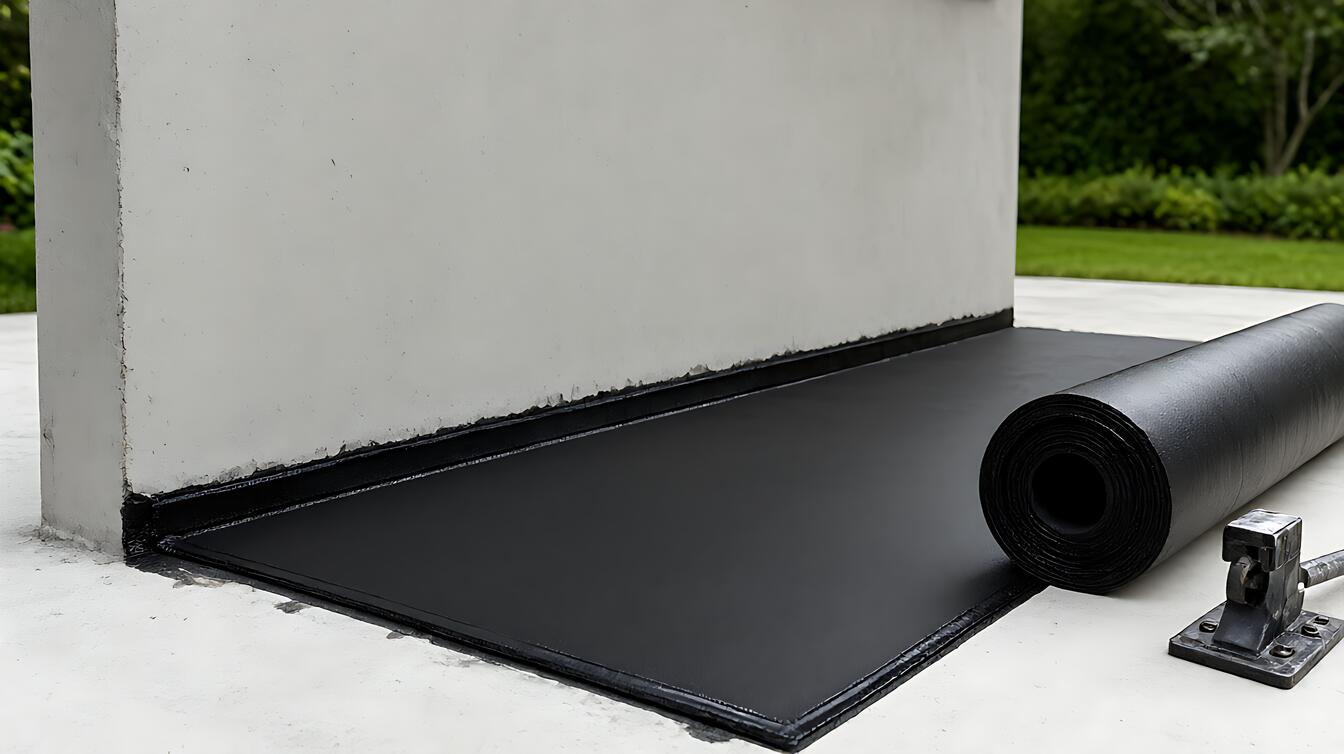

You’ve just laid a beautiful laminate floor, the doorway still looks unfinished, and you’re not sure which strip fixes the gap. A flooring transition strip is the trim piece that bridges two floor surfaces at a doorway, threshold, or level change so the edge is safe, finished, and able to move. Pick the wrong profile and you get a trip hazard or a cracked edge; pick the right one and the joint practically disappears.
Transition strips are the final 1% of a flooring job that decides whether it looks professional or patched. They come in a few standard profiles, and the right choice depends on one thing: whether the two floors sit at the same height or at different heights.
What Types of Flooring Transition Strips Actually Means and the Direct Answer
A flooring transition strip is the trim that bridges two floor surfaces at a doorway or level change, and choosing the right type comes down to height difference: a 0 mm height difference calls for a flush profile, while any real height difference calls for a reducer. Materials on the market include aluminum, wood, and brass.
The common profiles you’ll see are the reducer, the flush or T – molding strip for level floors, the end cap at doorways and carpet edges, and the stair nose at step edges. Each solves a different height and edge condition, so naming the condition first saves you from buying the wrong piece.
A reducer is the profile that connects two floors of different heights, and it is commonly made in aluminum, wood, or brass. Match the material to the floor it meets, and the joint reads as part of the design instead of an afterthought. For the full material breakdown, see the laminate flooring material guide.
How Transition Strips Work With Real Numbers
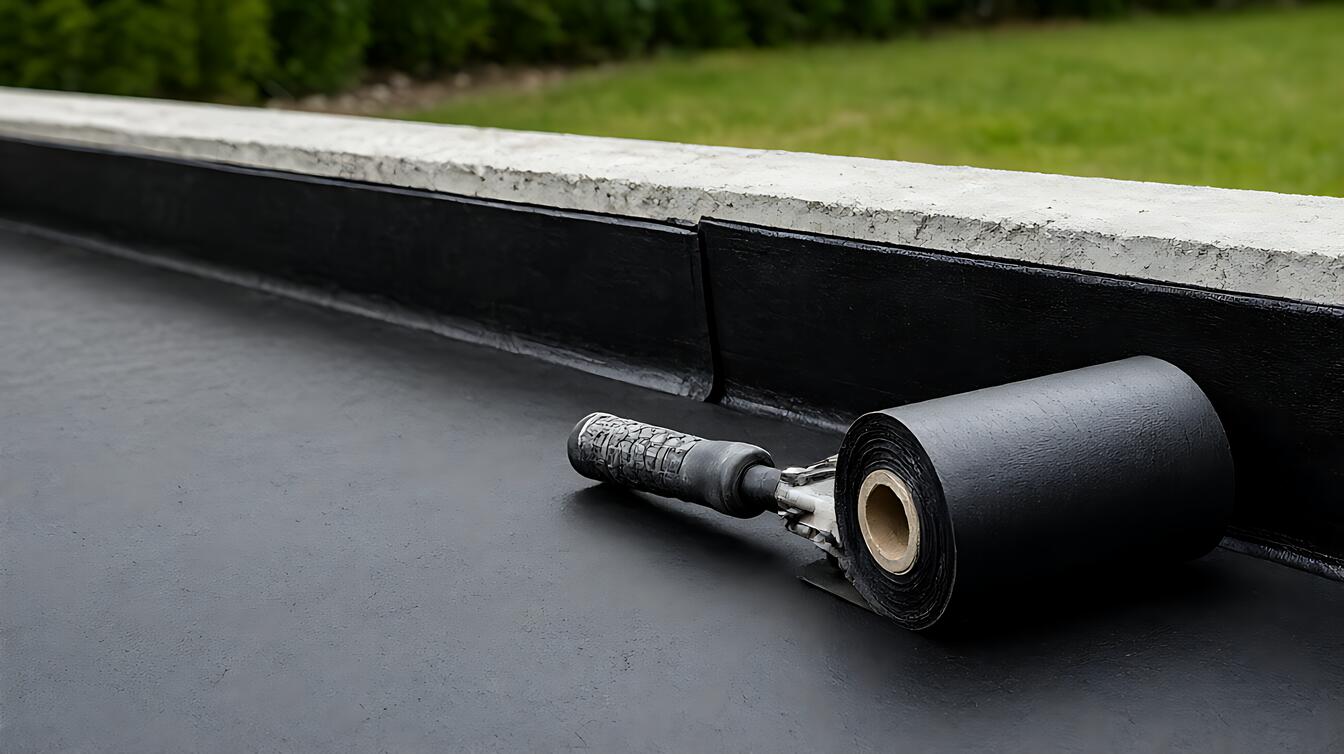
A transition strip is held by a continuous bead of adhesive applied to its underside, then pressed into position and weighted down while the adhesive cures. The cure time is a 24 – hour cure, and that single number is the one most people ignore on site.
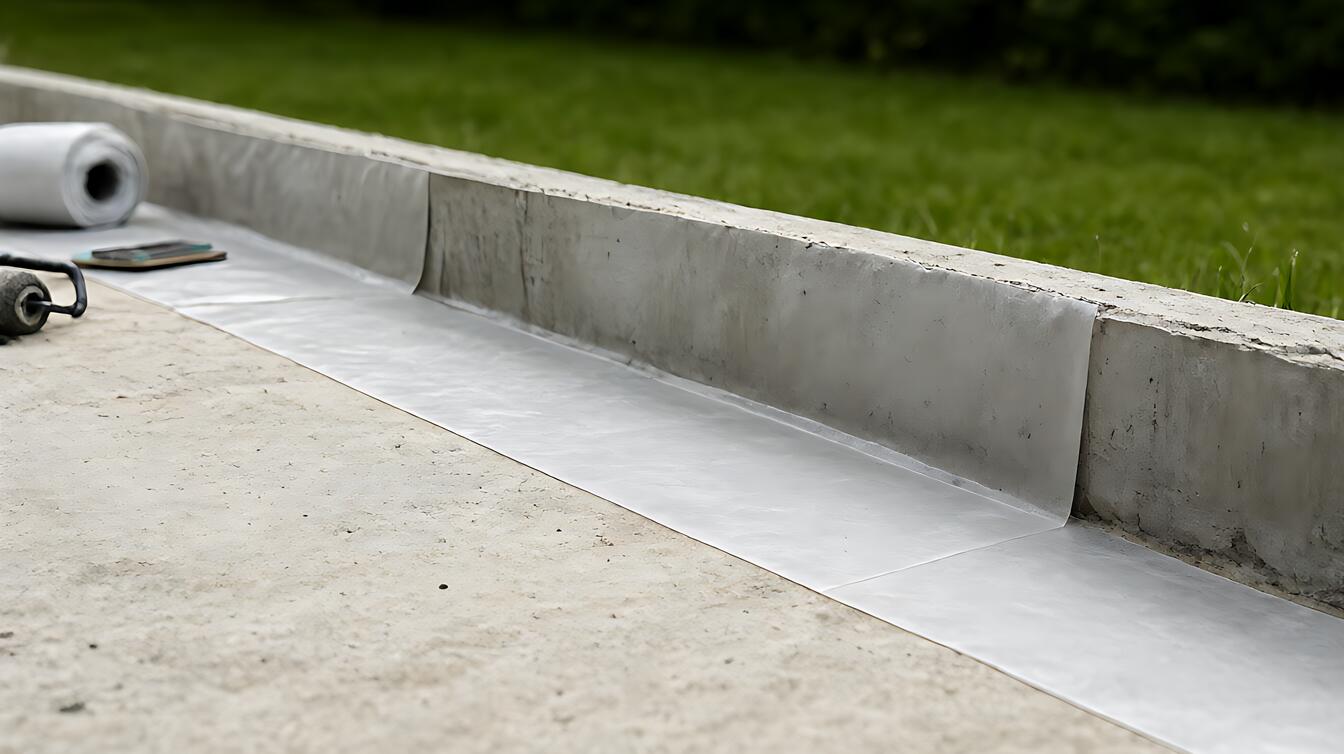
For a flush joint at 0 mm height difference, the strip sits level with both floors and creates a smooth walking surface with no step. For any height difference, the reducer slopes from the higher floor down to the lower one so the edge cannot catch a foot.
Try to avoid walking on the installed transition strip for the first 24 hours so the adhesive fully dries and the strip stabilizes. Rushing this step breaks the adhesive bond and is the most common reason a strip loosens or rocks within the first month.
When to Choose Which Transition Strip Option
Choose a reducer when the two floors differ in height, and choose a flush profile when they sit at 0 mm. That single height check, done with a straightedge before you buy, decides the whole job and prevents a return trip to the store.
A reducer fails when the height gap is larger than the profile can cover, and a flush strip fails when the floors are not actually level. In both cases the strip rocks, collects dirt, or cracks at the thin edge within weeks.
| Height condition | Right profile | What goes wrong if wrong |
|---|---|---|
| 0 mm (level floors) | Flush strip | Rocks, traps dirt |
| Different heights | Reducer (aluminum, wood, brass) | Trip hazard, cracked edge |
For step edges and landings, the rules change slightly, so review stair nosing transitions before you buy.
Real Job – Site Reality With Transition Strips
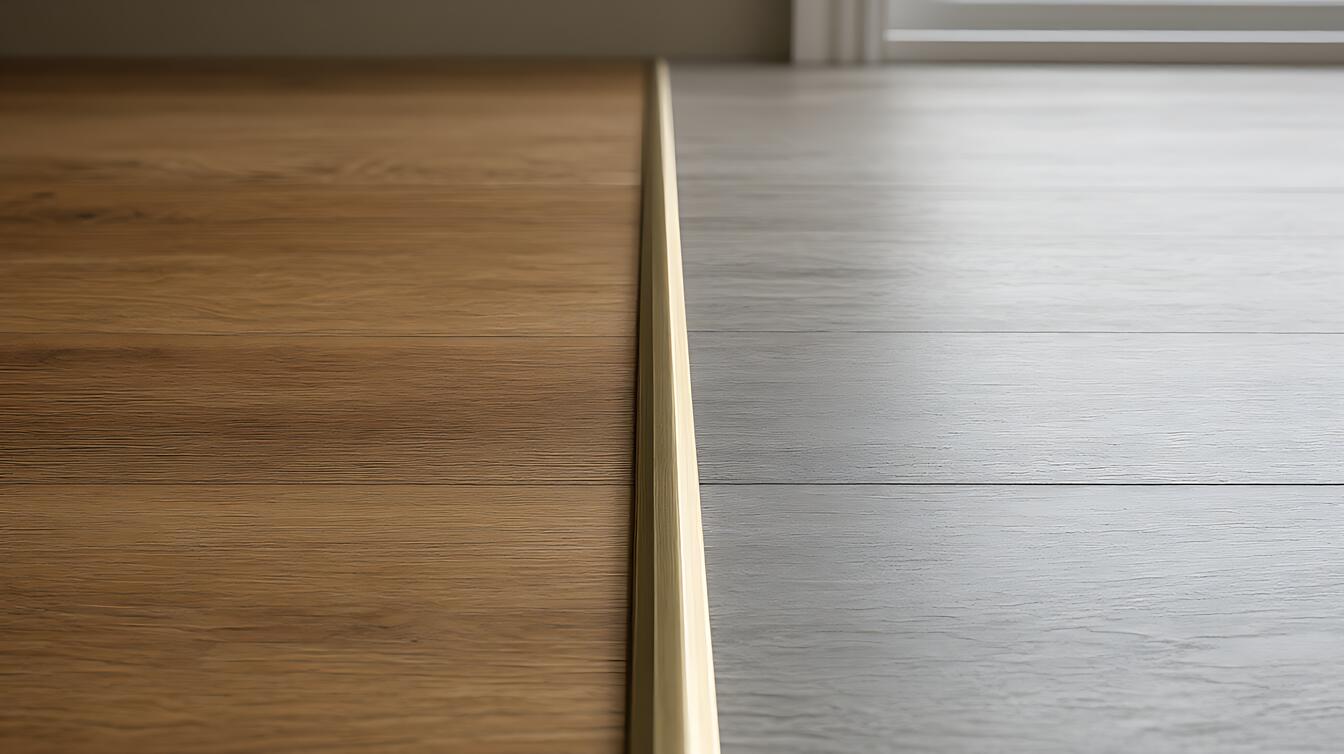
A typical scene: the laminate is down, the hallway tile sits higher, and the reducer has to slope cleanly between them. Dry – fit the strip first, mark the cut, then apply the bead and press. Skip the dry fit and you discover the mismatch only after the adhesive is already wet.
The install breaks into three parts, and each one decides whether the strip stays put.
- Clean, dry surfaces: prep both floors so the adhesive can bond to the strip and the subfloor.
- Continuous bead: run adhesive along the underside, press the strip into position, and seat it fully.
- Weight and wait: hold the strip down with heavy objects for 24 hours while the adhesive cures.
After the 24 – hour cure, check the strip by hand for any rocking or hollow sound before traffic returns. Laminate planks carry a dense fiberboard core, so the floor height is set by the plank plus underlay, and the transition strip has to match that combined height.
Limits, Edge Cases and What to Do Next
The honest trade – off: a metal reducer is tough and cheap but can look industrial against warm wood floors, while a wood or brass profile matches the floor but costs more and dents more easily. Match the material to the room, not just the price tag.
Call a professional when the height gap is larger than a standard reducer can cover, when you face an uneven subfloor, or when the strip must be fastened into concrete. Those conditions turn a simple trim job into a leveling and fastening problem.
Choose a reducer when the two floors differ in height; choose a flush profile when they sit at 0 mm; call a professional when the gap exceeds a standard reducer or the subfloor is uneven.
If an existing joint is already failing, see laminate floor gap repair. For a full purchase plan, review the laminate flooring buying guide.
For a deeper look at how transitions handle rooms and level changes across the whole house, Meigan Flooring’s guide to flooring transitions between rooms and levels is a useful reference, and you can browse more flooring options at Meigan Flooring.