
Your stairs creak every time someone walks up at night, and you have already tried wedging shims that did not hold. The real problem is usually not the tread or riser itself but the gap and movement between them where wood meets wood under load. Squeaky stairs repair is the process of eliminating friction points between the tread (the horizontal step you stand on) and the riser (the vertical board between steps) by securing the joint, filling the gap, or blocking the connection from below. When done right, the fix lasts years, not weeks.
What Tread and Riser Blocking Actually Fixes
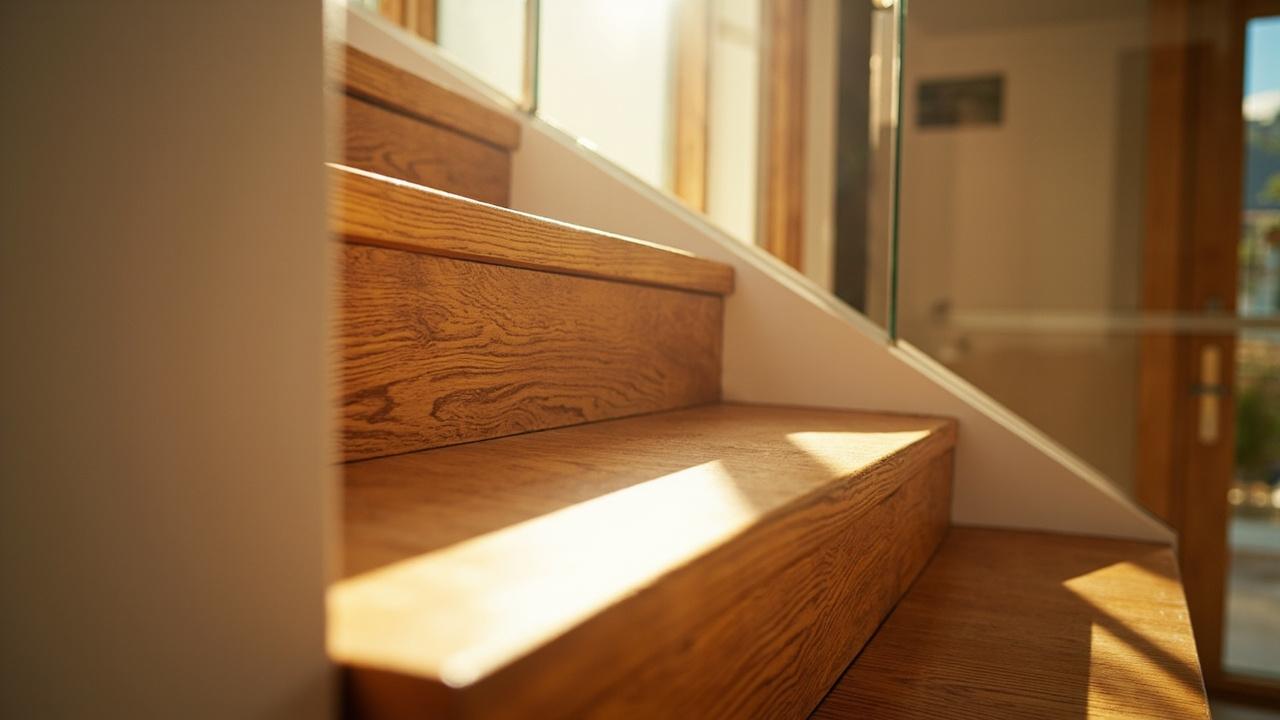
Squeaky stairs happen when the tread and riser move against each other or against the stringer (the structural side beam that carries both). The noise is friction, not a structural failure in most cases. The tread sits on top of the stringer and butts against the riser below it, creating a joint that loosens over time as wood shrinks and fasteners lose grip.
Blocking means adding a small piece of wood (a block) between the tread and riser at the joint, glued and screwed in place to stop movement. This works because the block transfers the load from the tread directly to the riser and stringer, removing the gap that causes the creak. The typical gap that causes noise is just 1 to 3 mm, but even that small movement produces a loud squeak under body weight.
The repair method depends on access. If you can reach the underside of the stairs, blocking from below is cleaner and stronger. If you only have top-side access, you face a different set of options with different trade-offs, which we cover in the steps below.
Tools and Materials You Need
For a standard pine stair repair with top-side access, you need a drill with a 3 mm pilot bit, 40 mm wood screws, wood glue (PVA Type II for interior use), a putty knife, and a carpenter’s square to check alignment. If you are working from below, add a 50 mm x 50 mm blocking piece (cut from the same species as your stairs) and a caulking gun for the glue.
Material choice matters more than most guides admit. For oak stairs, use oak blocks and matching screws to avoid galvanic reaction between dissimilar metals and hardwoods. For MDF or engineered treads, pre-drill every hole to prevent splitting, and use coarse-thread screws designed for particleboard, not standard wood screws. The wrong screw strips the hole within weeks.
Budget for this repair runs low: a tube of PVA glue costs under $10, a pack of 50 screws under $8, and blocking material (a single 18 mm plywood sheet cut into strips) under $15. The total material cost for a standard 13-step staircase stays under $40 if you already own a drill. The real investment is time: plan 2 to 3 hours for a first attempt.
Step-by-Step Repair with Precision Tolerances
Start by walking each step slowly and marking the exact squeak location with masking tape. Most people guess wrong and fix the wrong step. Press down with your full weight and listen: the squeak comes from the front third of the tread where foot traffic concentrates, not the center.
For top-side repair, drive two screws at 150 mm from each side edge of the tread, angled 15 degrees toward the riser. Pre-drill with a 3 mm bit to avoid splitting, and stop when the screw head sits 1 mm below the surface. Fill with color-matched wood filler and sand flush after 24 hours. This pulls the tread down against the stringer and closes the gap at the riser joint.
For below-stairs blocking, cut your block to fit snugly between the tread underside and the riser face. The fit should be tight enough that you need a mallet to seat it, with no visible gap. Apply PVA glue to all three contact faces, tap into place, and secure with two screws through the block into the tread and two into the riser. Wipe excess glue immediately with a damp cloth before it skins over.
Check your work by walking the step again after the glue cures (24 hours for PVA at 20°C and 40-60% humidity). If the squeak persists, the problem is likely the stringer connection, not the tread-riser joint, and you need to address that separately.

Common Mistakes and How to Avoid Them
The most frequent error is over-tightening screws, which strips the hole and makes the squeak worse within a month. Use a clutch drill set to low torque, and stop driving the moment the screw head contacts the wood. If you feel the drill slip, the hole is already stripped, and you need to fill it with a glued dowel, let it cure, then re-drill.
Another trap: using construction adhesive instead of PVA glue for blocking. Construction adhesive remains flexible and allows micro-movement, which defeats the purpose. PVA Type II cures rigid and bonds wood fibers together, creating a joint stronger than the wood itself. The trade-off is that PVA requires 24 hours to cure and cannot be disturbed during that window.
Skipping the pre-drill step causes splits in about 30% of first attempts, especially in older, drier wood. A 3 mm pilot hole removes material that would otherwise force the wood apart. For hardwoods like oak or maple, use a 3.5 mm bit instead. The screw should slide in with firm hand pressure before you use the drill.
Finally, do not assume all squeaks come from the tread-riser joint. A squeak at the back of the step usually means the riser is loose at the stringer. A squeak that changes with humidity points to seasonal wood movement, not a failed fastener. Diagnose before you drill, or you will put holes in the wrong place.
Limitations, Edge Cases, and When to Call a Pro
DIY blocking works for standard interior stairs with accessible undersides and solid wood construction. It does not work well for curved stairs, open-riser designs with no riser board, or stairs where the tread is glued and nailed from above with no access from below. In those cases, a carpenter can inject adhesive through a small drilled hole and clamp the joint, but the technique requires experience to avoid visible damage.
If your stairs are in a high-humidity area (above 70% relative humidity consistently), wood movement will eventually break even a well-glued block. In that environment, choose a flexible polyurethane adhesive instead of PVA, and expect to re-check the repair every 2 to 3 years. The trade-off is that polyurethane is messier to apply and costs roughly three times more per tube.
Structural concerns change the calculation entirely. If a step flexes more than 3 mm under your weight, or if you see cracks radiating from the stringer connection, the problem is not friction but a failed structural joint. That requires a professional assessment, not a blocking repair. Do not add screws to a cracked stringer; you can split it further and create a safety hazard.
Choose DIY blocking if the squeak is localized to one or two steps, you have access from below or are comfortable with top-side screw-and-fill, and the stairs show no structural cracks. Call a professional if multiple steps squeak simultaneously, the stairs flex noticeably, or you see any splitting in the stringer. The cost of a carpenter visit ($150-$300 for a typical repair) is cheaper than fixing a collapsed step.
For related guidance on stair structure and material choices, see our interior design guide for coordinating stair repairs with overall home aesthetics, the interior flooring selection guide for tread material durability and cost comparisons, and our paint sheen guide for finishing repaired stair surfaces.