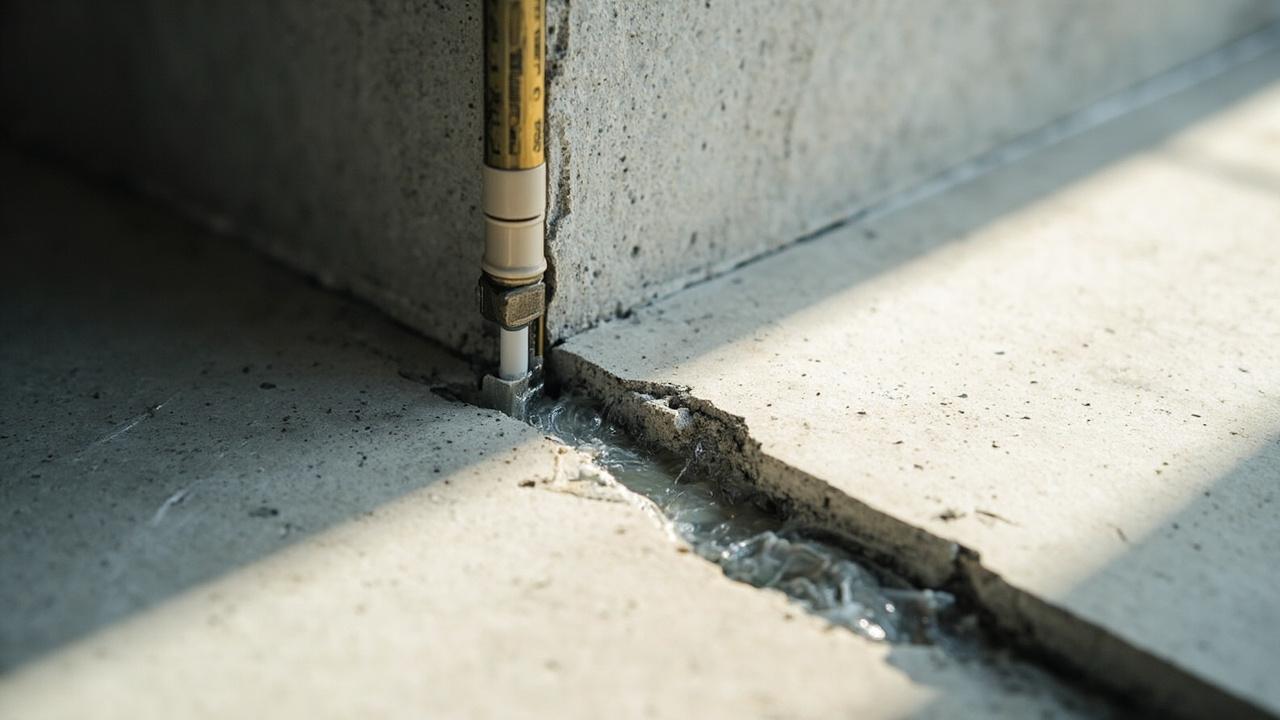
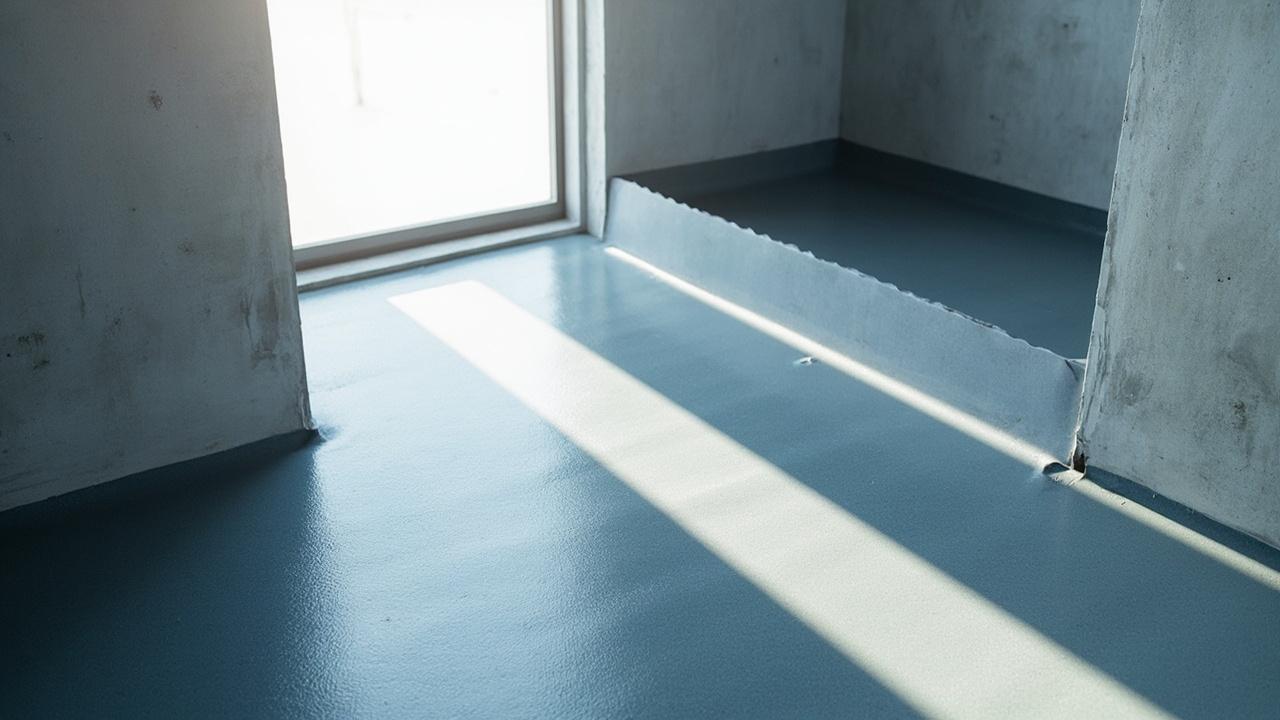
Icicles hang off your gutters every February, and last spring a brown stain bloomed on the bedroom ceiling. Heat leaking into the attic melts roof snow, and the refrozen edge backs water under your shingles. Roof underlayment for ice dams is a self-sealing waterproof membrane that sticks to the roof deck and blocks that backed-up water from reaching the wood.
What Ice-and-Water Underlayment Is and Where It Goes
Ice-and-water underlayment is a peel-and-stick rubberized asphalt membrane, usually 40 mils thick, that bonds directly to the roof deck along eaves and valleys. It self-seals around nail holes, which keeps wind-driven and dam-backed water out where ordinary felt would leak.
Code in cold zones (IRC R905.1.2) calls for coverage from the eave edge to at least 24 inches past the warm interior wall, which often means two 36-inch courses on a standard overhang. A granular-surface membrane 40 mil resists foot traffic during shingle layup, while smooth film suits valleys best.
Think of it as a raincoat glued to the deck boards, working under the shingles you actually see. Full adhesion means deck bond 100 percent contact, with no fishmouths or dry laps for water to travel under. Our parent pillar on waterproofing systems for roofs and foundations shows where underlayment sits in the full water-shedding stack.
How Self-Sealing Membranes Stop Backed-Up Water
Rubberized asphalt flows around nail shanks when the sun warms the roof, and that gasket action keeps each fastener hole watertight through freeze and thaw. The membrane stays flexible down to about service temperature minus 20 F, so midwinter ice pressure does not crack it.
Meltwater travels uphill under shingles, with capillary climb 12 inches or more behind a tall ice dam. A stuck-on sheet breaks that path because water cannot wick across a bonded seam lap 6 inches the way it crosses loose felt. Valleys get the same treatment, since converging slopes double the flow.
Bond over bulk thickness wins: a 40-mil sheet fully bonded beats a thicker loose lay every time. Check overlap detail in our membrane thickness and overlap requirements before comparing brands.
Felt vs Synthetic vs Peel-and-Stick: Which Layer Where
Standard #15 felt sheds bulk water on steep slopes but absorbs dam backup within hours, while synthetics resist tearing yet still leak at every nail-hole leak path. Peel-and-stick alone seals penetrations, which is why codes reserve it for eaves, valleys, and low-slope sections.
Use felt or synthetic on the upper field where water runs downhill fast, and save the sticky sheet for eave coverage 3 to 6 feet plus valleys and penetrations. A UV exposure rating 6 months lets synthetics wait out framing delays, while felt wrinkles after one rain. That wrinkle telegraphs through shingles, so felt demands same-day coverage.
| Type | Water behavior | Best zone | Cost per square |
|---|---|---|---|
| #15 felt | Sheds runoff, absorbs backup | Steep upper field | $25 to $35 |
| Synthetic | Sheds runoff, leaks at nails | Steep upper field, staged jobs | $45 to $70 |
| Peel-and-stick | Seals nails, blocks backup | Eaves, valleys, low slope | $90 to $140 |
Material for a 2,000-square-foot roof runs roughly $200 for felt field coverage versus $800 to $1,200 when eaves get peel-and-stick, and labor adds $2 to $4 per foot at the eave. Spending concentrates where dams strike, so the upgrade stays a reroof premium under 10 percent usually. Compare sheet families in our sheet, liquid, and cementitious waterproofing comparison for the rest of the envelope.
Installing Underlayment at Eaves, Valleys, and Penetrations
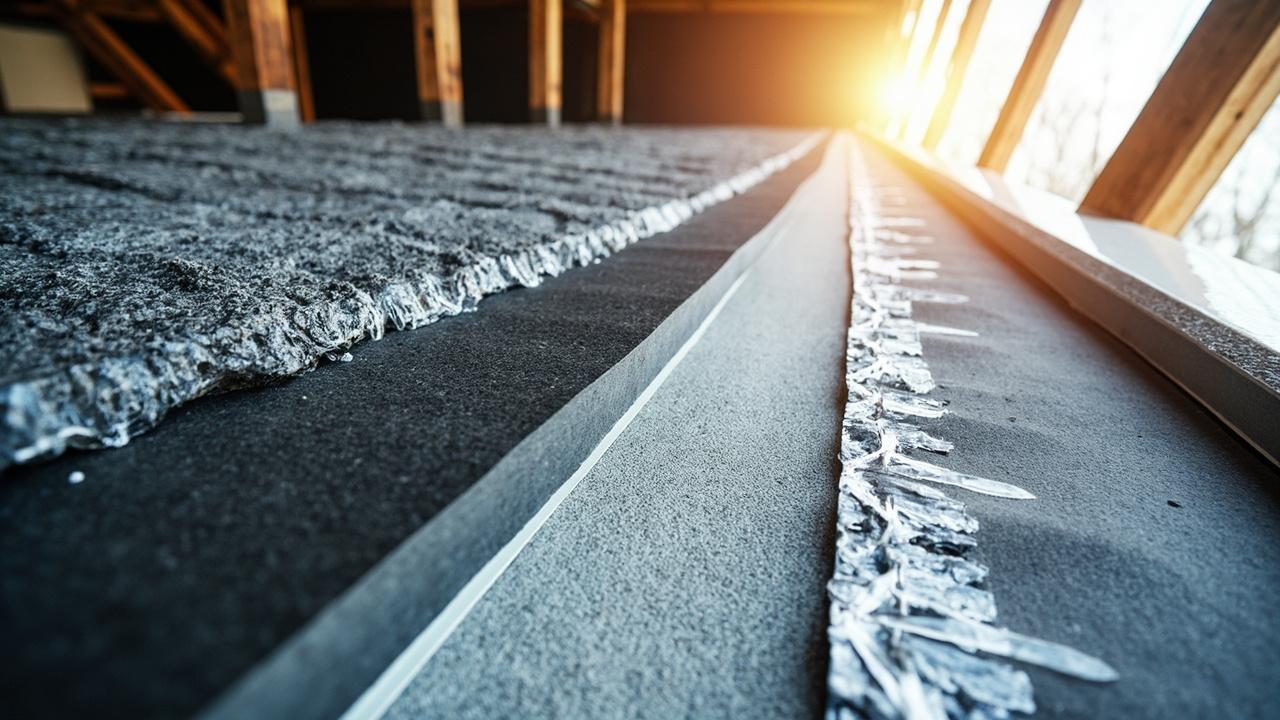
Eave courses start at the drip edge and run upslope with 6-inch laps, and valleys get a valley sheet 36 inches wide centered on the joint before shingles begin. Warmth matters: adhesive grabs best when deck temperature tops application temperature 40 F minimum, so winter jobs need sun or storage-warmed rolls.
- Snap a chalk line 24 inches past the interior wall face, marking the minimum sticky coverage before the first roll.
- Roll the eave course bubble-free from the drip edge up, pressing laps of 6 inches with a hand roller.
- Center a 36-inch sheet down each valley, then weave or cut shingles per the maker detail for the slope.
- Collar every vent and skylight curb with mastic plus a 12-inch membrane patch before the metal flashing.
- Cap nail the field synthetic at 12 inches on center, keeping fasteners out of the sticky zone overlaps.
A dry-lap check with a putty knife finds fishmouths before shingles hide them, and every lifted edge gets rolled or patched the same day.
The classic miss is stopping the sticky sheet at the wall line instead of 24 inches past it, which leaves the exact dam zone bare. Laying peel-and-stick over a frosty deck causes frost-deck adhesion failure, which shows up as spring leaks after the first thaw.
Limits, Ventilation, and When to Call a Roofer
Underlayment manages water that gets past shingles but never stops ice dams from forming, and dams fed by attic heat return every winter until ventilation improves. A balanced vent ratio 1 to 300 of net free area to attic floor keeps the deck cold, which shrinks the melt-freeze cycle.
Call a roofer when decking sags, daylight shows through boards, or stains spread across multiple rooms after one storm. A heat cable 5 watts per foot melts channels through existing dams, yet cables treat symptoms while attic insulation R-49 target plus air sealing fixes the cause. If water already entered, our waterproofing failure and leak diagnosis walkthrough helps you trace the entry path before repairs.
Choose full peel-and-stick eave coverage if you live north of the freeze line, run a low-slope porch roof, or suffered a dam leak before. Choose felt or synthetic alone only on steep, well-vented slopes with no ice history. Either way, pair the membrane with ventilation fixes and a roofer review before the next freeze.