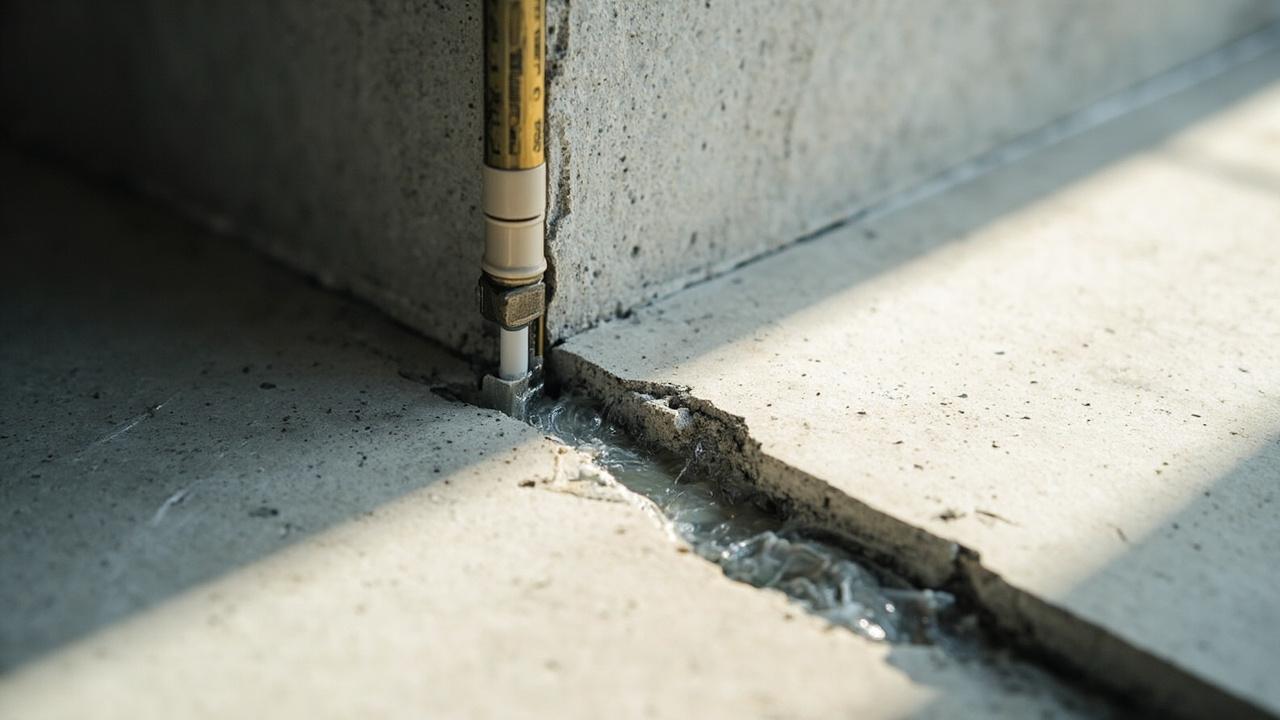
A thin crack in your foundation wall started weeping every spring, and the hardware-store tube of sealant peeled off by summer. Surface patches fail because water pushes from inside the concrete, not along it. Foundation crack injection is a pressure repair that fills the full crack depth with epoxy or expanding foam, bonding or sealing it against water.
Which Foundation Cracks Injection Can Fix
Low-pressure injection seals non-structural shrinkage cracks from hairline to about crack width 1/8 to 1/4 inch through poured concrete walls 8 inches thick. It fills the full depth from inside, which works best when the crack is stable, dry-season dormant, and leaks water rather than shifting soil.
Epoxy glues the crack faces into one piece for strength, while polyurethane foam expansion 20 times volume chases water through damp cracks and stays flexible. Choose by goal: strength or water-stop.
Skip injection for horizontal shear cracks, bowed walls, or gaps wider than 1/4 inch, since those signal pressure problems filler cannot hold. Our parent pillar on waterproofing systems for foundations and basements maps where injection fits the whole water defense.
Tools, Materials, and What They Cost
A DIY twin-cartridge kit with 10 surface ports covers one 8-foot vertical crack for DIY kit cost $100 to $150, and it suits hairline leaks a first-timer can reach from inside. Pro rigs meter two-part resin at up to pump pressure 2500 psi for wide or deep cracks.
You need surface ports set at port spacing 8 inches on center, surface seal paste with a 30-minute set, a caulk gun or manual injection gun, and a wire brush plus vacuum for prep. Nitrile gloves and goggles are mandatory, because uncured epoxy sensitizes skin with repeated contact.
Pros charge $350 to $800 per crack in most US markets, which buys their judgment on epoxy versus foam as much as the resin. Renting a pro-style pump rarely pays for one crack, so DIY kits own the single-leak job. Material choice detail lives in our sheet, liquid, and cementitious waterproofing comparison for surrounding surfaces.
Epoxy vs Polyurethane: Pick by Crack Condition
Epoxy suits dry, stable cracks where strength matters, and it cures rigid in rigid cure 24 to 72 hours depending on temperature. Polyurethane suits damp or actively dripping cracks, since water triggers its foam and the cured plug stays flexible through small seasonal shifts.
| Resin | Needs | Flexibility | Set time | DIY cost |
|---|---|---|---|---|
| Epoxy | Dry, stable crack | Rigid, structural | 24 to 72 hours | $100 to $200 |
| Polyurethane | Damp or dripping crack | Flexible water-stop | Foams in minutes | $120 to $180 |
Never inject epoxy into a flowing leak, because water blocks its bond and the repair fails within one season. Polyurethane foams within foam set 5 to 10 minutes, so keep the gun moving and never pause mid-port.
Never use foam where an engineer demanded structural bonding across the crack. Match resin to moisture first, strength second. A second pass 48 hours later catches pinholes the first fill missed.
Companion coating notes sit in our liquid waterproofing membrane application steps for the wall face around the repair.
Injecting the Crack in 7 Steps
A standard 8-foot crack takes a working time 2 to 3 hours including paste cure, and rushing the paste set causes blowouts under pressure. Work bottom to top so resin climbs the full depth, and stop immediately if paste cracks or ports leak.
- Scrub the crack with a wire brush and vacuum dust, because paste will not stick to loose laitance or paint.
- Glue surface ports every 8 inches along the crack, capping the top port last as your fill gauge.
- Trowel seal paste 1/8 inch thick between ports, then wait the full 30 minutes until it hardens.
- Load the cartridge, purge air until resin runs bubble-free, then lock onto the lowest open port.
- Pump slowly upward port by port, moving the gun only when resin shows at the next port.
- Cap the final port after resin reaches it, hold pressure 5 minutes, then release the gun gently.
- Return after 48 hours, shave ports flush, and flood the crack with a hose to confirm the seal.
A hose flood with no damp spots after 10 minutes means success, and a follow-up pass fixes any weepers. The classic failure is pumping at full speed, which blows paste off and wastes resin in seconds.
Wear chemical splash goggles plus gloves throughout, since pressurized resin finds unprotected eyes fast. Keep a rag and acetone within reach, because drips bond to anything they touch in minutes. Confirm the final seal with a hose flood 10 minutes before patching over ports.
Limits, Risks, and When to Call a Foundation Pro
Injection seals water paths but never resists soil pressure, and walls bowed past a bow tolerance 1 inch maximum need anchors or braces before any resin. Epoxy is structural glue, yet it cannot straighten a wall that exterior water keeps pushing.
Call a licensed foundation contractor when cracks widen past crack width 1/4 inch, run horizontally, or return after one injection. Efflorescence dust is cosmetic, but rust stain structural warning on blocks means reinforcement may be corroding. If water still finds a way in, our waterproofing failure and leak diagnosis walkthrough traces the true entry path.
Choose epoxy if the crack is dry and stable. Choose polyurethane if water moves through the crack today or the wall stays damp. Either way, stop and call a licensed pro if the wall bows, the crack grows, or a second injection fails. Book an engineer review before bracing any bowed wall.