
You’re staring at a room with joists exposed and a pile of boards on the floor, wondering if you have the right tool. You need to know if your setup can support solid wood without creating a squeaky mess. Nail-down installation works by driving fasteners through the board’s tongue at an angle, hidden by the next board. Nail-down hardwood floor installation is the method of securing solid, 3/4-inch-thick boards to a wood subfloor using pneumatic tools and concealed fasteners.
This approach gives the floor a solid, acoustic connection to the structure. It is the preferred method for rooms with wood subfloors because it allows the wood to expand and contract freely. If your subfloor is concrete, this method will not work, and you should look at hardwood vs engineered flooring to find an alternative that suits your foundation.
Subfloor Requirements and Moisture Limits for Solid Wood
Before you lift a single board, you must check the subfloor. Subfloor flatness must be within 3/16 inch over 10 feet, or 1/8 inch over 6 feet.
If the wood is uneven, the boards will bend to follow the slope. That creates gaps and causes fasteners to fail or pop out later.
The thickness of the panel matters just as much as the flatness. You need a subfloor thickness of 5/8 inch over 16-inch joist spacing, 3/4 inch over 19.2 inches, or 7/8 to 1 inch over 24-inch spacing.
Thinner panels will flex underfoot. If you are working over wide joists, add a layer of plywood to reach the minimum structural requirement for this method.
Moisture is the silent killer of this project. Keep the moisture content of both the subfloor and the boards between 6 and 10 percent, and never above 12 percent.
Acclimate the flooring in the room for at least 72 hours with the heating or air conditioning running, and bring the solid boards within 2 percent of the subfloor moisture before you start. This lets the wood reach equilibrium with your home’s humidity levels before you start nailing.
Choosing the Right Fastener and Spacing Pattern
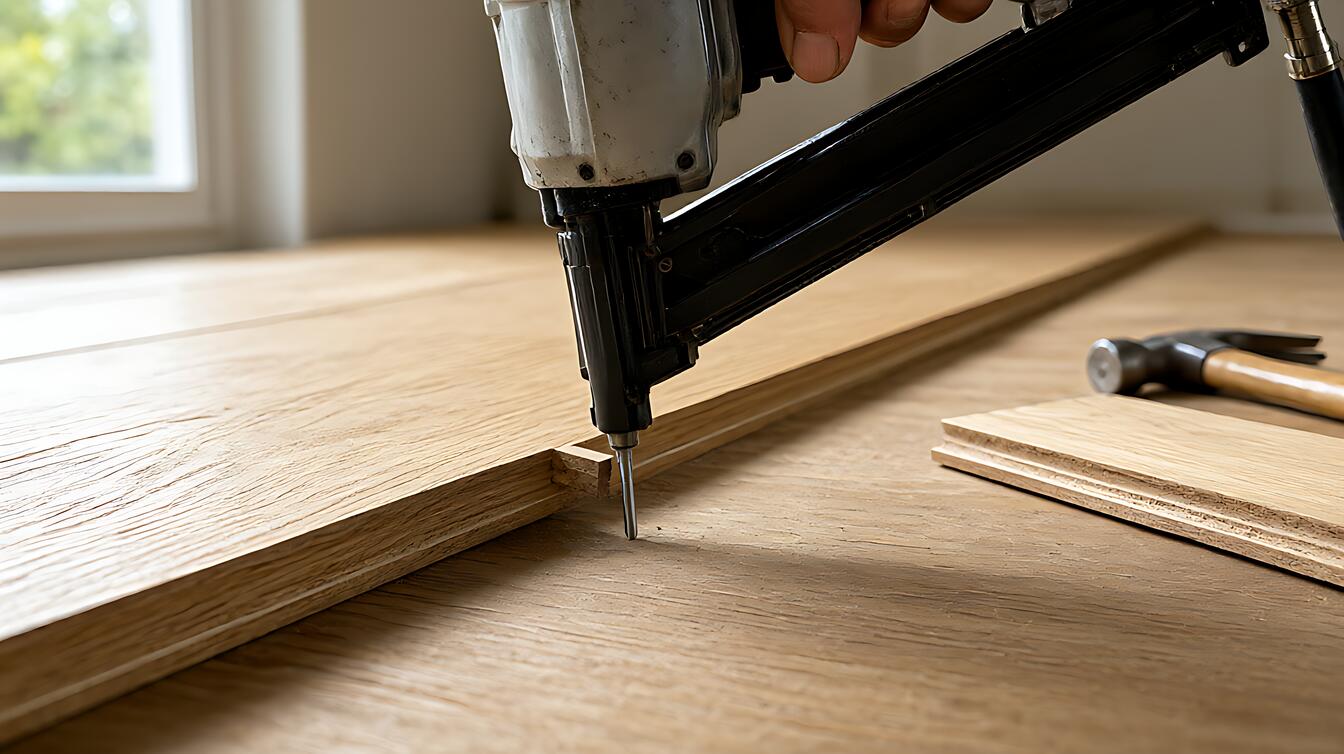
The choice between staples and cleats depends on your board width. A flooring nailer drives these fasteners through the tongue at a 45 to 50-degree angle. Most manufacturers specify 15 or 16 gauge cleats, or 7/16 to 1/2 inch crown staples, with lengths ranging from 1-3/4 to 2 inches. You must match the fastener length to your board thickness to avoid breaking the tongue.
Spacing is where most DIY jobs go wrong. Place fasteners 1-1/2 inches from each end of the board. Then space them along the tongue: one manufacturer sheet calls for every 8 to 10 inches, while NWFA guidance calls for every 6 to 8 inches plus fasteners at both ends. Follow the sheet that came with your flooring. For boards shorter than 10 inches, you must use at least two fasteners to prevent the end from lifting. This pattern ensures the board is anchored firmly without cracking the delicate tongue joint.
Preparation and Layout for a Clean Install
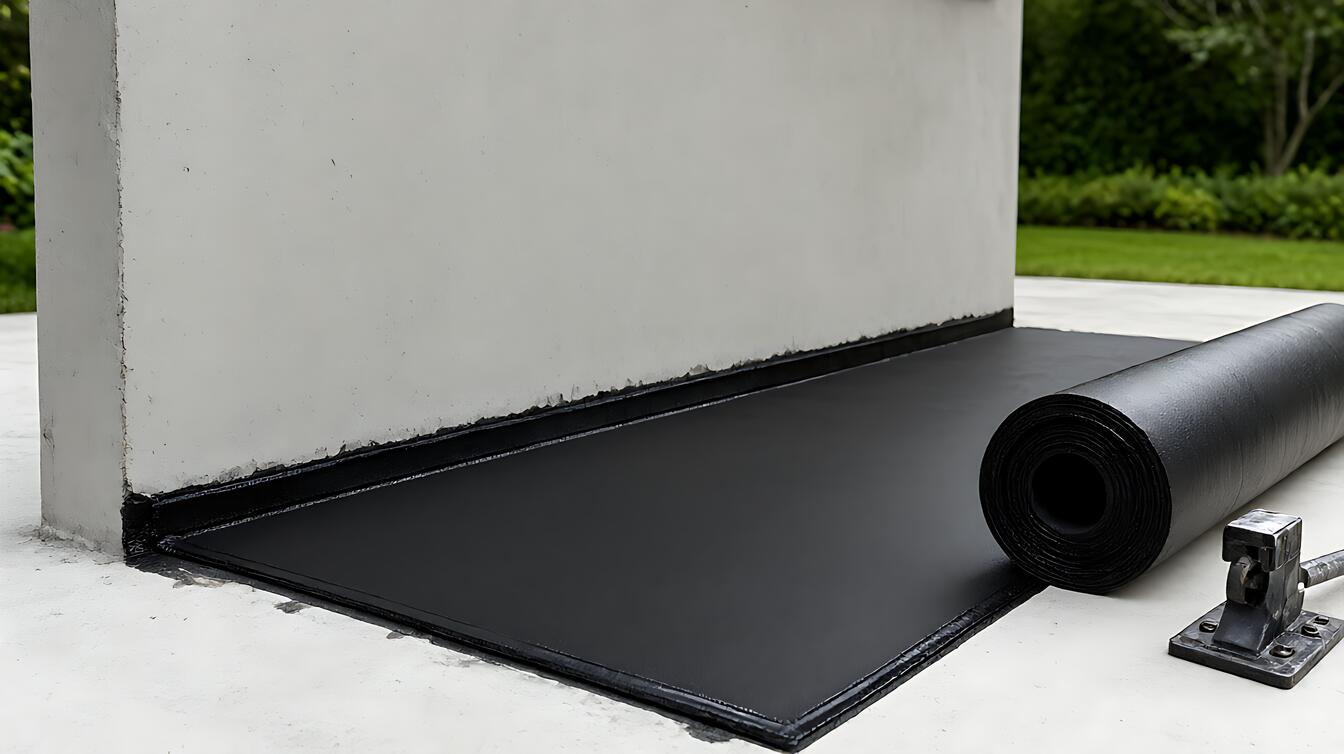
Start by rolling out felt paper underlayment over the entire subfloor. Use 15-pound asphalt felt, overlapping seams by 4 inches and stapling it down every 6 inches. This layer acts as a moisture barrier and reduces squeaks. It also provides a smooth, uniform surface for the boards to slide against as you install them.
Plan your layout before you cut. Run the boards perpendicular to the floor joists for the best support. When you open the boxes, pull boards from at least five different boxes at a time. Mixing them distributes the natural color and grain variations evenly. This prevents visible patches of light or dark wood in one area of the room.
Order more flooring than the room needs. Buying 5 to 10 percent extra covers the cuts at every wall and doorway, and a pattern like herringbone needs more again. Short offcuts from the last row are the piece most projects run short of, because they have to be ripped to the exact width the wall leaves you.
Stagger the end joints between neighboring rows by more than 6 inches. It looks better, and it spreads the load across the subfloor instead of lining every joint up over the same spot. If a row already has a joint close to a wall, start the next row so its first joint lands at least 1 to 2 inches away from that one.
Installation Sequence from First Row to Last Row
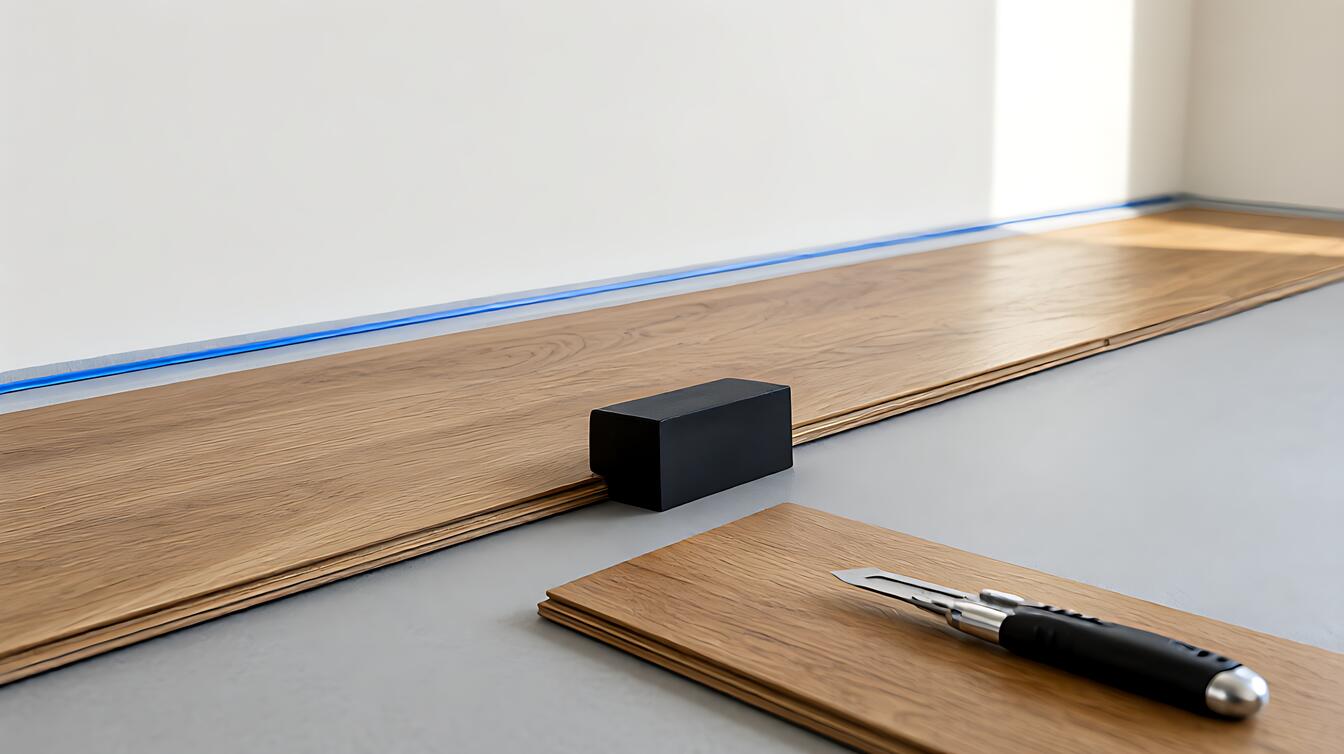
The first row sets the tone for the entire floor. Position it with the groove side facing the wall and leave an expansion gap of 1/2 to 3/4 inches. This gap allows the wood to expand in humid weather. If you leave no gap, the boards will buckle against each other and pop up. Use a pull bar or tapping block to keep the row tight as you work.
As you move to the final two or three rows, the pneumatic nailer often no longer fits. Switch to face-nailing with finish nails or a hand tool.
Use a pull bar hooked over the groove edge to pull each piece tight against the previous row, then seat it with a block. This prevents gaps at the end of the floor. Once the boards are down, install the baseboard over the gap, nailing only into the wall so it can move with the wall while the floor moves on its own.
When to Call a Professional or Switch Methods
If your subfloor fails the flatness test, nailing down will result in a squeaky, uneven floor. You can level the subfloor with a leveling compound, or you can switch to glue-down or floating methods.
If you are installing over concrete, nail-down is not an option. Deal with the squeaks through floor squeak repair techniques first, or consider a different flooring type entirely.
Choose nail-down installation if you have a structurally sound wood subfloor and you want the durability of solid wood. Choose engineered or glue-down methods if you have a concrete slab, radiant heat, or a basement below grade. If you are not comfortable with pneumatic tools, or if your room has complex layouts like herringbone, consulting a professional usually saves money in the long run. You can learn more about material options in our guide to what is laminate flooring if you decide solid wood is not the right fit for your budget.