If someone has proposed waterproofing a retaining wall, the practical question is whether water can actually leave the wall zone instead of building pressure behind it. The answer depends on compatible drainage details, a protective membrane where needed, and a path to discharge. Retaining wall waterproofing drainage is the combined system that manages water behind a wall, limits hydrostatic pressure, and routes collected water away from the structure.
Retaining Wall Waterproofing Drainage: The Direct Answer
Retaining wall waterproofing drainage controls water pressure behind a wall by separating, collecting, and discharging water before it reaches the wall face. For many residential walls, a common detail is about 12 inches, or 300 mm, of clean drainage stone directly behind the wall.
That stone zone must connect to an outlet. Otherwise, it can temporarily store water without removing it. A 4-inch perforated pipe near the base of the wall provides a collection route when the design allows gravity drainage toward a safe discharge point.
Choose a complete drainage assembly when soil can saturate or water may reach the wall. Choose membrane and drainage options as part of that assembly, not as a substitute for it. For deeper details about the wall face, see retaining wall drainage design.
How Retaining Wall Drainage Controls Hydrostatic Pressure
Hydrostatic pressure increases as water accumulates against a wall, so drainage works by giving that water a lower – resistance route. A typical residential assembly uses 3/4-inch crushed stone, roughly 20 mm aggregate, to preserve space around the wall and collect water entering the backfill.
Water moves through the stone toward the perforated pipe or another outlet. The stone provides storage and flow space, while the pipe carries collected water away. That relationship matters because drainage stone alone can become a reservoir when it has no discharge connection.
A filter layer separates soil from drainage stone so fines do not readily blind the drainage zone. The membrane performs a different job: it protects the wall from water that still reaches its surface. Together, wall drainage and waterproofing manage two related problems, but neither can safely replace the other.
When to Choose Each Membrane and Drainage Option
Membrane and drainage options serve different conditions: a membrane limits direct water exposure, while drainage removes water from the wall zone. Choose a drainage – first stone and pipe assembly when the issue is saturated soil or water collecting behind the wall.
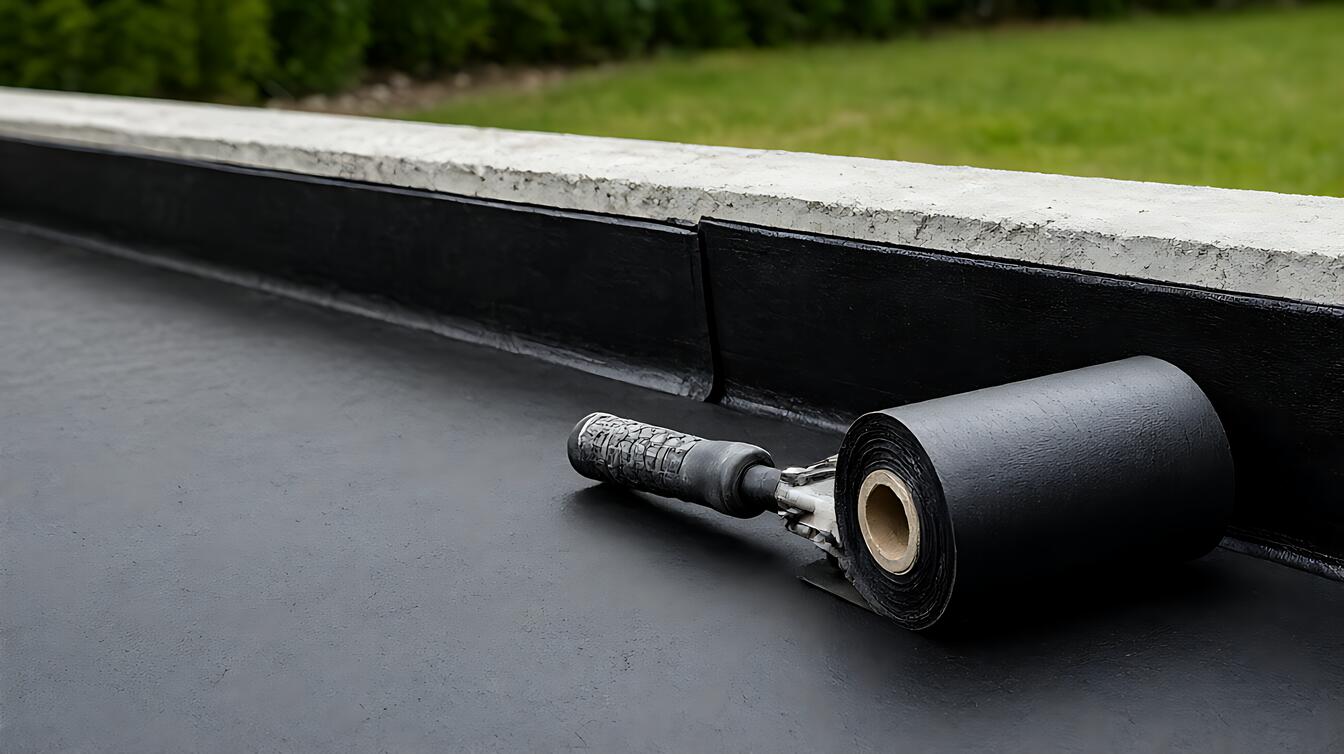
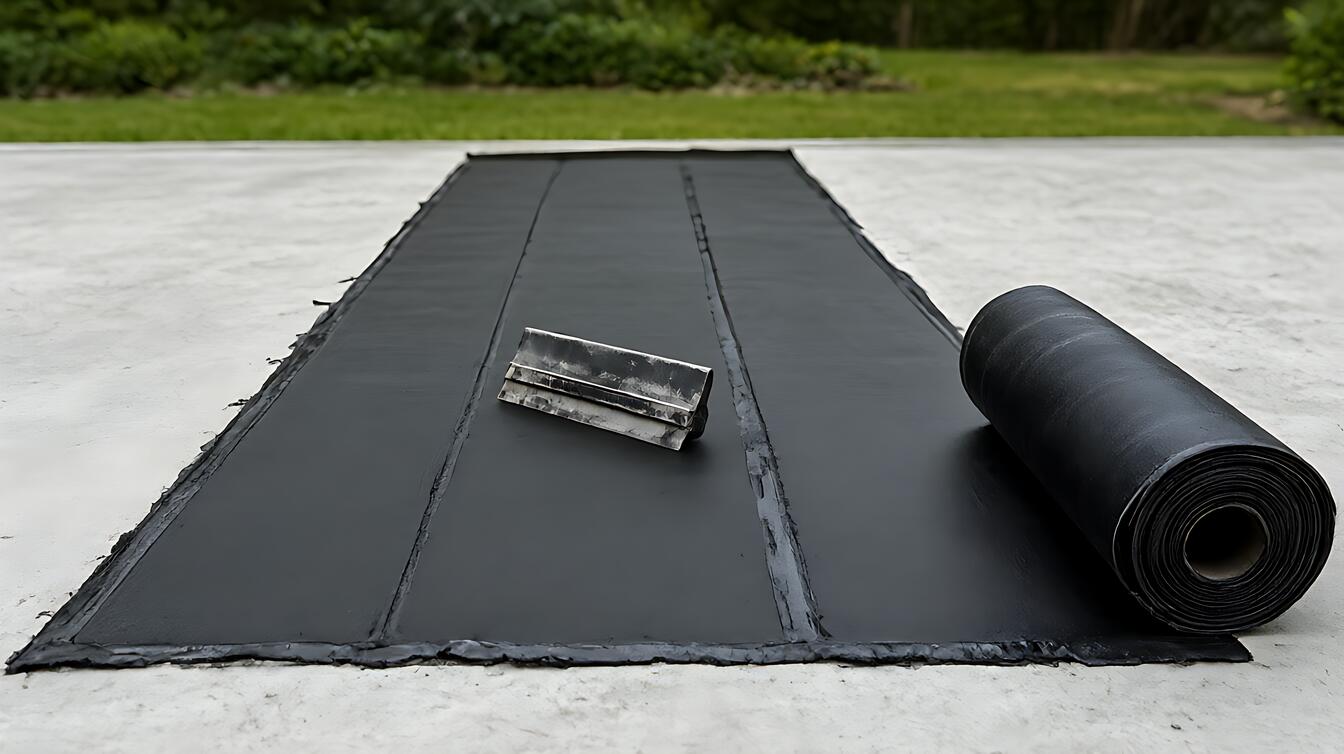
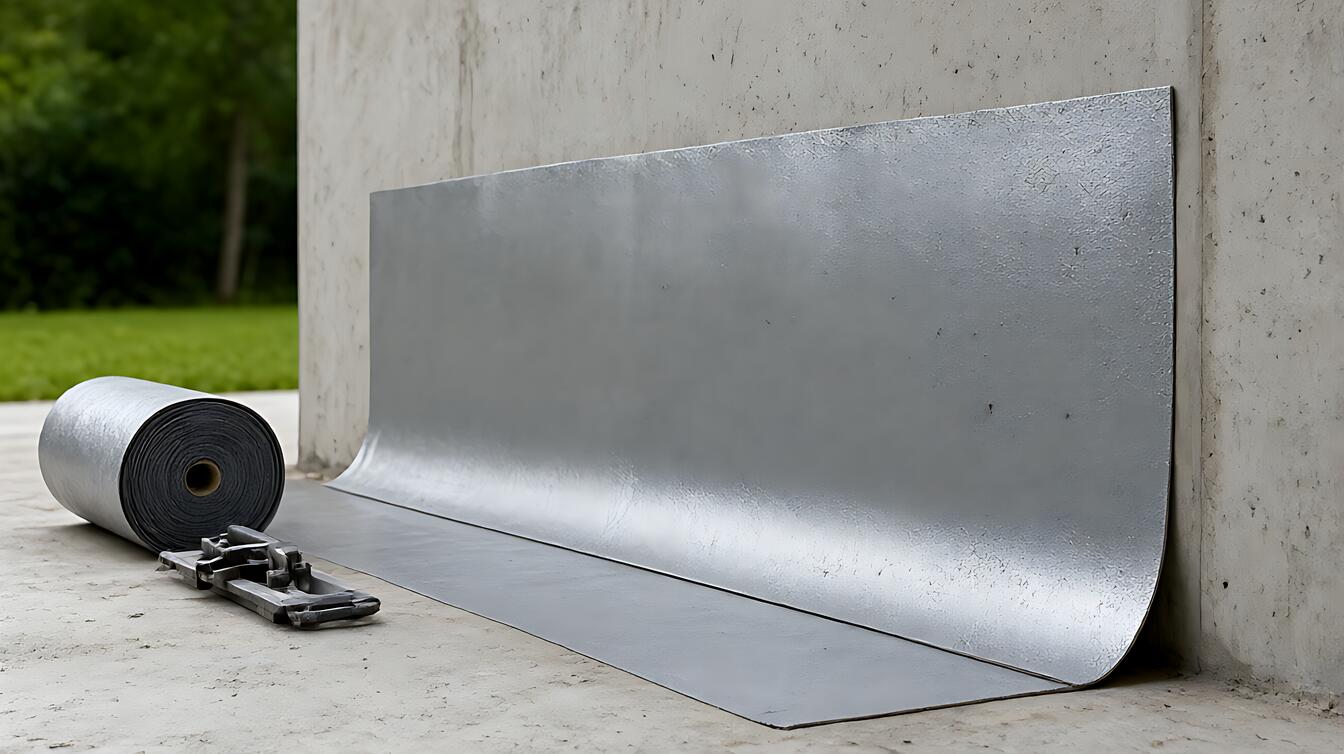
Choose a 1.5-mm membrane when the wall face requires added protection from water exposure. Pair it with compatible drainage protection where the design calls for it. The membrane reduces the chance that water passes directly through the wall, but it does not remove the pressure created by trapped water.
Choose weep holes when the wall design needs a visible release point at its base. Use geotextile filter fabric to keep fine soil separated from the drainage stone. The key limitation is that weep holes, filters, membranes, and pipes work as a system. One weak connection can interrupt the whole path.
| Option | Best fit | Main limit |
|---|---|---|
| Drainage stone | Water collection behind the wall | Needs a connected outlet |
| Perforated pipe | Collecting and carrying water | Needs a safe gravity discharge |
| Membrane | Limiting direct water exposure | Does not eliminate trapped – water pressure |
| Weep holes | Releasing water at the wall base | Still depends on clear discharge paths |
What Happens on a Real Residential Job Site
Real job – site conditions often expose the weak link between the drawing and the finished wall. Imagine a wall with the specified stone and pipe installed, but the pipe outlet blocked by soil. Water can enter the drainage zone yet remain trapped, leaving the wall to deal with the pressure it was designed to avoid.
The practical sequence is straightforward. First, verify that the 12-inch drainage zone is clean and continuous. Next, confirm that the perforated pipe reaches the specified outlet with a continuous fall. Finally, inspect the filter placement so soil cannot migrate into the stone and obstruct flow.
Slope also helps water keep moving. Use a 1% to 2% slope when directing water toward a collection point. A pipe that rises, a filter lap that reverses, or a discharge point left above the water source can defeat an otherwise correct assembly.
Common failures often point back to continuity rather than product choice. Examine retaining wall drainage failure signs when the wall shows damp patches, staining, or persistent moisture. If buried utilities, wall loading, or structural movement complicate the work, consult a qualified professional before excavation.
Limits, Trade – Offs, and Your Next Decision
Durability depends on keeping water moving and preventing soil from clogging the designed paths. A membrane can remain undamaged while the drainage zone fails, and a pipe can remain clear while its outlet does not. That is why visual inspection of one component cannot confirm the performance of the whole system.
There is also a budget trade – off. Adding stone, pipe, filter fabric, and membrane increases material and labor, but removing one of these layers can shift the failure to a less obvious point. Choose the complete assembly when pressure management is the concern; use membrane protection as the added layer where direct water exposure requires it.
Consult a professional for structural walls, occupied spaces below the wall, or complicated drainage routing. Before work begins, compare retaining wall drain pipe and gravel details with retaining wall construction drainage so the discharge route and wall assembly agree.
Decision Guidance for Retaining Wall Drainage
Choose drainage stone and perforated pipe if saturated soil or trapped water is the main concern, and verify that the pipe has a continuous gravity discharge. Choose a 1.5-mm membrane if the wall face needs added protection, while retaining drainage that can relieve water pressure.
Choose weep holes if the wall design permits a base – level release route. Use geotextile filter fabric where soil separation is required, and confirm that laps and connections preserve water flow.
The final decision is simple: water needs both a controlled route into the drainage zone and an unobstructed route out. If either part is missing, the assembly has not solved the problem.