Grout darkens and crumbles around the shower threshold after a few years, and tiles sound hollow when tapped near the tub. That pattern signals water working behind the surface — not the tile failing but the waterproofing beneath it being incomplete. In a bathroom renovation, tiling is the visible finish; what protects the structure lies underneath.
Tiling covers floors and walls with ceramic, porcelain, or stone units bonded to a prepared substrate over a continuous waterproof membrane. Tile and grout resist water; they do not block it. Australian Standard AS 3740 requires a compliant membrane in all bathrooms with a shower or bath, extending from floor to at least 1800 mm on shower walls.
What Tiling Covers in a Bathroom Renovation
A complete bathroom tile installation addresses three surfaces: the floor, the shower or bath surround walls, and the vanity splash area. Each zone demands different specifications. The floor requires slip resistance rated for wet conditions. Shower walls need low-absorption tile for constant water exposure. The vanity zone needs splashes to run off rather than soak into grout.
The waterproof membrane sits beneath every tiled surface in a wet area. It is the layer that actually stops water reaching the substrate. Experienced tilers flood-test the shower pan and inspect corner tape before laying tile. Skipping this step causes the most common post-renovation damage.
Water behind tile causes rot and mould that remains invisible until floors feel soft or walls discolour, often 12 to 36 months after installation. Professional waterproofing costs $40–$80 per square metre. Repair after failure runs $2,000–$12,000+.
Tile Materials, Sizes and Installed Cost
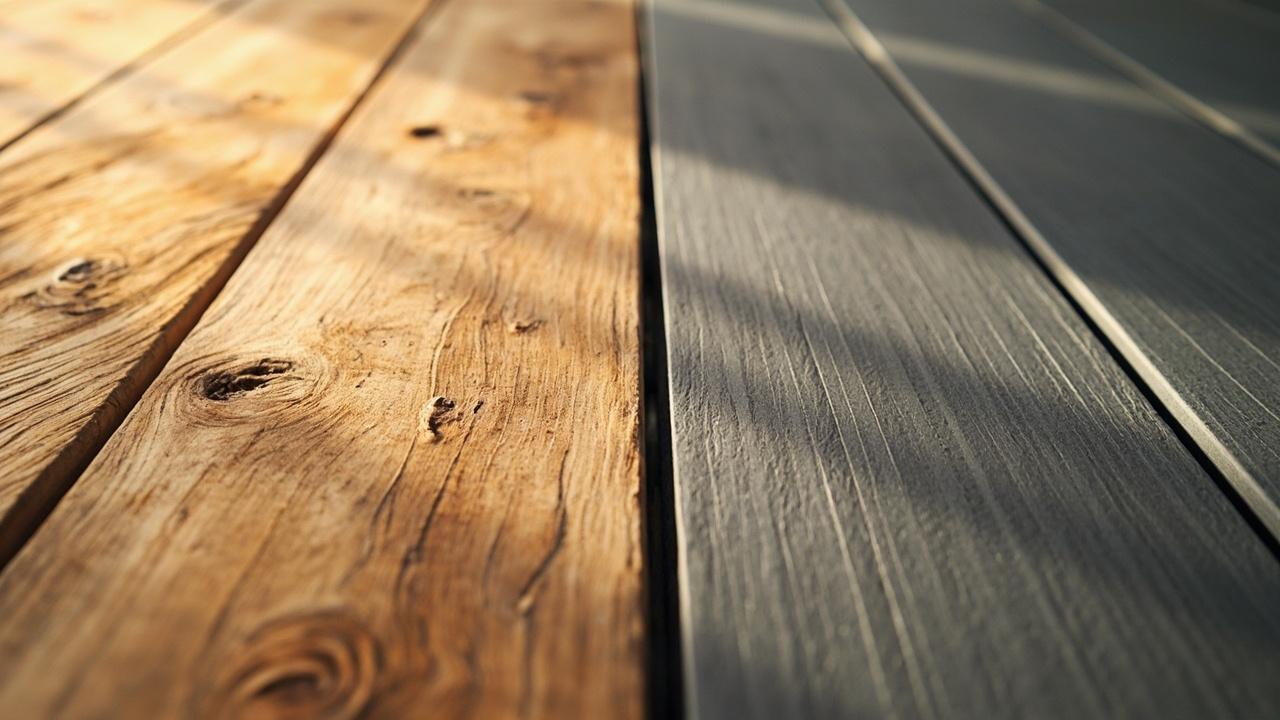
Ceramic tile is fired clay with a glazed surface. Budget ceramic runs $30–$60 per square metre supply in Australia; mid-range quality sits at $45–$80. Installation labour adds $45–$75 per square metre. Ceramic works well on shower walls and low-traffic bathroom floors where moisture exposure is moderate.
Porcelain tile is fired at higher temperatures from denser clay, producing water absorption below 0.5 per cent. It handles wet zones, heavy foot traffic, and thermal cycling without degradation. Porcelain supply ranges from $40–$120 per square metre for standard formats, rising to $120–$200+ for large-format varieties. Labour runs $50–$90 per square metre.
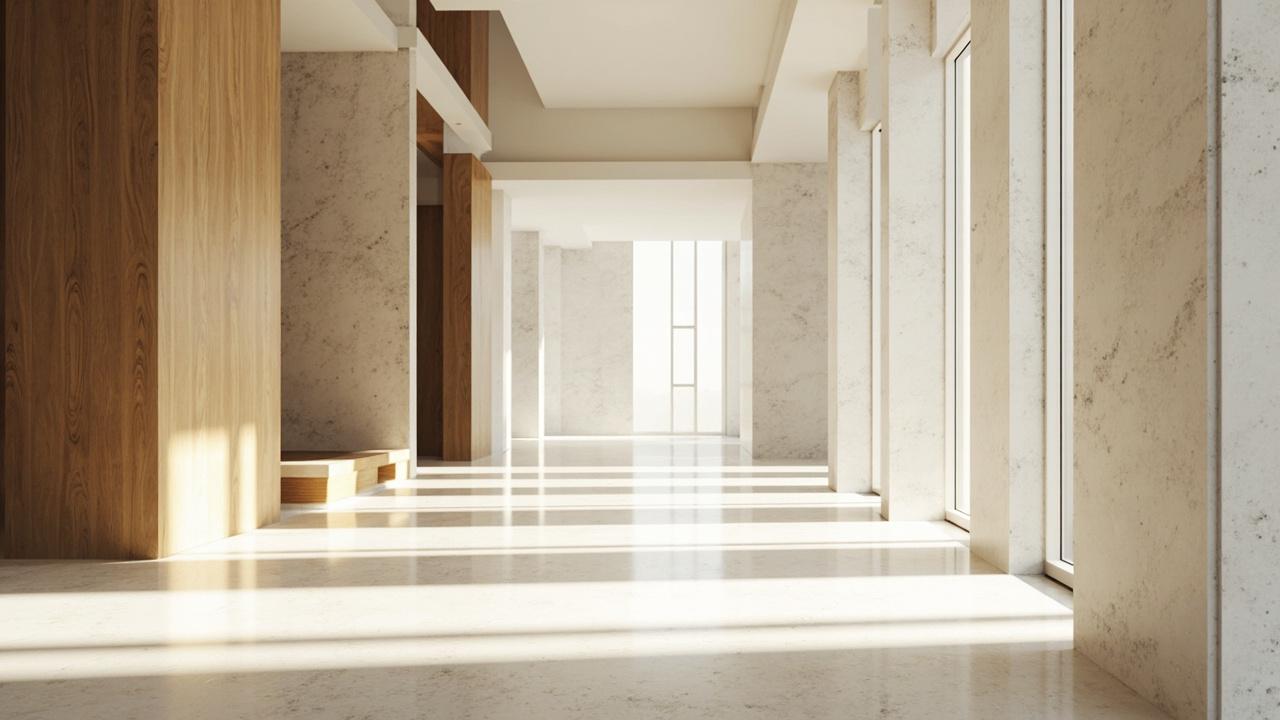
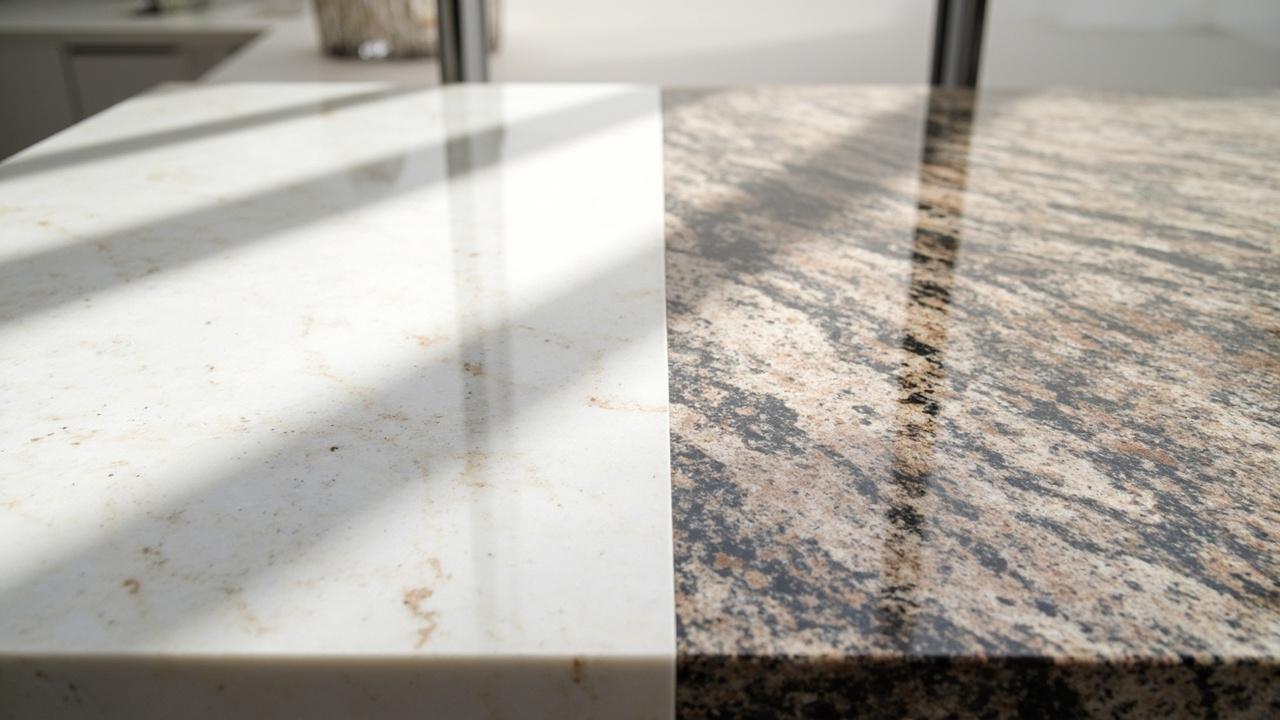
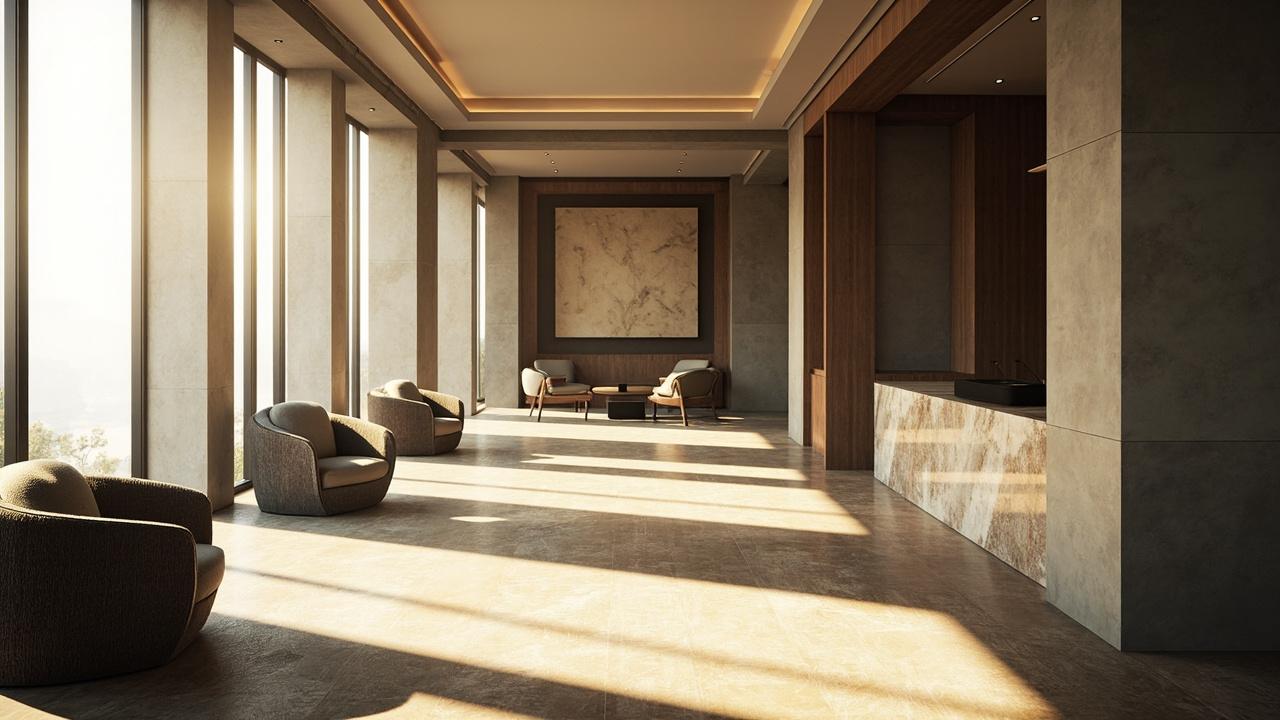
Natural stone tile — marble, travertine, slate — delivers unique veining but requires periodic sealing. Marble starts at $120–$250 per square metre supply; granite runs $150–$350. Stone installation labour is $70–$160 per square metre. Stone works best on feature walls or dry-zone floors, not shower floors where sealing maintenance becomes constant.
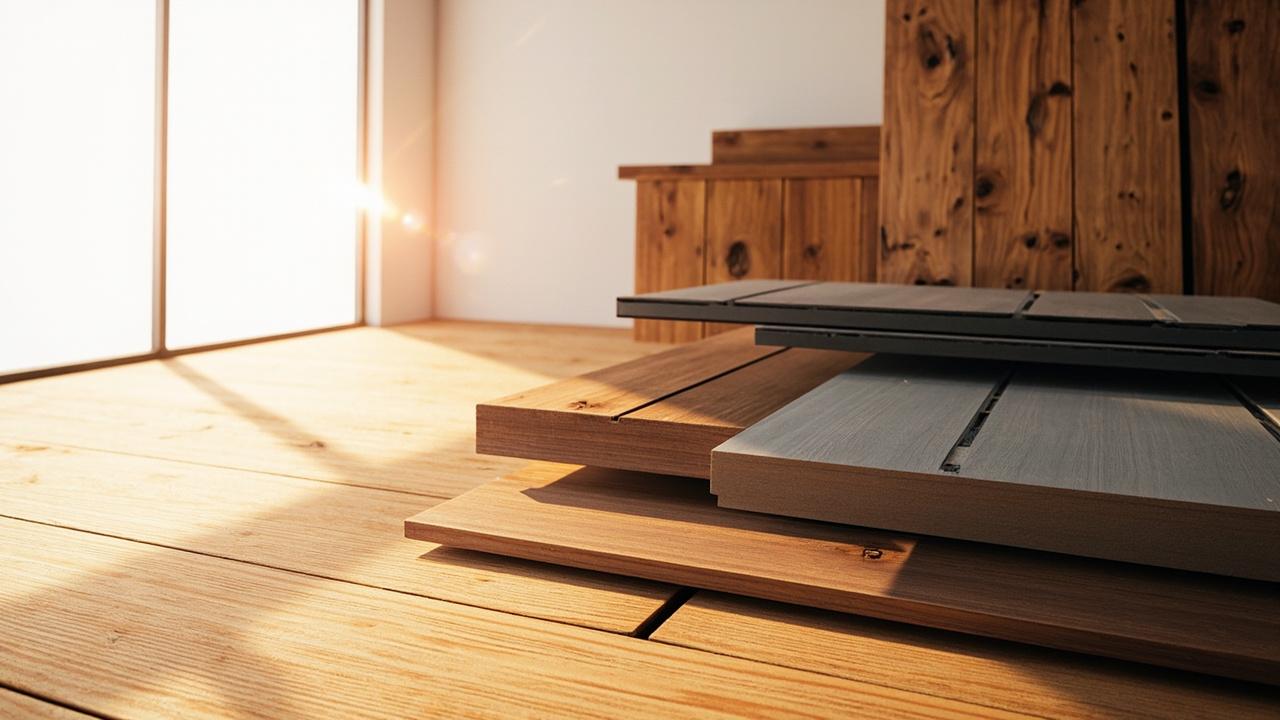
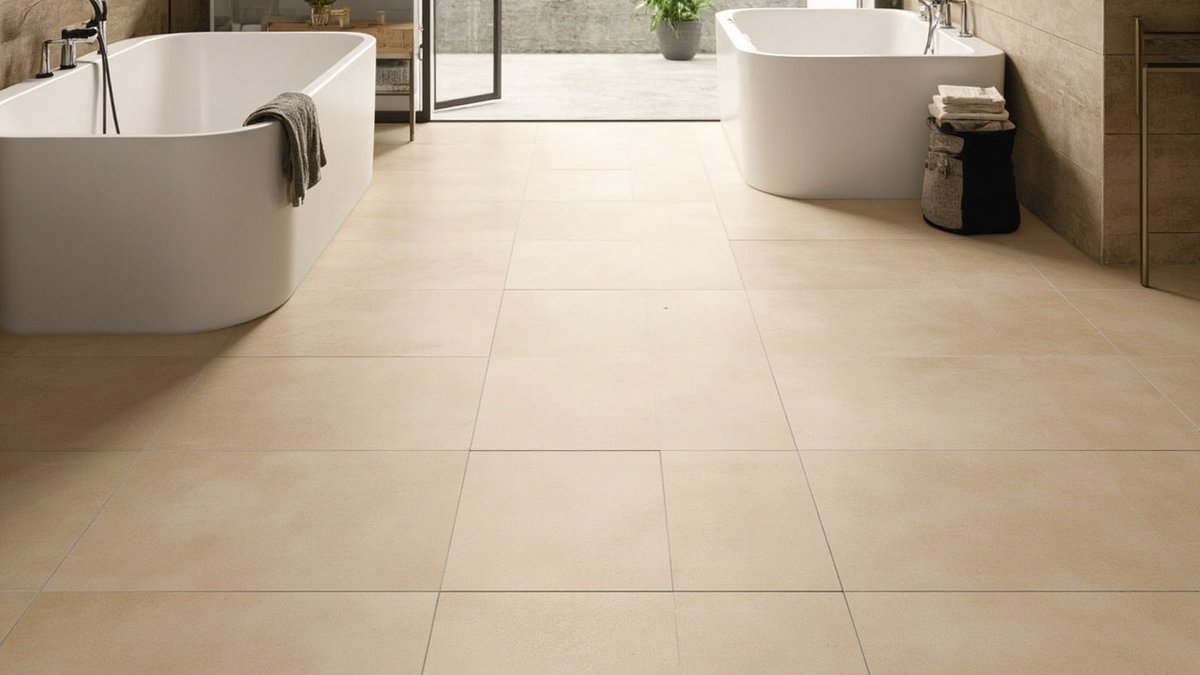
Size choices create different outcomes. Mosaic tiles under 100 mm on a side provide maximum grout-line density for slip resistance and can contour a sloped shower floor. Mid-format tiles at 300 × 300 mm or 300 × 600 mm cover areas efficiently. Large-format tiles at 600 × 600 mm and above reduce grout lines but demand an extremely flat substrate.
A complete bathroom tile project in Australia typically costs $3,500–$7,000 for a standard 6 square metre bathroom at mid-range specification, including materials, waterproofing, and labour.
Moisture, Climate and Tile Selection
Bathrooms operate in a high-humidity microclimate. Every shower cycle raises relative humidity to near saturation, and without adequate ventilation that moisture migrates into grout and framing. An exhaust fan rated for 8 air changes per hour removes moist air before it condenses. In tropical or subtropical climates, this requirement is non-negotiable.
Water absorption rating determines which tile belongs where. Porcelain at under 0.5 per cent handles shower floors and wet walls. Vitreous ceramic at 0.5–3 per cent works on shower walls and bathroom floors but should be avoided on shower floors. Tiles above 7 per cent absorption belong only in dry zones.
Slip resistance is measured by DCOF — Dynamic Coefficient of Friction. A wet DCOF of 0.42 or above meets the ANSI A137.1 standard for level interior floors walked on when wet. Polished porcelain and glossy ceramic often fall below this threshold. Matte, honed, or textured finishes reliably clear the benchmark.
Grout selection interacts directly with moisture exposure. Cement-based grout absorbs water and stains unless sealed. Epoxy grout is waterproof and stain-proof but costs 3 to 5 times more than cement grout. For bathroom walls, polymer-modified sanded grout with penetrating sealer provides adequate protection at lower cost.
Signs of Quality Tile Installation
A well-installed tile job passes three simple checks. Tap each tile with a coin: a solid, uniform ring indicates full mortar coverage. A hollow sound means voids beneath the tile where adhesive did not make complete contact.
Check joint consistency. Grout lines should maintain uniform width across the installation. For large-format tiles, a minimum 3 mm joint accommodates manufacturing tolerance and thermal movement.
Verify drainage. After a shower cycle, water should flow toward the drain without pooling. Standing water beyond 5 minutes indicates insufficient substrate slope.
Proper installation also requires movement joints. Long tile runs exceeding 5 to 10 metres need expansion joints to accommodate thermal and structural movement. Corner joints between walls and floors should use flexible sealant, allowing independent movement between substrates.
Common Tiling Failures to Watch For
Inadequate waterproofing is the most expensive failure. When the membrane is skipped, applied incompletely, or fails at a seam, water reaches the substrate with invisible consequences until damage appears. A low quote is often the first warning sign — contractors who underbid typically cut corners on waterproofing materials or skip the flood test.
Dot-and-dab adhesive application — spreading thinset in isolated blobs rather than combing full coverage — produces voids behind tile that weaken the bond. This method is sometimes used to save time but creates tiles that detach on vertical shower walls. Full-coverage trowel application is the professional standard.
Tiling over standard drywall behind a shower enclosure is a frequent mistake. Drywall absorbs moisture and loses structural integrity. Cement backer board or fiber-cement board is the required substrate for tiled wet areas. Using mastic adhesive in a shower zone causes another common failure — mastic re-emulsifies when exposed to sustained moisture. Polymer-modified thinset mortar is the correct adhesive for all wet-area installations.
When Tiling Makes Sense for Your Bathroom
Tile is the right choice when the existing substrate is sound, the waterproofing system will be installed correctly, and the homeowner accepts the maintenance profile of the selected material. It delivers 20 to 50 years of service life with proper installation, outlasting virtually every other bathroom finish option.
Tile may not be optimal when the budget is below $2,000 for a full re-tile, when existing tile is in good condition and only a refresh is needed, or when the substrate has active water damage requiring repair before any new surface is applied. Addressing the underlying issue takes priority over cosmetic improvement.
For a renovation where tile is appropriate, sequence matters. Waterproofing completes first and passes inspection. Substrate preparation follows — leveling, backer board installation, corner reinforcement. Tile layout is planned with full-size tiles centered on visible walls. Installation proceeds from the most visible wall or floor centerline outward. Grouting and sealing complete the system, followed by final drain-flow verification before the bathroom returns to use.