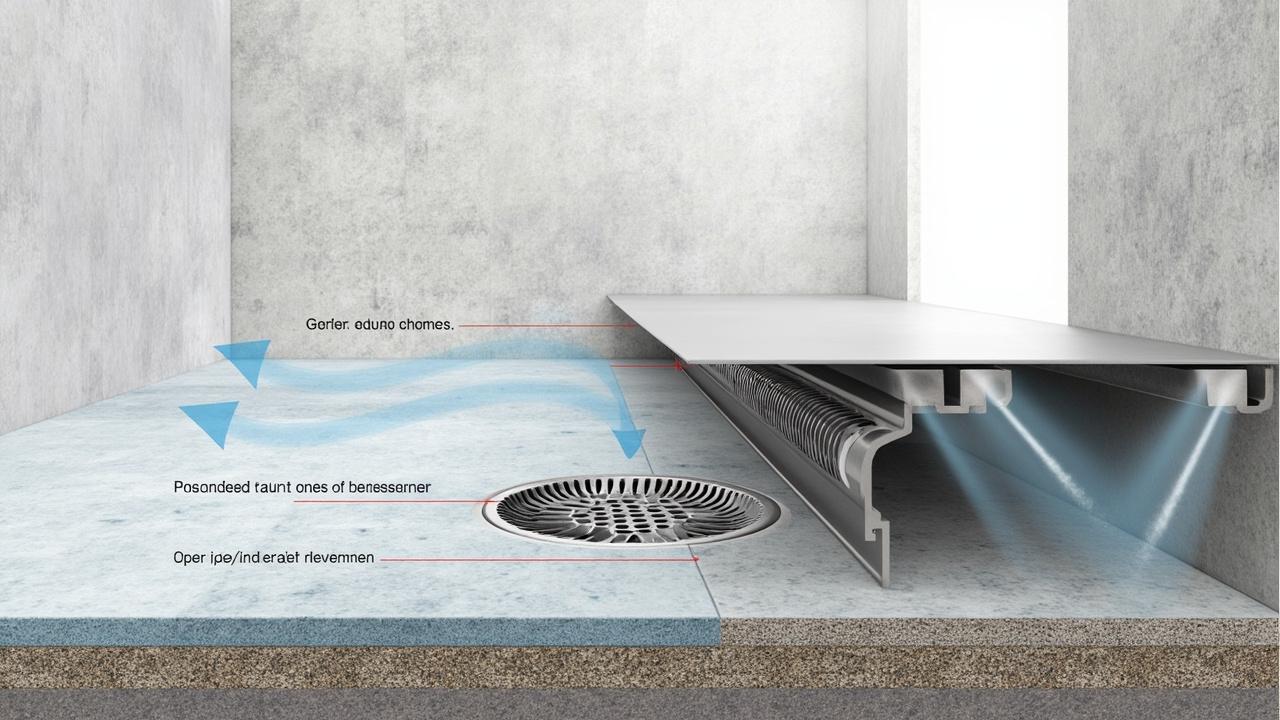
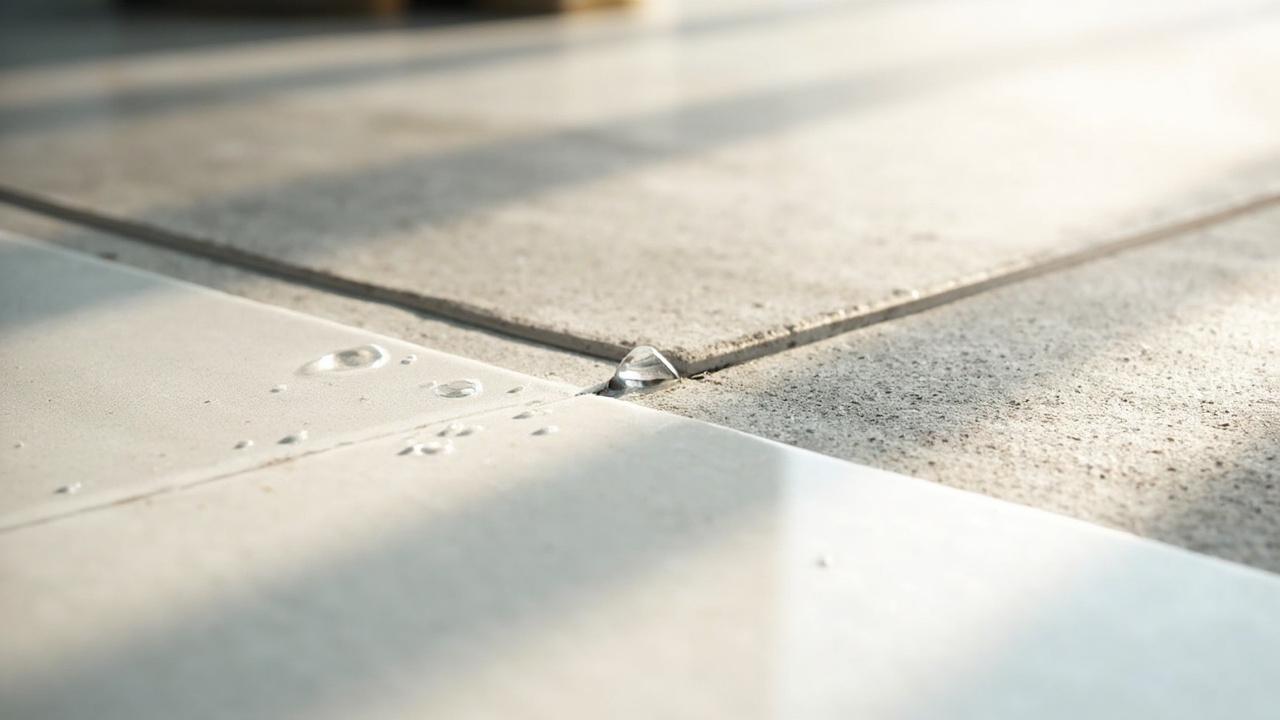
Water is pooling along your basement wall after every heavy rain, and two contractors gave you opposite advice. One swears by digging outside, the other says an inside drain will fix it. Both can be right, for different water problems. Basement waterproofing is a water-entry control system that either blocks groundwater outside the foundation or captures and pumps it from inside.
What Basement Waterproofing Covers and Which Side Wins First
Basement waterproofing stops liquid water and damp vapor from entering below-grade living space, and the winning side depends on where water comes from. Exterior barriers block hydrostatic pressure at the wall face, which works best when groundwater sits above footing level. Interior systems collect seepage at the cove joint and eject it, which wins when water already reaches the slab.
Think of the foundation as a boat hull sitting in wet soil. An exterior bituminous membrane 3-4mm keeps the hull dry from outside, while an interior perimeter drain tile bails water that gets in. Most dry basements need only one side done well.
A sump pump 1/3 HP moves collected water out at 35 to 45 gallons per minute in a typical home, and a battery backup pump covers outages. Size the pit at 18 inches wide so the float moves freely.
Re-grade soil to fall 6 inches over 10 feet away from the wall, or both systems fight a losing battle. Our parent pillar on waterproofing systems for foundations and slabs maps how each layer fits the whole envelope.
How Exterior Waterproofing Works Outside the Wall
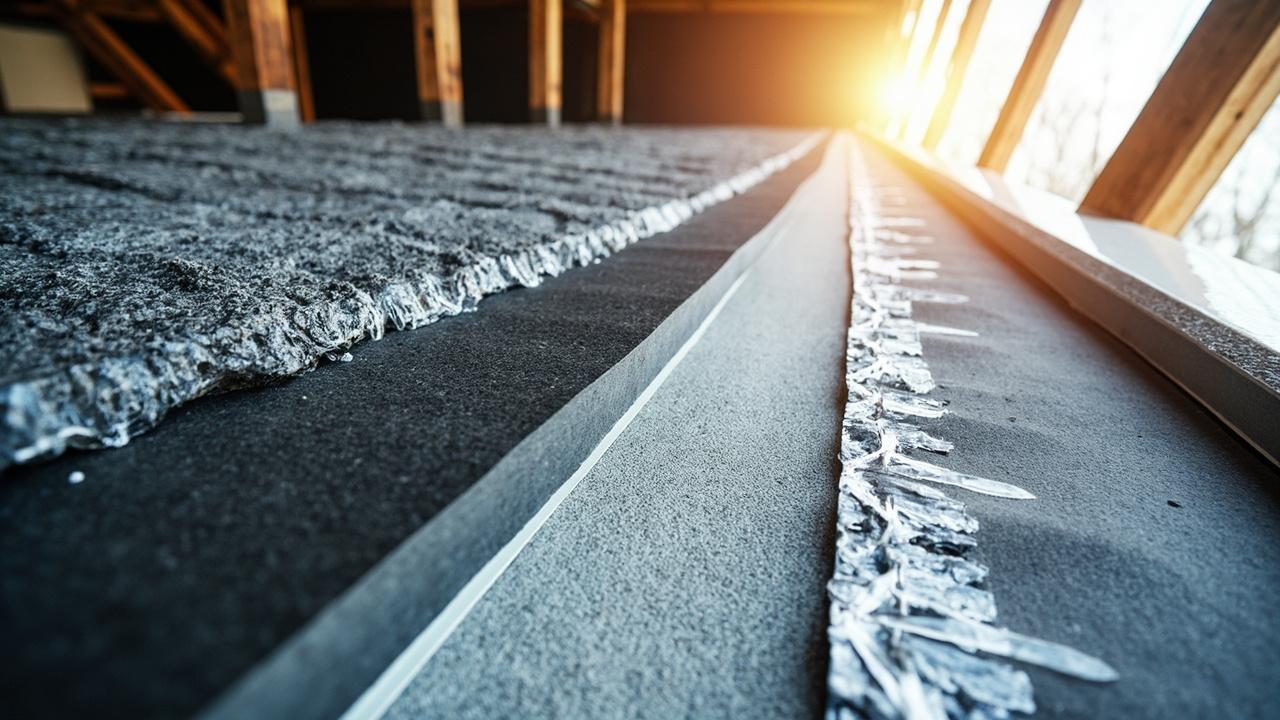
Exterior barriers bond to the outside foundation face and bridge hairline cracks up to 1.5mm, and they last 25 years or more when shielded by protection board. A footing drain 4-inch perforated pipe bedded in washed gravel 3/4 inch carries wall runoff to daylight or a sump, set below frost line.
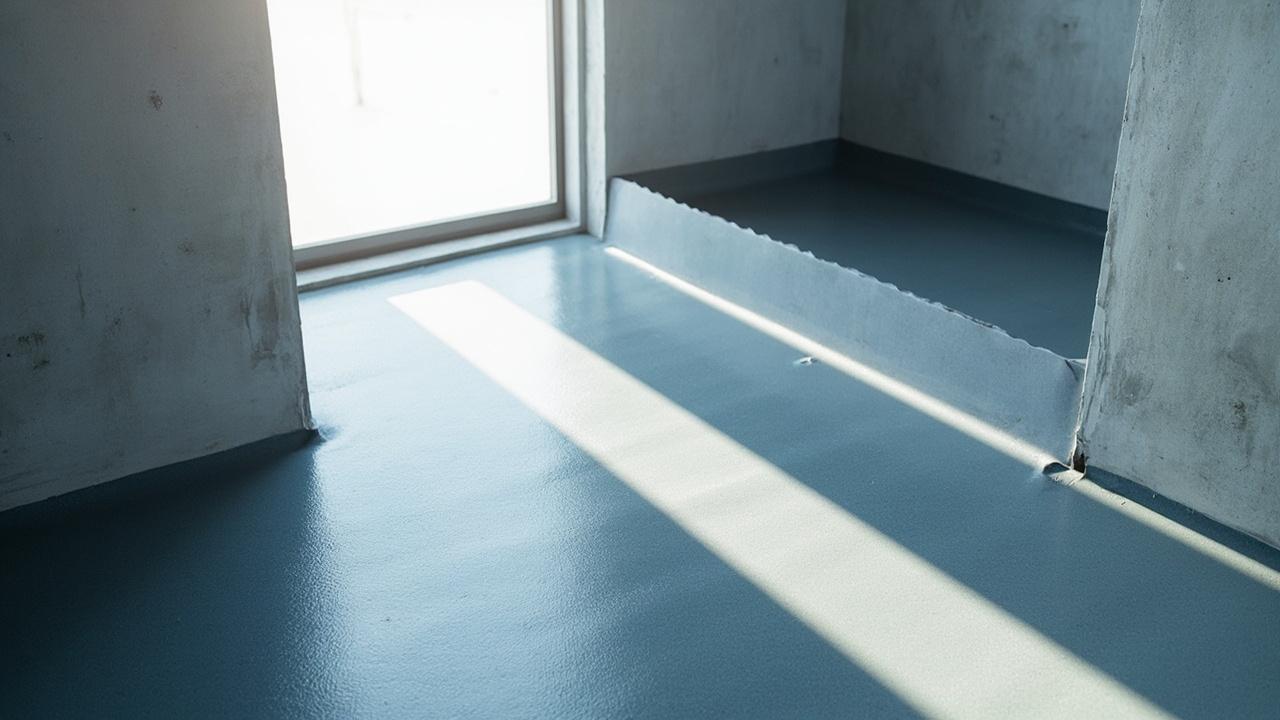
Crews excavate to the footing, clean the wall, then roll or spray the barrier in two coats totaling 60 to 80 mils dry film. Sheet membrane laps 4 inches at seams, and every penetration gets a collar of mastic. Backfill goes back in lifts with care near the pipe.
Expect excavation to cost $50 to $80 per linear foot for a 7-foot-deep wall in most US markets, which makes full exterior work the priciest option. It pays off when walls are bowed, tar coatings have failed, or you already have the yard open. Compare membrane families in our sheet, liquid, and cementitious waterproofing comparison before you commit.
How Interior Waterproofing Works Inside the Basement
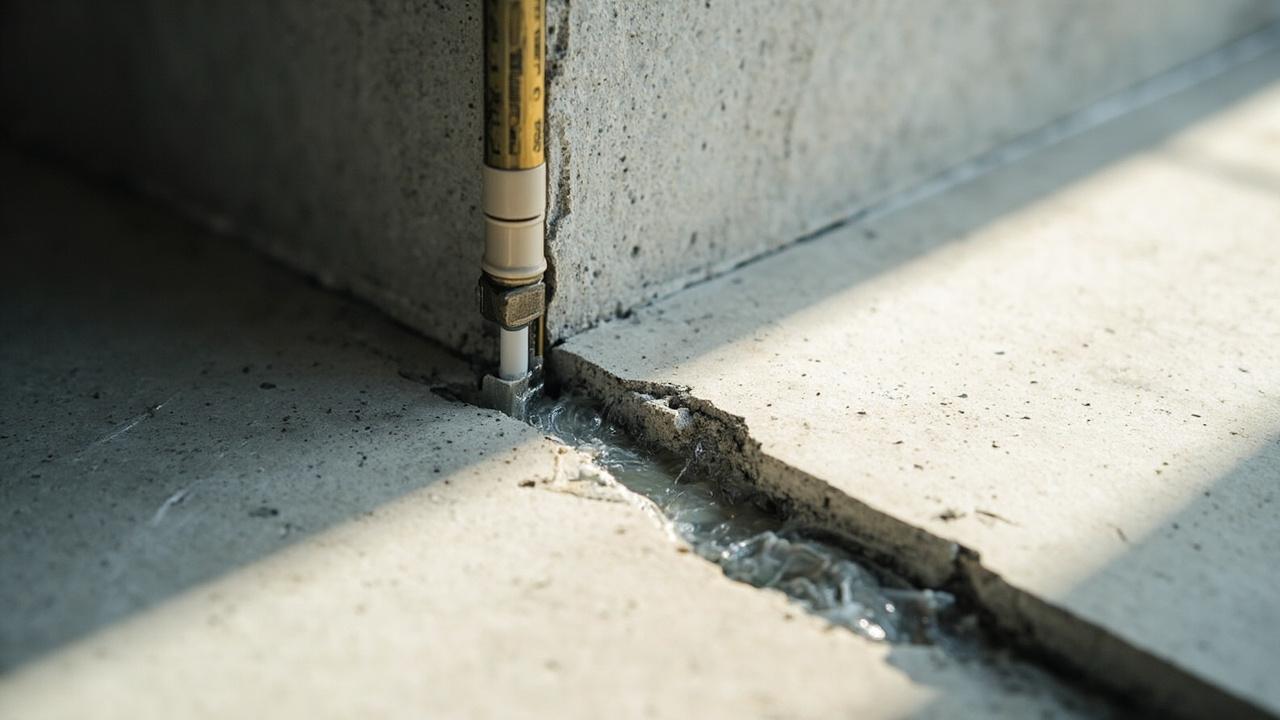
Interior drainage captures water where wall meets footing and routes it to a pump, and it controls seepage even when exterior soil stays saturated. A sub-slab drain channel cut beside the footing feeds a sealed basin, and the slab patch restores a walkable floor within days.
Wall panels or vapor barrier 20 mil sheeting bridge weeping block walls down into the channel, so damp block cores drain instead of staining. A radon-sealed sump basin with an airtight lid keeps soil gas out while the pump cycles. Jobs usually finish in 2 to 4 days with no digging outside.
| Factor | Exterior excavation | Interior drainage |
|---|---|---|
| Cost per linear foot | $50 to $80 | $30 to $55 |
| Best water source | High water table, cracked walls | Cove-joint seepage, finished basement |
| Typical timeline | 3 to 5 days | 2 to 4 days |
| Disruption | Digs up yard, deck, plants | Cuts slab, dusty indoors |
| Service life | 25 years or more | Pump-dependent, pumps last 7 to 10 years |
Typical interior systems run $30 to $55 per linear foot installed, roughly half of full excavation in many regions. They manage water rather than stopping it at the wall, so pair them with dehumidification that holds relative humidity under 50 percent. See application detail in our liquid waterproofing membrane application steps for coating touch-ups on interior walls.
Installation Compared: Steps, Time, and Common Mistakes
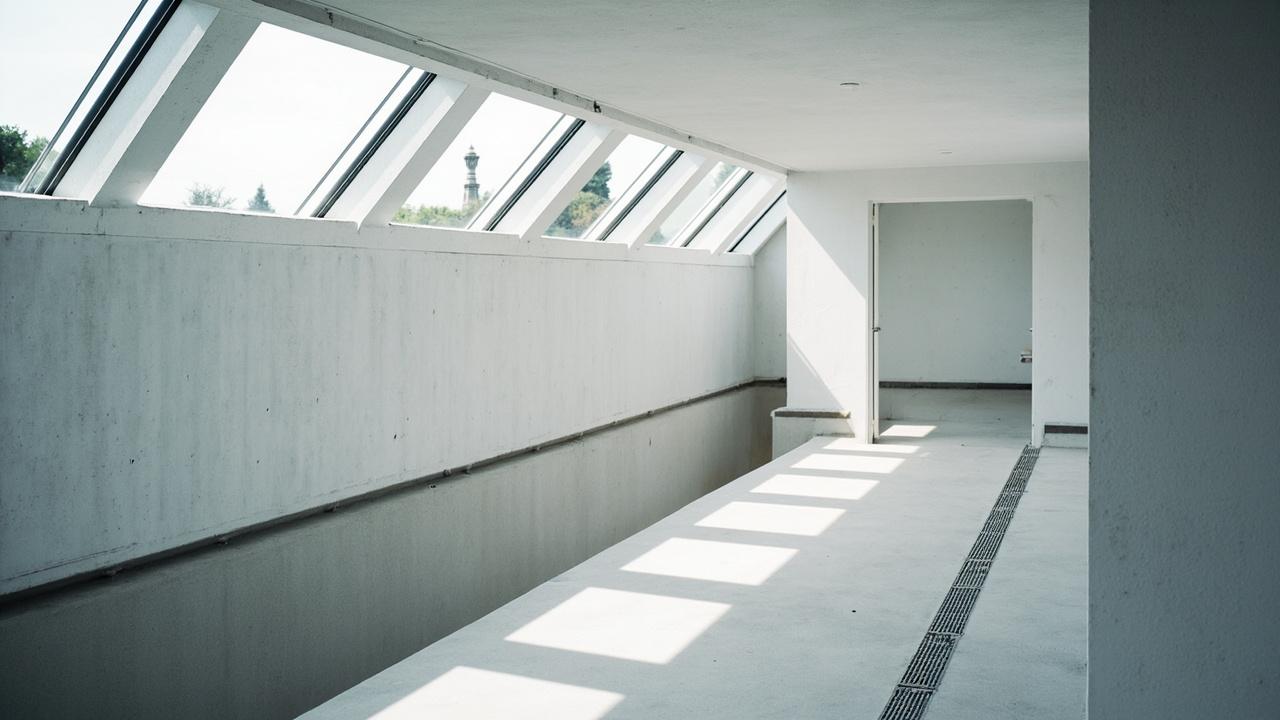
Exterior excavation takes 3 to 5 days for an average home while interior drains finish in 2 to 4, and the gap comes from digging depth and weather risk. Both systems fail from skipped details, not bad materials, so use the sequence below as a bid punch list.
- Probe the water source during rain by taping foil patches to damp spots for 24 hours, so you fix entry points instead of guessing.
- Excavate exterior walls to the footing in dry weather, stockpiling soil away from the trench edge to prevent cave-ins.
- Apply primer plus two barrier coats at the specified mil thickness, lapping sheets 4 inches and sealing every pipe collar.
- Set perforated pipe with holes down on washed gravel, holding a fall of 1 inch per 8 feet toward the outlet.
- Cut the interior channel beside the footing, set the basin level, then patch concrete and test the pump with 5 gallons.
A ponding test 24 hours on flat areas and a hose flood against the wall confirm the fix before backfill or patch. Never skip the wet check, because dry-day work hides missed laps.
The classic mistake is tying footing drains to a sump without a check valve spring-loaded, which recirculates the same water all night. Backfilling with clay chunks is the second killer, since sharp clods puncture fresh membrane within one season. Specify Schedule 40 discharge pipe outdoors, since thin-wall pipe cracks at the first freeze.
Limits, Edge Cases, and When to Call a Professional
Waterproofing controls water entry but never fixes structural movement, and walls that bow more than 1 inch need bracing before any coating. Hydrostatic pressure 500 psf under a high water table can push through thin paint-on sealers, so coatings alone fail where springs run under the slab.
Call a licensed structural engineer when cracks widen past crack width 1/4 inch, stair-step through block, or leak after two repair attempts. For chronic damp with no standing water, a dehumidifier 50-pint Energy Star plus sealed rim joists often beats another membrane coat. If leaks persist, our waterproofing failure and leak diagnosis walkthrough helps you trace the true entry path.
Choose exterior excavation if walls are damaged, water sits above the footing, or the yard is already open. Choose interior drainage if the basement is finished, budgets run tight, or seepage comes only at the cove joint in storms. Either way, fix grading first and consult a licensed foundation professional before structural work.