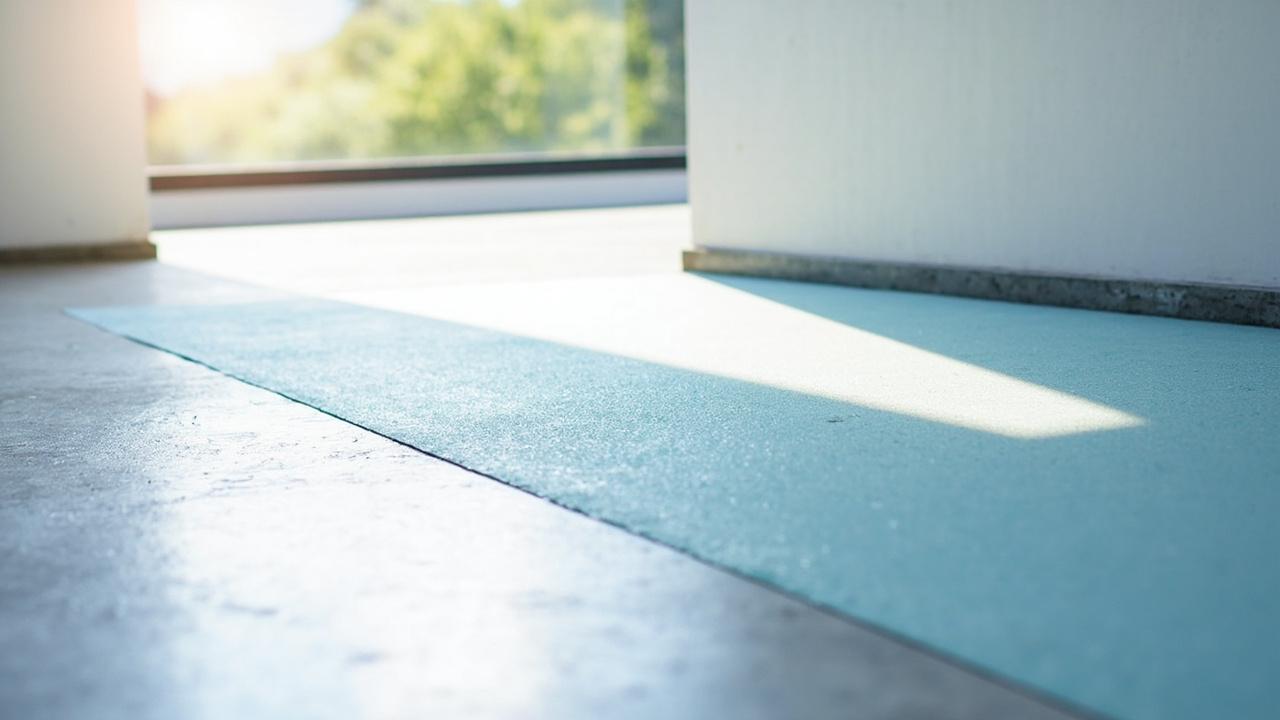
Staring at a door jamb while holding a full laminate plank, wondering how to cut a notch that actually fits? Cut every plank 8 to 10mm short of walls and obstacles, match the blade to the cut, and support the decor layer so it cannot chip.
A clean laminate floor cut is a supported cut made with a fine-tooth blade that severs the decor layer before the HDF core can tear it.
Match the Blade to the Cut and the Decor Layer Survives
Laminate flooring cuts cleanly when the blade matches the cut type, because the melamine decor layer chips the instant an unsupported tooth tears through it. HDF core 8-12mm gives rigidity, but the thin decor on top decides whether the edge looks factory fresh or chewed.
For straight crosscuts and rips, a 60-tooth carbide blade on a miter saw or table saw leaves edges that need no sanding. Teeth this fine take small bites, so each tooth severs fibers instead of levering them out.
For curves, pipe holes, and notches, a jigsaw with a jigsaw downstroke blade presses the decor layer into the core instead of lifting it. Standard upstroke blades chip the visible face on exactly the cuts you cannot hide, around toilets, posts, and pipes.
Prepare the Plank, the Mark, and the Expansion Gap Before Cutting
Laminate flooring acclimates in the room for 48 to 72 hours before cutting, because boards from a cold garage expand after fitting and buckle at the joints. Stack sealed packs flat with air space around them.
Mark cuts on the plank back with a sharp pencil and square, extending the line around the edge. Subtract expansion gap 8-10mm from every measurement, because floating floors move as one sheet and a tight plank becomes the pressure point.
Support the plank fully on sawhorses or rigid foam, clamped so vibration cannot chatter the edge. AC4 wear layer boards chip worst when the offcut snaps fibers instead of letting the blade sever them. Your laminate floor AC rating durability zones choice matters too, since harder wear layers demand slower feed rates.
Cut Straight Lines, Notches, and Pipe Holes in the Right Sequence
Laminate flooring straight cuts succeed when the visible face points toward blade entry, so teeth enter decor first and exit through the hidden balancing layer. On a miter or table saw that means decor face up, on a circular saw decor face down.
Notches around jambs come out cleanest with a cardboard template, because taping two inside corners invites the 2mm error that leaves a visible gap. Scribe the profile onto card, test fit the card dry, then trace it onto the plank.
Drill a relief hole at each inside corner before jigsawing toward it, so the blade cannot overshoot and split the corner. Pipe holes need 12 to 15mm allowance around the pipe, a wedge cut for fitting, then silicone sealant flexible fill bridging to the pipe. Rigid fills crack as the floor floats, a lesson our laminate floor gap and buckling repair guide documents well.
| Tool | Best cut type | Blade | Face orientation | Feed |
|---|---|---|---|---|
| Miter saw | Crosscuts, short rips | 60 tooth carbide or finer | Decor up | Slow, steady drop |
| Circular saw | Long rips | 60 tooth fine finish | Decor down | Guided, constant speed |
| Jigsaw | Notches, curves, holes | Downstroke laminate blade | Decor up | Slow, no orbital action |
| Oscillating tool | Jamb undercuts, trim in place | Fine wood segment blade | N/A, cuts jamb | Light pressure, flush cut |
| Coping or pull saw | Fine notches, scribe fits | Fine dovetail teeth | Decor up | Hand control, short strokes |
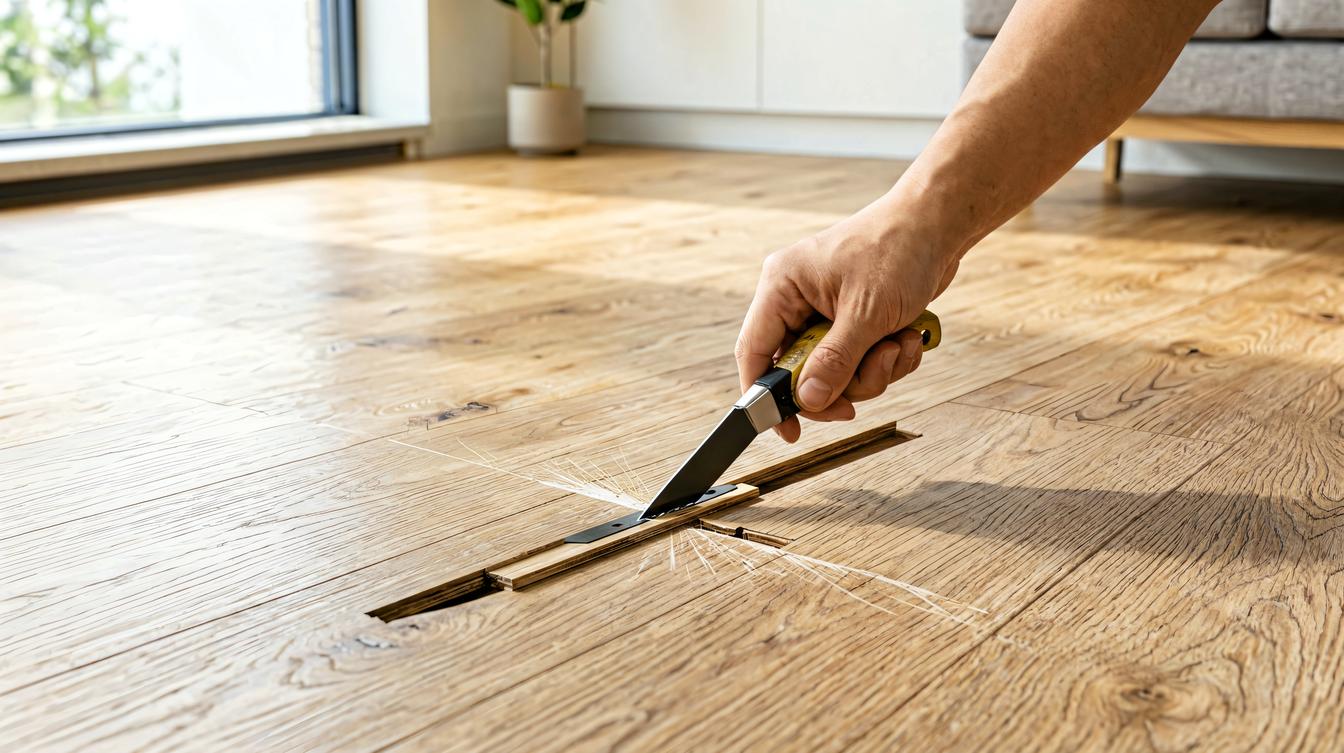
Avoid the Four Mistakes That Ruin More Planks Than Dull Blades
Laminate flooring notch failures cluster around four planning errors. Cutting the notch too tight binds the click-lock profile milled joint so the plank cannot angle in, and forcing it crushes the lip that holds the joint shut.
Cut notches 1 to 2mm generous, since skirting or sealant hides slack while a crushed lock telegraphs across the row. Second, undercut every door jamb with an oscillating tool using an offcut as the height guide, a door jamb undercut 12mm that takes two minutes and hides the gap completely.
Third, dry fit every cut plank without engaging the lock, checking gaps with a spacer before tapping it home with a tapping block and pull bar. Confirm plank thickness against our laminate flooring buying guide if your stock runs thicker than standard, since the undercut height must come from its own offcut.
Know the Limits, Then Finish the Floor With Confidence
Laminate flooring cuts stay DIY friendly until the obstacle stops being wood. Stair nosing flush-mount profile work, curved staircases, and in floor heating manifolds deserve an installer, since one miscut nosing wastes a profile worth more than an hour of labor.
Rooms over 10m in any direction need T-molding transition every 10m breaks that many installers skip. Without the break, the sheet pushes against the tightest notch and opens joints at the far wall months later.
Choose the jigsaw plus downstroke blade if your room has more than three obstacles, because setup time amortizes fast. Choose a miter saw station for mostly straight runs. Either way, walk every perimeter with spacers in place, then check our installing laminate flooring on concrete walkthrough if any plank rocks, since a perfect cut cannot fix a hollow beneath it.