You’re three courses up on a garden wall, mortar squeezing out unevenly, and the joints either look like sloppy smears or sit so recessed they catch water. The pattern you choose decides whether the wall sheds rain or drinks it, whether bricks crack along the bed or stay clean, and whether a buyer years later sees craftsmanship or shortcuts. Brick laying techniques mortar joint patterns are the finish choices that turn stacked units into a wall that performs: each profile has a shape, a depth, a reason it exists, and a set of conditions where it quietly fails. Choose by climate, exposure, and budget, not by what looks neat in a magazine.
What Brick Laying Mortar Joint Patterns Actually Do
The joint is the weakest visible plane in any brick wall, and the pattern you press into it controls three things at once: water shedding, brick visibility, and how the wall ages. A flush joint sits level with the brick face and sheds water adequately when tooled lightly, while a weathered joint slopes outward and downward so rain drips clear of the wall rather than tracking back into the bed. The profile is compressed; too deep and the bedding face weathers, too flush and moisture rides the surface inward.
Joint depth matters as much as profile. Most masons compress the mortar to roughly 10 – 12 mm during laying, then rake it back to 6 – 10 mm before tooling, depending on brick hardness. A standard clay brick tolerates deeper raking than a low-density concrete brick, which spalls at the edges if you cut too aggressively. Mortar ratio decides strength: a 1:1:6 mix (cement:lime:sand) suits most garden and boundary walls, while a 1:0.5:4 mix gives higher bond strength for retaining or load-bearing applications.
Tooling timing changes the result too. Tool the joint when the mortar is thumbprint firm, usually 20 – 40 minutes after laying in temperate weather. Too wet and the mortar smears; too dry and it crumbles at the edge. This window is where most amateur work fails: impatience leaves weak joints that wash out within two seasons of rain.
How Each Pattern Works Mechanically
Each profile handles rain and water by angling the joint surface, not by sealing it. Decoding the five common choices helps you pick one without surprises.
Flush joint: mortar is struck flush with the brick face using the edge of a trowel. Fastest to produce, sheds water moderately well, but shows every trowel mark. Best for internal walls or sheltered boundaries.
Concave joint: pressed with a curved jointer tool, creating a recessed curve. The shape sheds water outward, compacts the mortar for density, and is the most forgiving profile for amateur work. Handle by daylight or shaded elevations where rain hits directly.
Weathered joint: angled inward at the top, outward at the bottom. The slope actively deflects water away from the bed joint, making it the strongest rainwater-shedding profile. Trade-off: slightly recessed top edge exposes the upper brick to chipping under impact.
V-joint (V-shaped): formed by running a V-shaped jointer along the joint. Decorative, sheds water well along the angled faces, but creates two thin edges that weather faster than curved profiles.
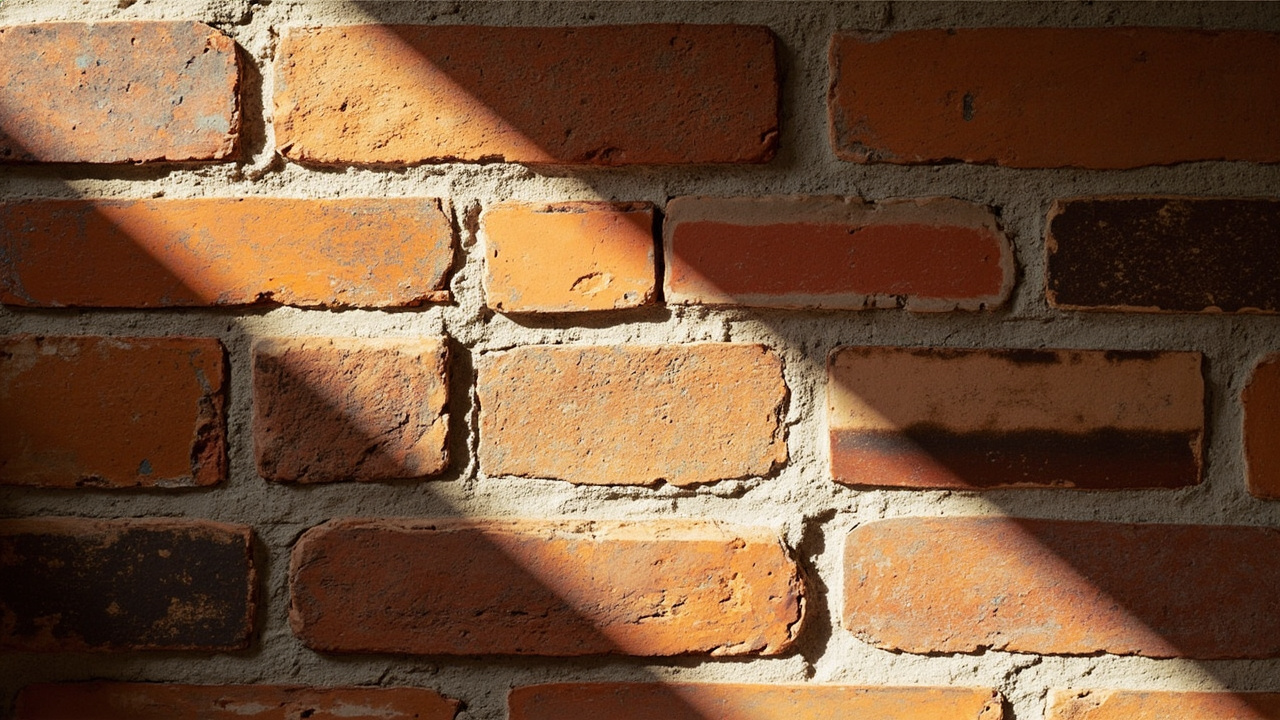
Raked joint: mortar raked back 6 – 10 mm to expose the brick edge. Highly decorative, highlights each unit clearly, but catches water and dirt. Choose raked only on sheltered, internal, or sun-protected elevations; in exposed or wet-area walls it traps moisture and accelerates brick edge spalling.
Conditional Picks: Match Pattern to Wall Conditions
Choose by climate and exposure, not by appearance alone. The right profile for a sheltered garden wall is wrong for a north-facing rain-soaked boundary.
Wet area or heavy rainfall: choose weathered joint for the strongest water shedding, with concave joint as the easier-to-execute alternative. Avoid raked or struck-flush on exposed elevations.
Sun-exposed, hot-dry climate: choose concave joint for the best compromise between water handling and edge durability. Avoid deep raked joints, which dry out and crumble under thermal cycling.
Tight budget, internal or sheltered wall: choose flush joint. It is the fastest profile to produce, requires no special tooling beyond a trowel edge, and performs adequately where rain rarely hits directly.
Decorative facade, sheltered elevation: raked joint or V-joint highlight brick texture and pattern. Skip during weather exposure; in exposed positions these profiles shorten wall life noticeably.
| Pattern | Water Shedding | Skill Required | Best Condition | Weakness |
|---|---|---|---|---|
| Flush | Moderate | Low | Internal, sheltered | Shows trowel marks |
| Concave | Good | Medium | Most external walls | Slower to produce |
| Weathered | Excellent | Medium-high | Heavy rain exposure | Top edge chips |
| V-joint | Good | Medium | Decorative facades | Thin edges weather |
| Raked | Poor | Medium | Sheltered decorative | Traps water, spalls |
Field Practice: Spacing, Depth, and Common Errors
Joint depth and consistency decide long-term performance, even more than the profile shape. Standard practice runs a 10 mm bed joint, raked back to roughly 6 – 8 mm before tooling, but the exact figure depends on brick tolerance and mortar workability.
Lay mortar beds uniformly by buttering each unit end and bedding the brick with a firm downward press, squeezing out a consistent 10 – 12 mm bed. Let the mortar rest until a thumb pressed lightly leaves a clear print without sticking, then tool. In wet or cool conditions the wait stretches past 40 minutes; in hot, dry, or windy weather it can shrink below 15 minutes. Skip the timing check and you either smear a too-wet joint or crush a too-dry one.
Tooling pressure matters. Press the jointer firmly enough to compact the surface, not so hard that you squeeze mortar out beyond the brick face. A properly compacted mortar joint sheds water; a loosely tooled one absorbs it. Keep the jointer clean: smeared mortar drags across the next pass and ruins the line.
Clean up as you go. Mortar smears on the brick face harden within hours and require acid washing later, which etches the brick and changes its color permanently. Brush down each course before moving up.
Limits, Edge Cases, and When to Call a Professional
No common pattern in any single profile handles every condition. Retaining walls, foundations, and any wall over 1.2 m in height often need structural design input, not optional. Engineered walls specify mortar grade, joint profile, and reinforcement that go beyond aesthetic choice, and getting these wrong risks cracking, leaning, or water ingress into adjacent structures.
Salt exposure, coastal spray, or sulfate-bearing ground concrete all change the answer. In these conditions a standard Portland cement mortar can fail within years; a sulfate-resistant mix, often 1:0.5:4.5 with sulfate-resisting cement, designed for the chemistry gives better permanence. Skip the chemistry check and the wall weathers from inside the joint where you cannot see it.
Old brick matching is a separate problem. Matching the existing mortar composition and joint profile on a repair decides whether the patch blends or stands out like a scar. Sand color, lime ratio, and tooling style all need to mirror the original, otherwise the new work highlights itself every time the light shifts.
Decision guidance: Choose weathered or concave for any wall exposed to regular rain. Choose flush for internal or fully sheltered walls on a tight budget. Choose raked or V-joint only on protected elevations where appearance drives the brief. Retaining structures, walls over 1.2 m, or any work touching structural elements should involve a qualified mason or engineer.
For guidance on mixing the mortar that goes into these joints, see our concrete mix design and curing guide. For comparison context on how joint choice interacts with overall wall cost, the concrete vs paver driveway comparison translates these decisions into material, mortar, and labor figures.