Why does one kitchen feel bright yet tiring while another glows with a single warm lamp? The answer is not wattage. It is lighting layers, fixture placement, and control options matched to what each room actually does. Interior lighting design is the method of combining ambient, task, and accent light so every activity gets the right level without glare. This guide builds directly on our interior design planning guide, zooming into the layer that changes mood fastest for the least money.
The Three Layers and What Each One Owes You
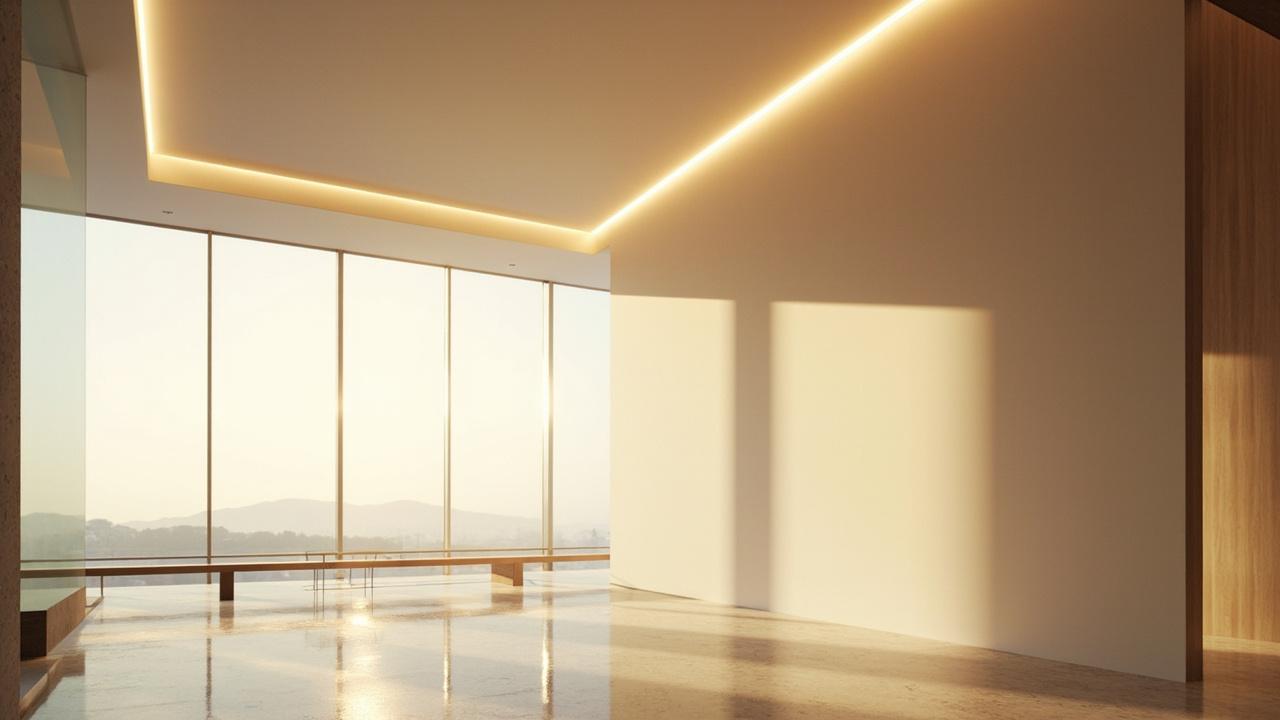
Ambient light at 200 to 300 lux gives a room its base visibility, while task light near 500 lux serves reading, chopping, and grooming, and accent light adds depth by highlighting texture or art. Skip any layer and the room compensates badly, usually with a harsh overhead blasting at full power. Plan all three on paper before buying fixtures.
Balance matters more than brightness. A living room with soft ambient plus one reading lamp beats a room with four downlights and no dimming. Aim for contrast ratios that feel natural, bright task pools inside a calm ambient field, not uniform glare wall to wall. Eyes relax when light has somewhere to rest.
Color consistency ties layers together. Keep correlated color temperature uniform within each sightline, 2700K for relaxing rooms and 3500 to 4000K for work zones. Mixed temperatures in one view feel subtly dirty even when levels are perfect. Check the Kelvin rating on every bulb box, not just the brightness.
Placement Numbers for Every Room
Pendant height of 75 to 90cm above dining tables and kitchen islands lights faces without blocking sightlines, while wall sconces mounted at 150 to 170cm flank mirrors and beds with shadow-free fill. Measure from finished floor to fixture bottom, and hang pendants before finalizing table size so proportions agree.
In kitchens, place downlights 60 to 75cm from upper cabinets so light washes counters instead of backsplashes. Under-cabinet strips belong at the front third of the cabinet, aimed down at the work zone, which keeps glare out of seated sightlines. A sound kitchen renovation system plan treats these positions as fixed infrastructure, decided before tile and paint lock them in.
Bathrooms need side lighting at mirrors, not overhead alone, because top light carves shadows under brows and chin. Mount vertical fixtures at eye level on both sides of the mirror for grooming clarity. In bedrooms, switch from ceiling-dominant to lamp-dominant light, with bedside reading lights aimed at pillows from 40 to 50cm away. Sleep quality starts with light you can turn low.
Controls: Dimmers, Scenes, and Daylight Response
Dimmer switches on ambient circuits multiply one room into many moods, bright for cleaning and low for evenings. Confirm bulb and dimmer compatibility, since mismatched pairs flicker or buzz. LED-rated trailing-edge dimmers solve most cases.
Scene presets group several circuits into one button, cooking, dining, and relaxing scenes that recall exact levels. Even two scenes beat manual juggling of four switches. Place scene keypads at room entries where hands naturally fall.
Daylight sensors trim artificial light near windows as sun contribution rises, cutting waste in daytime rooms without any thought. Pair them with sheer window treatments that diffuse glare while preserving view. Rooms with strong daylight need fewer fixtures overall, which lowers both budget and heat load.
Mistakes That Ruin Good Fixtures
Glare sources at eye level cause the most common complaint, bright bare bulbs visible from sofas and beds. Every bulb should sit behind a shade, baffle, or recess from normal viewing angles. If you can see the glowing diode from your reading chair, the fixture placement fails regardless of price.
Shadow gaps appear when task areas sit outside any light pool, the classic dark kitchen corner or mirror lit from above only. Walk each room after dark with a notepad before finalizing positions. Night reveals what daylight drawings hide, and bathroom subsystems show the same discipline in related trades, as our bathroom subsystems lighting and ventilation guide demonstrates for wet rooms.
| Mistake | Symptom | Fix |
|---|---|---|
| Single overhead only | Flat harsh room | Add task lamp plus dimmer |
| Bulbs visible at eye level | Glare headaches | Shade, baffle, or recess |
| Mixed color temperatures | Room feels off | Standardize Kelvin per room |
| No mirror side light | Grooming shadows | Vertical sconces at eye level |
The honest trade-off: more circuits and controls cost more upfront in wiring and switches, yet they prevent the far larger cost of living with wrong light for years. Overlighting wastes energy and flattens mood, while underlighting strains eyes. Aim slightly generous on switching, slightly restrained on total lumens.
Budget Ranges and When to Hire an Electrician
Lamp-level upgrades of bulbs, shades, and plug-in lamps run 100 to 400 dollars per room, while wired lighting schemes with new circuits, dimmers, and recessed fixtures land between 800 and 2500 dollars per room. Smart scene keypads add 150 to 500 dollars per room over standard switching. Price the controls early, since retrofit wiring after paint doubles labor.
Moisture zones deserve extra care. Bathroom and outdoor fixtures need correct IP ratings, and the reasoning parallels moisture protection detailing for wet areas, where the hidden layer decides lifespan. Electricity plus water is the one place never to improvise.
Hire a licensed electrician for new circuits, panel work, and anything inside wet zones. DIY suits bulb swaps, plug-in lamps, and shade changes only. Decision guidance: choose lamp-level upgrades if wiring already reaches the right spots and only mood is wrong, choose a wired scheme if rooms have single-switch overheads, dark corners, or no dimming. Light is infrastructure wearing a decor costume, so wire it like infrastructure.

![Deck Railing Code: Height & Baluster Spacing Guide [IRC ]](https://www.terasly.com/wp-content/uploads/deck-railing-code-height-baluster-featured.jpg)