Water seeping into the skirting board at the back of the toilet, or a soft patch forming under the shower floor tile after two monsoon seasons — those are the moments homeowners realise the scope of their bathroom renovation never included waterproofing continuity behind the tiles.
A bathroom renovation scope defines exactly what falls inside the project boundary: demolition, rough-in plumbing and electrical, substrate preparation, waterproof membrane, tile installation, fixture setting, and finishing trim.
Everything outside that list — structural wall relocation, subfloor replacement, permit engineering — belongs to a different scope and a different tradesperson.
What Bathroom Renovation Scope Actually Covers
In practice, a bathroom renovation scope runs through a fixed sequence of trade hand-offs.
Demolition clears the existing finish to the substrate, rough-in trades position new plumbing lines and electrical points, waterproofing creates a continuous membrane, tilers lay the finished surface, and fit-off trades install the visible fixtures.
Each hand-off leaves a visible checkpoint. The substrate must be dry and flat before waterproofing begins. The membrane must cure before tile adhesive is applied.
Waterproofing membrane is the single most consequential scope element because it is never visible once installed.
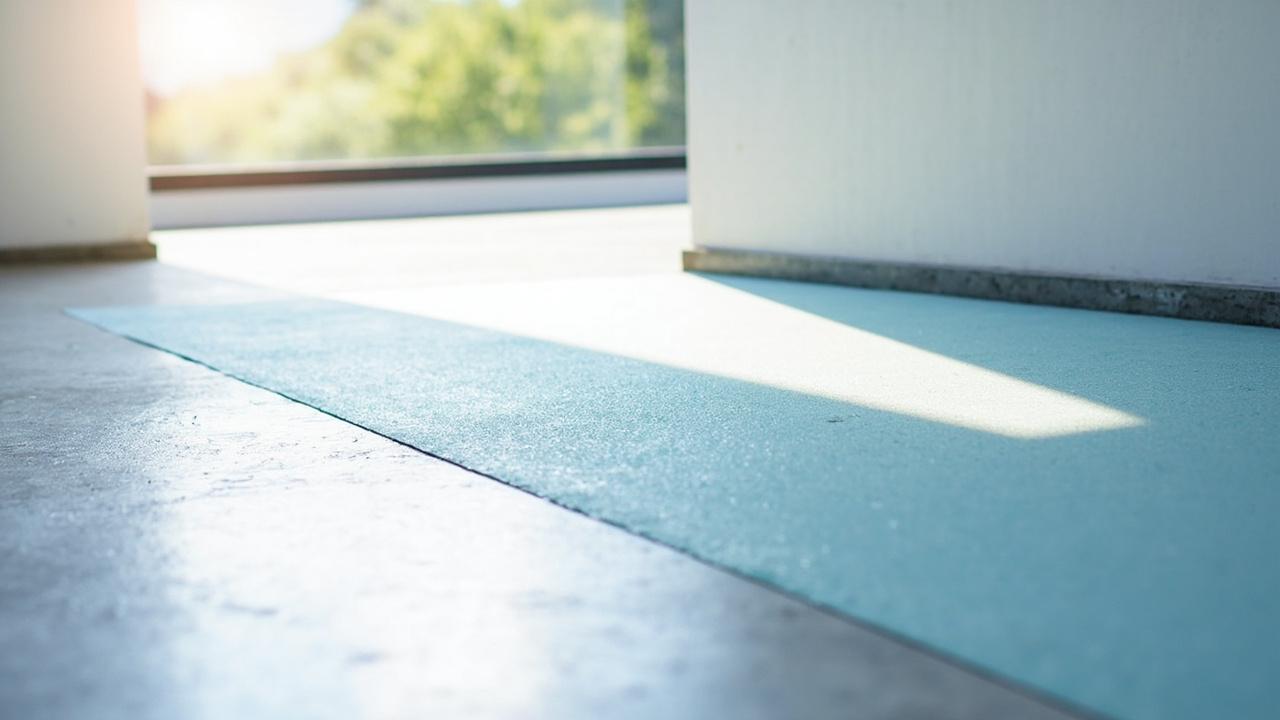
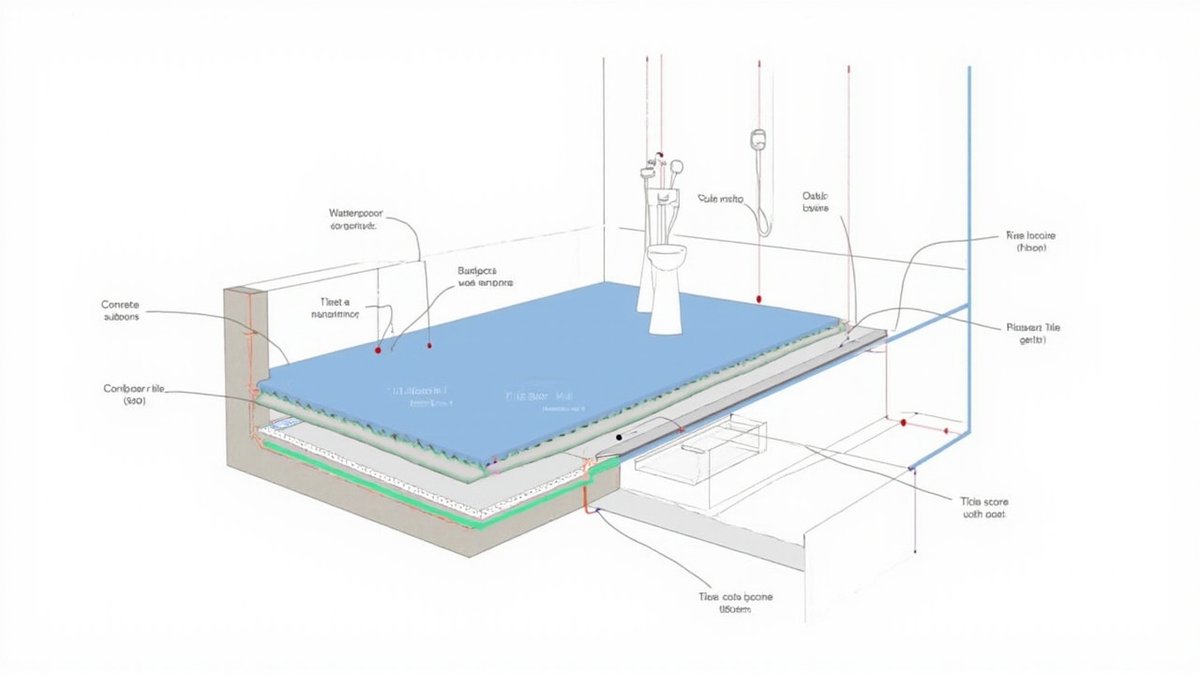
A quality liquid-applied membrane meeting AS/NZS 4858 or ANSI A118.10 standards forms a seamless barrier at every wall-floor junction, around pipe penetrations, and up the shower wall to at least 1,800 mm above finished floor level.
Missing that height or skipping a corner fillet is the exact mistake that produces the soft skirting board symptom mentioned earlier.
The scope boundary becomes clearest when separating wet-area work from dry-area work.
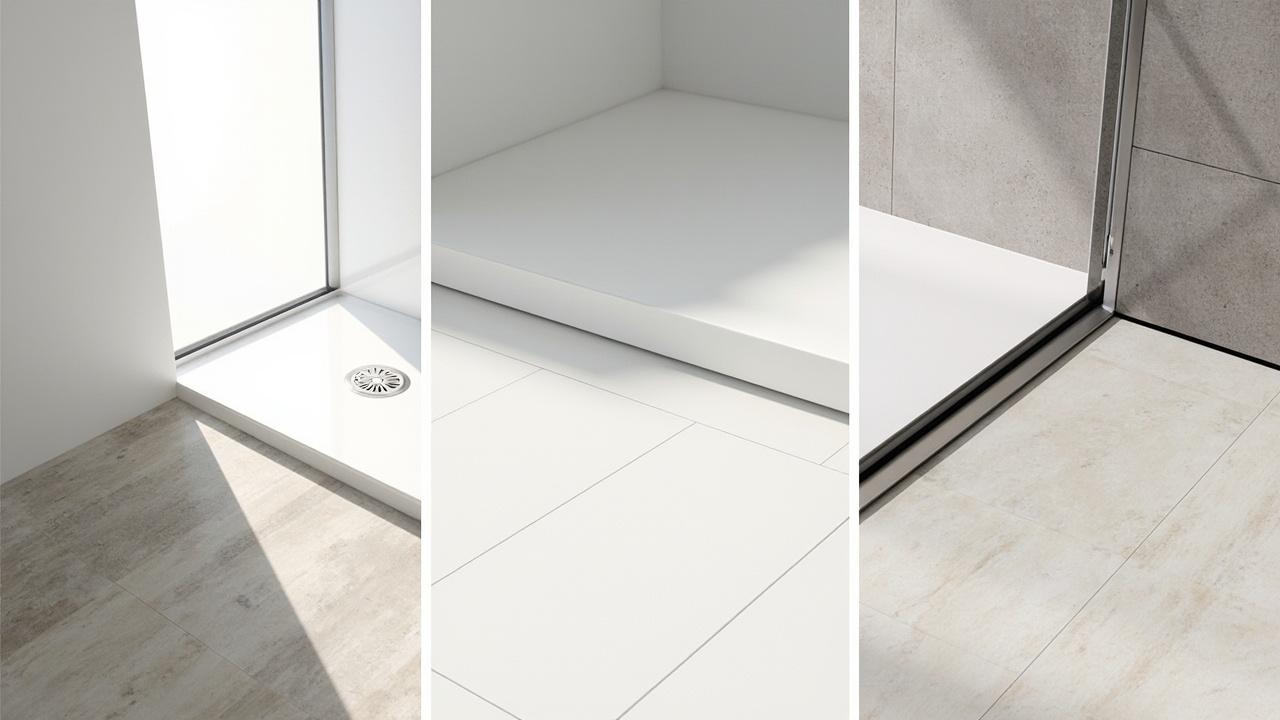
Waterproofing, tile, and shower fixture installation belong together — they share substrate, membrane, and slope requirements. Vanity countertop selection, mirror mounting, and paint belong to the finish tier and can proceed only after the wet zone passes inspection.
How Scope Determines Project Timeline and Trade Coordination
In the field, an experienced contractor usually checks the substrate condition before approving the waterproofing schedule — more cheaply than demolishing finished tile to find rot behind it.
Scope also dictates trade sequencing. A plumber and a tiler need to walk the planned layout together before any wall is closed.
If the shower valve height, the niche position, or the linear drain location changes after drywall is up, the cost is not just material — it is wall demolition and reclosure.
Typical residential bathroom renovation timelines break into roughly these windows, assuming no structural changes:
- Design and material finalisation: 1–2 weeks before demolition starts
- Demolition and debris removal: 1–2 days
- Plumbing and electrical rough-in: 2–3 days
- Waterproofing application and cure: 1–2 days plus curing time
- Tiling: 2–4 days depending on tile format and pattern
- Fixture fit-off and trim: 1–2 days
The long pole in this tent is waterproofing cure time.
Rushing it to squeeze a tiler into the schedule is the single most common cause of membrane failure within the first two years.
Scope Boundaries: Where the Renovation Ends and Structural Work Begins
The scope boundary shifts dramatically when a renovation touches anything structural.
Moving a toilet from one wall to another is a plumbing rough-in scope item.
Relocating the wall that carries that plumbing line is a structural scope item, and it requires a different set of permits, a different tradesperson, and a different cost range.
Similarly, expanding the shower footprint by removing a non-load-bearing partition stays within bathroom renovation scope.
Removing a load-bearing wall to create a wet room layout crosses into structural scope and triggers engineering review.
The distinction matters because insurance and warranty coverage often differ between the two.
Another common scope boundary question involves the subfloor.
If the existing bathroom sits on a concrete slab, waterproofing the floor and tiling over it is standard renovation scope.
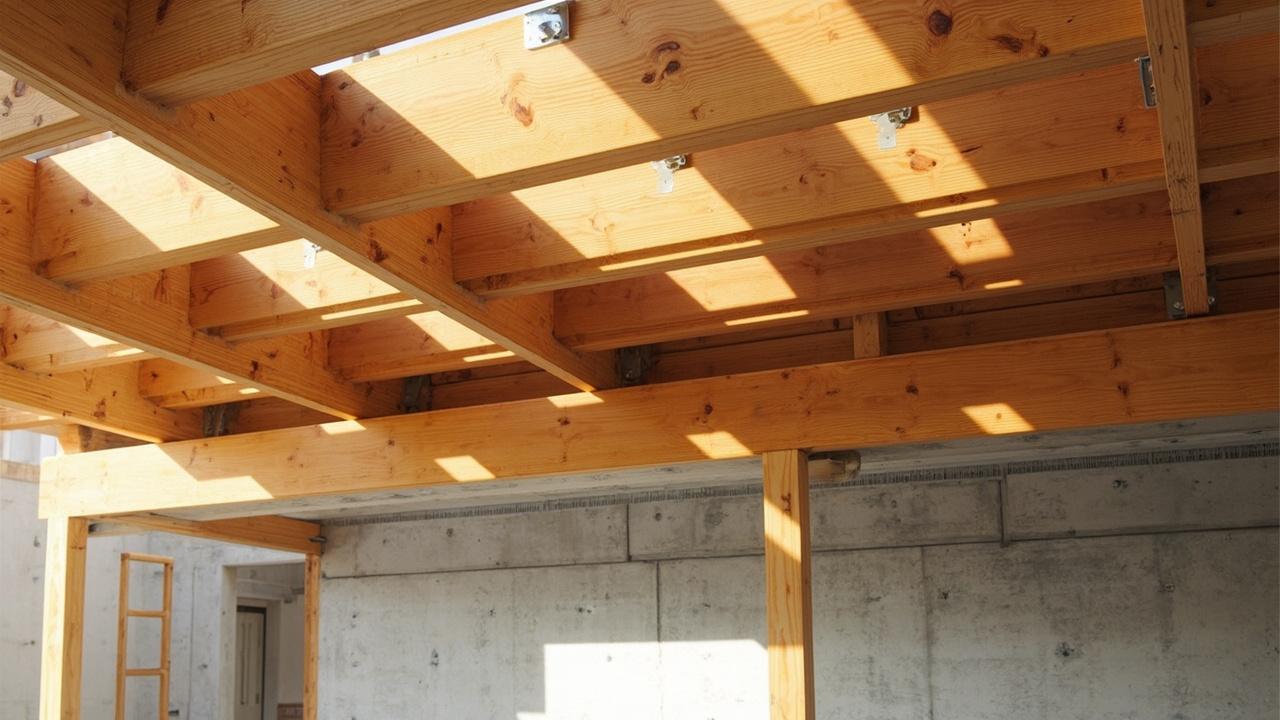
If it sits on timber joists, the entire floor area usually must be waterproofed — not just the shower zone — because moisture tracking through timber subfloor is far more destructive than through concrete.
Common Scope Mistakes Homeowners Make
The most frequent scope error is underestimating what lies behind the existing finish.
When a homeowner sees old tile and thinks the job is removing tile and installing new tile, they are describing a cosmetic refresh, not a renovation scope.
A true scope assessment requires checking the substrate condition, the existing membrane integrity, and the plumbing age simultaneously.
Another mistake is selecting fixture styles before confirming the rough-in dimensions.
A freestanding tub looks elegant in a mood board, but if the existing floor drain and supply lines are 300 mm from the wall, the tub may not sit flush without custom plumbing work.
That custom work is scope, and scope is cost.
A third recurring error is treating waterproofing as a tile accessory rather than a system.
Membrane is not grout sealant. Membrane is not water-resistant paint.
Membrane is a continuous elastic sheet or coating rated to a specific standard, installed over a prepared substrate, tested before tile goes on, and documented for warranty purposes.
The final common mistake is excluding ventilation from the scope entirely.
A bathroom without adequate exhaust — typically 8 air changes per hour for a standard residential bathroom — will develop mould on the ceiling and behind the vanity within months in a tropical climate.
Verification Checklist Before Starting Bathroom Renovation Scope
Before any demolition begins, confirm these five scope checkpoints with your contractor:
- Substrate condition: Is the existing wall and floor substrate sound, or does it need replacement before waterproofing can be applied?
- Membrane specification: Which standard does the proposed membrane meet — AS/NZS 4858, ANSI A118.10, or equivalent — and what is the coverage height on every wet wall?
- Trade coordination: Have the plumber and tiler walked the layout together before any wall is closed?
- Permit scope: Which elements require building approval — structural changes, plumbing relocations, electrical additions — and who is securing them?
- Contingency buffer: Is there a budget reserve for hidden condition repairs, and what percentage is typical for the property age and type?
Getting clear answers to those five questions before the first tile comes off is what separates a renovation that finishes on budget from one that becomes a series of scope additions.