
You walk into the garage for a screwdriver and spend ten minutes moving bins, bikes, and a cooler just to reach the wall. Garage organization storage systems are wall tracks, ceiling racks, cabinets, and shelves that move gear off the floor and give each category a fixed home.
The goal is not to buy more bins. It is to make the floor clear enough that a car can park and the items you use weekly stay within reach. Start by measuring the garage, then match the system to the load and the wall, not the other way around.
What Garage Organization Storage Systems Mean (and the Direct Answer)
Garage organization storage systems are wall-mounted tracks, ceiling racks, cabinets, and shelves that lift gear off the floor and give each category a fixed home; the direct answer is to clear the floor first, then add storage only where the wall and ceiling can carry the load.
Studies suggest roughly one in four homeowners with a two-car garage cannot park even one car inside, because clutter has taken the floor. The declutter rule: most homeowners can eliminate 20% to 40% of garage contents during a thorough declutter, and anything untouched for 12 months has near-zero chance of being used in the next 12 months.
Zones are not labels on bins; they are distances from the door. Put weekly items at shoulder to waist height, seasonal bins overhead, and project tools on the wall nearest the workbench. A one-car garage runs 12 to 16 feet wide and 20 to 24 feet deep, so measure the swing of the car door before you buy anything.
If the garage is attached to the house, treat fumes and moisture as part of the plan; an attached garage changes ventilation and storage choices.
How Garage Storage Works With Real Numbers
Storage works by moving weight from the floor to studs, joists, and brackets; a typical two-car garage offers 400 to 576 square feet, and the useful number is how much of that floor you can reclaim without overloading the attachment points.
A fully organized two-car garage costs $500 to $5,000, and the spread comes from how much you assemble yourself. Wall tracks and pegboard need a drill, level, and stud finder and take 1 to 2 hours; ceiling racks need the same tools plus a helper and take 2 to 4 hours.
Ready-to-assemble cabinets take about 1 to 2 hours, while a multi-piece set takes 3 to 5 hours. Pre-assembled options can be done in about 30 minutes, and Klovo cabinets with GlideLock assembly build in 2 to 3 minutes with no tools, per the manufacturer.
Use this comparison to plan a weekend, not to chase a brand.
Specs That Decide the Install
Four numbers settle most garage systems before you buy anything:
- Stud spacing: most US garages are framed at 16 inches on center (some at 24). Wall tracks and cabinets must land on studs; if yours are 24 inches apart, choose a system rated for that span or add blocking.
- Ceiling joist spacing: ceiling racks hang from joists, usually 16 or 24 inches on center. Never mount a rack to drywall alone, and always use a helper overhead.
- Wall material: drywall over wood studs is the easy case. Concrete, brick, or block walls need masonry anchors and a hammer drill; load ratings change with the anchor, not just the bracket.
- Ceiling height and moisture: racks need roughly 8 feet of clearance to stay out of the car’s path, and an unconditioned garage (humidity, fumes) favors powder-coated steel over raw wood or particleboard.
Load ratings are not included here, so check the bracket label, confirm stud spacing, and always use a helper for overhead work.
| System | Install time | Tools | Best use |
|---|---|---|---|
| Wall tracks and pegboard | 1 to 2 hours | Drill, level, stud finder | Daily tools and sports gear |
| Ceiling racks | 2 to 4 hours | Drill, stud finder, helper | Seasonal bins |
| Ready-to-assemble cabinets | 1 to 2 hours | Varies by set | Dust control and small parts |
| Multi-piece cabinet sets | 3 to 5 hours | Varies by set | Full wall of storage |
| Klovo GlideLock cabinets | 2 to 3 minutes each | No tools | Fast DIY assembly |
If you plan an epoxy floor, finish that work before installing wall systems; dust and curing time can ruin a new coating.
When to Choose Wall, Ceiling, or Cabinet Storage
Choose wall systems when you need daily access and have open studs; choose ceiling racks for seasonal bins; choose cabinets when you want dust control; the right choice depends on what you lift, how often, and where the car parks.
If you park a car every night, keep the floor and the lower wall clear, and put weekly tools on a wall track at a height you can reach without moving the car. If you only touch an item once a month or less, it belongs overhead.
Door swing is the hidden constraint: a sectional door can leave wall space, while a door that swings inward can block a cabinet. If the door blocks the wall, move storage to the opposite wall or use a ceiling rack. If door swing is unclear, check the door type before buying cabinets.
Cabinets protect small parts and chemicals from dust, but they cost more and take longer to assemble. Wall systems are faster and cheaper, yet they leave everything visible. Choose cabinets when the item must stay clean; choose tracks when speed matters more than appearance.
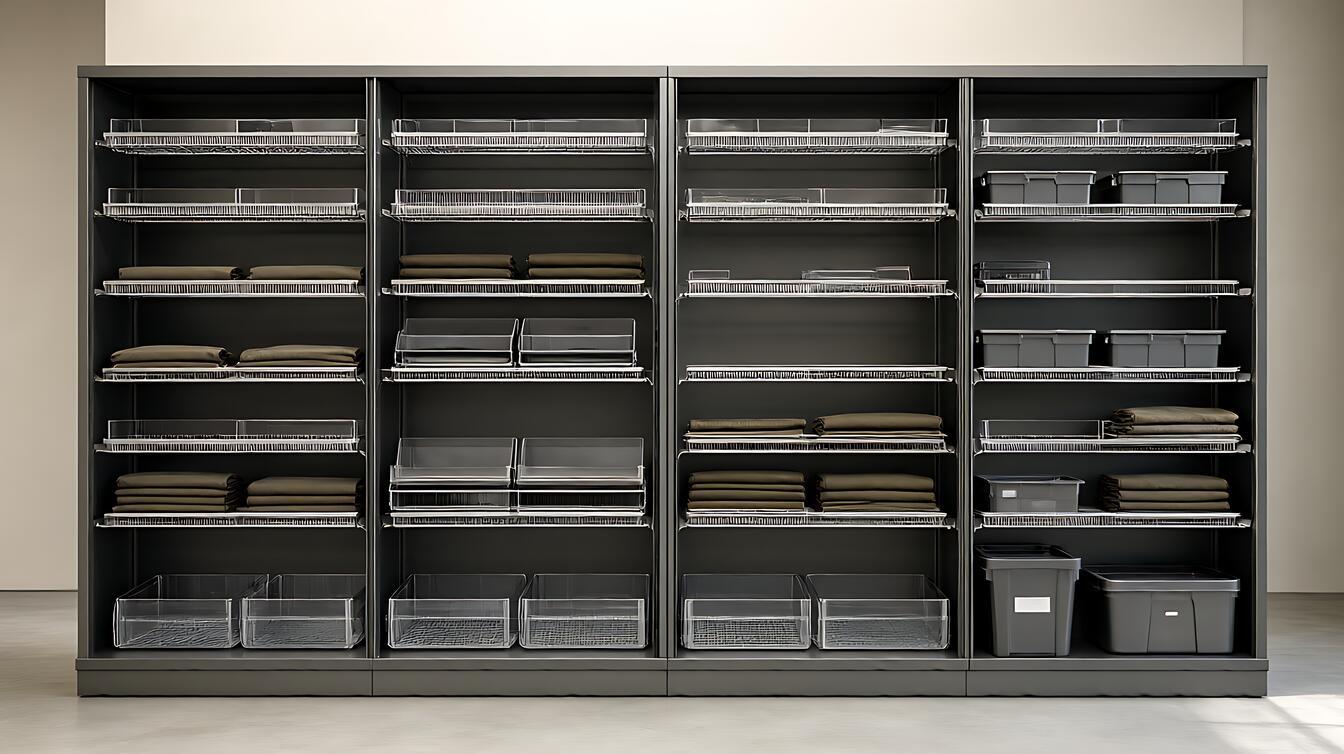
Real Job-Site Reality and Step-by-Step Execution
On a real job site, the garage is rarely empty: the car stays, the freezer stays, and the wall you planned to use hides a water heater, so the first task is to mark what cannot move and build around it.
Preparation Before You Drill
The process splits into two parts: clear the floor in zones, then attach storage to solid framing. Each part decides whether the final layout survives daily use.
Spend 15 minutes walking the garage and measuring width, depth, and every obstruction, including the electrical panel and plumbing. Block 20 minutes each month to return displaced items to their homes. If a stud finder shows wiring or pipes, stop and call a licensed professional before drilling.
The sequence matters because each step protects the next: a clean zone shows the true wall, and a true wall shows where the load can go.
- Empty one zone at a time, not the whole garage.
- Sort keep, donate, and trash using the 12-month rule and the 20% to 40% elimination target.
- Measure walls and ceiling, then locate studs or joists.
- Install wall tracks first, then cabinets, then ceiling racks with a helper.
- Load heavy items low and near studs; put seasonal bins overhead.
- Do a 20-minute reset every month.
Common Traps and Failure Limits
Most failures happen after installation, when weight and access are ignored.
The common traps are buying before measuring, blocking the electrical panel, and loading a ceiling rack without a helper. The failure limit is simple: if the attachment point is weak, the system fails no matter how good the product is. Load ratings are not included here, so check the bracket label, confirm stud spacing, and always use a helper for overhead work. Consult a licensed professional before drilling near electrical panels or plumbing.
Pre-Buy Checklist
Run through this before you spend anything. Every box should be ticked before the first bracket goes up.
- [ ] Measured garage width and depth, including car-door swing
- [ ] Located studs and noted their spacing (16 or 24 in. on center)
- [ ] Checked ceiling height and joist spacing for rack clearance
- [ ] Identified what cannot move (car, freezer, water heater, electrical panel)
- [ ] Decluttered first — target 20% to 40% of contents gone
- [ ] Matched the system to the wall material and load, not to the brand
- [ ] Confirmed ventilation and moisture plan for an attached garage
- [ ] Set a budget tier: $500 (one wall system + declutter), $1,500 (wall + ceiling), $5,000 (full cabinet build)
Final Plan and Next Steps
The final decision is not which brand to buy but which floor space you are protecting: a two-car garage costs $500 to $5,000 to organize fully, and the cheaper path is usually decluttering plus one wall system before cabinets.
Wall tracks are fast and cheap, but they leave dust and visual clutter. At $500 you get one wall system and a cleared floor; at $1,500 you add ceiling racks; at $5,000 you are buying finished cabinets and a dust-free workspace. Cabinets cost more and take hours to assemble, yet they protect small parts. Ceiling racks free the floor, but they need a helper and careful loading. Choose tracks for speed, cabinets for protection, and racks for seasonal overflow.
Call a licensed professional before drilling near electrical panels, plumbing, or a load-bearing wall. If moisture is the real problem, fix waterproofing before buying cabinets; a damp floor will ruin wood and steel storage.
Choose wall tracks if you need daily access and a small budget. Choose cabinets if dust and small parts matter. Choose ceiling racks if floor space is the bottleneck and a helper is available. Then keep the 20-minute monthly reset, and revisit the layout when the car no longer fits.