You have built or bought a planter, and now you need to know whether it will hold water without giving the wood, wall, or floor beneath it a damp problem. The direct answer is simple: use a continuous waterproofing membrane, coat every joint, let it cure fully, then test it with water for 24 hours. Waterproofing for planters and raised beds is a barrier system that stops moisture passing from soil and irrigation water into the structure below.
That definition matters because a liner can look convincing while still leaking at a seam, drain, or folded corner. The useful test is not whether the planter feels dry during installation. It is whether the water level stays stable after the entire assembly has cured.
What Waterproofing for Planters and Raised Beds Actually Means
Waterproofing systems for planters and raised beds create a continuous barrier between wet soil and the container structure. They work only when the barrier covers the base, corners, joints, and every penetration without an unsealed break.
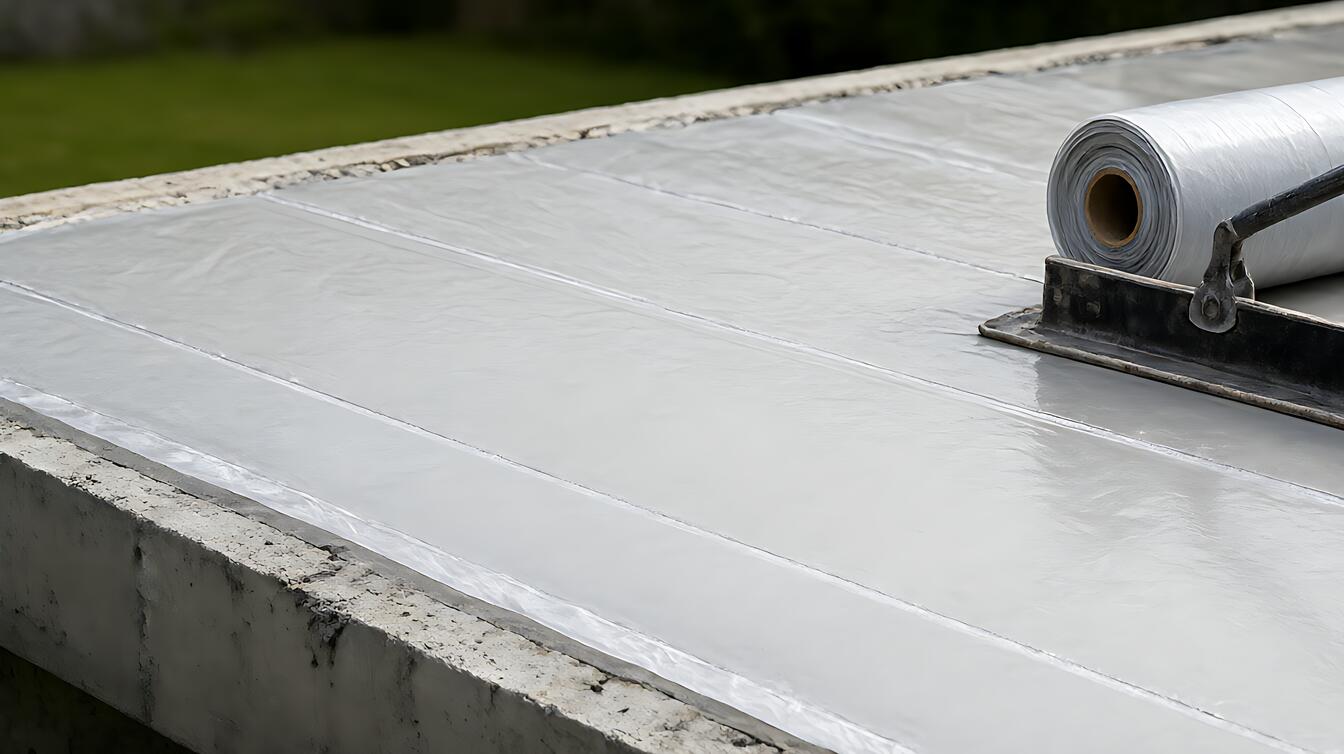
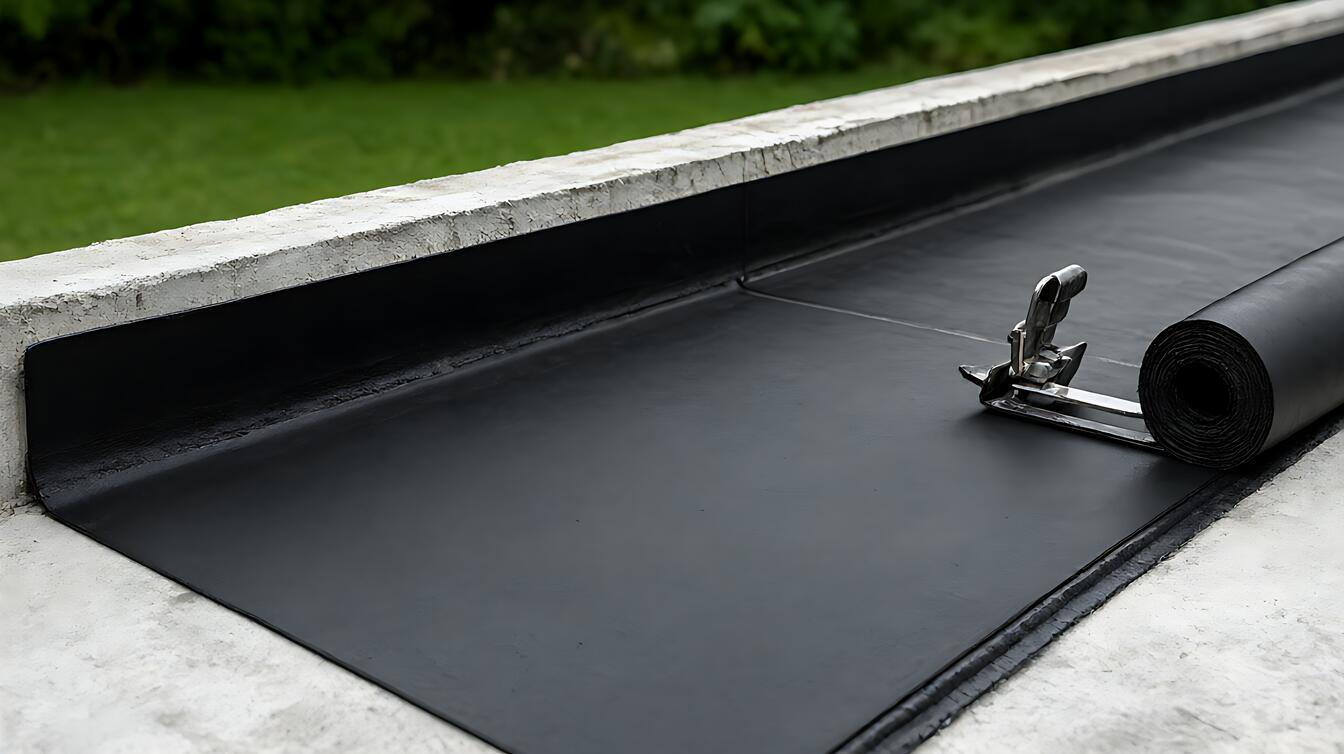
A membrane torch 3 – 4mm is a thick waterproofing membrane that requires heat to bond its layers, making it a specialized option rather than a simple planter lining. It suits larger waterproofing installations where trained installation matters, but its weight and installation method do not make it a convenient choice for every raised bed.
For a smaller planter, the same job may be handled by a flexible liquid coating or a bonded sheet liner. The complete waterproofing systems overview explains the broader families and where each barrier belongs.
How the Waterproofing Barrier Works
Overlap 100mm means adjacent waterproofing sheets should overlap by 4 inches, creating twice the minimum required seam coverage. This wider band reduces the chance that one shifted edge, pinhole, or imperfect cut will become a leak path.
Flexible liquid membranes behave differently. They usually need two or three thin, even coats, with a cured elastomeric coating thickness of about 1 – 2 mm. This thickness develops only when each coat is applied at the manufacturer’s coverage rate, rather than one heavy coat that fails to dry evenly.
Water must also have somewhere to go. Drainage openings need trimming and sealing with suitable gaskets or mastic, while the surrounding surface must slope enough to move water toward those openings. A sound membrane does not compensate for trapped water.
Here is the key mechanism: water travels through the easiest available path. That may be an unsealed overlap, a folded liner edge, a drilled drain hole, or a porous wall beneath the container. For a broader explanation of this layer, see the liquid membrane application guide.
When to Choose a Coating, Sheet, or Cementitious Barrier
Cementitious slurry suits a rigid planter where breathability matters more than flexibility. Acrylic coating can provide a simple protective finish for suitable surfaces, but it should be used only when its manufacturer approves the substrate and exposure conditions.
Choose a flexible elastomeric liquid membrane when the planter may flex, develop small movements, or experience temperature changes. Cementitious slurry tends to be more suitable for stable masonry construction. These are reasoned application distinctions, not a substitute for checking the product’s approved uses.
Choose a sheet membrane when the shape is simple and seams can be mechanically supported or reliably bonded. A liner thinner than 0.5 mm, skipped seams, or an unsealed folded edge can lead to leaks over time, so product quality and workmanship matter more than the material family alone.
The comparison depends on substrate movement, planter size, exposure, and installation access. The sheet, liquid, and cementitious waterproofing comparison provides a useful side – by – side view before you buy.
| System | Best fit | Key installation limit |
|---|---|---|
| Cementitious slurry | Stable masonry surfaces | Less suited to movement or flexing |
| Elastomeric liquid membrane | Flexible or moving planters | Requires thin coats and full curing |
| Sheet membrane | Simple forms with controlled seams | Overlaps and edges must remain secure |
| Heat – bonded membrane | Specialized larger installations | Requires heat application and trained preparation |
Real Job – Site Reality: The Leak Usually Starts at a Detail
Consider a timber planter against a rendered wall. The base looks sealed, but water collects near a folded liner edge beside the drain. The liner has a smaller seam overlap than planned, and the drain fitting was trimmed after installation, leaving an unfinished gap.
That scenario explains why a planter can fail even when its visible coating is continuous. The leak is not mysterious. It starts where the membrane changes direction, terminates, or is punctured, and it is therefore concentrated around details that were not treated like part of the waterproofing system.
A practical site check should follow the whole water path. Inspect the drain opening, seams, corners, and penetrations before adding soil. Treat the wall and base as one connected assembly, not separate pieces that each look acceptable on their own.
For a compact raised bed, this means preparing the substrate, applying each liquid coat evenly, overlapping sheet edges by at least 50 mm, fastening liners where necessary, and sealing drainage penetrations with compatible materials. These are verified installation requirements, not optional finishing touches.
Curing deserves equal attention. Polyurethane can need 24 – 72 hours depending on temperature and humidity. Sealants generally perform best between 40 °F and 90 °F, while humidity above 80 % can slow curing and trap moisture.
Limits, Failure Checks, and What to Do Next
Ponding test 24h is the decisive acceptance check: add 2 – 3 inches of water, mark the level, and observe whether it falls because of leakage or only evaporation. If water escapes within 24 hours, the waterproofing needs repair or replacement.
Wood moisture readings sustained above 20% indicate a rot risk. Check soil and masonry comparatively for persistent damp pockets, because trapped moisture can damage the planter even when the barrier itself has not visibly failed.
Choose acrylic coating for a simple, compatible surface protection requirement. Choose cementitious slurry for stable masonry where breathability is the priority. Choose elastomeric liquid membrane for flexibility, and a sheet system where its seams can be fully supported and detailed.
Consult a professional when waterproofing protects an occupied room, a structural wall, a waterproof roof, or plumbing penetrations. The cost of correcting a concealed leak usually outweighs the cost of asking a specialist to inspect the assembly before soil and plants conceal the vulnerable details.
For a broader diagnosis, use the waterproofing leak diagnosis guide. If the main obstacle is choosing between systems, start with the waterproofing types comparison.
Decision Guidance for Your Planter
- Choose a Cementitious slurry if the planter is stable masonry, the surface accepts the product, and breathability is your priority.
- Choose an Elastomeric liquid membrane if the planter may flex or move, and you can provide thin coats, full curing, and uninterrupted coverage.
- Choose a Sheet membrane if the planter has simple geometry, and every seam, fold, edge, and drain penetration can be securely formed and sealed.
- Choose a Membrane torch 3 – 4mm only for a suitable larger installation where professional heat application and substrate preparation are available.
- Reject any planter that loses water within the 24 – hour test, regardless of how complete its coating looked before testing.