Standing on a flat roof and looking at a puddle that still sits there hours after rain is the moment you realize drainage is failing. You need to stop water movement before applying any new layer. Flat roof waterproofing is the process of installing a continuous, water – tight barrier over a low – slope roof, requiring 1 – 2% slope for drainage and 100mm overlap to prevent leaks.
Flat roof waterproofing relies on 1 – 2% slope for drainage, not just membrane
The most common failure in flat roofs is not a bad membrane, but water that does not move. A pitched roof sheds rain in minutes, but a flat roof can hold ponding water for 48 hours or longer if drainage is poor. This standing water breaks down standard coatings and adhesives, meaning a quick patch over a low spot rarely survives one rainy season.
Most building codes require at least 1/4 inch of slope per foot (about 2%). If your roof sits flatter than this, it will pond water wherever debris or settling creates a low spot. Before buying materials, verify your roof’s slope and check for soft spots or delamination. If water remains on the roof more than 48 hours after normal weather, you must assess drainage first. See the broader principles in this complete guide to waterproofing systems to understand why slope matters more than material choice.
Membrane thickness and overlap determine your roof’s lifespan
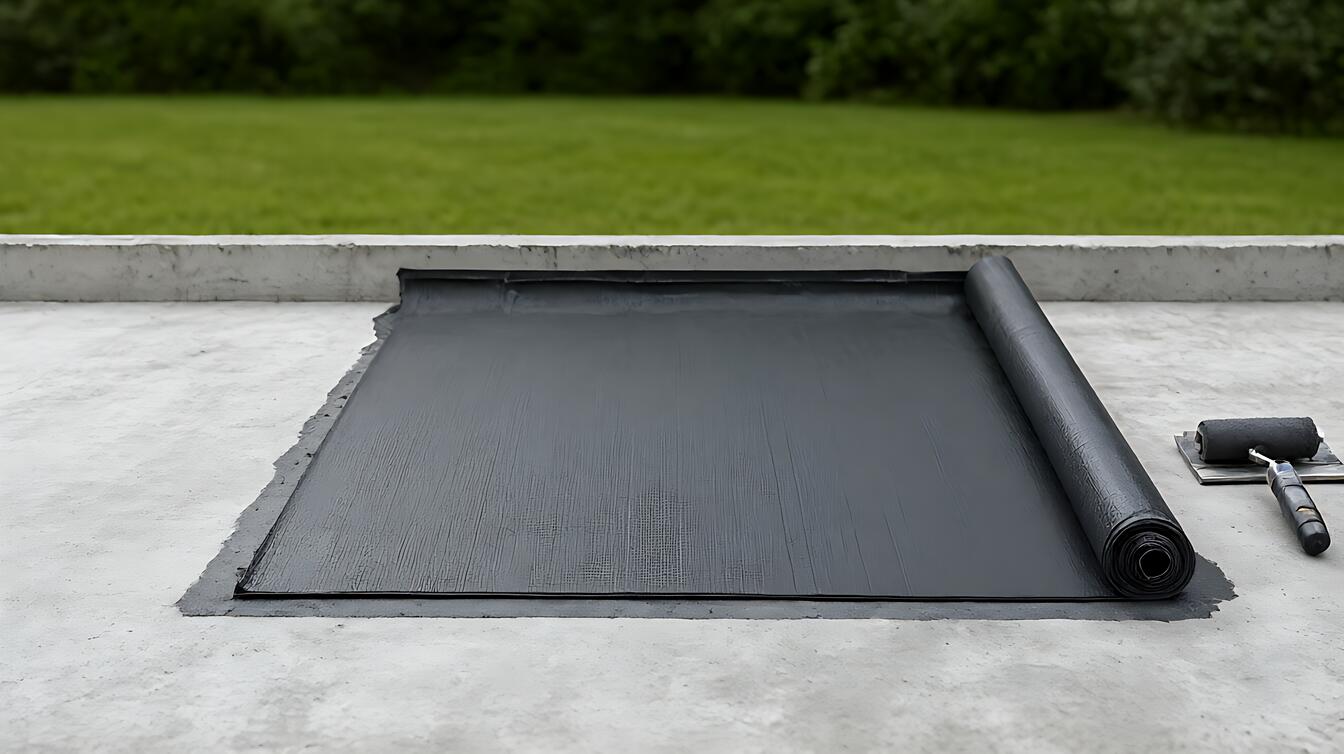
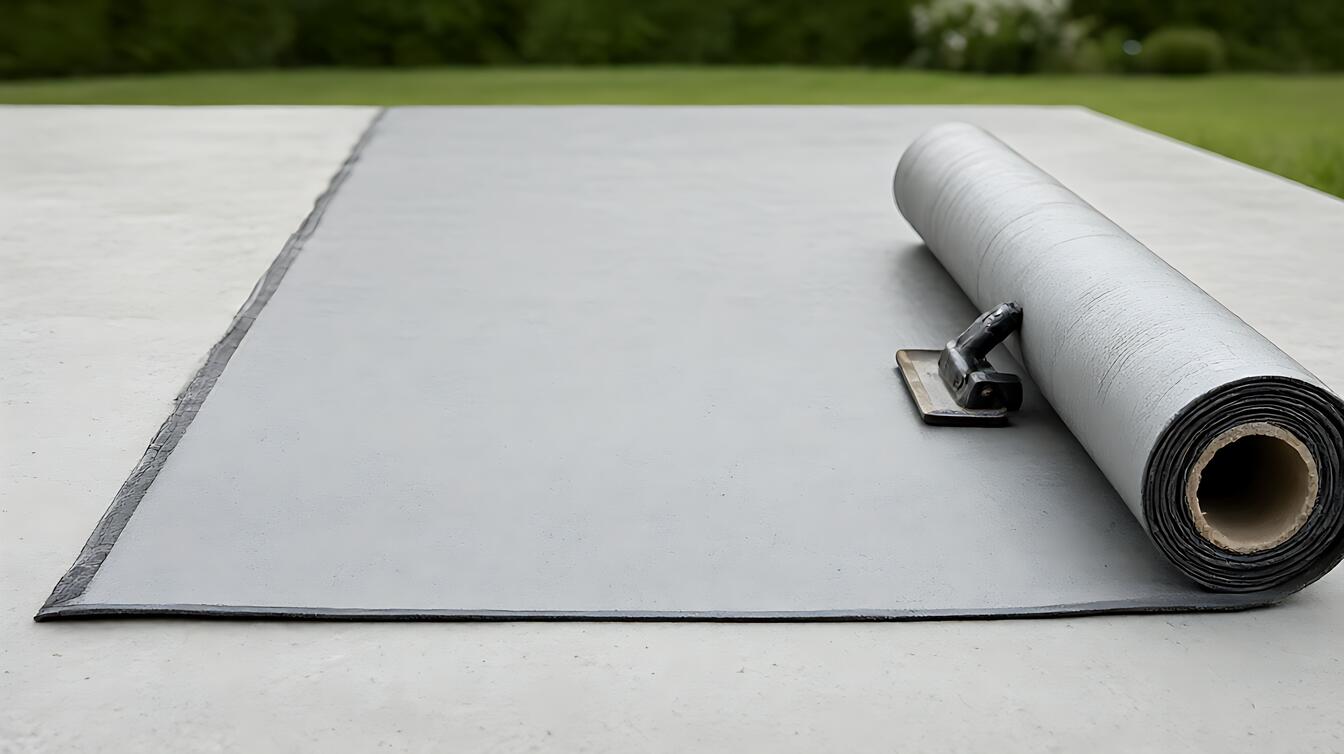
The waterproofing system itself is defined by its membrane thickness and seam integrity. Most flat roof membranes range from 3mm to 4mm thick. Thicker materials handle punctures and UV exposure better, but they are also heavier and more expensive to install. The critical detail is the overlap 100mm at every seam. If overlaps are less than 100mm, water will track along the seam and find its way into the structure.
For liquid coatings, application thickness matters just as much. An acrylic coating needs to be applied to the manufacturer’s specified wet thickness to cure into a continuous film. If you cut corners and apply it too thin, it will fail to bridge hairline cracks. Liquid coatings often need recoating every 5 – 10 years depending on environmental exposure, which is a lower upfront cost but a higher maintenance commitment than sheet membranes. For a deeper dive into material comparisons, check out this breakdown of waterproofing types compared.
Step – by – step application with precise tolerances and checks
Applying a waterproofing system is a sequence of checks, not just spreading material. Here is the process for a standard sheet membrane or liquid coating installation on a roof that has already passed the drainage check.
- Prepare the substrate: Ensure the deck is dry, clean, and free of sharp edges. Repair any structural cracks before applying the membrane.
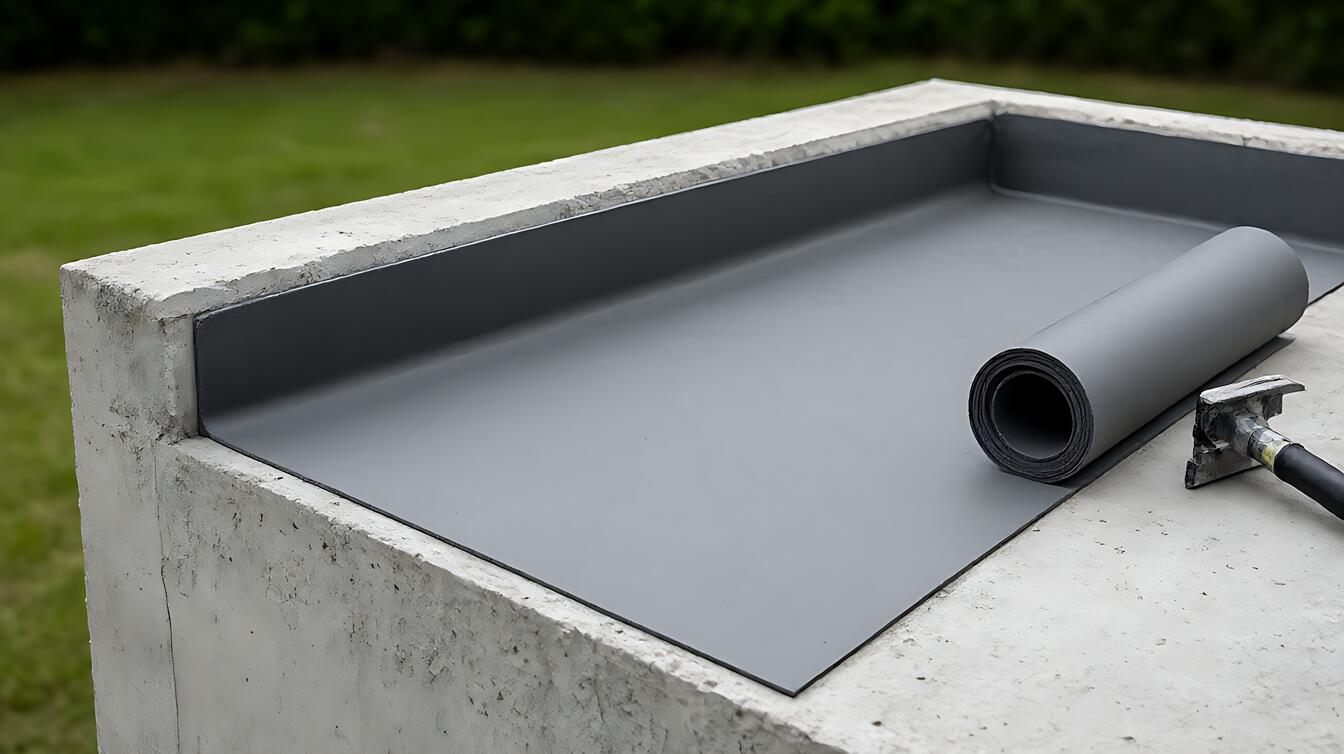
- Install upstands: Add 150mm upstands at parapets and penetrations. This prevents water from tracking down the exterior walls.
- Apply the base layer: Lay sheets with a minimum 100mm lap overlap. For liquid membranes, use a squeegee to achieve the specified thickness.
- Seal all seams: Use compatible adhesive or heat – welding for sheet membranes. For liquids, ensure a continuous film without pinholes.
- Run a ponding test: Flood low spots for 24 hours after installation. If water drains cleanly within that window, the system is functioning.
If the ponding test shows water lingering, do not seal it. The drainage path is blocked. See specific membrane thickness and overlap standards to verify your materials meet these minimums.
Common mistakes that void your waterproofing investment
Contractors and DIYers often skip the boring stuff that actually saves the roof. The biggest trap is installing new material over a roof with active ponding. This traps moisture underneath, leading to delamination and hidden rot. Another frequent error is ignoring the temperature. Most liquid coatings require specific ambient conditions to cure properly. If you apply an acrylic coating when it is too cold or too hot, the film will not form correctly.
Cost is a major factor in these decisions. Acrylic or silicone coatings cost $2 – $5 per square foot, while EPDM membranes run $6 – $12 per square foot. The cheaper material often requires more frequent maintenance. If you are on a tight budget, choose liquid coatings, but accept the 5 – 10 year recoat cycle. If you want a 20 – 30 year lifespan, invest in sheet membranes. Understanding these trade – offs helps avoid the “cheap now, expensive later” trap. For a realistic budget breakdown, read this analysis of waterproofing costs for a home budget.
When to call a professional and how to verify your work
Know your limits. If your roof has a slope less than 1/4 inch per foot, or if you see widespread delamination, call a pro. Low – slope correction often requires structural re – leveling, which is beyond a surface repair. For DIY projects, verify your work with a flood test. Water that sits for 24 hours in a low spot indicates a drainage issue that needs fixing before the membrane fails.
Choose a professional installer if the roof is heavily loaded, sun – exposed, or if you are replacing an entire system. They can perform low – voltage electronic leak – detection or thermography scans to spot trapped moisture. If you choose to DIY, start with a small, dry section and test your technique before committing to the whole roof. Your goal is a continuous, dry barrier, not just a layer of new paint over old problems.