If you are planning a retaining wall or a below-grade wall, the confusing part is knowing which drainage detail actually moves water away. The answer starts with a perforated drain, a minimum 1% slope toward an outlet, and compatible gravel around the wall. Wall drainage details for new construction are the planned layers, pipe, outlet, and backfill that collect and divert water so it does not build pressure behind the wall.
What Wall Drainage Details Actually Mean
Wall drainage is a connected assembly that intercepts groundwater, carries it by gravity, and releases it at an outlet. During new construction, that assembly should be planned with the wall rather than added after water appears. For the foundation branch, the drain typically follows the base of the wall and leads to a safe discharge point.
The decisive attribute is performance under wet conditions. A drain that works in dry weather can still fail when heavy rain, high humidity, or rising groundwater keeps the surrounding soil saturated. The perforated pipe must face downward, while the minimum 1% gradient sends collected water toward the outlet.
Water management also belongs within the wider foundation plan. Read foundation drainage and French drain grading to understand how site grading and subsurface drains interact with wall drainage. The wall detail cannot compensate for ground that slopes toward the structure.
How Wall Drainage Works, With Specific Numbers
Perforated drainage pipe captures water through downward-facing perforations, and its minimum 1% slope keeps gravity moving toward the discharge point. The outlet must be lower than the uphill end of the run. This arrangement reduces the chance that trapped water will remain beside the wall and create hydrostatic pressure.
Backfill controls how quickly water reaches the pipe. A compacted gravel base creates a drainage path beside the wall, while the surrounding soil supports the structure. The cited construction method excavates a deep foundation trench, fills it with compactable gravel, and compacts that base to 95% Standard Proctor density.
The pipe also needs a protected termination. A 100 mm PVC cap with drain slots or a rodent guard helps keep pests out while preserving drainage. This is not decoration. An unprotected outlet can turn a sound drainage detail into an entry point for unwanted animals.
When to Choose Each Material and Drainage Option
Material variants affect how the wall handles moisture, but the drainage layer must suit the site rather than the finish. Choose a perforated pipe with a protected outlet when groundwater or rainfall can reach the wall base. Use the site grading details in foundation drainage and French drain grading to confirm that water has somewhere safe to go.
Choose segmental wall blocks or stone made from concrete with a minimum compressive strength of 3,000 psi when the wall material must handle substantial structural loading. This strength figure applies to the wall units themselves, not to the drain pipe or surrounding soil. A stronger block does not correct a drain that discharges uphill or lacks an outlet.
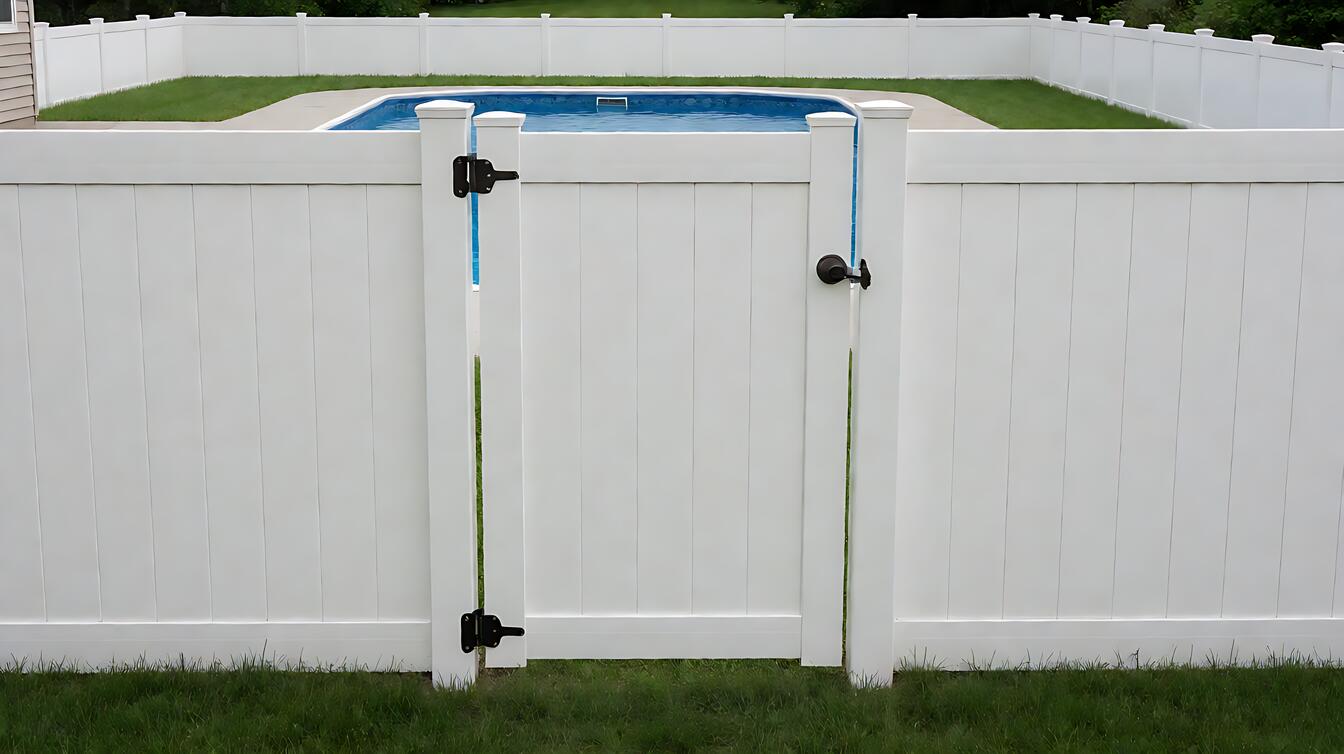
For a wall beside a wet area, such as a pool, planter, or frequently irrigated planting, keep the drainage path separate from occupied interior spaces and verify the outlet at the design stage. For exterior retaining-wall applications, compare the broader assembly in retaining wall construction drainage before choosing a pipe route.
Durability depends on keeping water away from vulnerable materials and maintaining the intended path. A minimum 1% pipe slope supports gravity flow, while compacted gravel reduces voids within the drainage zone. Neither feature protects against poor installation, damaged pipe, blocked outlets, or soil that carries water toward the wall.
Real Job-Site Decisions and Failure Signals
Picture a new retaining wall beside a slope. The contractor installs pipe with its perforations facing upward, lays it nearly flat, and connects it to an outlet that sits higher than the pipe. The wall looks finished, but the drainage detail has no reliable path for water to travel.
During construction, the practical sequence is straightforward. These steps turn the wall specification into an inspectable assembly rather than a note hidden on a drawing.
- Excavate the foundation trench and prepare a compactable gravel base at the required formation.
- Compact the gravel base to 95% Standard Proctor density before placing the wall and drainage components.
- Install the perforated pipe with perforations facing downward and a minimum 1% gradient toward the outlet.
- Protect the outlet with a 100 mm PVC cap featuring drain slots or an approved rodent guard.
- Confirm that discharge does not direct water toward another structure or an occupied area.
The result still depends on compatible materials and the surrounding soil. A blocked outlet, crushed pipe, or washed-out gravel can interrupt the route after construction. If the wall carries structural load or the outlet affects neighboring buildings, consult a qualified drainage or geotechnical professional before relying on the assembly.
Limits, Edge Cases, and the Next Decision
Wall drainage cannot dry saturated soil, repair a failed retaining wall, or replace sound foundation waterproofing. It manages water at the wall base. If groundwater pressure continues after installation, examine grading, outlet capacity, pipe condition, and nearby foundation systems rather than assuming more gravel will solve the problem.
Sun exposure changes the durability considerations around exposed pipe, bedding, and surface finishes. High humidity adds moisture-management pressure, while a tight budget may tempt you to omit protected outlets or compaction. Those shortcuts can move a small cost into later repairs, so compare the complete assembly instead of pricing the pipe alone.
Foundation cracks require a different response. Use foundation crack injection and repair to diagnose structural or moisture-related cracking, and consult a professional when drainage work intersects structural repairs, waterproofing, plumbing, or electrical systems.
Decision guidance: choose a sloped perforated drain with a protected outlet when water can reach the wall base. Retain a compacted gravel drainage zone when the surrounding soil needs a stable, permeable path. Confirm the complete route with a qualified professional when wall load, neighboring foundations, or discharge location creates structural or water-management risk.