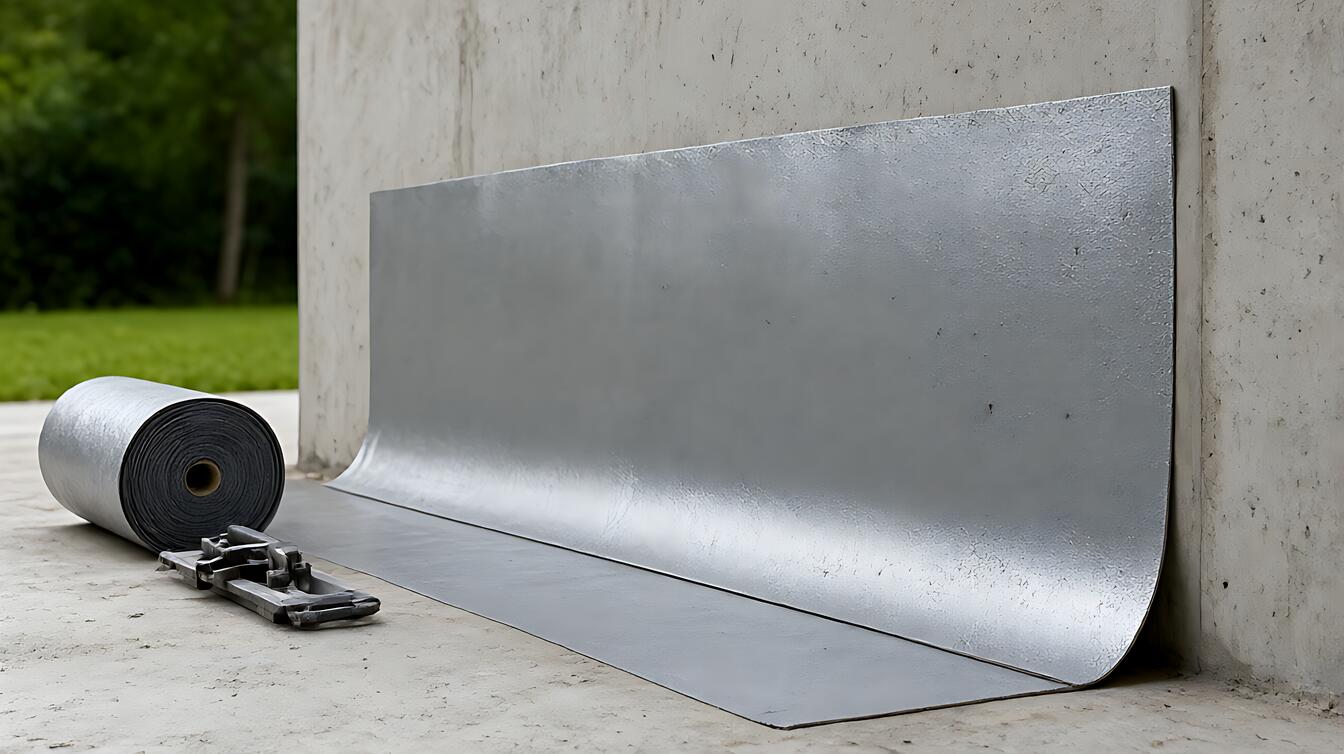
You have a solar panel mount planned, then someone mentions flashings, membranes, and a 24 – hour ponding test. The confusion is not about solar panels at all. It is about which waterproofing detail creates a durable, sealed connection without trapping water. Waterproofing for solar panel mounts is the system that seals roof or wall penetrations around mounting hardware, directs water away, and protects the structure beneath. Choose it by matching the sealing method to the surface, exposure, and drainage conditions.
The decisive attribute is simple: can the detail shed water? A sealed surface does not help if water still collects around the mount. Material choice matters, but continuity, overlap, drainage, and workmanship decide whether the installation stays dry for years.
What Waterproofing for Solar Panel Mounts Actually Does
Waterproofing for solar panel mounts creates a continuous barrier at every point where rails, bolts, or brackets penetrate the building envelope. It stops water from entering the roof or wall assembly while keeping the mount fixed in place. That means the work must seal the penetration, shape the surface around the hardware, and direct runoff toward an outlet.
There is a difference between a waterproofing system and a flashing. A system includes the membrane or coating, its detailing components, the prepared surface, and the drainage path. A flashing is one part of that system. Treating them as interchangeable is where many instructions go wrong.
For a full overview of waterproofing systems and their core components, see how the layers fit together before focusing on the solar detail.
How Solar Mount Waterproofing Works, With the Numbers That Matter
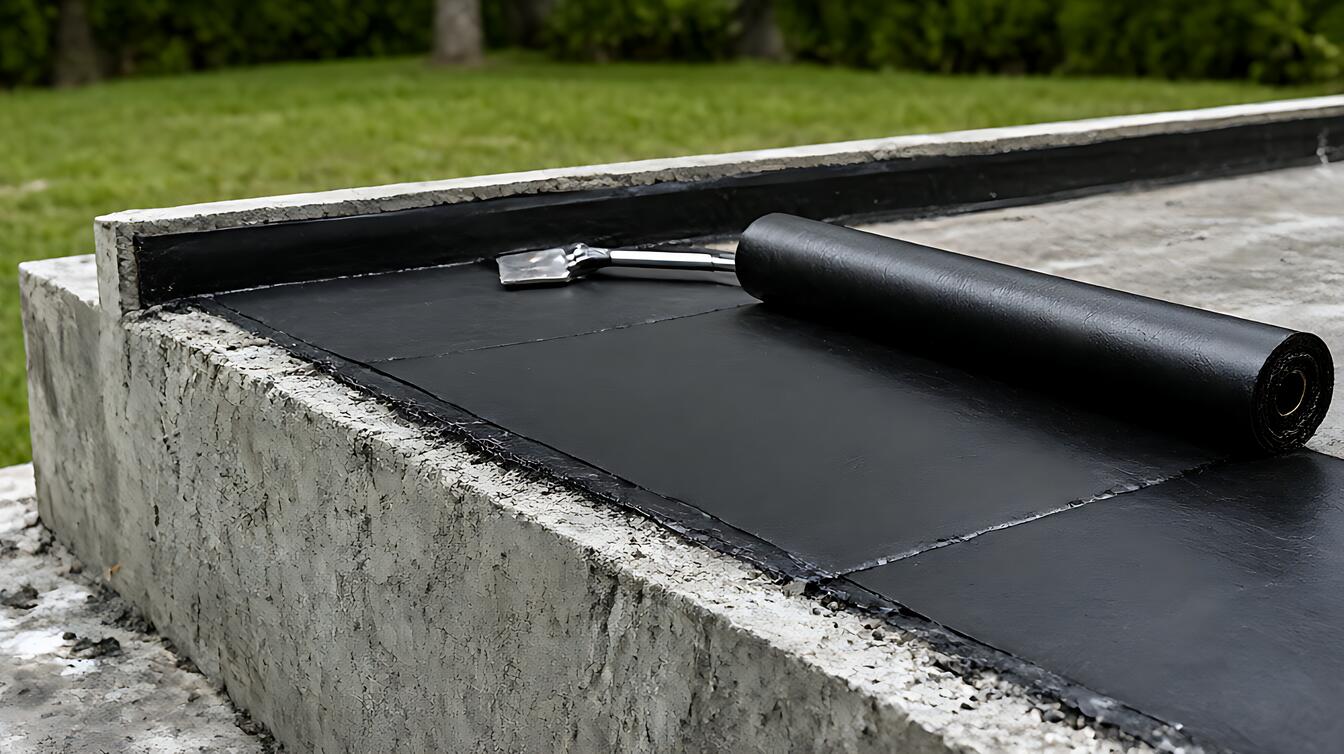
Membrane torch 3 – 4mm describes a bituminous membrane thickness commonly specified for torch – applied roofing systems. The material is heated at the laps and base so the layers fuse into one waterproof sheet. When the specification calls for this thickness, the installer must follow the membrane manufacturer’s detailing requirements rather than improvising around a mount.
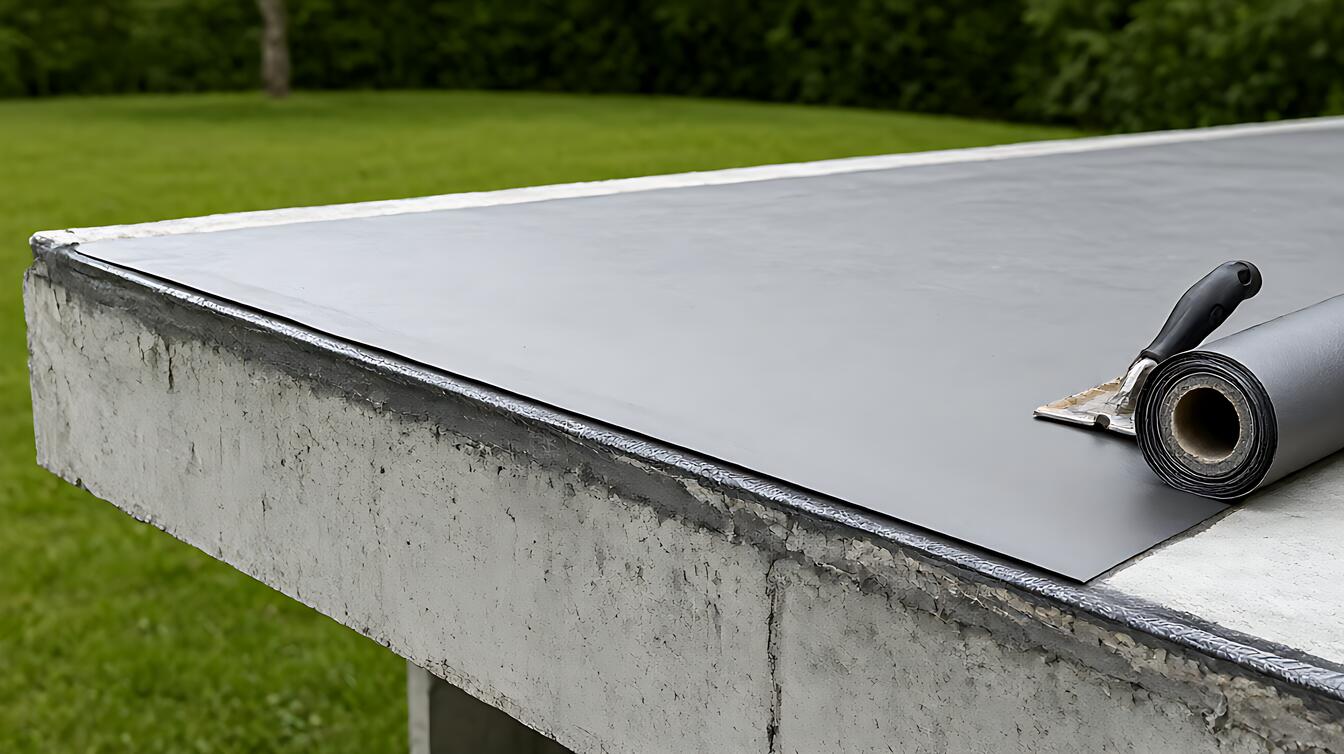
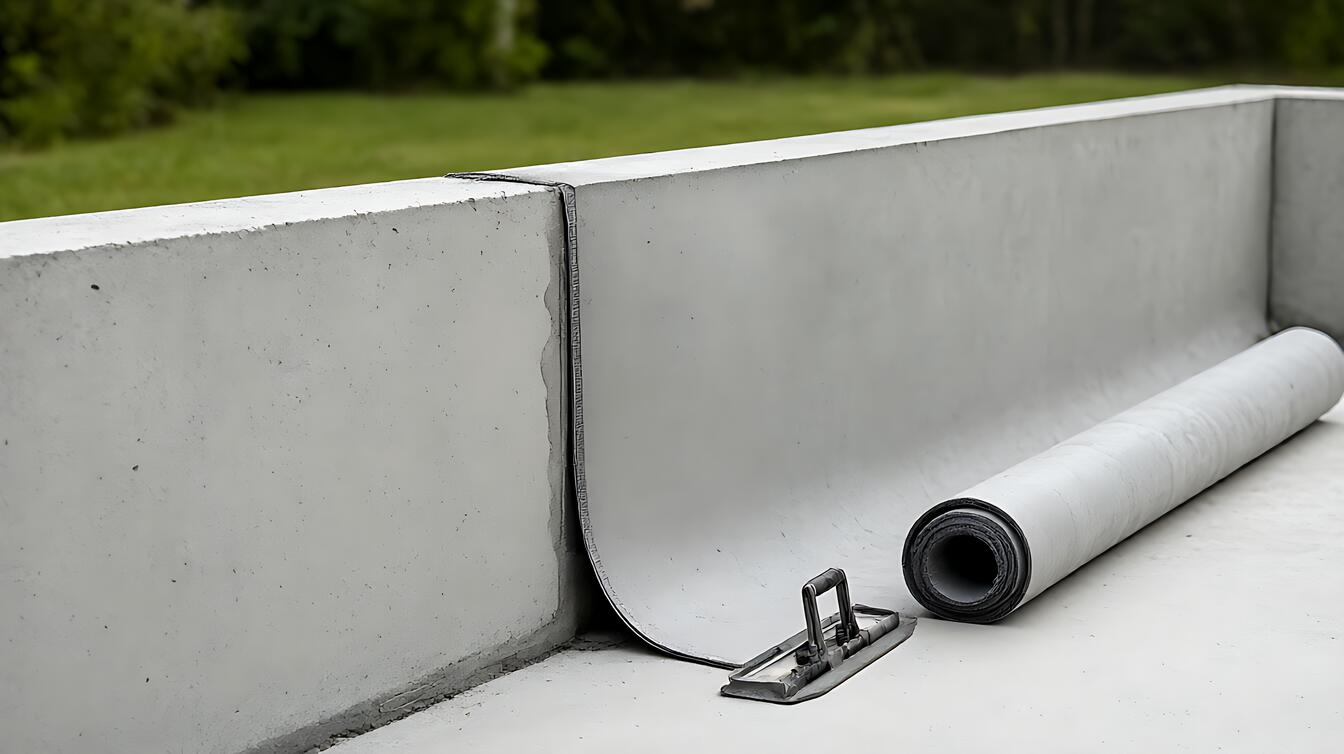
At a penetration, continuity matters more than extra material. The membrane must run properly up the flashing and onto the mount flange. A collar that stops short leaves an open route for water. This is where wet area detailing becomes a practical skill rather than a decorative extra.
For overlap 100mm between membrane sheets, the practical result is a continuous bond across the seam. Lap width alone does not guarantee a sealed roof, because surface preparation, heat application, and contamination at the joint determine whether the bond actually forms.
Testing matters too. A ponding test 24h means a controlled water test held for 24 hours, used to check whether the completed waterproofing holds water before the covering is concealed. It does not replace inspection of adhesion, laps, edge detailing, or drainage paths.
For the detailed measurement logic behind lap dimensions and membrane layers, review waterproofing membrane thickness and overlap requirements before ordering material.
When to Choose Each Waterproofing Option
The right option depends on the surface, the fixing method, and how much detail the base material allows. Choose a sheet membrane with a formed flashing collar when the roof deck is accessible, the specified system supports torch application, and the installer can form the penetration cleanly.
Choose a liquid or coating detail when the base is complex, has multiple penetrations, or cannot accept heat without damage. The limiting factor is surface preparation. A coating acrylic can bridge irregular geometry, but it depends on a clean, compatible substrate and enough dry thickness to form a continuous film.
Choose a cementitious system when the detail sits within a wet area and needs to integrate with a compatible waterproofing layer. The trade – off is rigidity. A rigid cementitious finish may crack if the supporting surface moves, so it should not be treated as a flexible universal answer.
- Choose sheet membrane when heat application is practical and the roof specification supports it.
- Choose liquid detailing when complex geometry or multiple penetrations rule out simple sheet detailing.
- Choose cementitious treatment when compatibility with a wet area waterproofing layer matters most.
- Choose acrylic coating when a thin, conformal film suits the prepared base and the exposure conditions.
Real Job – Site Reality
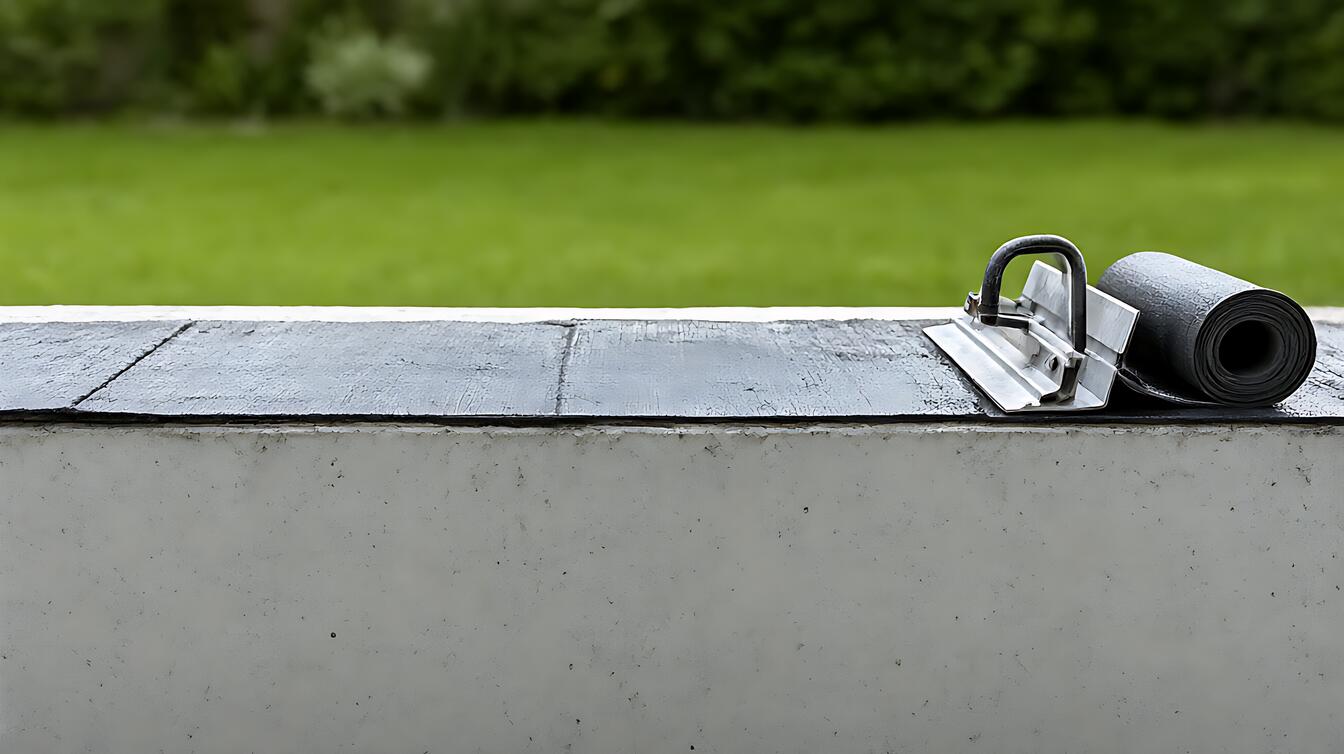
Picture a flat roof where three rails cross the membrane and a conduit box sits nearby. The installer protects the membrane, forms the collars, and reseals the rail feet. Water enters a low area beside the conduit instead of draining toward the outlet. The penetration is sound, but the detail still fails.
This is why drainage carries as much weight as the seal itself. A surface slope of drainage 1 – 2% directs water across the roof rather than allowing it to sit at the mount. That slope is a design condition, not something a membrane can create on its own.
Another common site problem is a mount installed over an existing membrane without checking what lies beneath. The new layer may cover a previous repair, a worn patch, or a poorly sealed penetration. Without opening that area, nobody knows whether the new system is sealing sound material or hiding a defect.
For a broader view of the material differences, waterproofing types compared across sheet, liquid, and cementitious systems helps you identify the layer your installer intends to use.
Limits, Edge Cases, and the Next Decision
No membrane removes the need for sound design. Heavy snow loads, persistent ponding, and repeated foot traffic can exceed the assumptions behind a standard detail. Sun – exposed surfaces also age faster, so exposed coatings may need more frequent inspection. These are conditions that change the answer, not footnotes.
Installation also crosses into structural, electrical, and roofing trades. A solar mount changes wind loading on the building, and its cables may interact with electrical requirements. Consult a qualified roofing or waterproofing professional before altering structural fixings or disturbing wiring. If water is already entering the assembly, waterproofing failure and leak diagnosis helps separate the active leak from the visible symptom.
Use this decision guide before approving the detail:
- Choose a sheet membrane and formed flashing collar if the roof specification supports torch application and the penetration can be properly detailed.
- Choose liquid detailing if complex geometry or several nearby penetrations make reliable laps difficult.
- Choose a compatible cementitious or acrylic treatment if it matches the wet area layer, the substrate movement, and the exposure conditions.
- Proceed only after confirming drainage, penetrations, membrane continuity, and test criteria with the responsible installer.