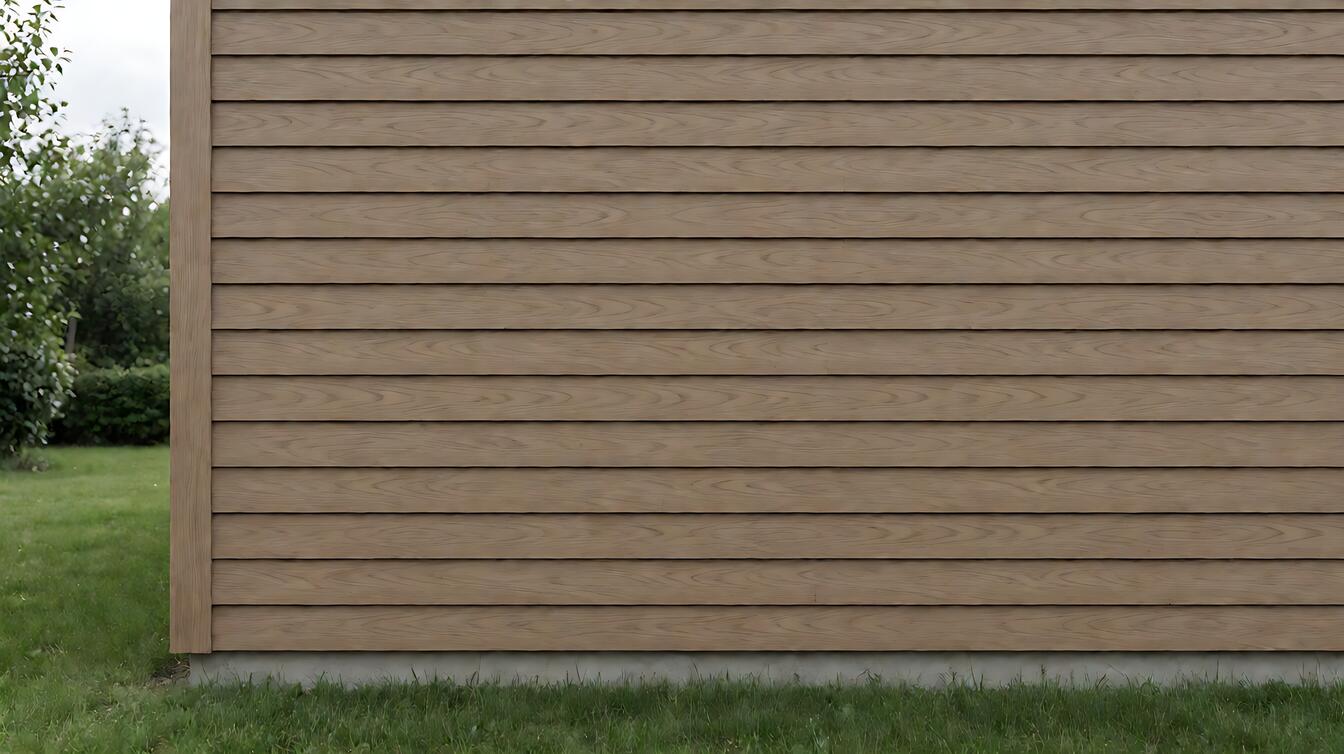
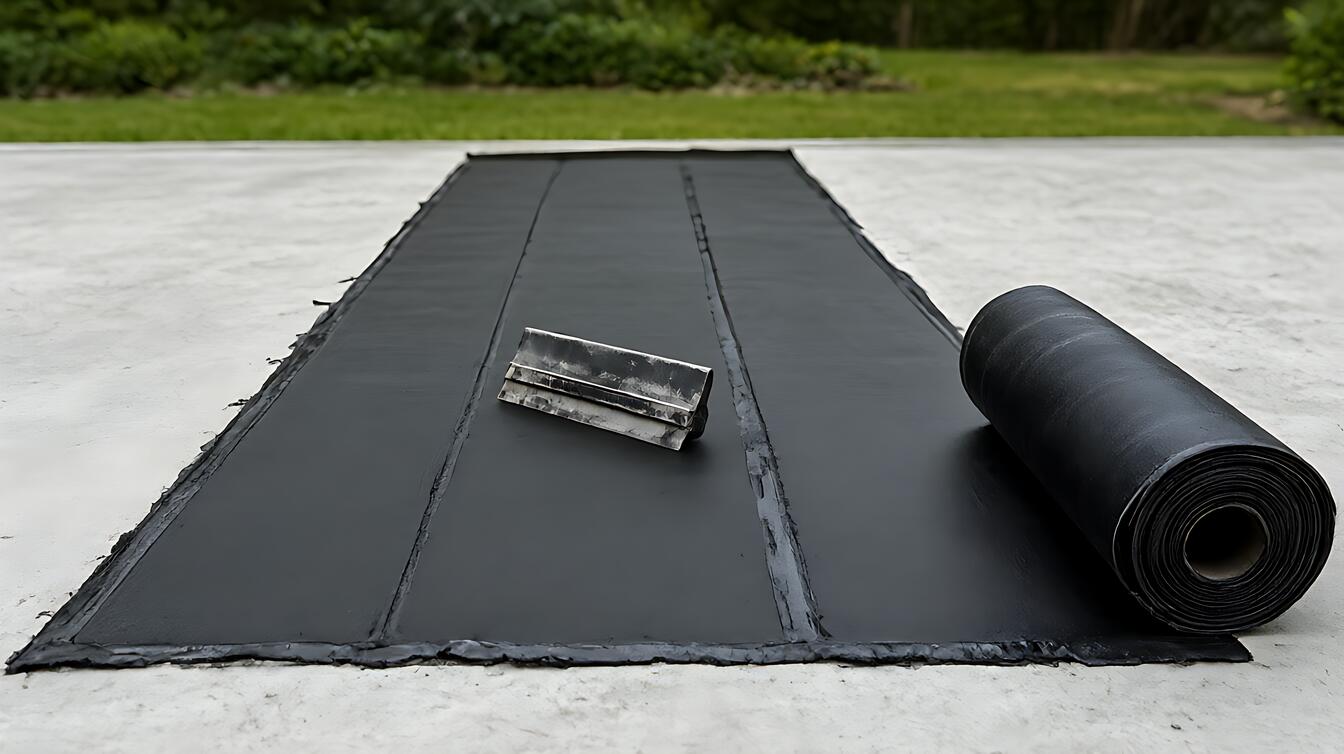
What is waterproofing for chimney flashing? It is the layered system that keeps rainwater from entering where the chimney meets the roof. The decisive attribute is continuity: a 3 – 4mm torch – applied membrane can bridge that junction when its seams, laps, terminations, and surrounding drainage are detailed correctly. Choose a system that suits the roof surface and exposure, not one chosen only by material name.
That distinction matters because a watertight product can still leak when installed over a damp or poorly prepared substrate. The flashing must shed water, accommodate movement, and connect into adjacent waterproofing layers without leaving an open edge.
What Waterproofing for Chimney Flashing Actually Means
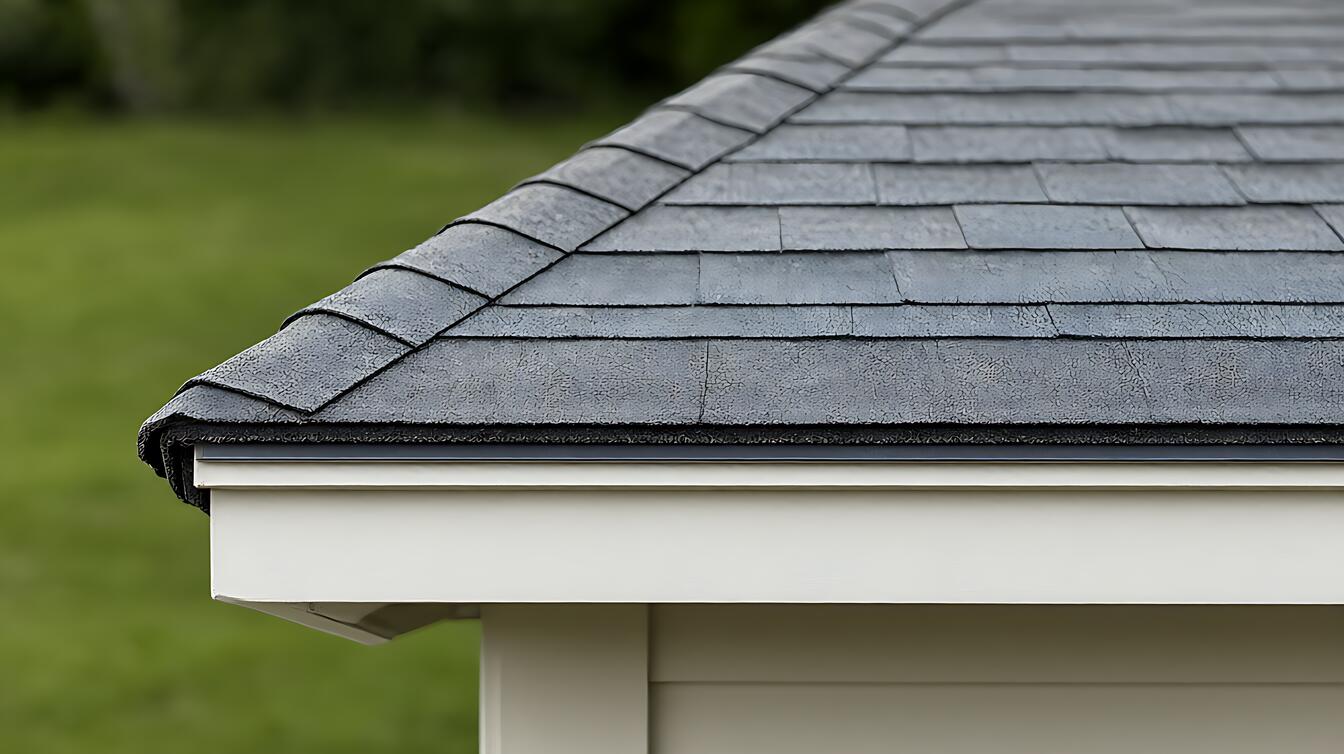
Waterproofing for chimney flashing means a continuous barrier between the chimney and roof, usually combining metal flashing with a flexible membrane or coating. Its purpose is not merely to cover the junction, but to direct water into the roof drainage system while sealing the transition around penetrations and irregularities.
The chimney flashing system has several working parts. Base flashing sits at the roof – to – chimney intersection, counterflashing sheds water over the lower layer, and the membrane system provides the waterproof continuity between them. A complete detail therefore depends on more than one material doing all the work alone.
This is also where the roof waterproofing layer must connect. Waterproofing for chimney flashing is an attribute of the wider roof assembly, not a separate repair that can ignore the membrane beneath or above it. For a broader view, start with waterproofing systems and their application.
How Flashing Waterproofing Works, With Real Numbers
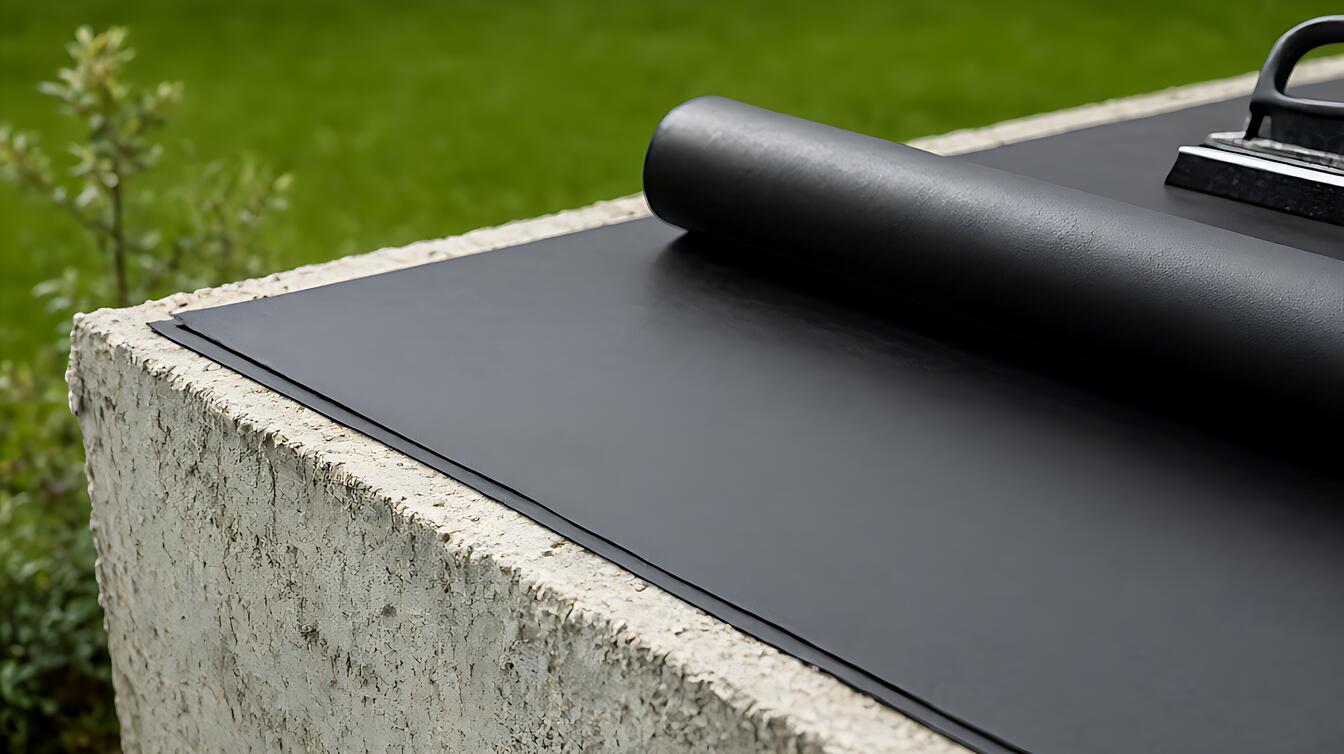
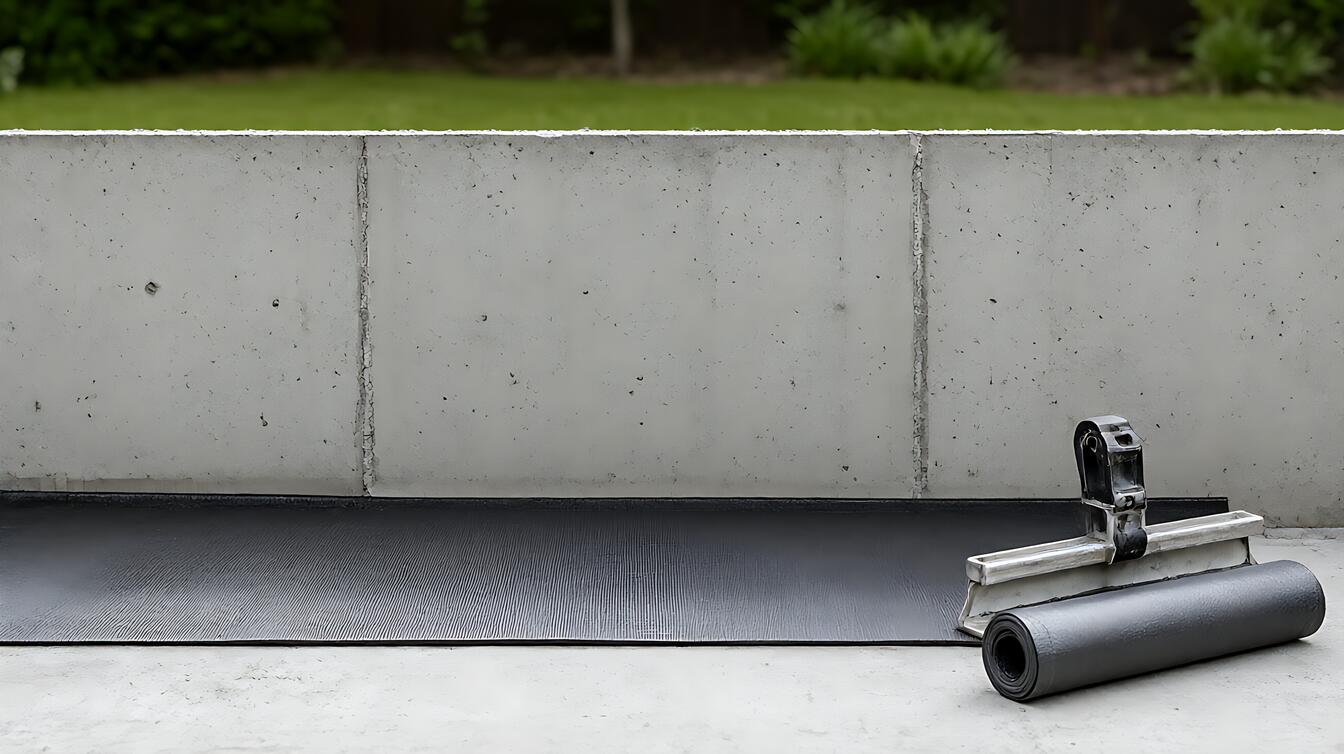
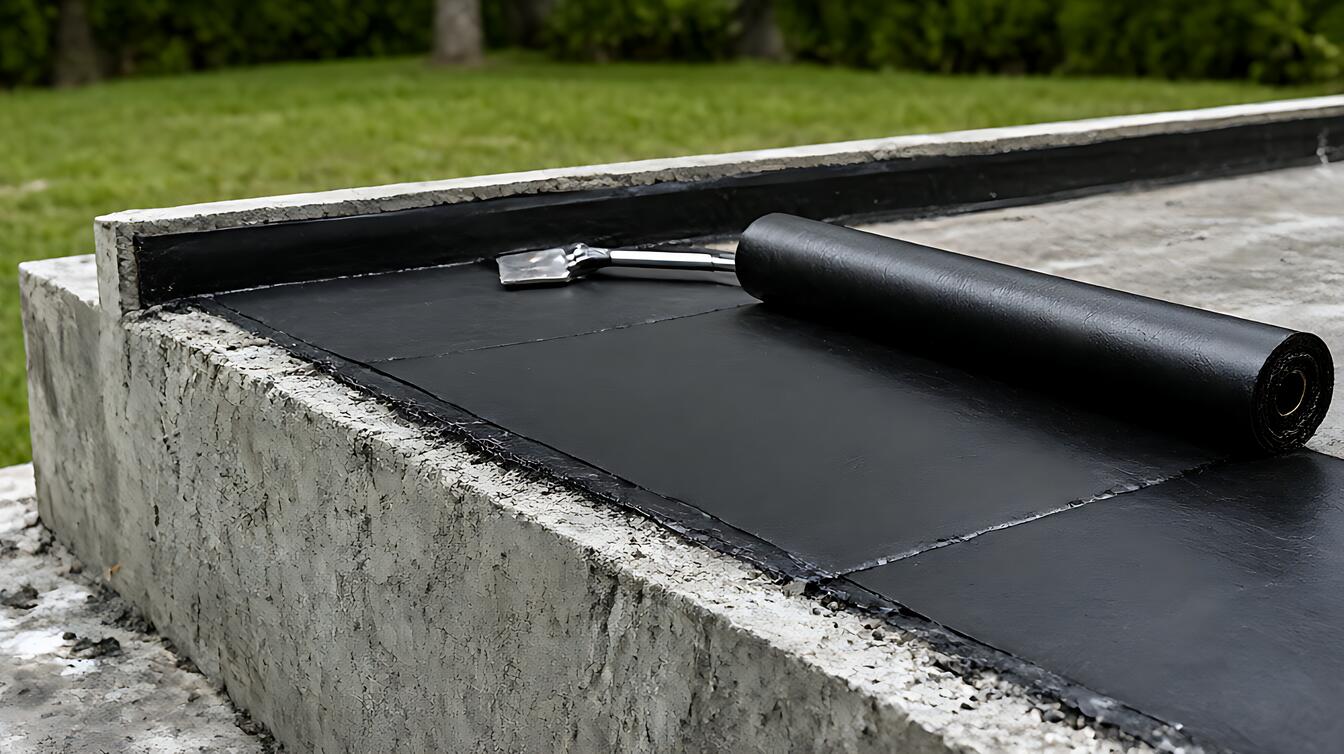
3 – 4mm torch – applied membrane creates a continuous waterproof layer by bonding a modified bitumen sheet to the prepared substrate. At this thickness, the membrane provides a defined build – up for the flashing junction, while the torch bonds and seals the sheet without a separate adhesive layer.
For a modified bitumen membrane, an overlap of 100mm provides the specified lap between adjacent sheets. The overlap must be clean, dry, and firmly bonded because a water channel can begin where a lap or terminal edge is left open.
The acrylic coating can protect exposed membrane surfaces from weathering where the detail requires it. It is a supporting measure, however, and does not replace correct preparation, lapping, edge sealing, or drainage around the chimney.
The flashing drainage slope must also move water away from the chimney rather than toward it. A drainage slope of 1 – 2% gives water a usable path across the flashing area. Flat or reversed slopes can leave water standing long enough for defects, laps, or terminations to become entry paths.
Here is the practical mechanism: water reaches the chimney, travels across the flashing, and leaves through the roof drainage system. If the slope, lap, terminal, or substrate condition interrupts that route, the detail can leak even when the visible membrane looks intact.
When to Choose a Membrane, Coating, or Cementitious System
System choice depends on the roof surface, exposure, substrate condition, and ability to create a continuous bonded detail. Choose a torch – applied membrane when the roof assembly and detailing sequence support it, the substrate is suitable, and qualified hot – work controls are available.
Choose an acrylic coating when the requirement is a protective or renewing surface treatment and the underlying waterproofing detail is already continuous. Coating a defective junction can preserve the appearance without correcting the route by which water enters.
A cementitious waterproofing system can suit compatible masonry and wet – area substrates where the design calls for a rigid or semi-rigid protection layer. It is not a direct substitute for a flexible membrane where movement, irregular geometry, or an incompatible substrate requires mechanical bonding.
| Condition | Preferred direction | Main limitation |
|---|---|---|
| Compatible bituminous roof assembly with safe torch application | 3 – 4mm torch – applied membrane | Requires prepared substrate, correct laps, terminations, and hot – work controls |
| Existing waterproofing is continuous and only surface protection is needed | Acrylic coating | Does not repair an open flashing joint or failed drainage path |
| Compatible masonry or wet – area substrate requiring a cementitious protection layer | Cementitious waterproofing system | Less suitable where a flexible, bonded membrane detail is required |
If you are still narrowing the materials, sheet, liquid, and cementitious waterproofing types explains how their installation methods change the decision.
Real Job – Site Reality: Where the Leak Appears
In a typical roof replacement, the crew may remove old flashing, expose damp timber, and find mortar packed into the joint. Installing a new sheet over that surface creates a clean – looking patch, but moisture remains trapped below the membrane and the water path still points toward the chimney.
The useful clue is the water path, not merely the stain. Active dripping during rain points toward an open lap, failed terminal, or incomplete penetration detail. A damp patch that appears after a dry spell may instead relate to condensation, a roof drain, or another nearby source.
Preparation sequence determines whether the new system can bond and drain as designed. The work area must be clean and dry, laps must be sealed, terminations must be protected, and surrounding surfaces must direct water away from the vulnerable junction.
- Remove loose debris and failed materials from the chimney – to – roof junction without trapping water beneath the new waterproofing.
- Confirm that the substrate is suitable for the selected membrane and that the roof drainage path remains clear.
- Install the flashing and membrane sequence with a 100mm lap where the specified system requires it.
- Form the 1 – 2% drainage slope toward the roof gutter rather than toward the chimney.
- Seal all edges and terminations, then inspect the completed joint from both the roof and chimney side.
If leaks appear on the ceiling below the chimney but the flashing surface looks sound, investigate the broader roof assembly before replacing materials. waterproofing failure and leak diagnosis helps separate flashing symptoms from broader roof causes.
Limits, Edge Cases, and What to Do Next
Waterproofing continuity is the decisive attribute, but it has clear limits. A membrane cannot compensate for an unsuitable substrate, missing flashing, failed drainage, or incompatible materials. The flashing termination must also connect into the surrounding roof system without leaving a vulnerable edge.
Choose a 3 – 4mm torch – applied membrane when the roof assembly supports modified bitumen installation and trained applicators can control the hot – work risk. Choose an acrylic coating when the underlying waterproofing is sound and the task is surface protection. Choose a cementitious system only when the substrate, protection requirements, and movement expectations suit that approach.
Sun exposure changes maintenance needs because exposed surfaces weather faster, while wet – area detailing changes substrate preparation and termination requirements. A tight budget also deserves caution: buying a material without accounting for preparation, laps, drainage, and skilled labor often shifts the real cost rather than removing it.
Consult a qualified roofing or waterproofing professional when the chimney detail involves structural masonry, unusual penetrations, combustible materials near torch application, or a recurring leak whose source is unclear. These are the cases where inspection matters more than confident guesswork.
Decision guidance is straightforward. Choose a membrane when continuity and bonding drive the requirement. Choose a coating when the waterproof layer already works and only its exposed surface needs protection. Choose a cementitious system when a compatible substrate needs that form of protection. If you cannot explain where water will travel after installation, pause and inspect the detail.
For project planning, use waterproofing cost and budget guidance to assess labor and preparation, or review membrane thickness and overlap details before accepting a proposed flashing build – up.