You need more than a slab for an outdoor air – conditioning condenser, especially when rain can collect around the equipment or water travels from an adjacent roof. The useful answer is to waterproof the pad, protect vulnerable joints and penetrations, and direct water away from the foundation. Waterproofing systems for AC condenser pads are coordinated layers that keep water out of the base and move runoff safely beyond the equipment.
That last part matters. A perfectly sealed pad can still fail if the ground around it slopes toward the house. The decisive attribute is water management: keeping the pad dry, connected to drainage, and separated from wet landscaping.
What Waterproofing for AC Condenser Pads Actually Means
Waterproofing systems for AC condenser pads combine a stable base, a waterproof surface or membrane, protected edges, and a drainage path. When installed as a complete assembly outdoors, this combination limits water penetration and reduces the chance that standing water reaches the pad perimeter or nearby foundations.
Think of the system as a path. Water must land on a surface, flow across it, and leave the site. Sealing only the top of the pad does not complete that path, because soil, joints, and sloping ground can carry water toward the base.
For a broader view of how these parts fit together, compare the main approaches in waterproofing systems. Keep the focus here on the outdoor condenser – pad condition, where drainage and wet – area detailing usually decide performance.
How Waterproofing for AC Condenser Pads Works
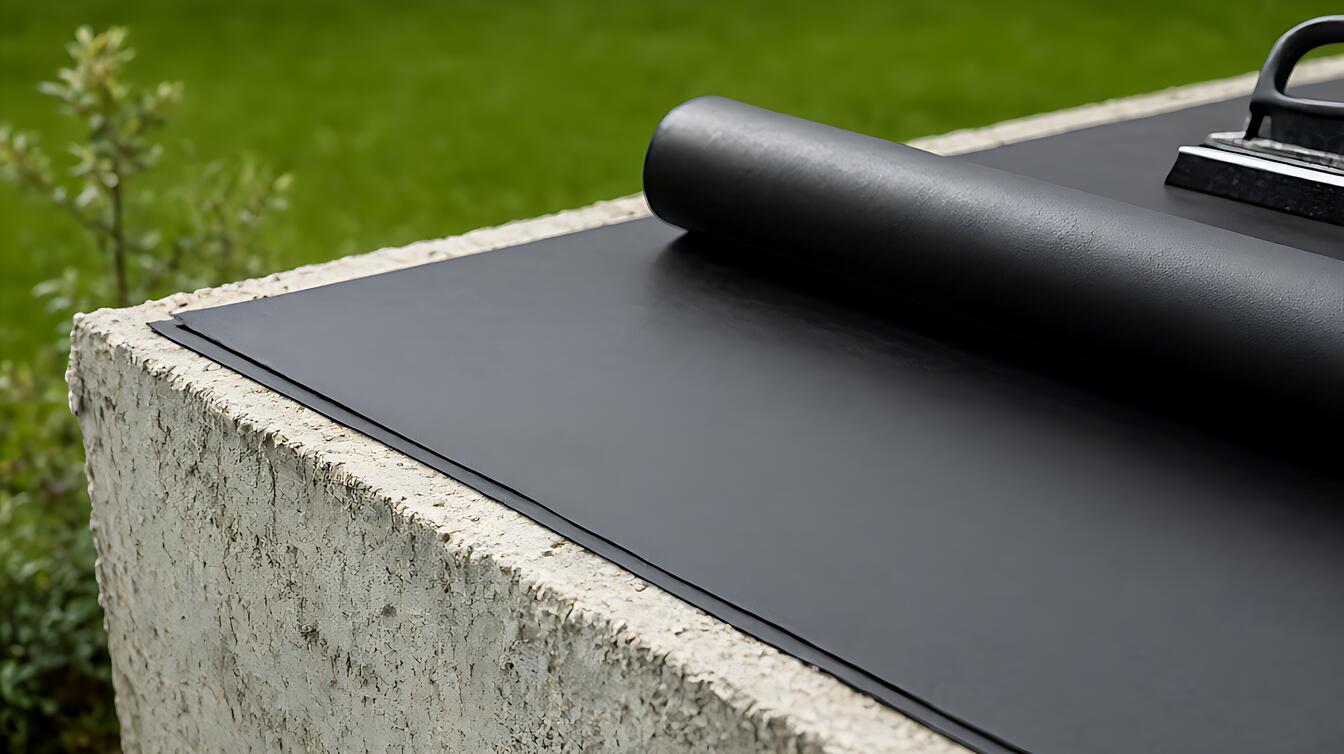
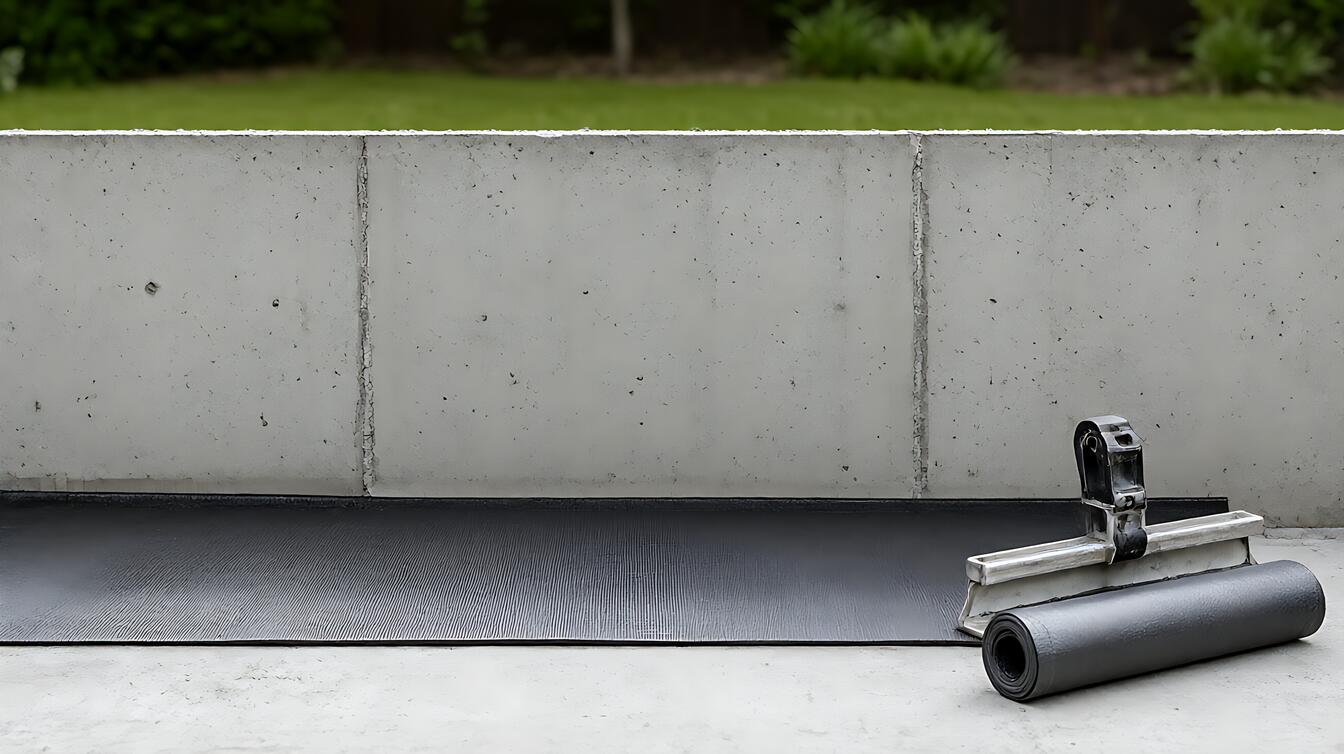
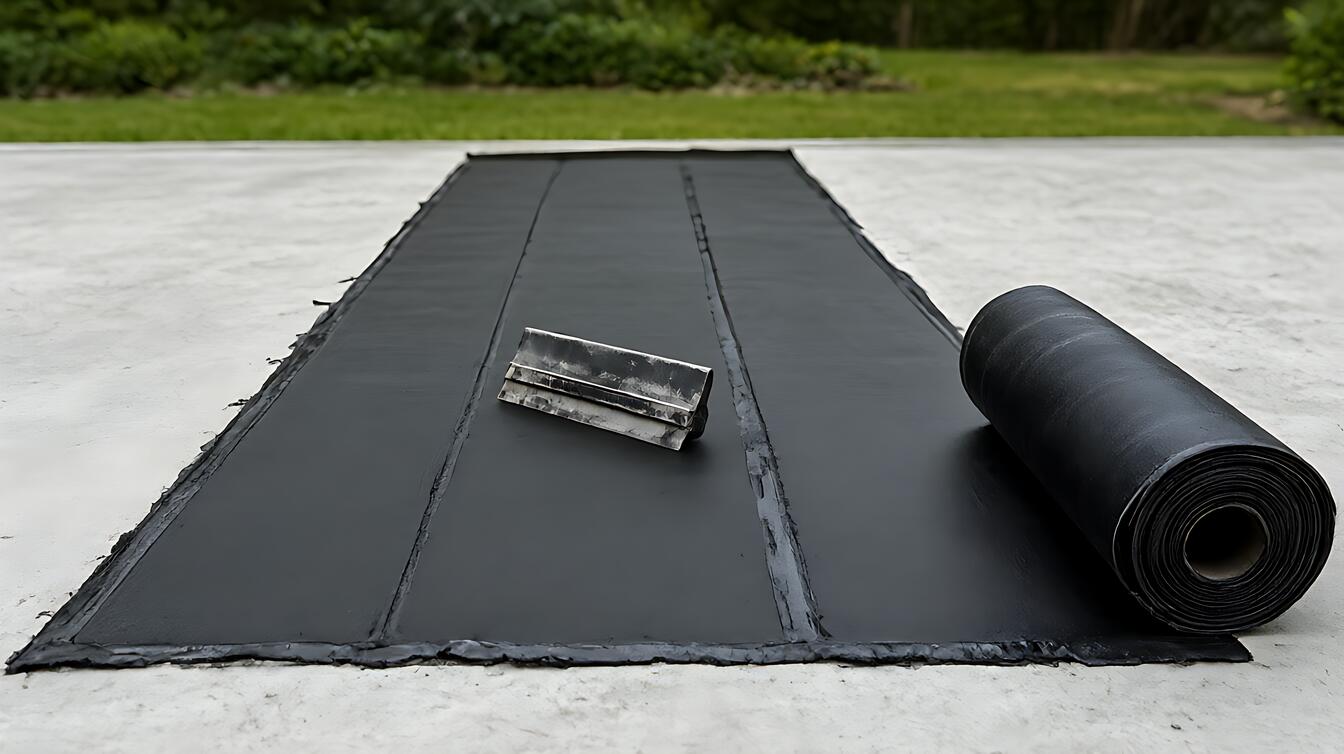
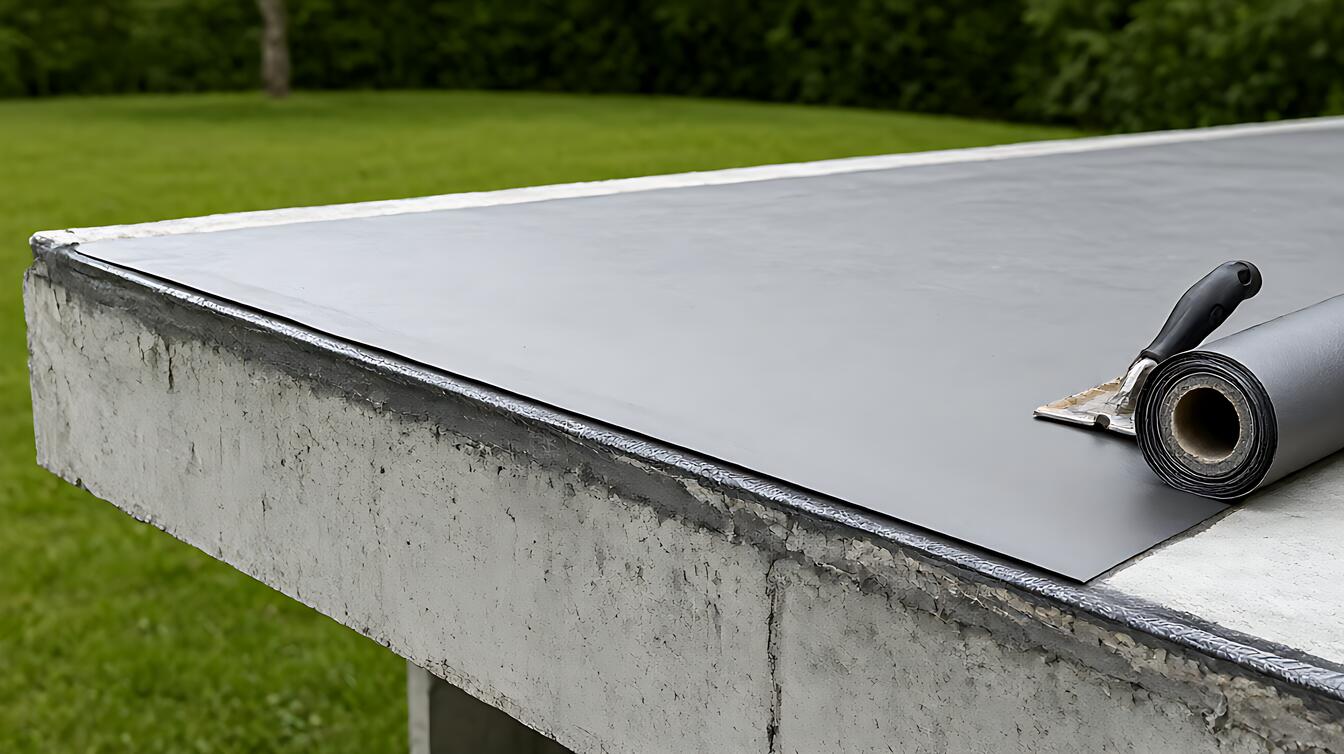
Membrane torch 3 – 4mm describes a thick bituminous membrane system installed with a torch, usually as part of a built – up waterproofing assembly. Its thickness provides a substantial waterproof barrier, while heat bonding or adhesion secures each layer to the prepared base.
The critical detail is continuity. Every lap, corner, edge, and termination must connect without an open seam. A 100mm overlap gives adjacent membrane sheets sufficient contact area when installed according to the manufacturer’s detailing requirements.
Preparation matters as much as the material. The base must be clean, dry, stable, and shaped so water cannot collect around the pad. Coatings and membranes do not correct a base that slopes toward the house or toward an entry point.
Not every product requires heat. A liquid acrylic coating can form a thin, reliable surface when its application conditions are met, but it remains a supporting option rather than the primary torch – applied system described here. Compare application methods in waterproofing liquid membrane application.
When to Choose Which Waterproofing Option
Cementitious waterproofing suits a rigid, well – prepared base when the priority is a bonded protective surface. Sheet or membrane systems suit areas where joints and detailed connections require a continuous barrier. The choice depends on movement, detailing, exposure, and installation capability.
Choose a cementitious coating when the base is stable, the assembly will not be walked on, and the system can be applied within its stated drying and curing conditions. Choose a torch – applied membrane when a robust layered barrier and sealed laps are needed around a prepared outdoor base.
Choose a sheet or liquid membrane when complex edges and penetrations make a rigid coating difficult to keep continuous. For the trade – offs, use sheet, liquid, and cementitious waterproofing compared.
| Condition | Preferred approach | Main limitation |
|---|---|---|
| Stable base, simple shape | Cementitious coating | Requires careful curing and sound preparation |
| Layered outdoor barrier | Torch – applied membrane | Heat and skilled detailing raise safety demands |
| Complex joints or penetrations | Sheet or liquid membrane | Continuity must be maintained at every transition |
Real Job – Site Reality: The Wet Edge Matters
Wet area detailing around the pad edges, pipe entries, and nearby wall junctions determines where vulnerable construction meets concentrated water. On a terrace beside a roof drain, runoff can arrive from above rather than falling directly onto the condenser pad.
For example, a pad beside a splash zone may look dry during a dry week. When rain is redirected toward that edge, water can travel beneath a membrane termination and enter a joint. The practical fix is to extend protection, form compatible upstands where designed, and route water to an outlet that cannot discharge toward the foundation.
Drainage is not a minor accessory. A drainage slope of 1 – 2% directs water across the surface rather than encouraging it to linger. Where the available fall is too shallow, drainage must be detailed separately rather than assumed from the membrane specification.
Before installation, mark the water route. Note where roof runoff lands, where the pad edge sits, and where water would go if the surface were saturated. A clear route exposes the weak point before membrane or coating arrives on site.
The biggest trade – off is often convenience. A tight budget may favor a simpler coating, but that only makes sense when the base, joints, exposure, and drainage are suitable. If the area combines heavy rain, complex edges, and nearby planting, a complete assembly usually matters more than the cheapest surface coat.
Limits, Edge Cases, and Your Next Step
24 – hour ponding test can reveal whether a completed waterproofing assembly retains water when it is exposed to standing water. It does not prove that surrounding soil, roof runoff, blocked outlets, or poor drainage will remain dry. The test is useful when correctly prepared, filled, and measured, but it cannot replace site – specific drainage design.
Choose an acrylic coating when the manufacturer’s system criteria match the base and exposure, and simpler application matters. Choose a torch – applied membrane when the project requires a layered barrier with sealed laps and suitable detailing capability.
Some failures look like membrane defects when they are actually site failures. Water near the house may come from compacted soil, an adjacent planter, or a roof discharge. A ponding test may pass while runoff still finds another path. If water repeatedly appears beside the pad, trace the source before replacing the surface.
Because heat – applied membranes, electrical equipment, and waterproofing work can create fire and shock risks, consult a qualified professional for detailed assembly design and work near energized or combustible components. Confirm product – specific requirements rather than treating the numbers here as a substitute for manufacturer instructions.
For a practical budget check, review waterproofing cost and home waterproofing budget. If you are diagnosing an existing leak, start with waterproofing failure and leak diagnosis before selecting another system.
Decision Guidance
- Choose a cementitious coating if the base is stable, preparation is reliable, and the surface has simple detailing.
- Choose a torch – applied membrane if the installation needs a layered outdoor barrier and trained detailing is available.
- Choose a sheet or liquid membrane if joints, penetrations, or changing directions make continuity difficult.
- Choose a complete drainage solution if water collects nearby or runoff travels toward the foundation.
Your next step is simple. Mark the water path, inspect the base and joints, and choose the waterproofing assembly that fits both the surface and the drainage. For detailed membrane dimensions and joint treatment, see waterproofing membrane thickness and overlap guidance.