The frustrating part of a retaining wall is not usually the concrete. It is the slow seepage that appears months later, or the damp patch that keeps returning after a patch repair. Waterproofing for retaining walls is the system that keeps the soil – side moisture out of the structure and, just as importantly, lets water that does get in drain away instead of sitting there. Here is what that system actually includes and where the real decisions happen.
Getting this right matters because the failure is usually hidden. The wall carries the soil load, the surface looks acceptable, and the problem only shows up when water pressure, freeze – thaw cycles, or blocked drainage push the system beyond its limits.
What Waterproofing for Retaining Walls Actually Includes
Waterproofing for retaining walls includes continuous moisture barriers, drainage paths, and detailing at penetrations, joints, and the wall base. The barrier resists water entry, while drainage relieves water pressure so the barrier is not asked to hold back everything on its own. A wall with a strong membrane and no drainage can still leak. A wall with good drainage and a weak barrier will usually show damp patches.
The decisive attribute is water management, not simply the product name. Waterproofing systems for retaining walls work as a combined layer: a damp – proof surface treatment, a membrane or coating, and a drainage path that carries water to an outlet.
That distinction matters during specification. If you are comparing broad system types, start with the waterproofing systems overview before narrowing to a wall condition. It gives you the vocabulary to evaluate what a contractor is actually proposing.
How Retaining Wall Waterproofing Works, With Real Numbers
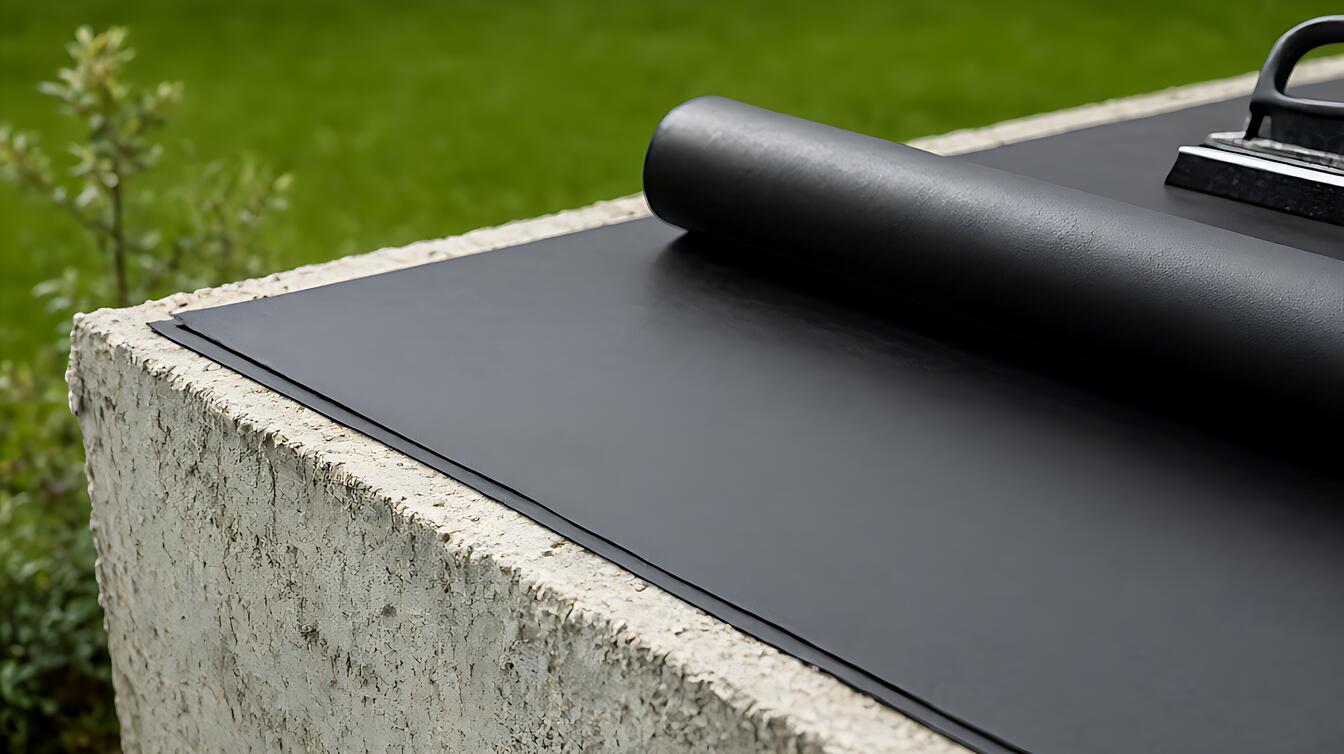
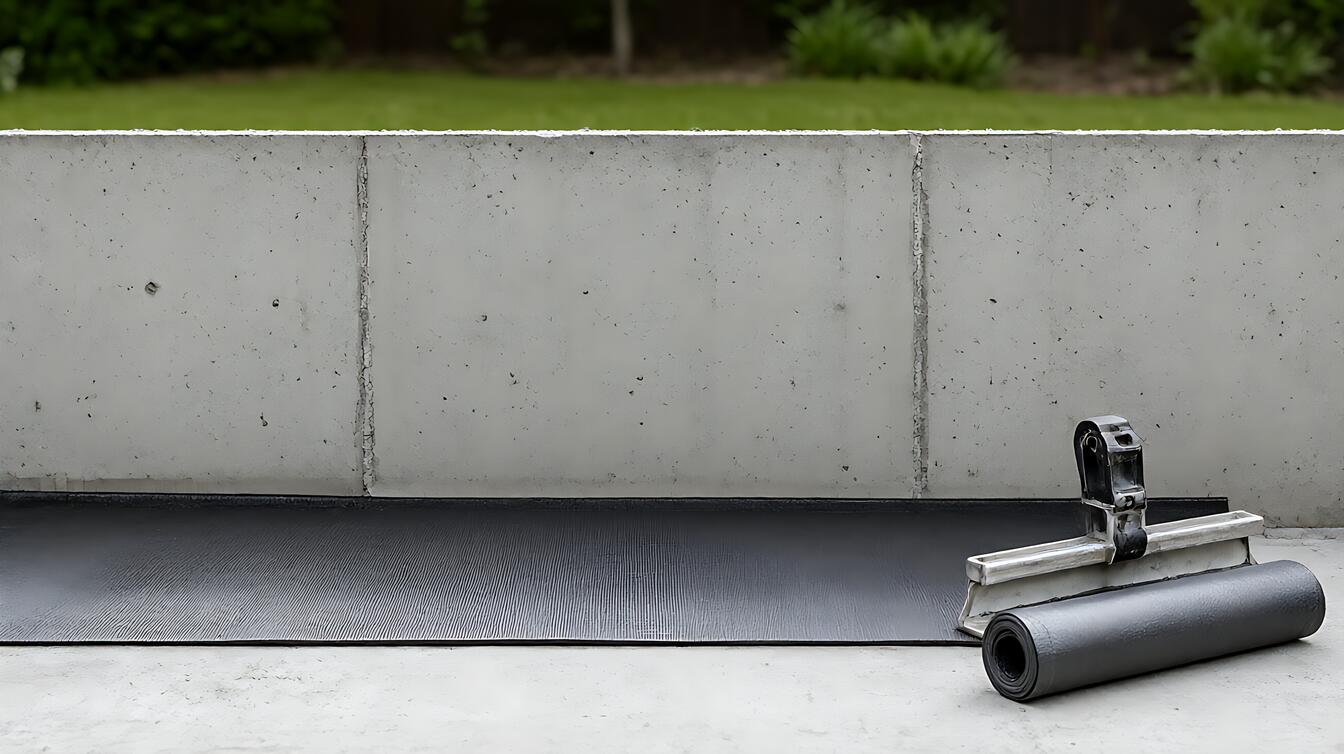
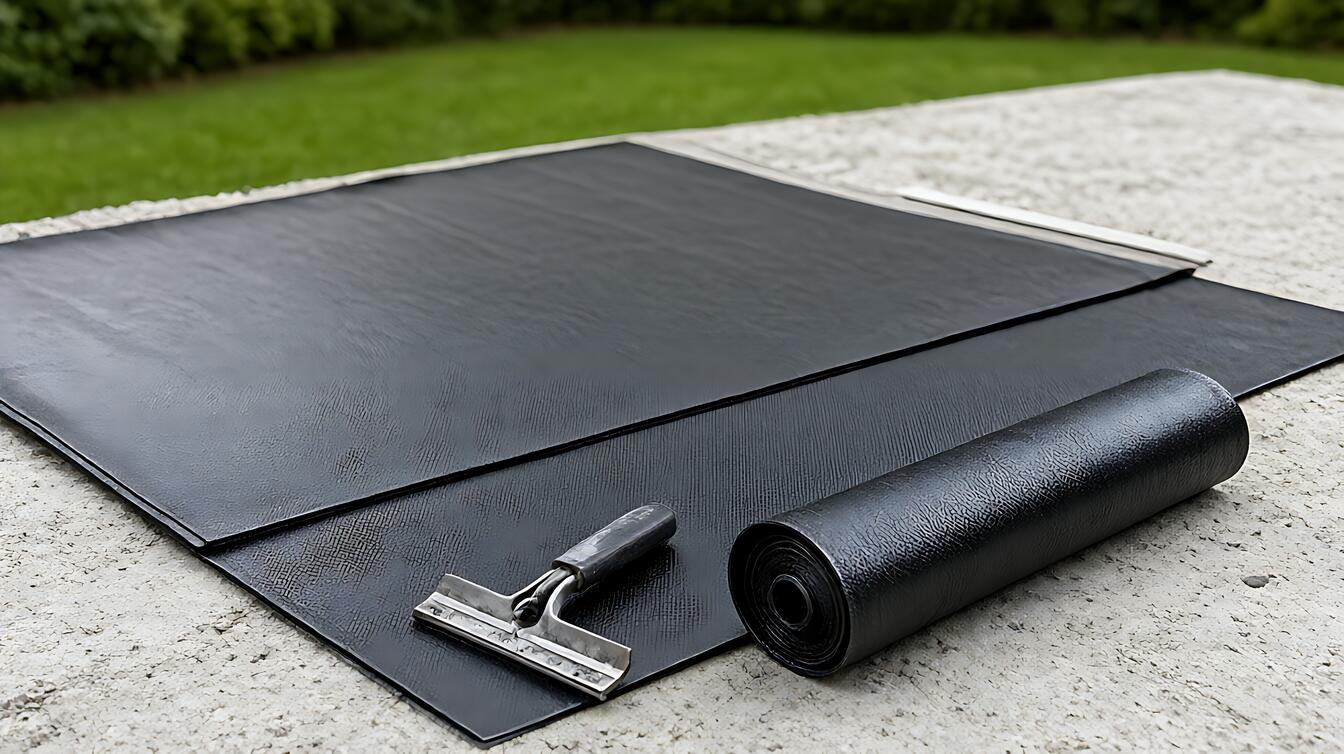
Retaining wall waterproofing works by separating the wall face from persistent soil moisture and directing water toward a controlled path. For a membrane torch 3 – 4mm application, the specified thickness and welded seams create a continuous barrier on the soil – facing side. The detail that matters most is the seam itself, because the membrane is only as continuous as its joints.
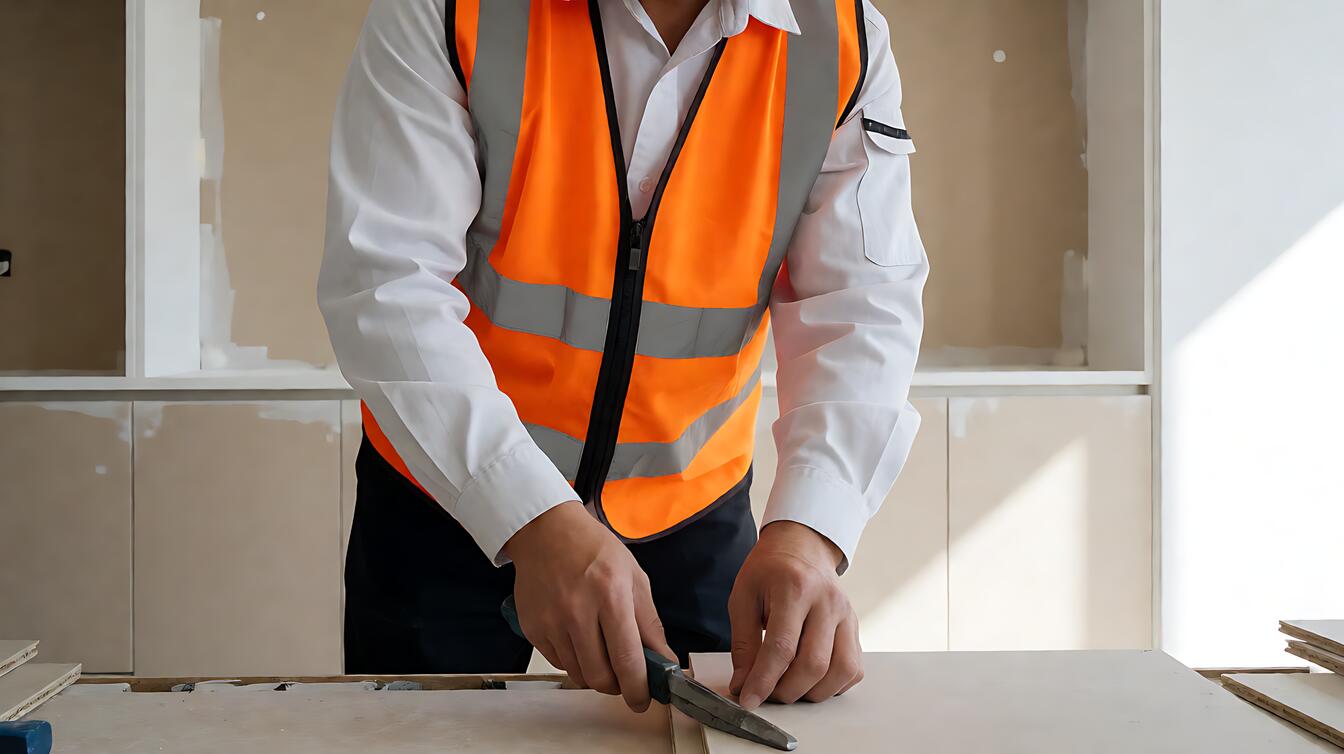
Sheet systems typically use an overlap 100mm between adjacent sheets, with seams welded or bonded according to the product. That overlap gives the installer room to create a continuous seal. Cut corners, missing primer, or contamination on the bonding area can leave a path for water to travel along the sheet and through the wall.
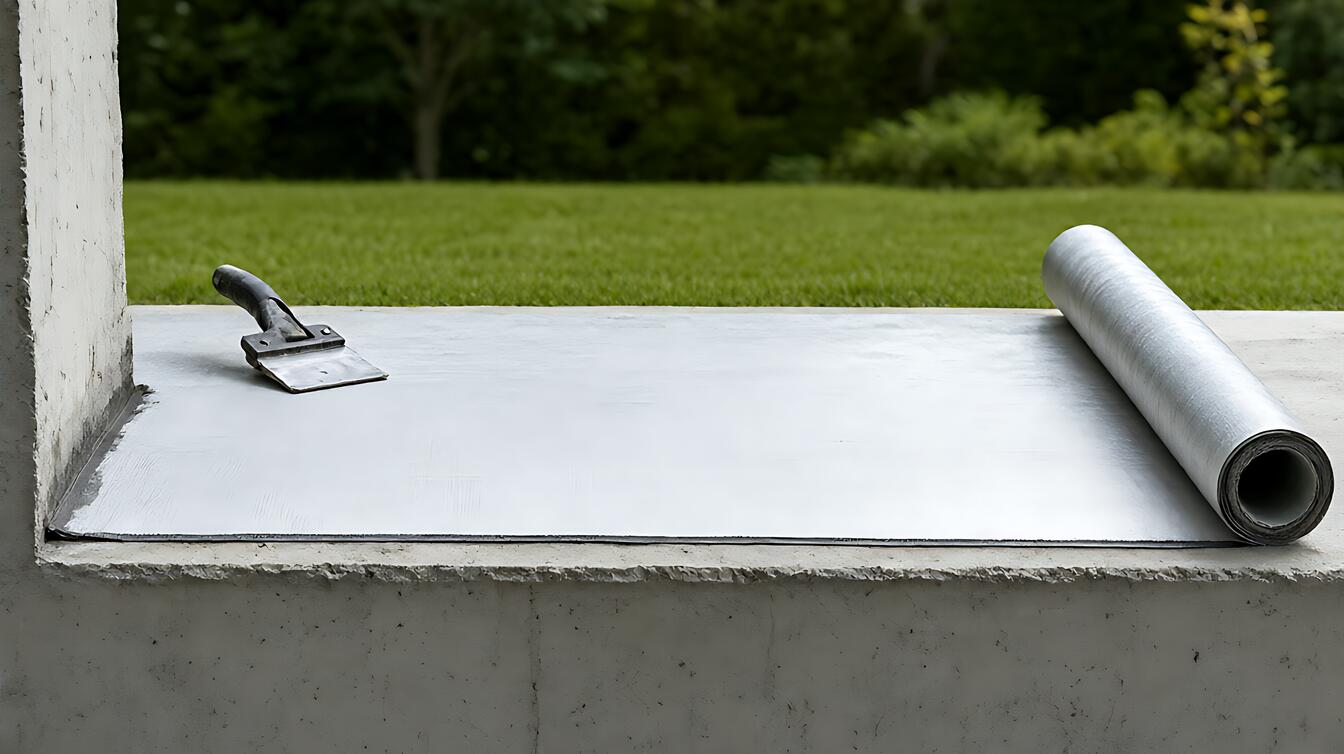
Coatings work differently. An acrylic coating forms a film on a prepared substrate, so surface preparation and curing conditions affect the bond. It suits relatively even, accessible surfaces, but it is less forgiving than a bonded sheet around complicated details.
Drainage then does the quiet work of protecting the barrier. A 1 – 2% slope toward the outlet is the common design range for drainage layers and collection pipes, because a drain that sits flat collects silt and stops moving water. Get the drainage specification right in membrane thickness and overlap details rather than treating it as a note at the end of the drawing.
When to Choose a Sheet, Coating, or Cementitious System
Choose a sheet membrane when the wall is straightforward, the soil side is accessible, and you want a robust barrier with welded seams. It suits larger, regular surfaces and tolerates minor movement better than a thin film, provided the substrate is sound and the detailing is done properly.
Choose a liquid coating or acrylic system when access is restricted, the surface is detailed, or the geometry is complex. The trade – off is preparation. A coating has no seam overlap to weld, but it depends heavily on a clean, dry, prepared surface. Choose it if you can control preparation and cure conditions.
Choose a cementitious system when a rigid, mineral – based finish suits the exposure and application. It is useful in wet areas and where a hard – wearing surface is wanted. Its limitation is flexibility: repeated movement can crack the coating unless the system is designed for that movement.
The choice changes with site conditions. Heavy soil load, sun exposure, and a tight budget all influence the answer, because material cost is only part of the total. Labor, preparation, and detailing often decide whether the system performs. Our sheet, liquid, and cementitious comparison lays out those trade – offs side by side.
Real Job – Site Reality: Where Retaining Wall Systems Fail
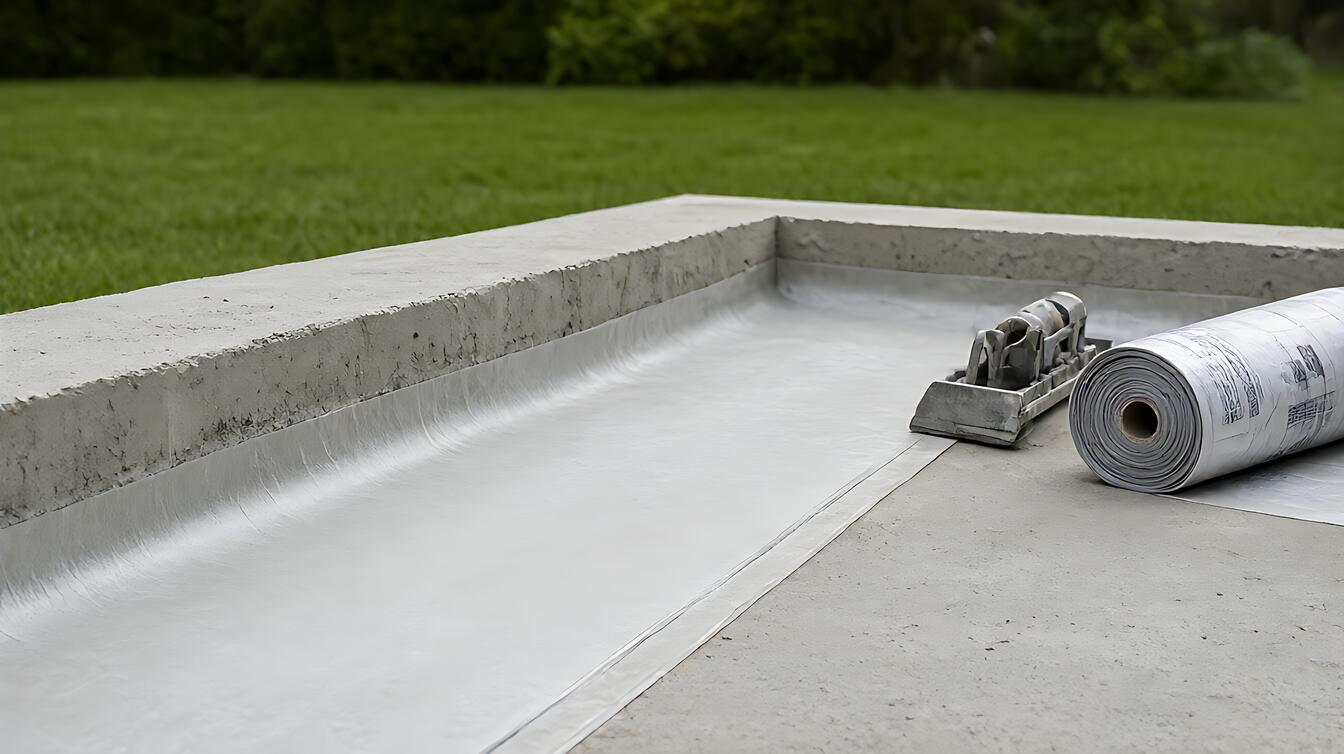
A common site failure begins with a damp patch that returns after patching. The patch addresses the visible stain, not the source. Water travels behind the wall through unsaturated soil, reaches the wall, and finds a weak point at a pipe penetration, a construction joint, or the base.
That damp patch is your diagnostic clue. Moisture that appears lower on the wall after heavy rain usually points to drainage or a defective joint. Water arriving at the top edge suggests surface water is entering above the membrane termination, so extending the waterproofing upward and adding a flashing detail usually helps more than patching the stain.
Another common trap is placing the drainage pipe flat or covering the outlet with soil. The pipe should slope continuously toward its discharge point, and the outlet should remain clear and accessible. This is where waterproofing failure and leak diagnosis becomes genuinely useful, because it separates the symptom from the route the water took.
Site conditions decide which detail matters most. A wall in a wet area needs careful pipe and joint detailing. A sun – exposed membrane needs protection from ultraviolet exposure where no soil or backfill covers it. In both cases, ask what the installer did at the penetrations, because that is where the system either works or quietly fails.
Limits, Edge Cases, and What to Do Next
No retaining wall waterproofing system keeps out every drop forever, and no product compensates for poor drainage. The realistic goal is a continuous, inspectable barrier with water that gets in able to leave. When water pressure rises, poor compaction, or blocked drainage defeats any membrane.
There is also a structural limit worth naming. Waterproofing protects the wall surface. It does not fix a wall that was designed for inadequate soil pressure, and adding drainage changes loading conditions. If you are unsure about either, consult a structural or geotechnical professional before choosing a system. For waterproofing specification and installation, use a qualified contractor familiar with below – grade work.
Decision guidance is simple. Choose a sheet membrane if you want welded seam continuity on an accessible, regular surface. Choose a coating if access is poor and preparation can be controlled. Choose a cementitious system if you need a hard, mineral finish and movement risk is low. Add drainage in every case.
Before work starts, confirm the substrate specification, the termination and penetration details, the drainage outlet, and the expected soil pressure. Then review the complete waterproofing systems guide for the wider context, or the waterproofing cost and budget guide to plan costs beyond the membrane itself.