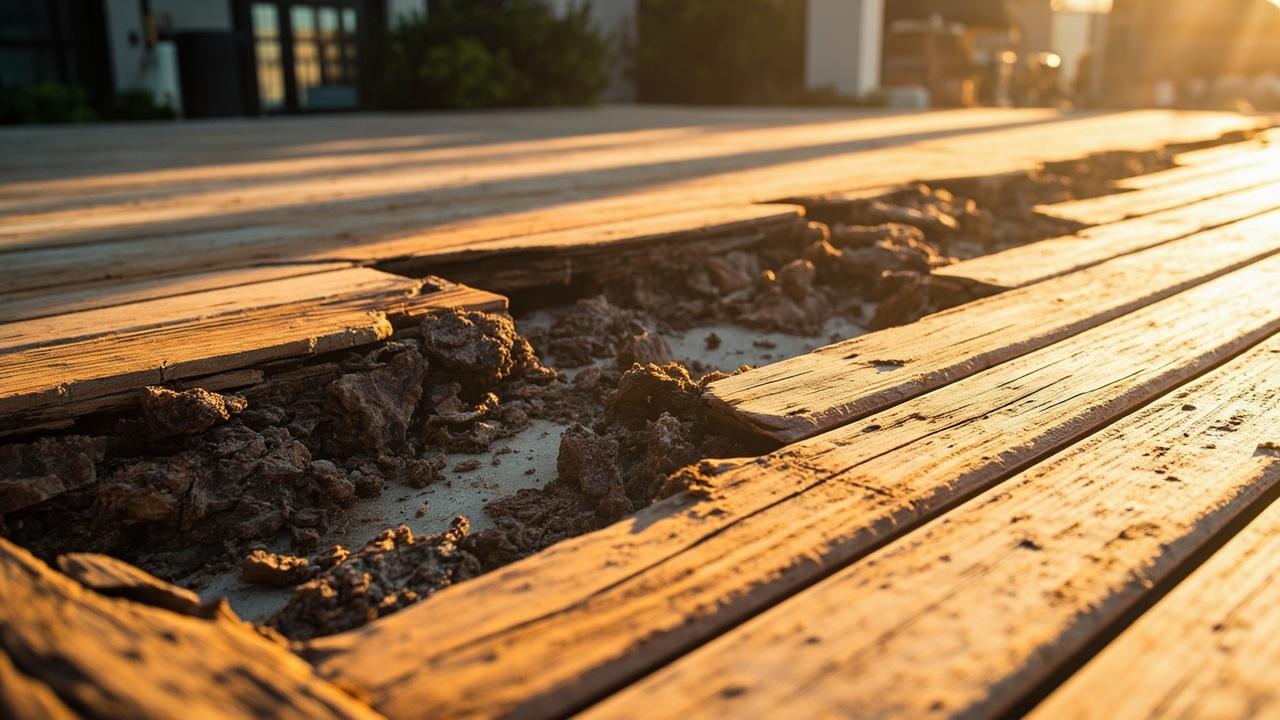
You’re standing in a damp basement wondering whether to install drainage, waterproof the foundation, or do both. The frustration is real: both options promise a dry basement, yet they fail in different ways. The answer depends on where water comes from and how it moves. Foundation drainage is a system that moves groundwater away from a foundation. Foundation waterproofing is a barrier that keeps water from passing through the foundation wall.
What Foundation Drainage vs Waterproofing Actually Means
Drainage and waterproofing solve the same moisture problem through different mechanisms. Drainage carries water away. Waterproofing blocks it. In practice, most reliable basement dry-outs combine both, because each covers a different failure mode.
These systems work together when soil around the home absorbs water and expands. Some soils can increase in volume by up to 15% when wet, which creates pressure against foundation walls and can open paths for leaks. You can explore how waterproofing systems differ by material and approach before narrowing the choice.
Drainage handles the water that arrives. Waterproofing handles the water that pushes through. The trade-off is straightforward: drainage costs more to install and needs somewhere to send the water, while waterproofing depends entirely on correct detailing and sound soil preparation.
The Differences That Matter Side by Side
Ground slope, discharge capacity, and excavation access determine how drainage performs. Surface preparation, application conditions, and seam detailing determine whether waterproofing succeeds. These criteria decide which approach fits a specific site.
Understanding the mechanism makes the comparison easier. Drainage lowers the water table or channels water along the foundation. Waterproofing creates a continuous barrier on the foundation surface or wall. Neither method replaces the other when conditions are severe.
| Criterion | Foundation Drainage | Foundation Waterproofing |
|---|---|---|
| Core mechanism | Moves groundwater away from the foundation | Blocks water from passing through the foundation |
| Best fit | High water table, sloping site, recurring hydrostatic pressure | Damp soil, rain-driven intrusion, seepage through porous walls |
| Main failure point | Blocked or undersized discharge, poor slope, pump failure | Poor preparation, incomplete coverage, damaged detailing |
| Cost character | Higher upfront, lower repair exposure if correctly sized | Lower upfront, repeat work possible if detailing fails |
| Homeowner action | Keep discharge clear, inspect for clogs | Watch for recurring dampness and new cracks |
One variable changes everything: water pressure. When water builds up against a foundation wall, a membrane has more to resist. When soil slopes away and sheds water naturally, drainage may carry more of the load, and a well-applied membrane becomes the simpler answer.
That is also why slope matters. On a sloped lot with healthy surface runoff, drainage channels have less pressure to redirect. On flat ground with a high water table, drainage becomes the primary defense. More on the material choices in our waterproofing types compared overview.
Which One to Choose for Your Situation
Choose foundation drainage when groundwater reaches the foundation under pressure, a pump is acceptable, and discharge can run downhill or connect to a sump. Choose foundation waterproofing when rain and soil contact cause seepage but the site drains reasonably well.
Choose drainage when you see water entering at the base of a wall or along foundation joints, especially where the same wall wets after heavy rain. Choose waterproofing when dampness appears as a broad, even patch, or when a finished room needs a dry surface without major excavation.
Choose both when the basement shows two distinct symptoms, such as seepage high on the wall and pooling at floor level. That pattern suggests two water paths, so a single method will likely disappoint you.
Choose the more durable system when the foundation crack repair bill looms large. A crack costing $800 to repair when first noticed can escalate to a $15,000 stabilization project within 2 to 3 years when water intrusion compounds the problem. Addressing the source protects the repair.
Budget changes the sequence, not the goal. In regions with higher labor costs, including the Northeast and West Coast, prices typically run 15 to 30% above national averages. That gap makes it worth diagnosing the water source correctly before paying for the wrong system.
Real Job-Site Reality
On a typical residential job, the visible symptom rarely tells the whole story. A damp ceiling stain over a basement bathroom can come from a failed pipe joint, not the foundation wall at all. Without diagnosis, you can install a membrane torch 3-4mm system and still have water in the room.
The process splits into three parts: identify the water path, prepare the substrate, and detail the transitions. Each step decides the outcome, and skipping the first one wastes money.
Diagnose Before You Dig
- Check whether the damp area follows rainfall or appears after irrigation, which points toward surface water rather than groundwater.
- Observe where water enters, such as wall cracks, foundation joints, or the floor edge, because each location suggests a different pressure source.
- Compare wet and dry weather conditions, since recurring wetting in the same place indicates a persistent entry path.
- Verify soil compaction before installation, because soil below 95% of maximum density by standard Proctor test continues settling under the structure’s weight.
That last point changes the project materially. If the backfill settles later, it can crack the waterproofing you just paid for or shift drainage gravel away from the wall. Compaction has to be right before either system goes in.
Then the detailing begins. Where a coating acrylic meets a termination point or penetration, the application method matters. A 100mm overlap at sheet seams supports continuity where separate pieces meet. These small dimensions decide whether the barrier stays intact.
For liquid systems, preparation rules the result. Surface condition, moisture, and curing time between coats decide whether the membrane bonds as intended. The liquid membrane application guide covers that sequence in detail.
Limits, Edge Cases, and What to Do Next
Failed discharge path, including clogged pipes, a failed pump, or a blocked outlet, is a common drainage failure. Waterproofing fails when preparation is poor or details are missed, and no barrier holds forever. Both depend on installation quality.
Some conditions limit what either approach can solve. Soil with poor drainage capacity increases hydrostatic pressure against the foundation. Sloping the grade away from the home reduces that pressure before either system is installed.
Interior humidity matters after the water is gone. Maintaining 30 to 50% relative humidity with dehumidifiers in basements and crawl spaces helps prevent condensation that can damage wooden structural elements. A dry foundation and a controlled interior are separate achievements.
Call a professional when you see structural cracking, bowing walls, or water entering through the floor in a finished space. Foundation work touches structure and can hide failure modes that a homeowner cannot diagnose from one wet corner.
Decision Guidance
Choose foundation drainage when water arrives under sustained pressure, the water table is high, or a pump and discharge route are realistic. Choose foundation waterproofing when seepage follows rain or damp soil and the site sheds water reasonably well. Choose both when the symptoms point to separate entry paths.
Watch for one decisive clue during assessment: where the water enters tells you which system carries the load. For help reading the symptoms, use our waterproofing failure and leak diagnosis guide, then review how waterproofing systems fit together before committing to a specification.