You have a deck dream and a sketch on a napkin, but you’re stuck on the same three questions every DIYer asks: how deep do the footings go, what size beam do you actually need, and how far can the joists span before everything feels sketchy? This guide gives you the deck construction footing beam joist ledger sequence in plain English with the numbers that matter: footing depth 600mm below frost line (or 1200mm in non-frost regions), beam spans of 1.8 – 3.0m, joist spacing at 400mm or 600mm centers, ledger board 38 x 184mm (2×15 nominal) with 16mm through-bolts at 400mm on center, and slope of 1 – 2% away from the house.
What the Footing, Beam, Joist, and Ledger Actually Do
Each member in a deck frame has one job, and confusing them is where most weekend builds go wrong. The footing transfers the load to the ground, the beam carries the joists, the joist holds the deck boards, and the ledger anchors the whole frame to the house.
Think of it as a load chain: roof deck boards → joists → beam → footings → soil. Break any link and the deck racked, sagged, or heaved last winter, exactly the kind of damage you do not want to repair twice. Get the chain right and your apartment-style rooftop or backyard platform feels solid for 20+ years.
For a standard 40 psf (pounds per square foot) residential load, plan a 12-inch (300mm) round concrete pier resting on a 6-inch (150mm) gravel base, with the post embedded into a cast-in-place bracket (like a Simpson EPB44PHD) so moisture does not wick into the wood. The footing depth is the first decision because it sets the post height and beam elevation.
How the Load Path Works (Numbers That Decide Everything)
Load travels down through every member in sequence, and each one has a span limit you cannot negotiate. Footings resolve vertical load and frost heave, beams resolve tributary load from the joists, joists resolve the deck board spacing, and the ledger resolves the horizontal pull away from the house.
Three specs control the whole frame. Joist spacing at 400mm (16 inches) on center gives a stiffer feel underfoot and works with 18mm plywood or 19mm composite boards; 600mm (24 inches) on center saves material but demands thicker decking. Post size for most decks under 2m above grade is 100 x 100mm (4×4 nominal) pressure-treated, or 142 x 142mm (6×6 nominal) for taller platforms or heavy hot-tub loads. Beam span depends on the joist span: a double 38 x 184mm (2×15 nominal) SPT (Southern Pine, treated) beam can span about 3.0m when supporting joists at 400mm centers, or 2.4m at 600mm centers.
Joist span itself follows lumber grade and species. A 38 x 184mm (2×15 nominal) SPT joist at 400mm centers spans about 3.5m; the same joist at 600mm centers spans about 2.7m. For Western Pine specifically, spans drop roughly 10 – 15% because of lower stiffness, so check the grade stamp before you commit. Ledger attachment uses 16mm hot-dip galvanized or stainless through-bolts at 400mm on center, with flashing tucked behind the house wrap, because water entering the rim joist is the number-one cause of rot callbacks.
Pick the Right Spec When Conditions Change
The same frame fails differently in different conditions, so matching the spec to the site is where you save money and prevent callbacks. Wet sites, sloped ground, heavy loads, and sun exposure each shift one or two of the three specs in a specific direction.
In wet ground or high water table, increase footing depth by 100 – 150mm below the standard frost line and add a 150mm gravel drainage layer under the pier, because saturated soil loses bearing strength and the pier may settle. On a sloped site, step the beam down the slope rather than trying to level the whole frame, because stepped footings are easier to inspect and adjust than tall, shimmed posts. For heavy loads like a 1500+ kg hot tub, drop joist spacing to 300mm (12 inches) on center and upgrade posts to 142 x 142mm (6×6 nominal), because live load triples in that zone and the standard 40 psf allowance no longer applies. On sun-exposed decks, choose lighter-colored decking or add a shade structure with UV, because dark boards in full sun can reach 60°C (140°F) surface temperature and cup or check faster than shaded boards.
| Site Condition | Change to Footing | Change to Beam/Joist | Trade-Off |
|---|---|---|---|
| Wet / high water table | Deeper pier + gravel base | No change | More digging, more stability |
| Sloped site (>2%) | Step footings | Stepped beam | Easier drainage, more cuts |
| Heavy load (hot tub) | Larger pier (16-inch/400mm) | Tighter spacing, bigger posts | More material, no bounce |
| Sun-exposed | No change | Lighter deck boards, shade optional | Lower heat, extra cost |
| Tight budget | Standard depth | 600mm joist centers, single 38mm beam | Less material, bouncier feel |
What the Build Looks Like in a Real Backyard
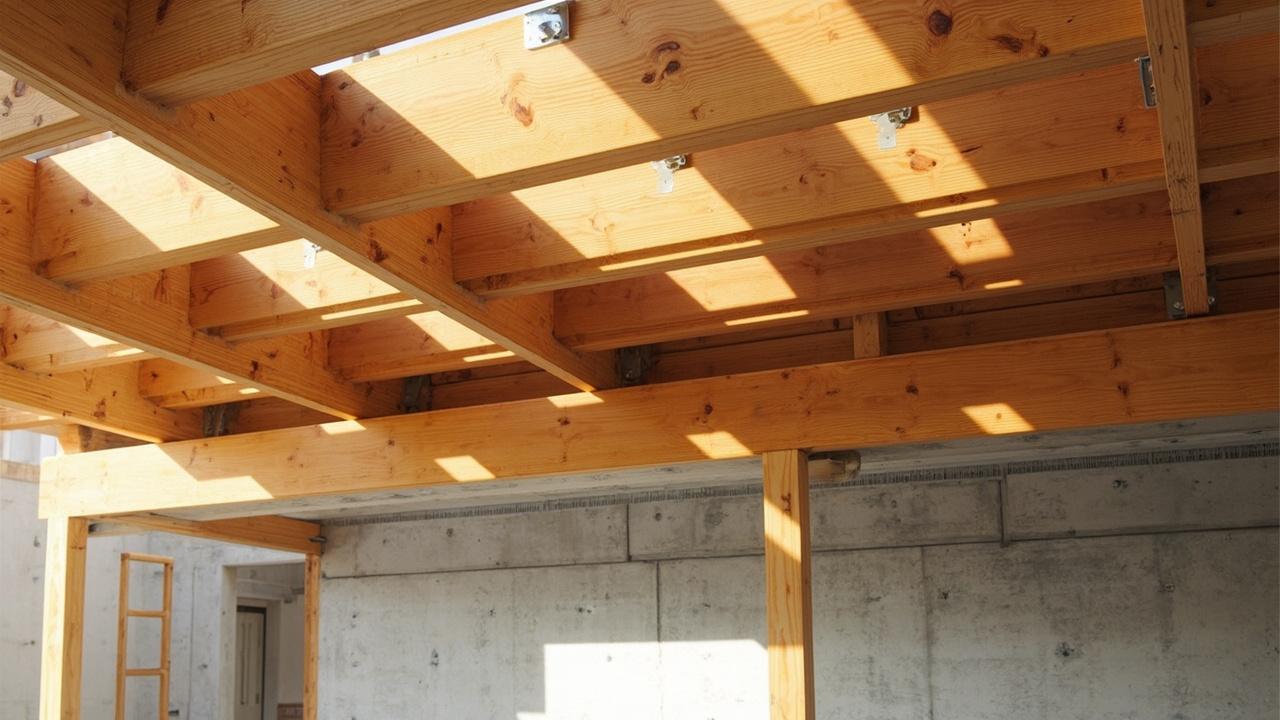
Most pros build the frame in a fixed sequence that matches the load chain. You set the ledger first, drop the footings, hang the beam, run the joists, then add the rim and blocking.
The process splits into three practical stages: anchor and prep, frame the perimeter, then fill the field. Each stage has one checkpoint that decides whether you keep going or stop to fix something.
- Set the ledger first: bolt a 38 x 184mm (2×15 nominal) PT ledger to the rim joist using 16mm through-bolts at 400mm on center, with proper Z-flashing tucked behind the house wrap to stop water intrusion.
- Set the footings next: dig piers to 600mm below frost line or 1200mm minimum in non-frost regions, pour a 150mm gravel base, place a cardboard tube, and set a cast-in-place post bracket so the wood never touches concrete.
- Hang the beam third: install 142 x 142mm (6×6 nominal) posts in the brackets, then attach a doubled 38 x 184mm (2×15 nominal) beam with through-bolts, checking level across the full run.
- Run the joists fourth: install 38 x 184mm (2×15 nominal) joists at 400mm on center with joist hangers at both ends, and add solid blocking at midspan for longer joists to reduce bounce.
- Square and sheathe last: snap a diagonal measurement to confirm square, install rim joists around the perimeter, and add diagonal bracing if the deck sits more than 2m above grade.
A 4×5 m ground-level platform in dry, level ground with two beam posts and joists at 400mm centers typically runs about $8 – 14 per square foot in material, and a hot-tub-rated frame with tighter joists and 6×6 posts climbs to $18 – 26 per square foot because the upgrade in lumber is significant.
Limits, Edge Cases, and When to Call a Pro
The numbers above assume a standard 40 psf live load, dry site, frost depth under 1200mm, and proper pressure-treated lumber rated for ground contact. Push past any one of those conditions and the frame starts to behave differently.
If your site has soft clay, a high water table, or a slope over 15%, the footing sizes and beam spans above are no longer safe defaults. If you are attaching a ledger to a cantilevered floor or a brick veneer wall, the ledger detail changes entirely and a structural engineer should verify the connection, because ledger failure is the most common cause of deck collapse in the field. The same goes for any deck over 2m above grade, where lateral bracing and footing diameter both increase beyond residential code minimums.
For a quick decision on next steps, choose the path that matches your site. If you have a flat, dry, single-story deck under 600mm above grade, the standard specs above are enough. If you have a sloped or wet site, plan on stepped footings and a slightly larger beam. If the deck holds heavy live load or sits high, hire one to size the footing and beam before you pour concrete, because the cost of a stamped detail is one and the cost of a rebuild is one.
For the material choice question that pairs with this frame, see our deck building materials comparison to weigh wood versus composite versus PVC. For a broader look at footing and beam options that sit on the same structural chain, the retaining wall construction and drainage guide covers how the load path transfers from structure to soil. If you are still sizing the ledger and rim connection detail, the concrete cost guide breaks down how poured-in-place details price out against material.