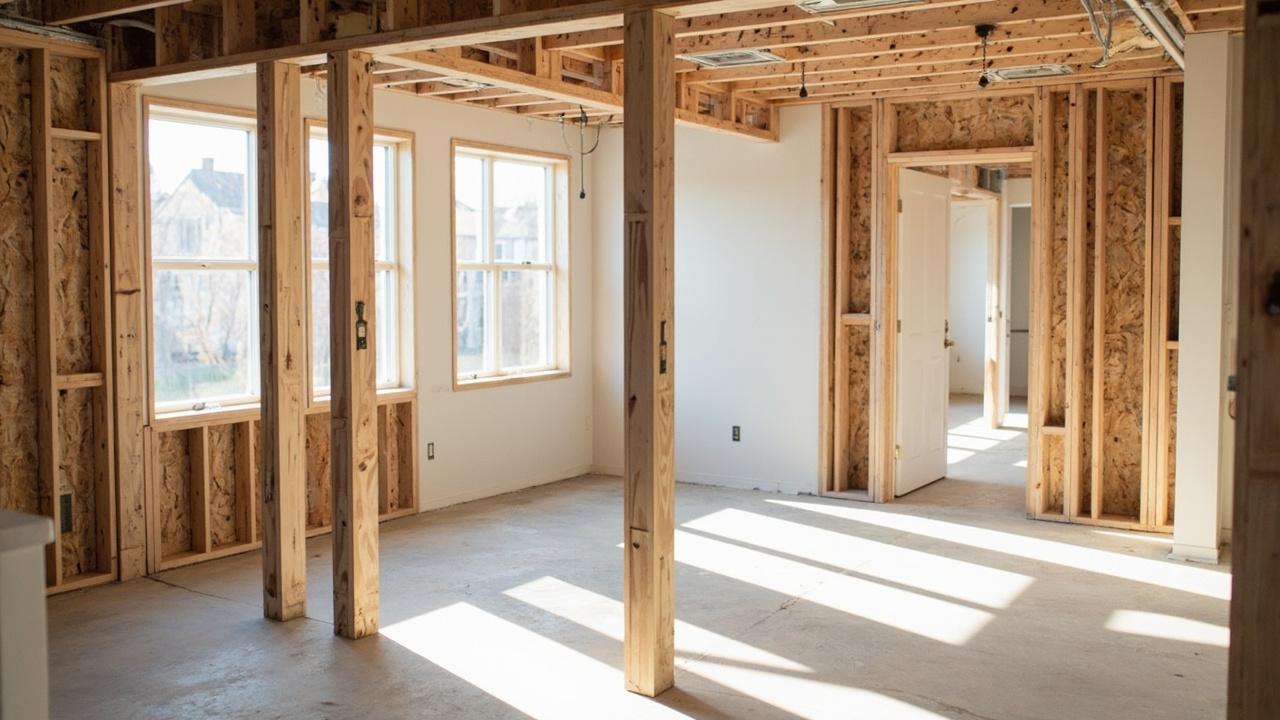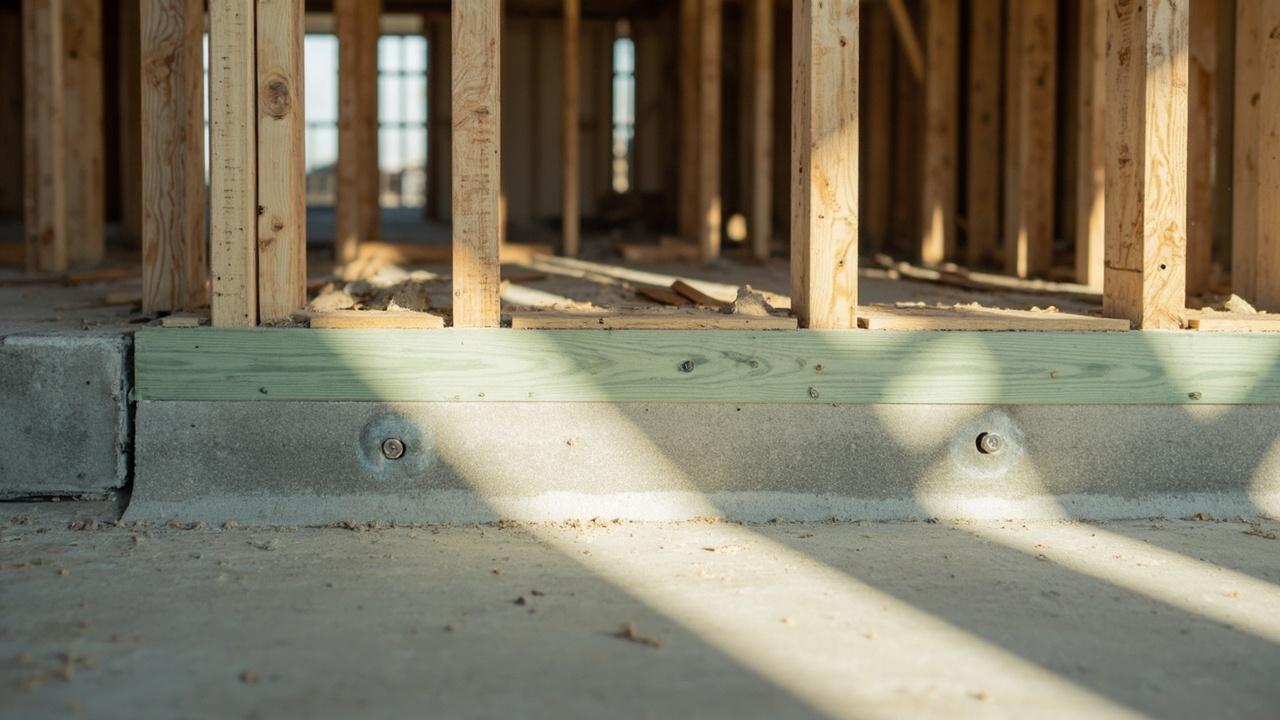

Framing a basement wall? You have likely heard “use pressure-treated plates.” But why? Where exactly? And what happens if you skip it?
You do not want rot creeping up from the bottom. You also do not want to overspend. Here is the fix. A pressure-treated bottom plate is lumber infused with preservatives. It resists moisture, fungal decay, and insects. It sits directly on the concrete floor.
It acts as the primary barrier between ground moisture and your framing. Use it wherever wood meets concrete below grade. Your floor condition, drainage, and local humidity dictate how much you need. If you are planning a full basement finishing project, see our basement finishing planning guide for the bigger picture.
What a Pressure-Treated Plate Does in Basement Framing
The bottom plate carries the load. Studs, sheathing, and finishes all push down. In a basement, that floor is concrete. Concrete wicks moisture from the soil beneath it.
A standard untreated pine plate sitting on a damp slab will absorb that moisture fast. Mold and decay fungi will establish within 6 to 18 months. A pressure-treated plate rated for ground contact (UC4A or higher, 0.25 pcf minimum) resists absorption. It maintains structural integrity for 20 to 40 years.
The mechanism is simple. Preservative chemicals like micronized copper azole fill the wood cell walls. They create a toxic environment for fungi and termites. This does not make the plate waterproof. It makes it resistant.
The plate will still get wet from condensation or leaks. The difference? Treated wood dries without rotting. Untreated wood rots before it dries.
Most projects pair the treated plate with a foam sill gasket. This is a closed-cell polyethylene strip 6 to 10 mm thick. It sits between the concrete and the plate. The gasket breaks the capillary path for moisture. It reduces thermal bridging. It also levels uneven slabs.
Together, the gasket and plate form a two-part moisture defense. It costs roughly $0.50 to $1.20 per linear foot. It prevents thousands in future remediation.
Specific Measurements and Material Specifications
Match your material to the exposure level. For interior walls on a dry-but-uncertain slab, UC3B-rated lumber (0.25 pcf retention) is the minimum.
For slabs with visible dampness or moisture intrusion history, step up to UC4A ground-contact rated stock at 0.40 pcf retention. The cost difference is small. It runs about $0.30 to $0.80 per board foot. On a typical 200-linear-foot basement, that adds $60 to $160 to your budget.
Plate dimensions follow your framing standard. Use a 2×4 plate for 2×4 walls. Use a 2×6 plate for 2×6 walls. Fasten the plate to the slab using concrete wedge anchors or powder-actuated fasteners. Space them at 400 to 600 mm centers.
Keep the first fastener within 150 mm of each end. Pre-drill through the plate and into the concrete. Drill to a depth of 50 to 65 mm. Do not overdrive fasteners. The plate must sit flat against the gasket without cupping.
Here is a comparison of common plate options for basement framing:
| Plate Type | Retention Level | Cost per Linear Foot | Best For | Limitation |
|---|---|---|---|---|
| Untreated pine + sill gasket | None | $0.40 – $0.70 | Dry slab, interior walls, short-term | Fails if moisture reaches wood |
| UC3B pressure treated | 0.25 pcf | $0.70 – $1.10 | Damp slab, no standing water | Not rated for ground contact |
| UC4A ground contact | 0.40 pcf | $1.00 – $1.50 | Wet slab, history of moisture | Higher cost, chemical handling |
| Composite/HDPE plate | N/A (synthetic) | $1.50 – $2.20 | Severe moisture, no rot risk ever | Difficult to fasten, limited span |
The table shows the honest trade-off. Higher retention and synthetic options cost more upfront. They eliminate the risk of rot. For most residential basements with normal dampness, UC3B at 0.25 pcf with a foam sill gasket is the practical sweet spot. Step up to UC4A only for documented moisture issues or local code requirements.
Conditional Choosing: When to Use Which Plate
The right plate depends on your floor. Start with a simple moisture test. Tape a 600 × 600 mm square of polyethylene sheeting flat to the slab. Wait 24 hours in three locations.
If condensation forms under the plastic, you have moisture vapor transmission. Use at least UC3B treated plate. If the concrete feels damp but no condensation forms, UC3B with a gasket is still recommended. The risk is just lower.
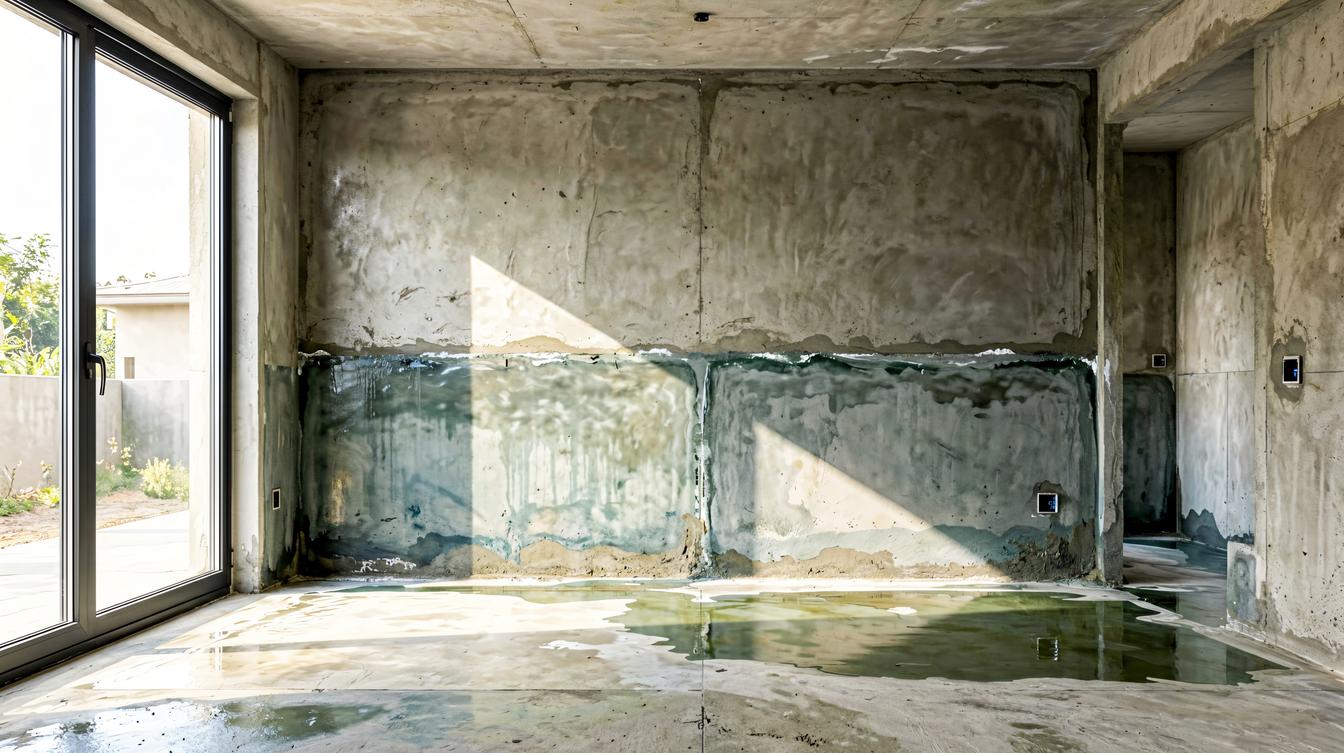
Choose UC4A ground-contact rated plate when specific conditions apply. Look for a history of water entry. Watch for visible efflorescence on the slab. These white mineral deposits indicate upward moisture migration.
Consider your area. A high water table demands UC4A. Local building code might explicitly require it. Choose untreated pine with a sill gasket only when the slab is bone dry. The basement must be fully above grade on at least two sides. You must have verified dry conditions across multiple seasons.
Does your basement have a sump pump that runs regularly? Choose UC4A. Does the floor slope toward a drain with no standing water? UC3B is sufficient. Are you framing a wall around a bathroom? Plumbing leaks are possible there. Use UC4A for that specific wall.
Is the budget extremely tight and the slab dry? Use untreated plate with a gasket. Document the decision. Plan to inspect annually.

Real-World Installation Context and Common Mistakes
On a typical job, the installer levels the slab. They roll out the foam sill gasket. They lay the treated plate on top. Then they mark anchor positions.
The most common mistake? Skipping the gasket because “the plate is already treated.” That is wrong. The gasket does not just block moisture. It breaks thermal conduction between the concrete and the wood. Without it, the plate becomes a cold bridge. Condensation forms on its surface even in moderate humidity.
Another frequent error is fastening too aggressively. Pressure-treated lumber often ships with high moisture content. Overdriving anchors into wet wood causes the plate to split internally. This happens especially near the ends.
Always pre-drill anchor holes through the plate. Use a bit 1 to 2 mm larger than the anchor diameter. This gives the fastener room to seat without splitting pressure.
The installation sequence matters. First, verify slab level with a straightedge. Gaps under the plate greater than 6 mm need composite shims. Never use wood wedges.
Second, apply the gasket and lay the plate. Third, mark and drill anchor holes. Fourth, fasten from the center outward to avoid bowing. Fifth, check for gaps between the gasket and slab. Each step takes only a few minutes. They prevent problems that show up two to three years later.
Limitations, Edge Cases, and Next Steps
A pressure-treated plate does not solve every moisture problem. If you have bulk water intrusion – water flowing across the slab during heavy rain – no plate will save your framing. You must address drainage, grading, or exterior waterproofing first.
The plate defends against vapor and incidental dampness. It is not a substitute for proper water management. If you are unsure about your moisture source, consult a waterproofing professional before framing. For deeper moisture issues, read our basement waterproofing interior exterior guide.
Another limitation: treated lumber corrodes standard steel fasteners. Use hot-dipped galvanized or stainless steel anchors and hardware. Electro-galvanized fasteners fail over time with modern copper-based preservatives.
This adds 15 to 25 percent to your fastener budget. It prevents hardware failures. You will avoid leaning walls and squeaking floors five to ten years later.
For walls carrying heavy loads – like those supporting a second-story addition – verify the plate and slab can handle the point load. A standard residential slab at 100 to 150 mm thickness supports 1,500 to 2,500 kg per square meter of distributed load. Concentrated loads from beam reactions require engineering verification. Do not guess with structural loads.
The decision framework is straightforward. Assess your slab moisture honestly. Match the plate rating to that reality. Never skip the gasket. Use corrosion-resistant fasteners. Address bulk water before framing.
Follow these steps, and your basement walls will stay straight, dry, and rot-free for decades.