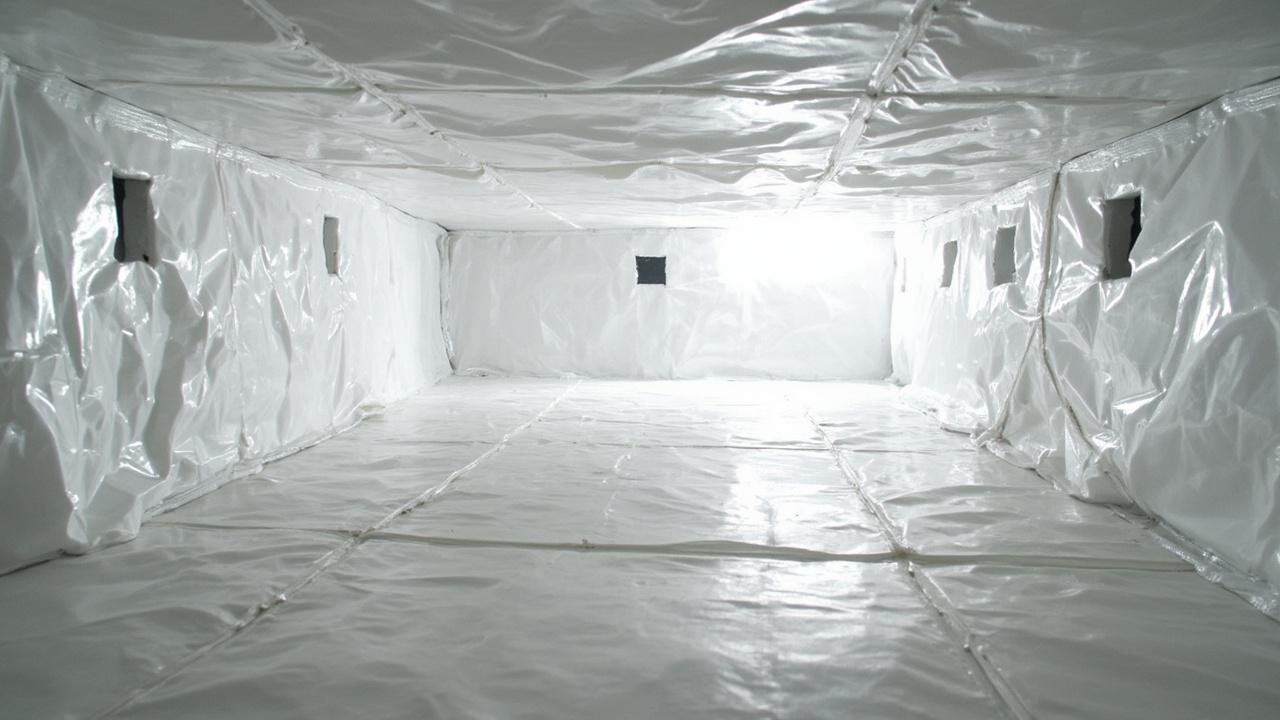
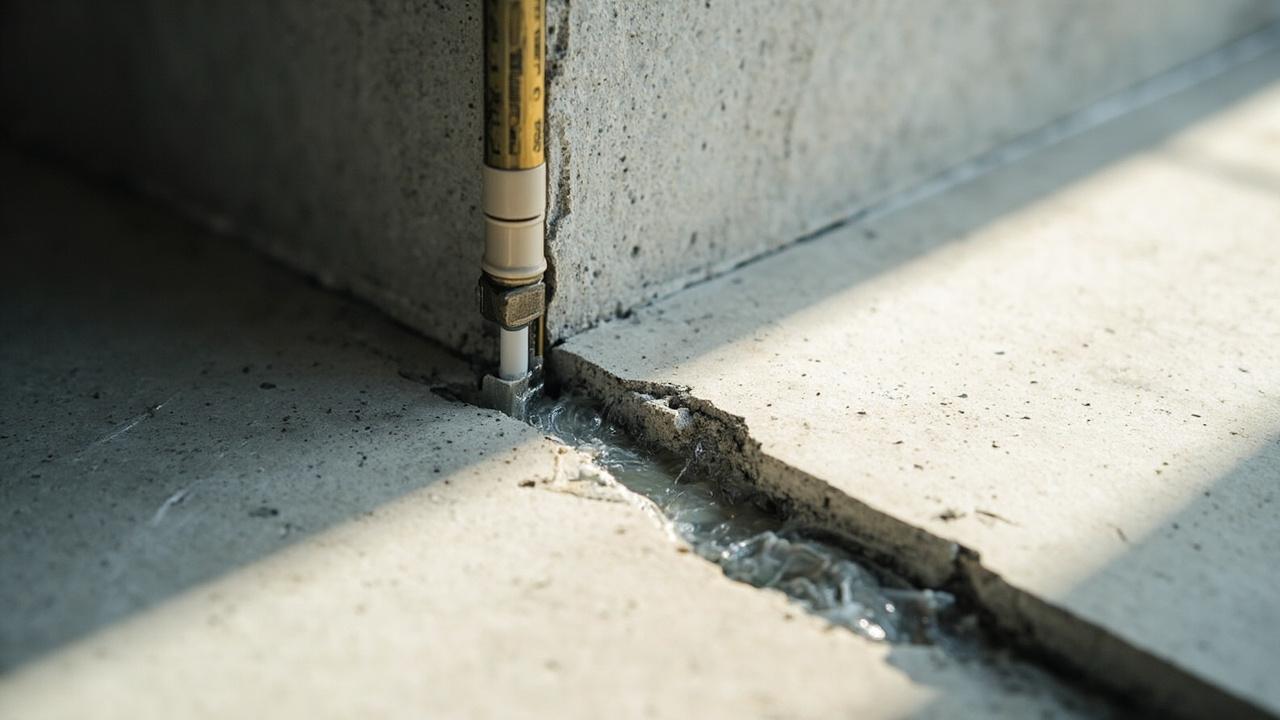
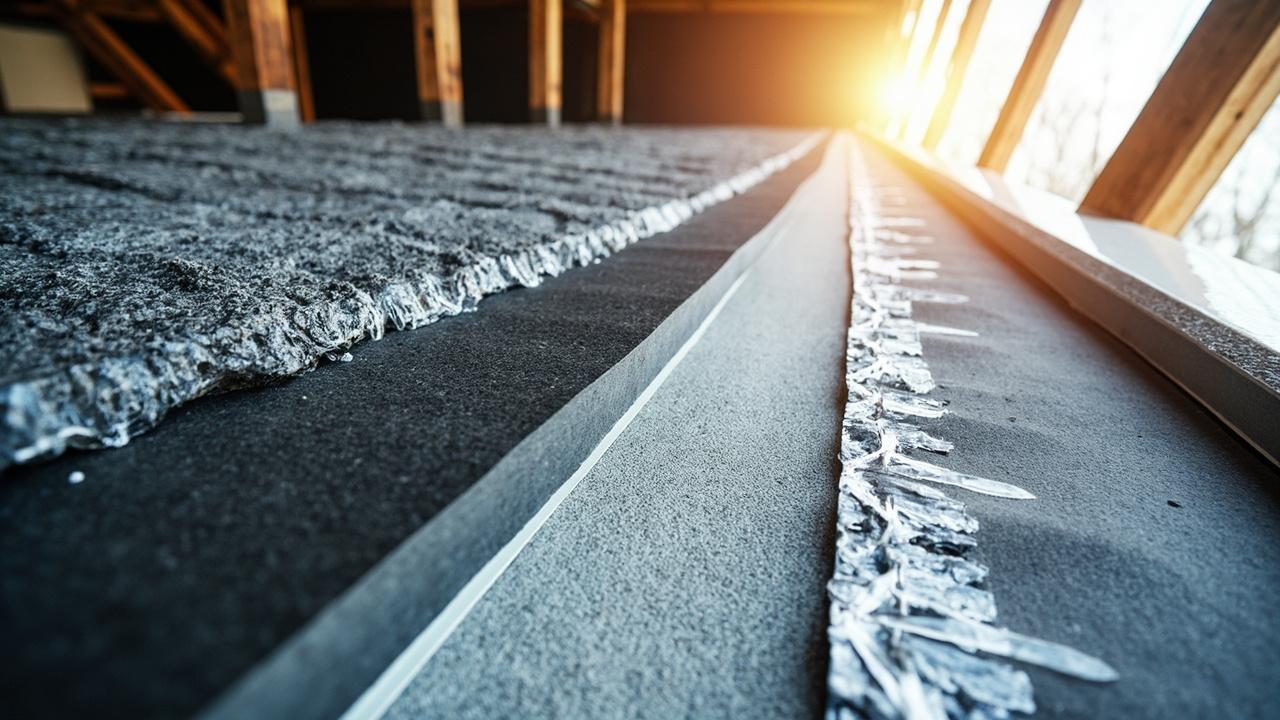
Getting bids for a leaking foundation wall and seeing two very different proposals, one for a torch-applied sheet system and one for a sprayed coating? In most cases neither bid is wrong, because sheet membranes and liquid coatings both keep exterior water out, but they win under different site conditions. Exterior waterproofing is the buried barrier applied to the outside face of a foundation or retaining wall, and the choice between a membrane and a coating decides how the wall handles hydrostatic pressure, backfill damage, and movement over decades.
Exterior Waterproofing: What Each System Is and When Each Wins
Exterior waterproofing systems fall into two families with different strengths: a sheet membrane is a factory-made layer of modified bitumen or thermoplastic, typically torch-applied at 3 to 4 mm, fused into one continuous skin, while a liquid coating is a polymer, acrylic, or cementitious layer sprayed or rolled on at 1 to 2 mm per coat. Membranes dominate where groundwater pressure is real and backfill is rough, and coatings win on complex shapes, tight budgets, and walls that stay mostly dry.
That split is the whole decision. A membrane brings uniform factory thickness and high puncture resistance, but it demands skilled labor, open access, and careful seam welding. A coating conforms to any shape and costs less per square foot, but its final thickness depends on the applicator, and thin spots become the leak paths years later.
How Sheet Membranes and Liquid Coatings Actually Stop Water
A sheet membrane stops water by redundancy: multiple plies or a single thick ply with 100 mm side and end laps, torched or adhered so seams fuse into a monolithic layer. Water reaching the wall meets the same rated thickness everywhere, and protection boards shield it while backfill goes in. Failure almost always starts at a seam, a corner cut short, or a puncture from sharp backfill, not in the field of the sheet.
A liquid coating stops water by adhesion and continuity: the polymer bonds directly to clean concrete and bridges hairline cracks up to about 1 to 2 mm as the wall moves. Acrylic and polyurethane coatings stay flexible through temperature swings, while cementitious coatings are rigid, cheaper, and suited to damp but low-pressure walls. The weak points are pinholes, thin coverage over form-tie holes, and application onto dusty or wet concrete, which is why surface prep decides coating life more than brand choice.
Membrane vs Coating on the Same Criteria
Judged side by side on equal terms, the trade is durability and certainty against cost and flexibility. Installed cost in the US typically runs $8 to $15 per square foot for torch-applied or self-adhered sheet systems, against $3 to $8 per square foot for spray or roller coatings, with excavation and drainage work extra in both cases. Lifespan follows the price: a protected membrane commonly serves 25 years or more, while coatings usually need recoating or touch-up within 10 to 15 years in wet ground.
| Criterion | Sheet membrane | Liquid coating |
|---|---|---|
| Water pressure tolerance | High, uniform 3 to 4 mm plus laps | Moderate, depends on applied thickness |
| Puncture and backfill damage | Strong, especially with protection board | Vulnerable, needs careful backfill |
| Complex shapes and penetrations | Slow, cutting and detailing heavy | Excellent, liquid follows every contour |
| Installed cost per sq ft | $8 to $15 | $3 to $8 |
| Service life in wet soil | 25 years or more | 10 to 15 years, then maintenance |
Drainage changes the math for both. A wall with a functioning footing drain and 1 to 2 percent slope away from the foundation sees far less pressure, so a coating that would fail in saturated clay performs fine in drained gravel. Confirm drainage before upgrading the barrier, since the cheapest waterproofing is water that never arrives.
Installation Steps and the Mistakes That Cause Callbacks
Good membrane work follows a fixed sequence: clean and repair the concrete, prime, apply the sheet from the footing upward with 100 mm laps, seal penetrations with boots or mastic, flood-test or spark-test seams, then cover with protection board before any backfill touches the wall. Skipping the protection board is the classic failure, because one sharp stone pressed by compaction equipment can puncture an otherwise perfect job.
- Expose the wall fully to the footing and clean off soil, laitance, and old coatings.
- Fill form-tie holes and honeycombs, then round sharp corners so sheets and liquids both hold.
- Apply primer or the first coating pass only on dry, dust-free concrete within the product temperature range.
- Lay membrane with full 100 mm laps, or build coating to the specified wet-film thickness in two coats.
- Detail corners, pipe entries, and the wall-to-footing joint, then run a 24-hour ponding or flood check where possible.
- Install protection board and drainage mat before backfilling in thin compacted lifts.
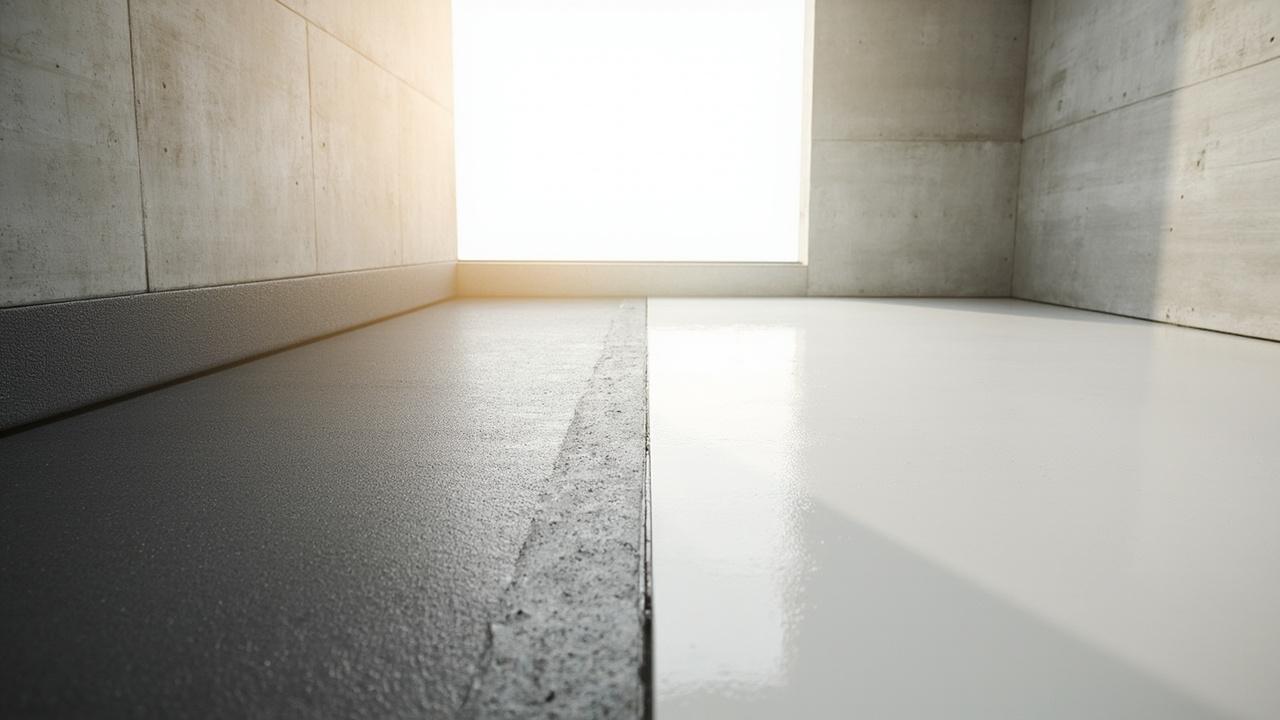
The mistakes repeat across jobs: backfilling with excavated rubble instead of clean fill, bridging the footing joint without a fillet, coating over damp concrete, and leaving the top termination unsealed so surface water runs behind the system. Every one of these shows up as a leak in the first heavy season, not ten years later.
Limits, Edge Cases, and What to Decide Next
Neither system saves a wall that moves structurally: step cracking, bowing, or settlement needs a structural repair first, and waterproofing over it just hides the symptom. Coatings also struggle below the water table and on walls with active seepage, since most products cannot bond to flowing water. In those cases a membrane with drainage, or interior pressure relief paired with exterior work, is the honest specification, as explained in the guide to interior versus exterior basement waterproofing.
As a decision rule: choose a sheet membrane if the wall sits in clay, sees seasonal saturation, or gets rough backfill; choose a coating if the wall is drained, access is tight, shapes are complex, or budget forces staging. Then verify with a flood or foundation crack injection repair check on any cracks before they are buried, since an unsealed crack leaks under either system. Consult a waterproofing contractor for walls below the water table or with structural movement, and get the thickness, lap, and flood-test terms written into the bid, not just the brand name.