
You hear a sharp squeak every time someone walks across the hallway, and you want to fix it yourself or at least know what your contractor should check. The short answer is that most squeaks come from the subfloor moving against the joist or a loose fastener, and you can often silence them from above with a few screws if the floor is accessible. A floor squeak repair subfloor job is the process of finding that loose connection and locking the layers back together so they stop rubbing.
The tricky part is that the same sound can come from three different places: the subfloor, the joist, or the finish flooring. Guessing wastes time and can damage a good floor. This guide walks you through symptom clues, safe checks, and the right action for each cause, including when to stop and call a pro.
What Floor Squeak Repair Subfloor Actually Means + The Direct Answer
A floor squeak repair subfloor job means stopping movement between the subfloor panel and the joist beneath it, or between the subfloor and the finish floor above. The direct answer is this: if the squeak happens in one spot when you step and stops when you shift weight, the cause is usually a loose fastener or a gap between panel and joist. Fixing it means adding screws or shims from the accessible side.
The same sound can come from three layers, so the first skill is listening, not drilling. Flooring materials expand and contract with humidity, and that movement is what creates the rub. Lock the layers together and the squeak stops.
This is a diagnosis – first job. Start with the symptom, trace it to a layer, then pick the fix that matches. Skipping the diagnosis is the most common reason a repair fails within a month. If your finish layer is laminate, the squeak may live in the locking joints rather than the subfloor; see our primer on what laminate flooring is before you start drilling.
What to Gather First (Tools + Materials)
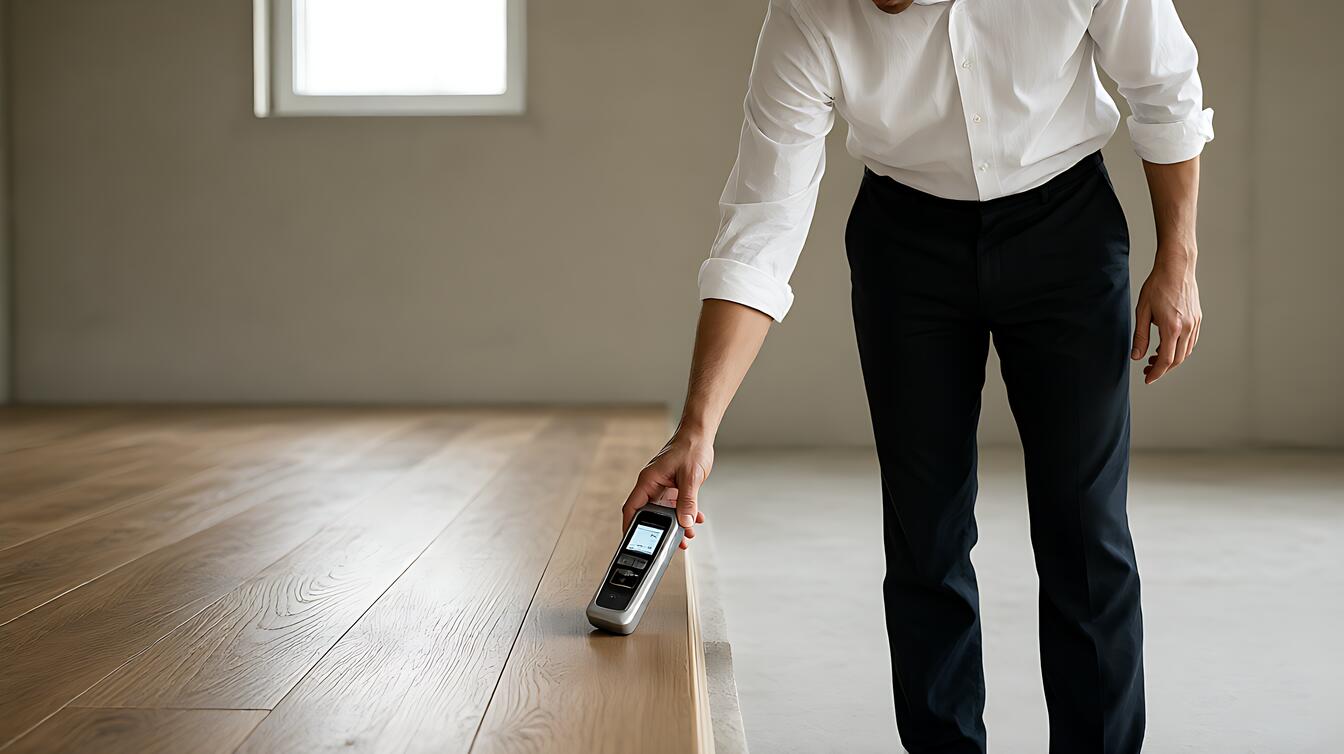
Before you touch a squeaky floor, gather the tools that let you work from the accessible side. For an above – floor repair you need a drill, screws sized to the panel thickness, a stud finder, a pencil, and a helper to walk the floor. For a below – floor repair you need shims, construction adhesive, and a flashlight. The right kit depends on which side of the subfloor you can reach.
Keep indoor humidity steady, typically between 35 – 55 percent, using a humidifier or dehumidifier depending on your climate. Wood moves with moisture, so a floor that squeaks in winter may quiet down in summer without any repair at all.
If you cannot reach the subfloor from below and the finish floor is hardwood or tile, stop and plan the access route before buying anything. Drilling blindly into an unknown layer is the fastest way to turn a squeak into a hole, and to hit utilities you did not know were there.
Step by Step (With Tolerances)
Work in this order: locate the squeak, mark the joist center, fasten the panel, then test. Have a helper walk the floor while you listen from below or press with your foot from above. Mark the spot with tape, find the joist center, and drive screws only into the joist, never into open panel.
From above, drive screws at a slight angle so they pull the panel down tight to the joist, then countersink and fill. From below, tap a thin shim into the gap between joist and panel, coat it with construction adhesive, and snap off the excess flush. Re – test after every fastener so you stop the moment the squeak dies.
Re – check humidity after the repair. If indoor levels swing outside 35 – 55 percent, wood movement returns and the squeak can come back even with perfect fastening. Seasonal movement is the most common reason a good repair fails in a different month.
Common Mistakes and How to Avoid Them
The biggest mistake is drilling into the finish floor without knowing the layer below. A screw into a pipe or wire turns a squeak repair into an emergency. Always map the joist and scan for utilities before drilling. If you are chasing a gap or buckle rather than a squeak, our guide on laminate floor gap and buckling repair covers that separate problem.
The second mistake is over – shimming. A shim driven too deep lifts the subfloor and creates a new squeak or a raised spot in the finish floor. Tap gently and stop the moment the gap closes.
The third mistake is treating every squeak as a structural problem. Most are fastener or humidity issues, not joist failure. If the floor feels soft, bouncy, or slopes, that is a different diagnosis and needs a pro.
Limits, Edge Cases + What to Do Next
Some squeaks are symptoms, not the disease. If the subfloor is water – damaged, delaminated, or the joist is cracked, surface fastening will not hold. In those cases the right action is replacing the damaged panel or sistering the joist, which is a contractor job.
Choose above – floor screwing when the finish floor is carpet or you can access the subfloor from a basement. Choose below – floor shimming when the finish floor is hardwood or tile and you have clear access underneath. Choose a pro when the floor is soft, the squeak is widespread, or you suspect moisture damage.
If the squeak sits near a wall and the floor feels uneven, the root cause may be foundation movement; read the foundation repair cost guide before booking work. For related flooring issues, our overview of what laminate flooring is is a useful next read.