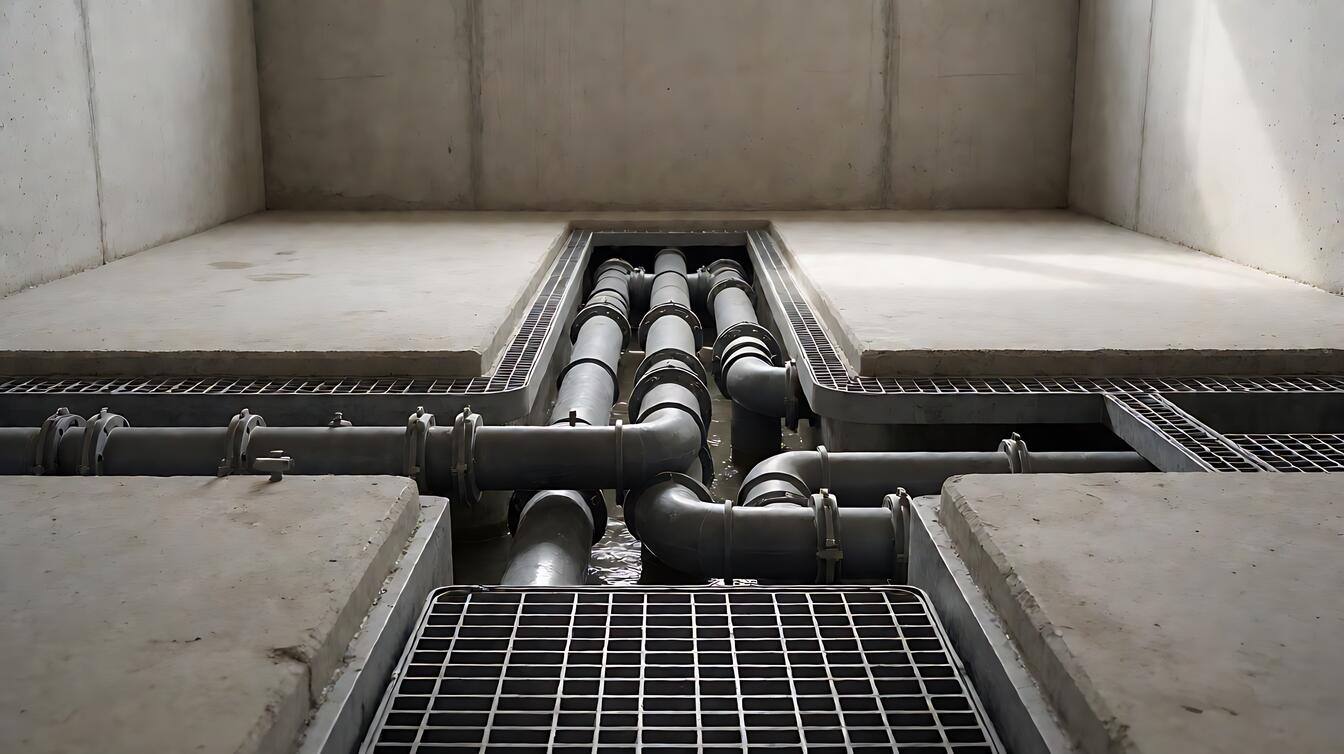
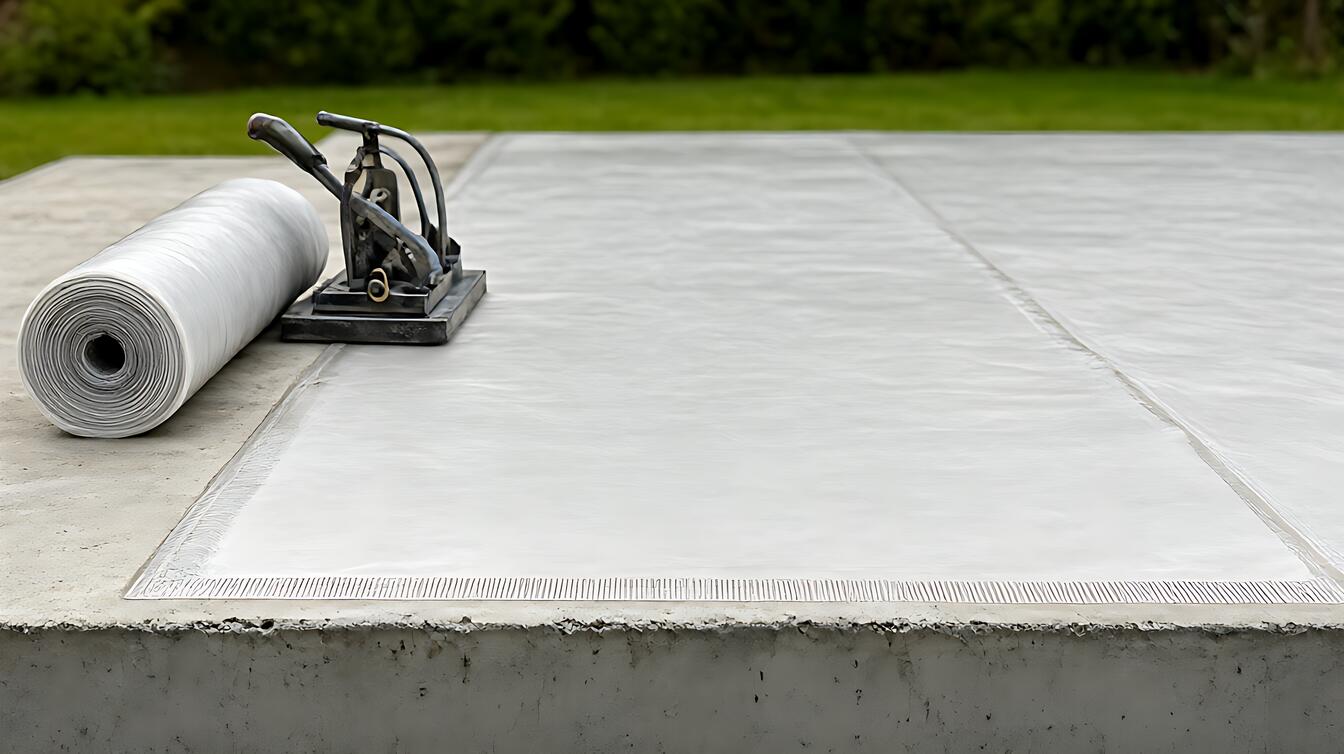
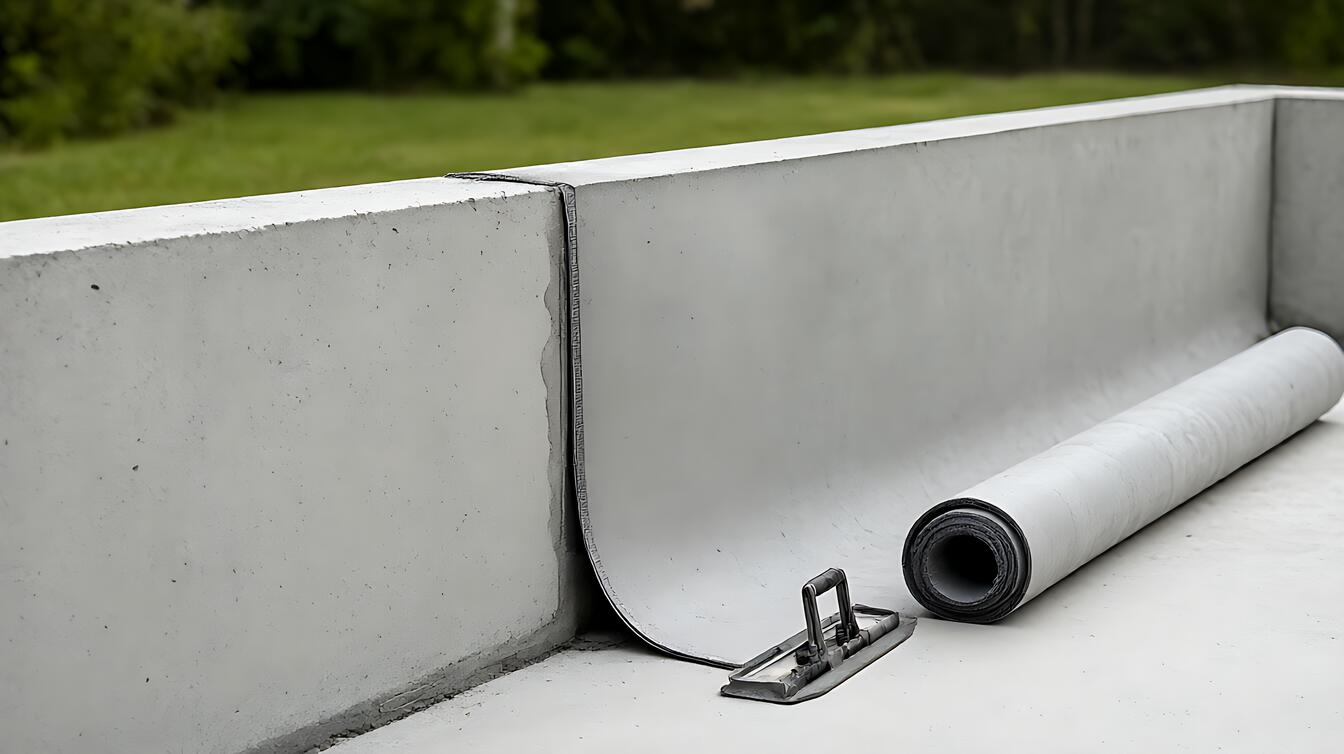
You’re standing over a finished deck, trying to tell whether the water problem comes from the waterproofing itself or from water that has nowhere to go. The practical answer is to check both: a membrane torch 3 – 4mm gives a defined sheet – water barrier, while the deck must also slope toward a drain. Waterproofing for deck drainage systems is the combined system of a water – resistant membrane, correctly prepared substrate, suitable slope, and a clear outlet that carries water away.
The distinction matters because a membrane can be perfectly sound while trapped water still appears below the deck. The same is true in reverse: good drainage cannot repair a failed waterproofing layer. You need both layers working together, and the right choice depends on the surface, exposure, detailing, and whether the deck is a pedestrian surface or part of a larger wet area.
What waterproofing for deck drainage systems actually means
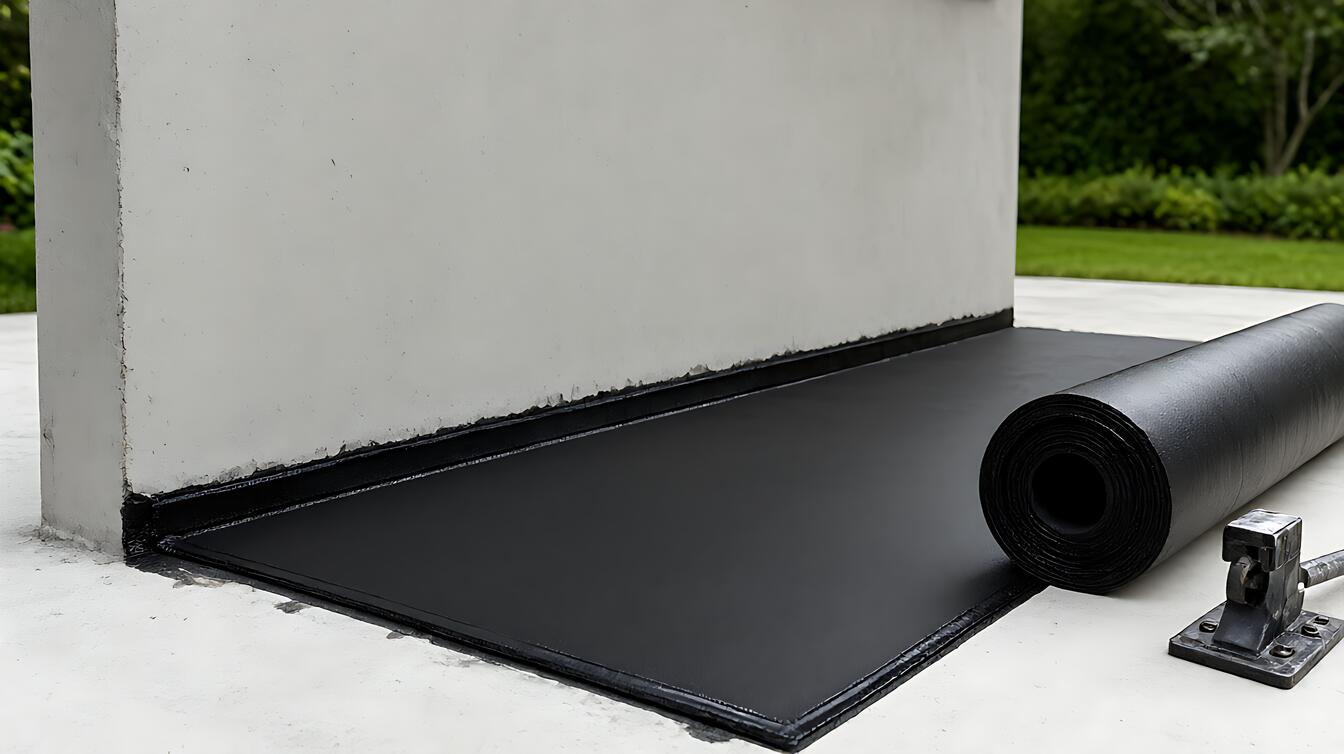
Waterproofing systems protect a deck by preventing water from passing through its surface assembly, while membrane torch 3 – 4mm provides a bonded barrier where a torch – applied sheet is suitable. This combination works only when the deck has a deliberate route to an outlet.
A deck can look flat yet contain a low point. Water follows that low point, collects at a vulnerable joint, and remains there longer than the surface was designed to tolerate. The drainage 1 – 2% slope gives that water somewhere to travel, while a membrane handles the part that remains on the surface.
That division of labor is the decisive attribute. Choose a membrane system for the surface and detailing requirements, then design the slope and drain around the same layout. If either side is missing, the installation can fail for reasons that have nothing to do with the membrane brand.
For a broader look at how the pieces fit together, start with the main waterproofing systems overview. This page focuses on the deck – specific relationship between water control and water removal.
How a deck drainage waterproofing system works
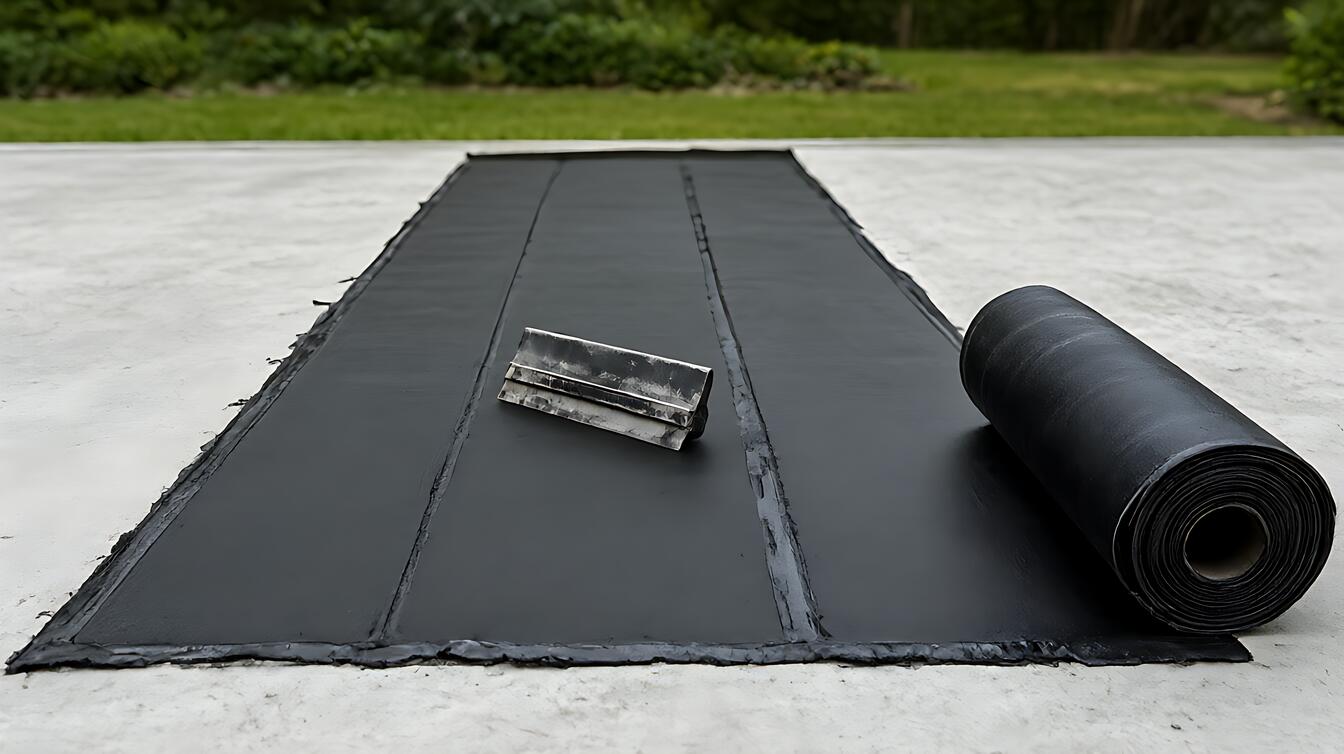
Overlap 100mm creates a continuous path for the installer’s tool across adjacent sheets, while coating acrylic protects compatible exposed details such as penetrations and edges. The overlap supports continuity, but continuity alone cannot overcome reverse slope or a blocked outlet.
Water first travels across the finished surface. The slope then guides it toward a drain or scupper, while the membrane prevents the remaining moisture from entering the substrate. A ponding test 24h checks that water does not remain unexpectedly deep after rainfall or controlled wetting.
Here’s why the order matters. If the membrane sits below a poorly graded surface, trapped water can occupy seams and penetrations longer than intended. If the slope ignores where drains can physically discharge, water may simply move from one part of the deck to another.
Use the membrane details as a system rather than treating them as isolated installation points. Learn more about membrane thickness and overlap requirements before judging whether a photographed installation matches the intended detail.
When to choose a sheet membrane or a coating system
Sheet membrane suits decks needing a defined layer with consistent thickness and controlled detailing, while cementitious coating suits simpler substrates and details where a trowel – applied system is easier to shape. Choose according to the surface, exposure, and access, not merely the number of layers a product lists.
Choose a membrane torch 3 – 4mm system when the application details call for a torch – applied sheet and the specified bonding method is compatible with the substrate and detailing. This option offers a defined sheet barrier, but it requires careful preparation, clean bonding, heat control, and attention to every edge and penetration.
Choose an acrylic coating when its compatibility, curing conditions, and finish suit the project. The benefit is easier local shaping around complex details. The trade – off is that the achieved protection depends on substrate preparation, applied thickness, curing, and protection during the vulnerable period after application.
| Condition | Preferred approach | Main limitation |
|---|---|---|
| Defined sheet layer and compatible torch – applied detailing | Sheet membrane | Requires careful preparation and bonding control |
| Complex edges, penetrations, or shaped details | Acrylic coating | Quality depends on preparation, thickness, and curing |
| Water must cross the surface before removal | Coordinated slope and drain | The membrane cannot correct poor drainage |
If you need a wider technical comparison, compare sheet, liquid, and cementitious systems. For a broader category view, see waterproofing types compared.
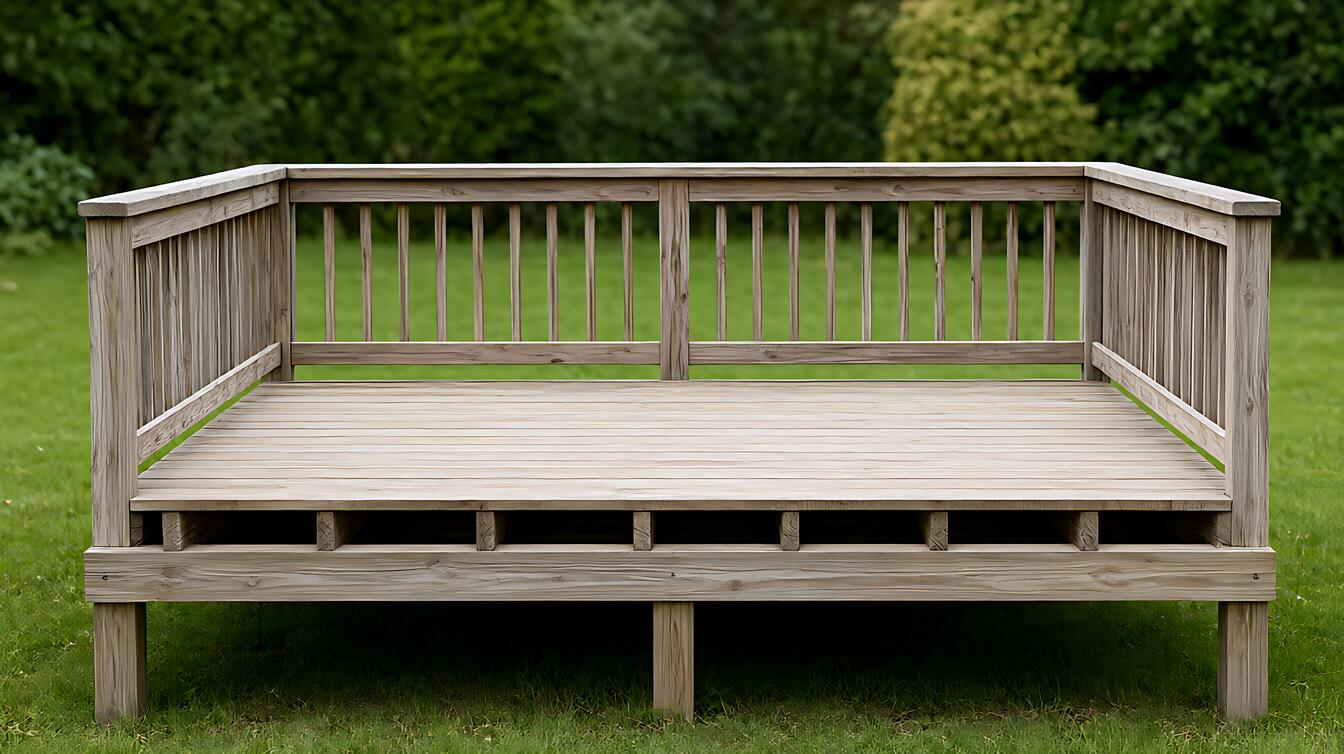
What changes on a real deck job site
A recognizable failure pattern appears on a sun – exposed deck where the surface drains toward a parapet instead of the scupper. The membrane may look dry beneath the finish, yet damp patches appear near the wall after rain because water is being held against the edge.
Another common case is a wet area detail around a door threshold or wall junction. A sheet can be continuous across the field yet remain vulnerable where another material meets it. That is why transitions, corners, penetrations, and outlets deserve as much attention as the broad deck surface.
In practice, the installer should establish the intended water path before applying the waterproofing. The practical sequence is to inspect the substrate, coordinate the drainage path, prepare the details, install or apply the chosen system, and then verify the finished assembly.
- Inspect the deck substrate and mark drainage paths, low points, penetrations, and existing cracks before covering them.
- Coordinate the drainage 1 – 2% slope and outlet locations with the deck finish and the surrounding waterproofing boundaries.
- Prepare the field and treat edges, joints, penetrations, and transitions with the compatible detailing materials.
- Install the specified sheet or coating system, maintaining the required overlap 100mm where applicable.
- Complete protection and curing, then arrange the specified ponding test 24h before placing finishes over the waterproofing.
The result should be checked as a system. Confirming that the membrane is continuous does not prove that the drain works, and confirming that the drain flows does not prove that the details are sealed.
Limits, trade – offs, and the next practical step
Heavy load changes the installation sequence because protection layers, finishes, and traffic controls can damage a membrane before the system is ready. Sun exposure changes material selection and curing demands. These conditions can favor a robust assembly, but no membrane removes the need for slope, drainage, and compatible detailing.
The honest limit is simple. A waterproofing product can only protect a correctly prepared detail, and drainage can only remove water when the path stays open. If the deck includes structural changes, unusual loads, recurring ponding, or complex connections to the building, consult a qualified waterproofing professional before choosing the assembly.
Before ordering materials, document the substrate, finish, exposure, joints, penetrations, outlet arrangement, and intended traffic. If a leak is already present, distinguish membrane failure from drainage failure using waterproofing failure and leak diagnosis.
- Choose a sheet membrane when a defined waterproofing layer and compatible torch – applied detailing are central to the assembly.
- Choose an acrylic coating when shaped details and compatible substrate preparation make a liquid – applied system more practical.
- Choose professional design review when the deck has heavy loads, structural modifications, recurring ponding, or complicated wet – area connections.
Your next step is simple: draw the drainage path, mark the details, and compare each proposed system against those conditions. For a wider planning view, use the complete waterproofing systems guide.